1979 26' Commander gas & H2O tank replacement & ?

Mikeopsycho

Senior Chief Petty Officer
Joined
Feb 6, 2014
Messages
738
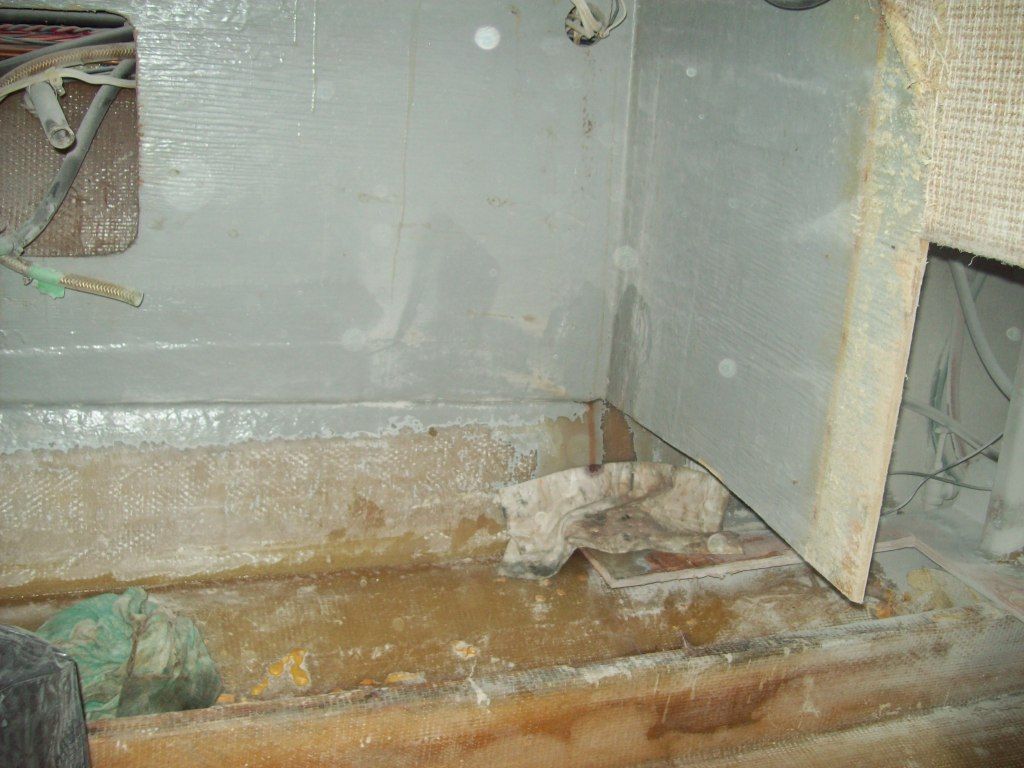
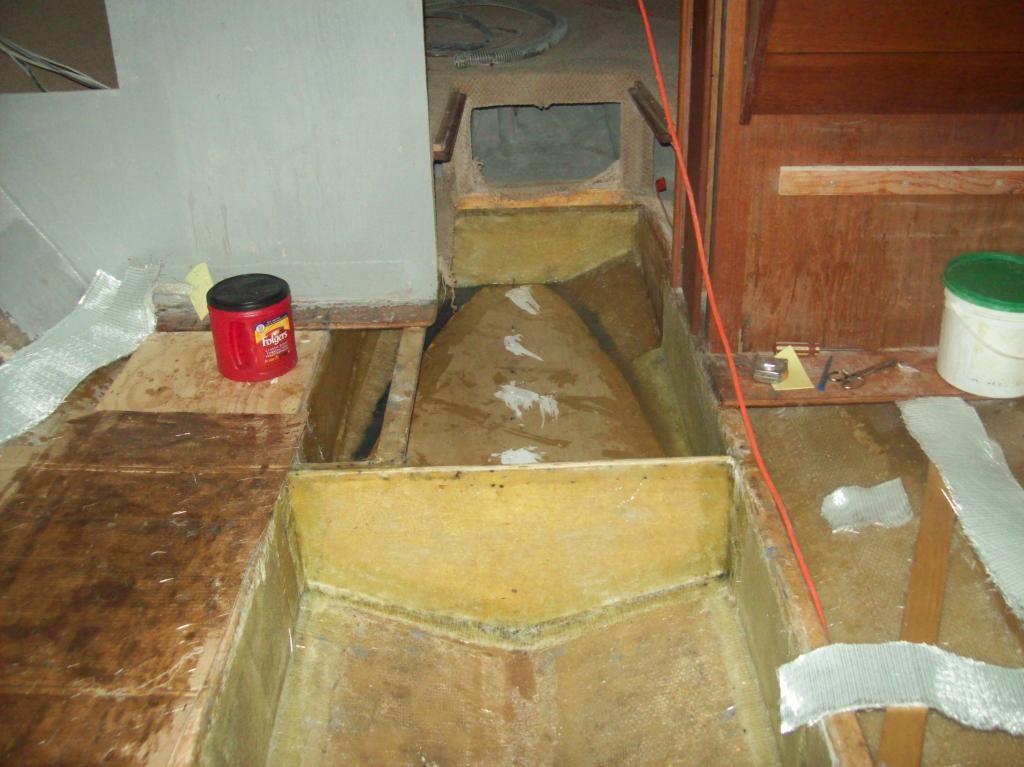
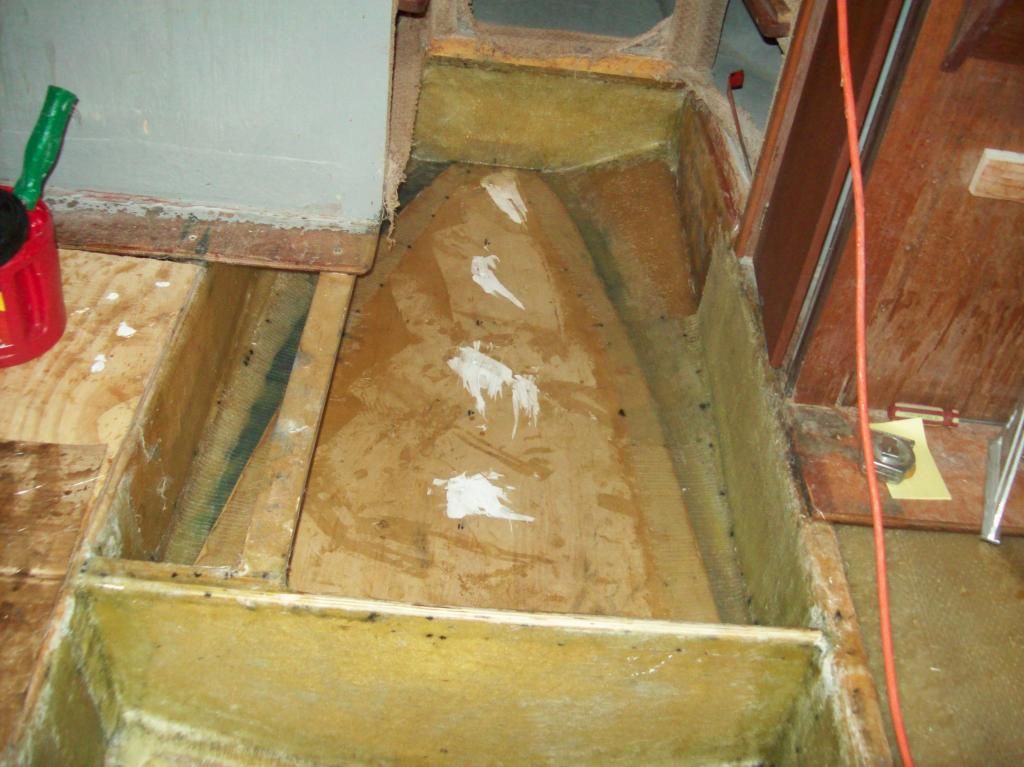
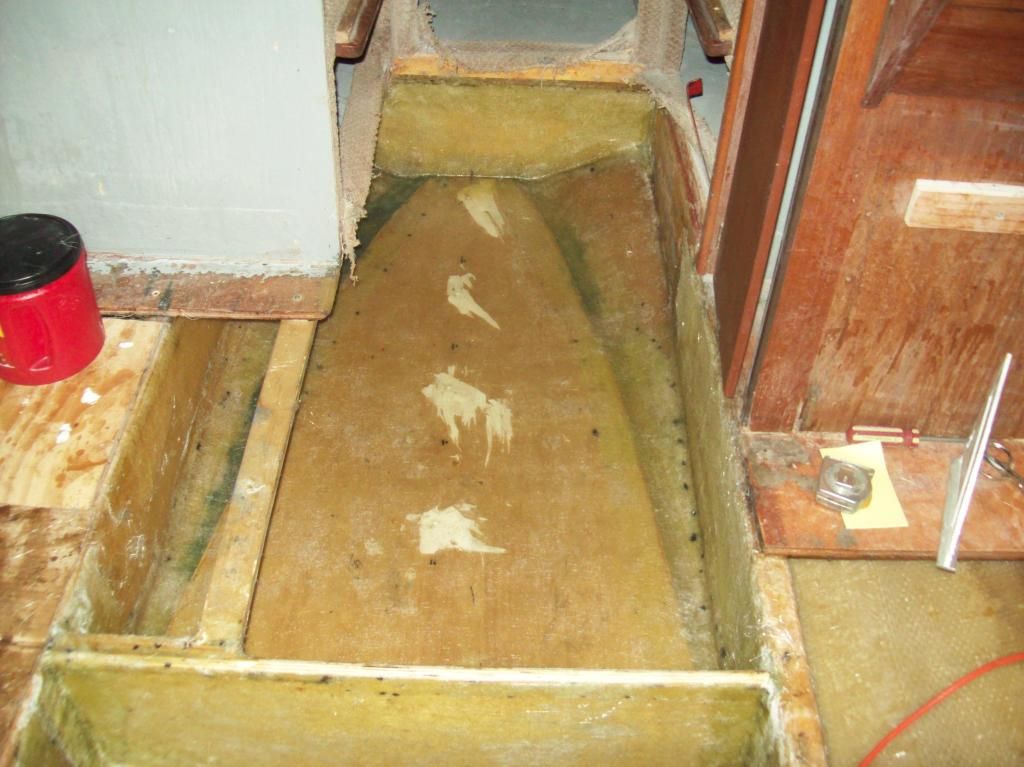
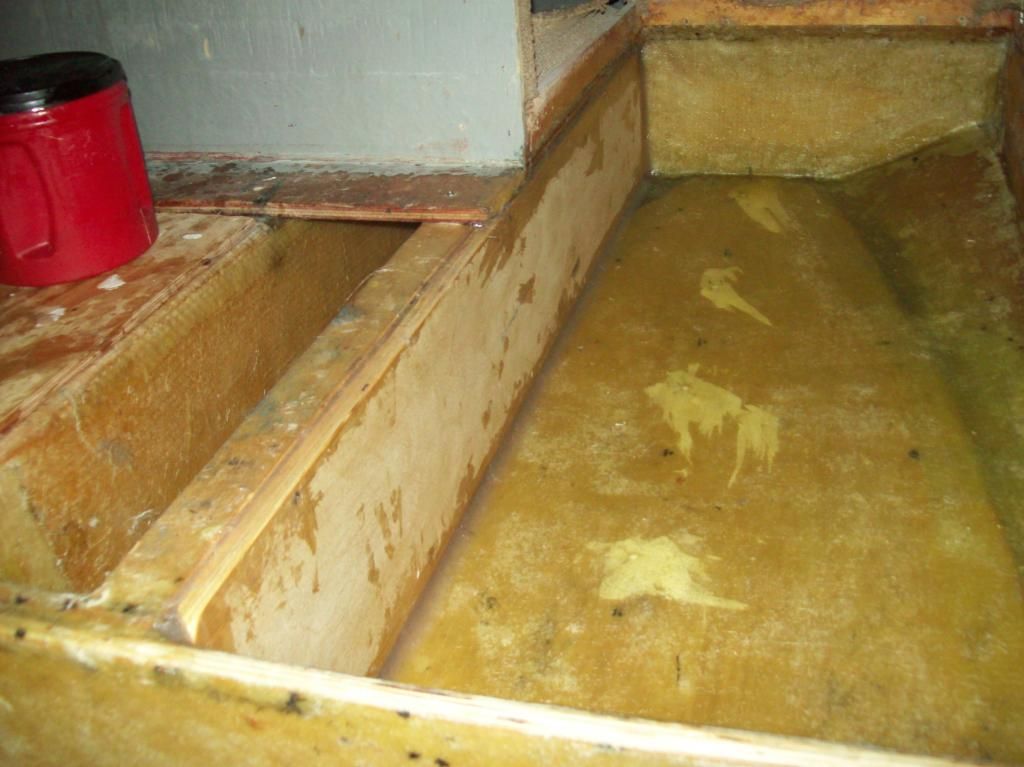
And here's where I decided to cut, after grinding

Starboard
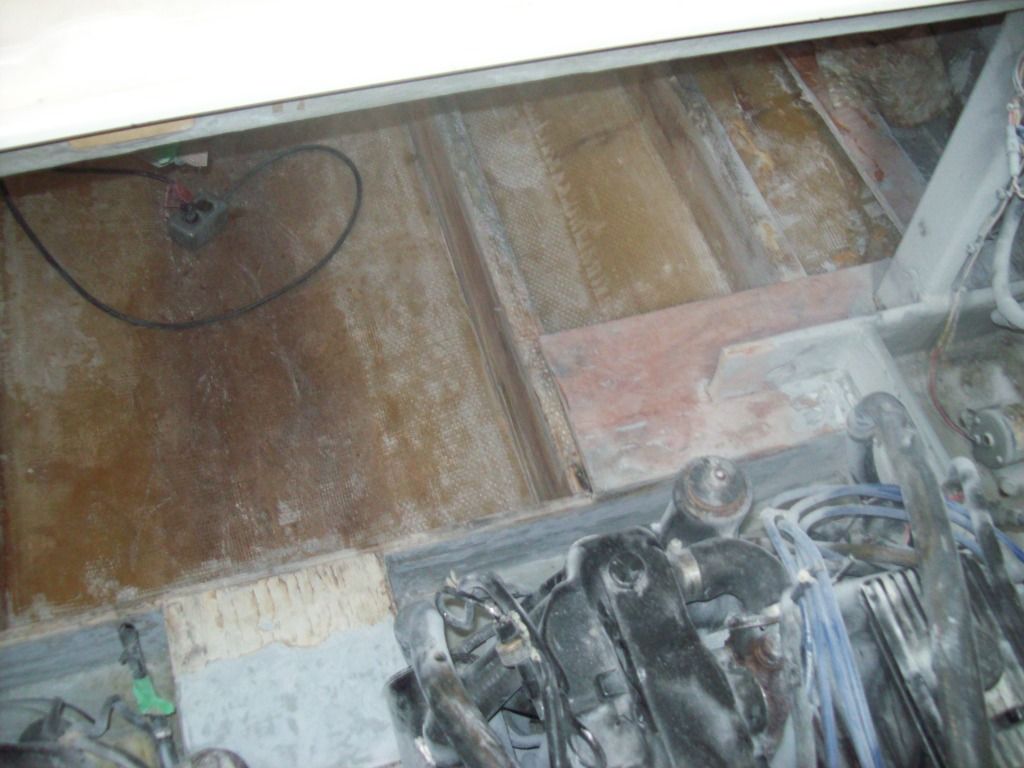


Port
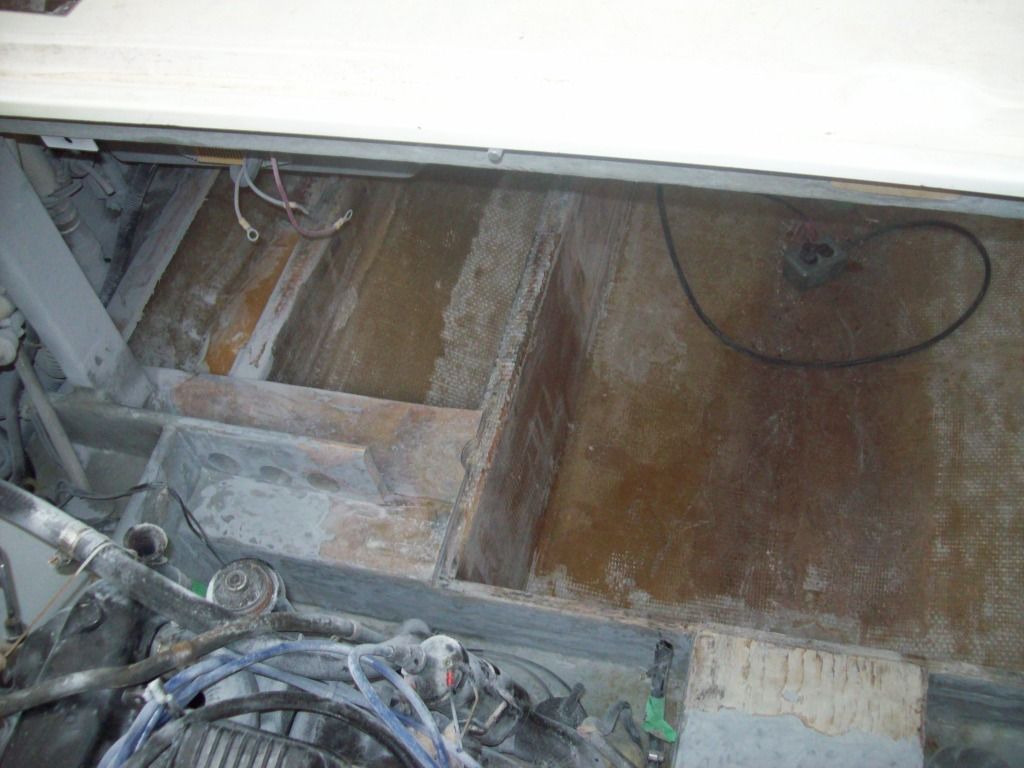


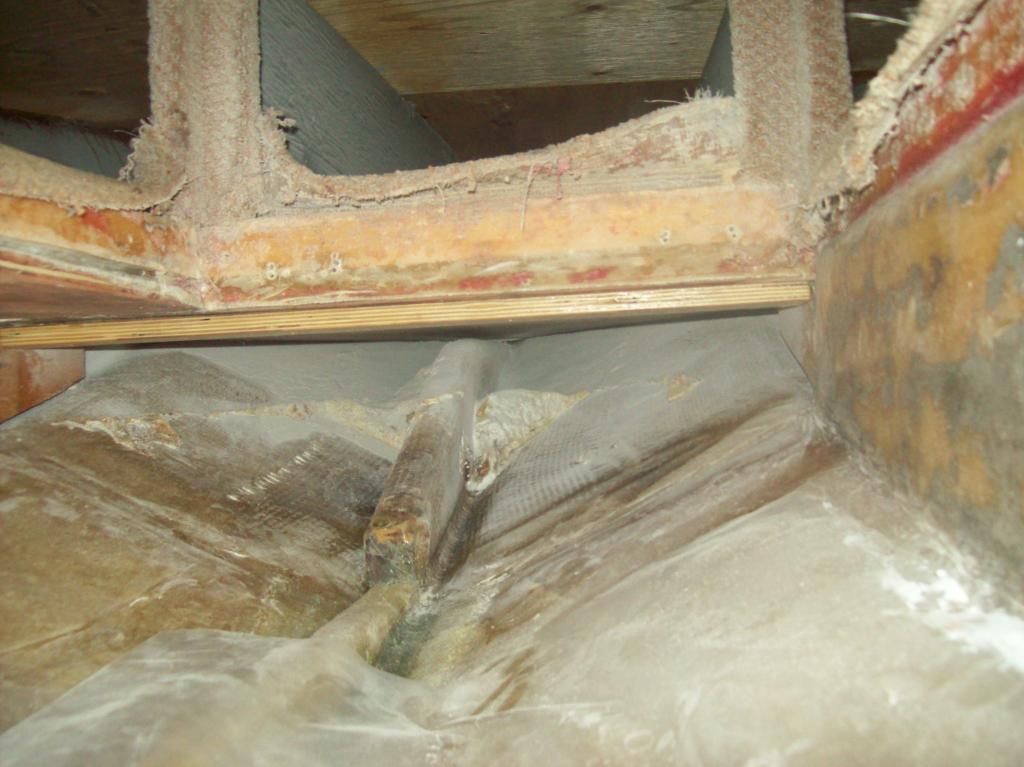
And now for something completely weird. I cut a bit more of the wall out between the salon and the engine area, up to the point where the hull meets the starboard side wall, and when I was grinding to clean things up, my boat started to cry hydraulic oil through the wood. :confused:
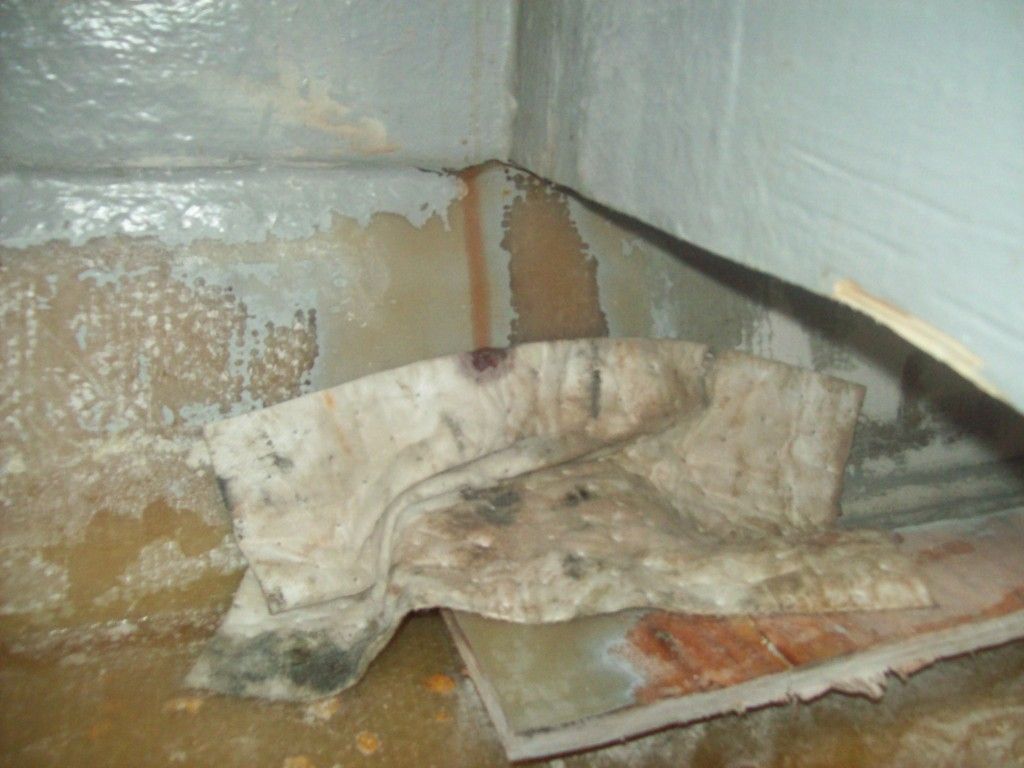


I can see oil laying in the bottom of the space between the inner wall and the hull side. The hydraulic steering lines had been changed from copper to regular flexible, rubber coated hydraulic lines at some point before I owned the boat. The old copper lines are still in the cavity behind the wall. I turned the wheel back and forth a couple times to see if I could find a leak, nothing. I wonder if the oil has been sitting in there ever since the lines where changed?? I intend to remove the old copper lines and secure the new lines a little better. It's be interesting to see if there is any oil left in the old lines. :noidea:
 

Mikeopsycho

Senior Chief Petty Officer
Joined
Feb 6, 2014
Messages
738
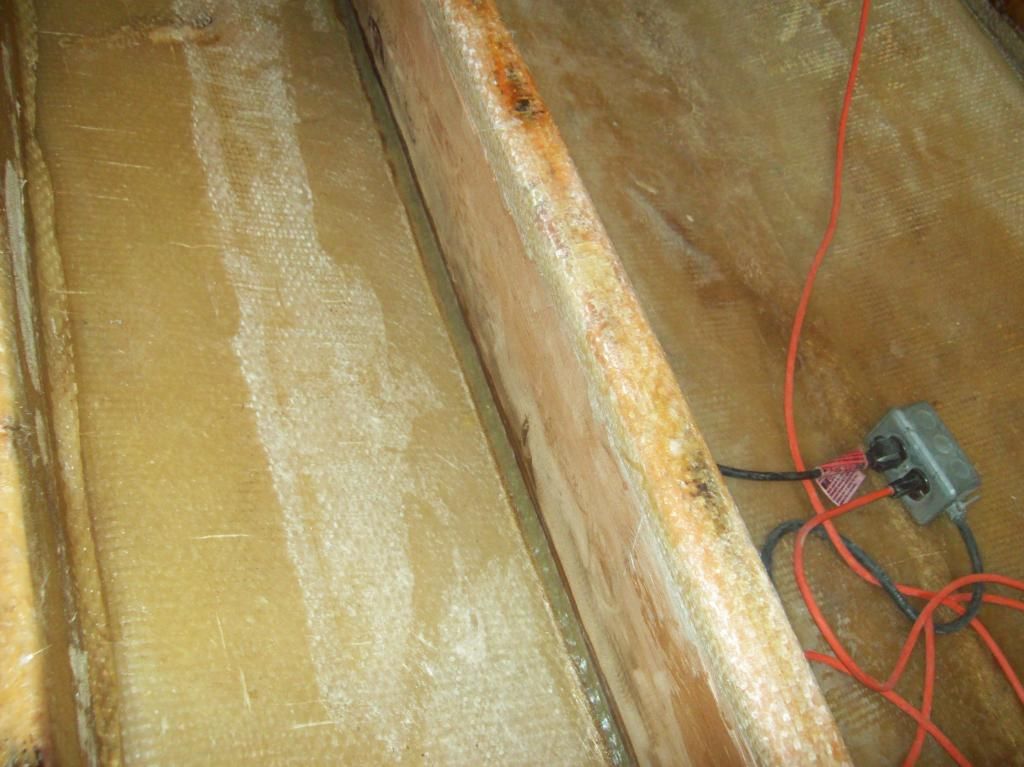
Over the last few days I vacuumed, over and over again. Then I swabbed everything down with acetone. I mixed up some thickened resin (peanut butter) and coved in where needed at the bottom of the stringers. I filled all my test holes in the stringers and bulkheads with BP too.


I also applied resin to the keel stringer piece and to a couple of cleats I'll be putting behind the forward bulkhead and side wall where I can't get behind to tab in.


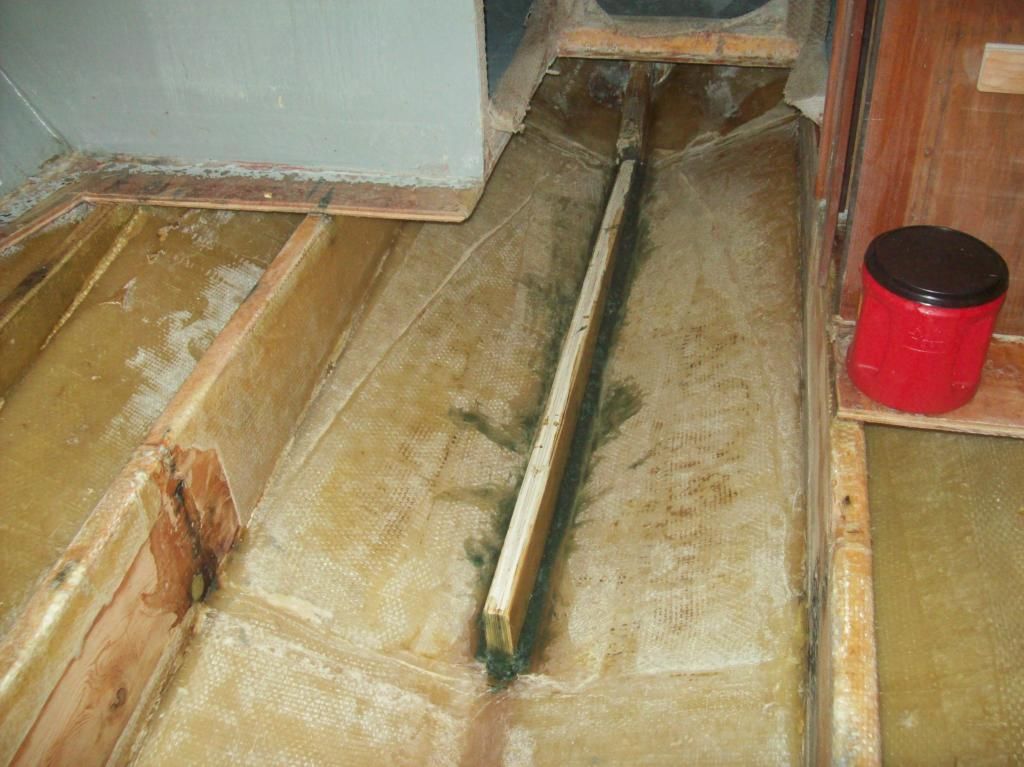
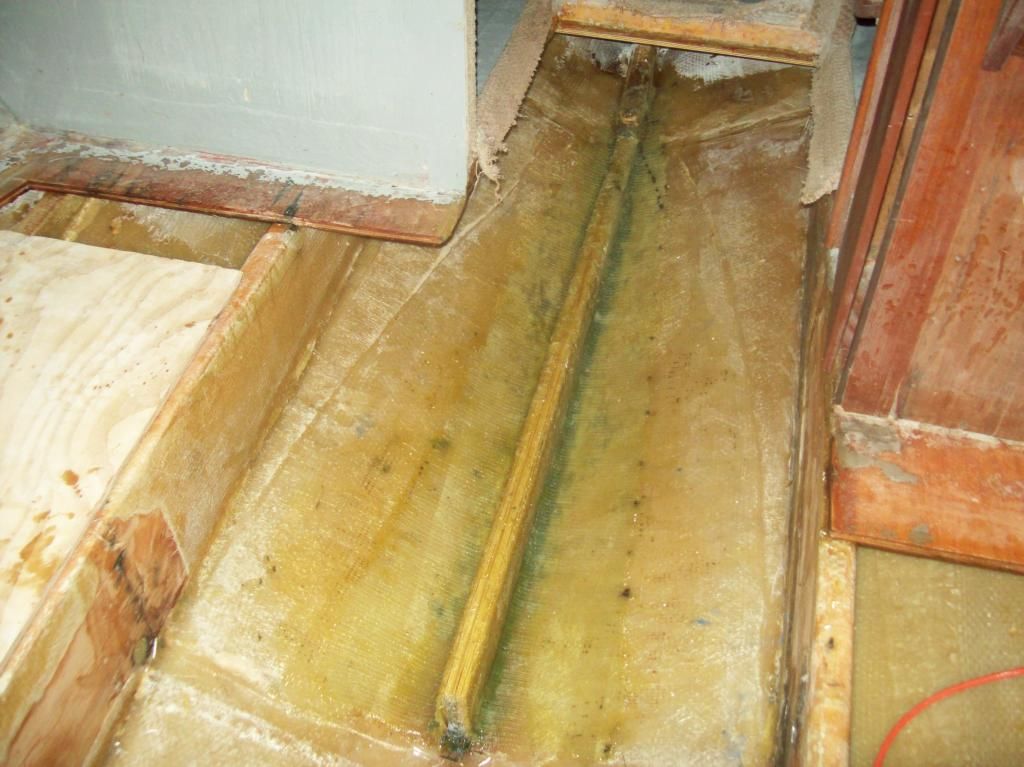
And I feel as though I've reached a milestone. :clap2: I'm actually putting things back into the boat! Here's a shot of the new keel stringer after bedding it in PB and coving the bottom edges to the hull.


I'll have to do a little grinding and more filling, but I'm on the way to getting her done.

All day today I could hear boats cruising in the bay and I'm thinking OMG, all the time I'm working and sweating and fixing my boat there're people out there cruising and swimming and having a couple cold ones and enjoying the beautiful weather out there, and I'm thinking.....the poor bastards! They don't know what they're missing! :lol:
 

Mikeopsycho

Senior Chief Petty Officer
Joined
Feb 6, 2014
Messages
738
I did some grinding to smooth out the PB, then vacuumed and swabbed with acetone yesterday. Today I touched up the PB a bit, then glassed in the forward keel stringer. This was my first attempt at this, and I only got one layer of 1708 tabbing done, which covered most of the side of the stringer, and a layer of CSM to cap the stringer. I had a second layer of 1708 pre cut but didn't mix enough resin. I'm going to need to get better organized before glassing the stringers and bulkheads, that's for sure. I'll add a second layer of later, although it is such a small stringer with no real weight to bear other than the V berth step down floor, maybe the one layer is enough.:noidea:
 

bigdirty

Senior Chief Petty Officer
Joined
Oct 4, 2013
Messages
652
My entire boat was done from the factory with one layer.. seriously. I would say for just that small step area you will be fine, if the rest is getting 2 layers... I doubled almost everything I did in mine, which originally lasted 20years so I figure it will possibly outlive me... and your boat looks better to begin with, even though its older.. I have found the mixing and laying out just takes a trial and error method of doing it, eventually you get a 'set up' that works for you and it goes quick. You just get to feeling like a 'pro' and suddenly you're done! :lol:

Oh, and when you are out there buzzing across the bay, at least you will KNOW you have a solid boat under you,and you can simply enjoy the ride 100% worry free. :) That's what I keep telling myself anyway :p...
 

Mikeopsycho

Senior Chief Petty Officer
Joined
Feb 6, 2014
Messages
738
I agree BD that the one layer would probably be fine, but I went ahead and mixed more resin and put on another layer just in case, seeing as how I had already cut the 1708 to fit. I tried to lay it over the top, but it wouldn't lay down, so I had to grind off the stiff upright bits after it hardened.


I also glassed the bottom of the floor board for this area, and the back of the front bulkhead, which I will not be able to get to after installation.


I used PL and stainless screws to attach a 3/4" X 2" resin treated plywood cleat under the V berth stowage compartment to screw the top of the bulkhead to.


Then I installed the bulkhead with PB and screws into the cleat and I coved the edges with PB.


Mikeopsycho

Senior Chief Petty Officer
Joined
Feb 6, 2014
Messages
738
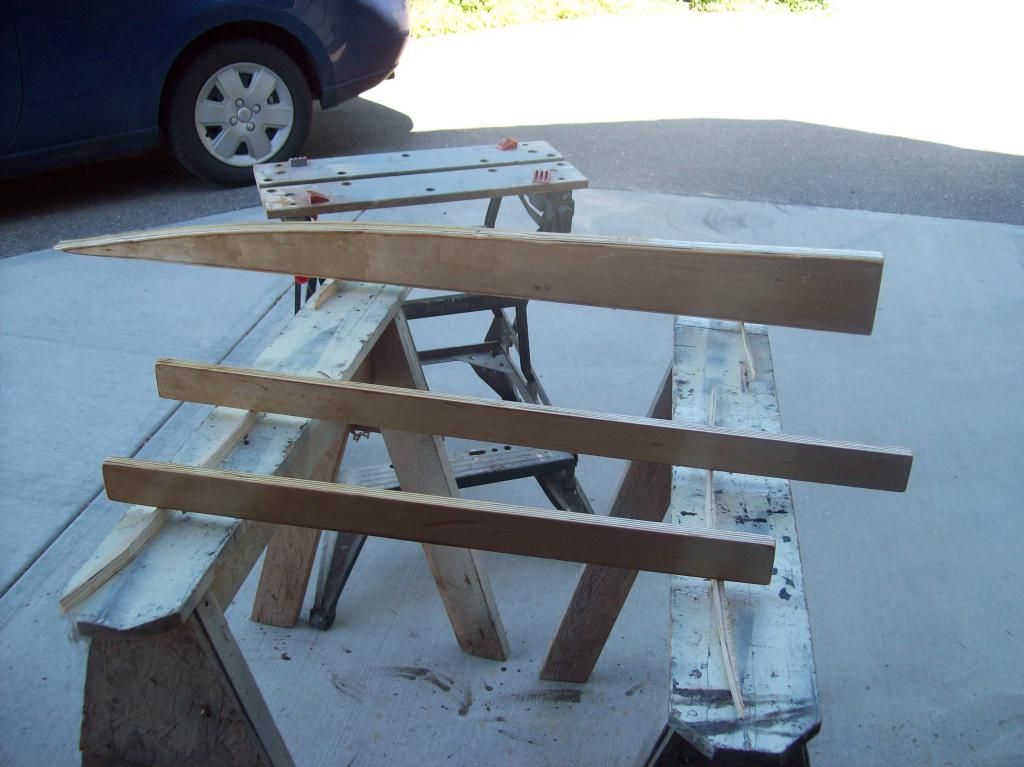
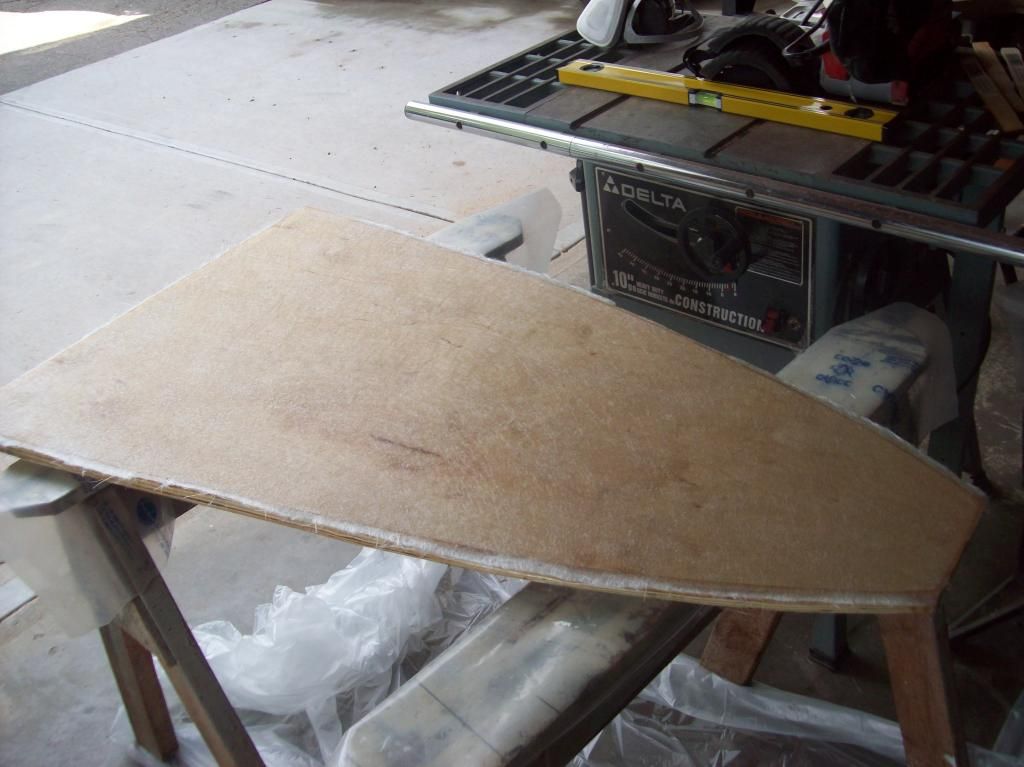
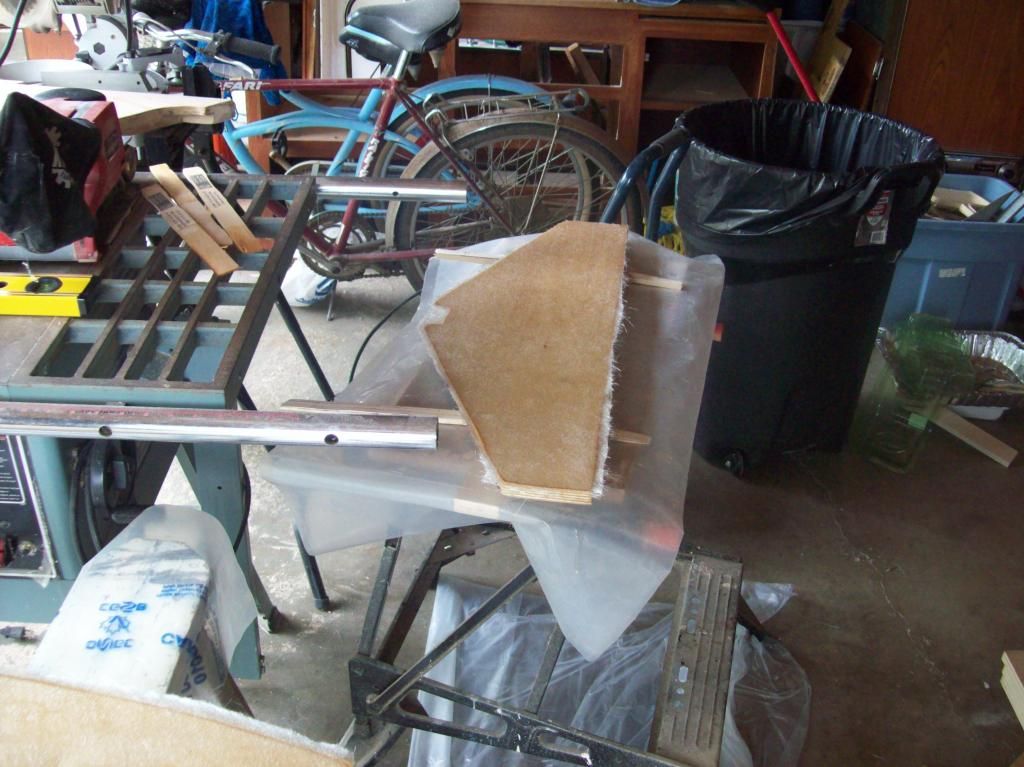
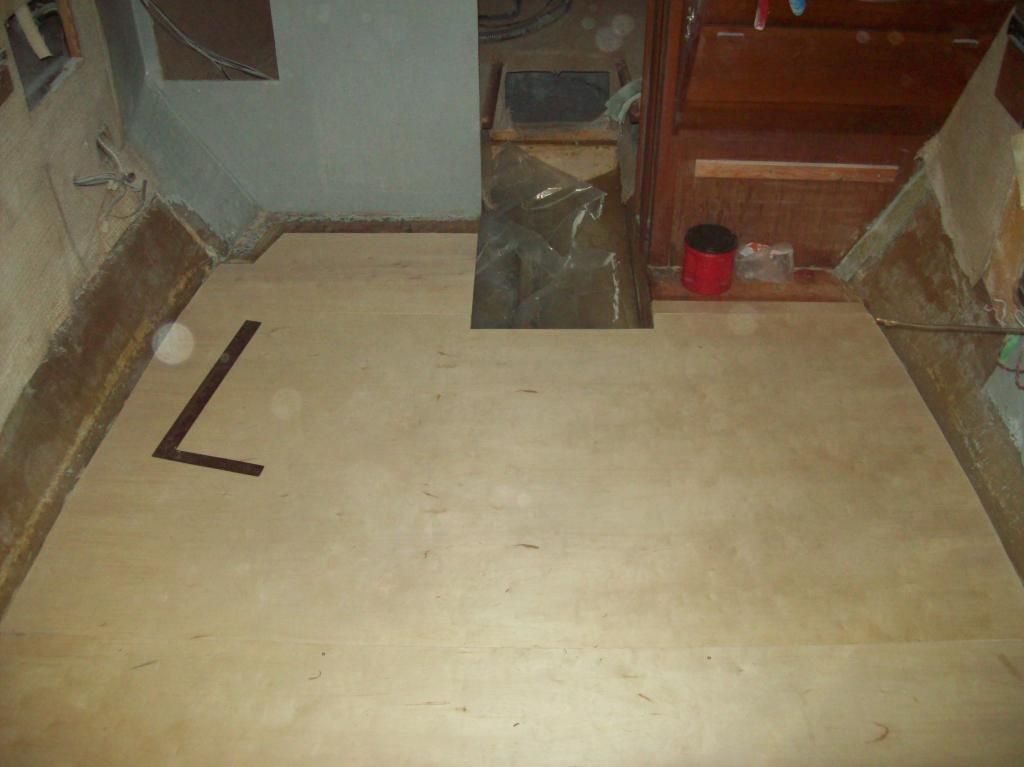
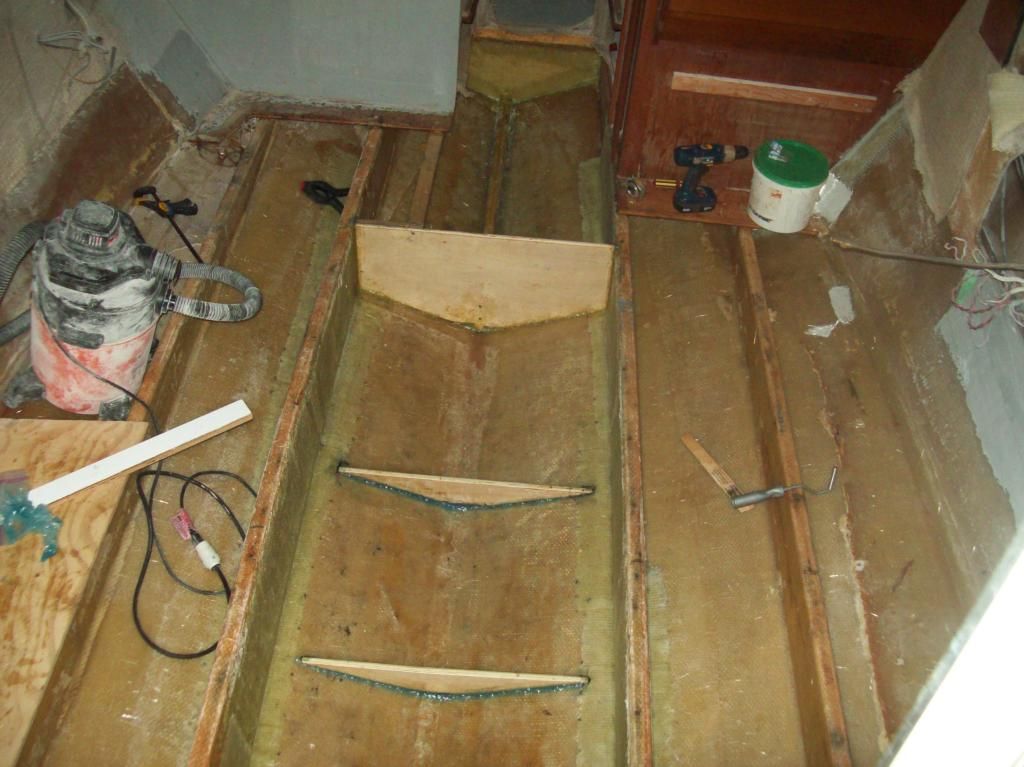
My brother in law and nephew came to visit for a few days and to help me with the boat. Even though I'm a long way from being ready for the floor to go back in, I decided to take advantage of their help and pre cut the floor boards. This turned out to be as difficult as I imagined. :upset: Lots of trial and error with both the templates and the actual plywood, but we finally got all the boards cut and dry fitted in nicely.


The two inside floor boards are almost full 4 x 8 sheets, there is no way I could've lifted the heavy plywood in and out of the boat by myself, so it was great I had some help! Now I'll be able to sand, clean, and glass the bottom so they'll be ready to install when the time comes. :joyous:

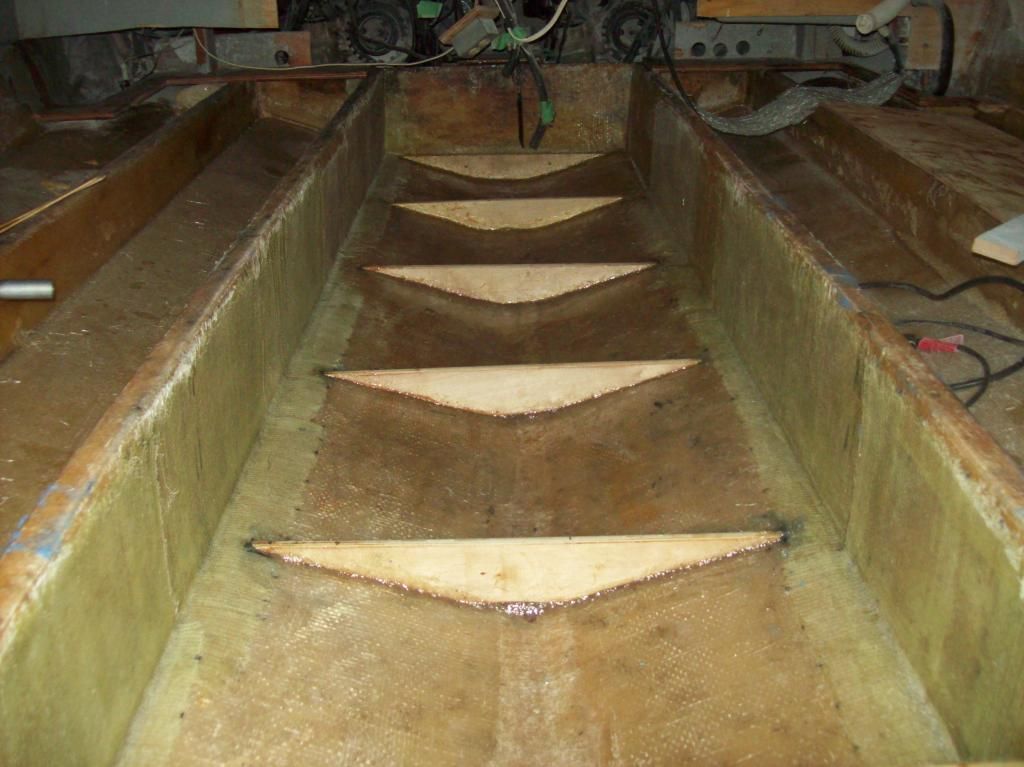
We also trimmed and sanded the new ribs for under the gas tank floor, and trimmed the new bulkhead for between the water and gas tank to size.

We had a bunch of houseguests and day guests for a couple days for the local Canada day celebrations on July 1st :canada: ,so we tipped a few cold ones and partook in the festivities. Great fireworks as usual!
 

Mikeopsycho

Senior Chief Petty Officer
Joined
Feb 6, 2014
Messages
738
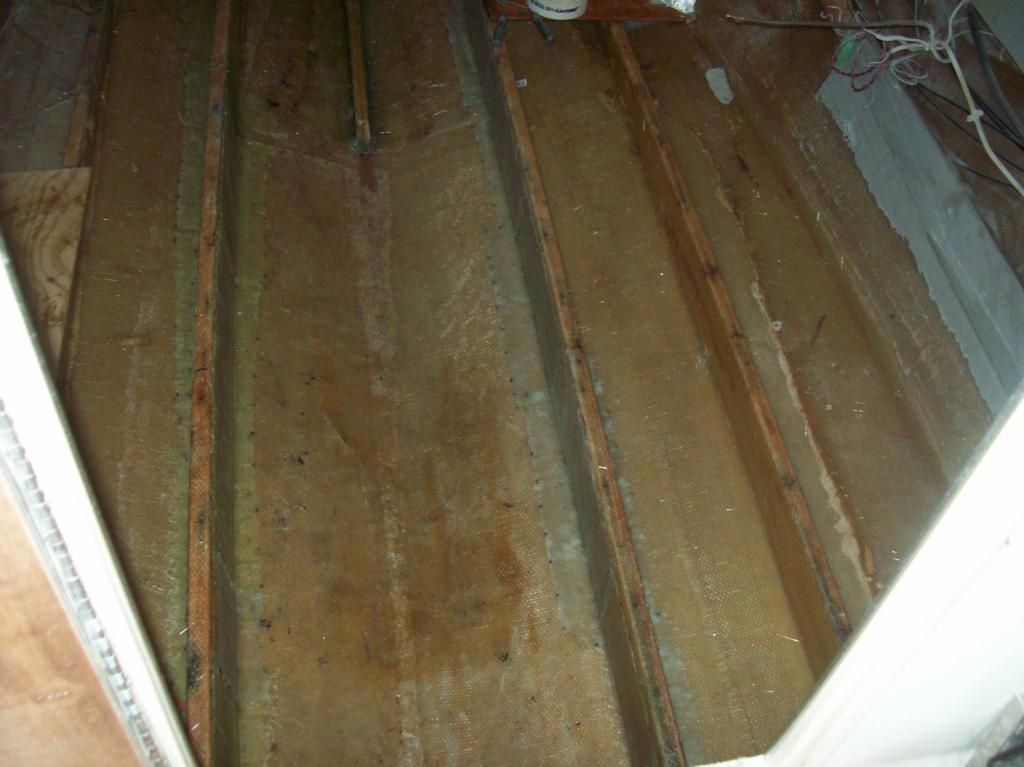
I spent a couple more hours grinding, then vacuumed and washed down with acetone. Then I cut all the 1708 for the stringers. I plan to glass the stringers today. Yikes. :sulkiness:
 

bigdirty

Senior Chief Petty Officer
Joined
Oct 4, 2013
Messages
652
I tried to post to your thread a couple days ago, but it didnt take.. :noidea:
Anywho, You're doin a fine job man, you'll be back together in no time, keep it up! :thumb:
 

Mikeopsycho

Senior Chief Petty Officer
Joined
Feb 6, 2014
Messages
738
Thanks bigdirty. I sure wish I could get things done as quickly as you did! You're boat looks awesome on the water!

I spent almost 5 hours re-glassing the stringers today, and I've got another few hours to go. I just started getting into a groove that was working well when I ran out of mixing containers. :blue: I got the port side completed and started on the starboard side with a layer of csm to fill wherever I cut out the old delaminated fiberglass, and 2 layers of 1708. Once I figured out to leave the wetted out 1708 for awhile before trying to apply it things started humming along.

Oh, and I got the forward bulkhead tabbed in with 1708. I took a couple pictures but left the camera in the boat. I'll post picks when I get the rest of the stringers done.

I've got a couple technique questions for you folks who have been through this;
Can you reuse a container that still has resin residue in it? If not, can you clean the used containers good enough reuse the next day?
Along the same lines, should you use a new roller tray with each resin batch?
Can you just soak your roller in acetone between batches and continue to use it till done for the day, or is it better to change out the roller each batch?
I'm asking because I went through 9 rollers, 9 trays, and 9 mixing containers today, and I wondered if I'm making more garbage than I should be making. :noidea:
Thanks in advance for any input. :wave:
 

Mikeopsycho

Senior Chief Petty Officer
Joined
Feb 6, 2014
Messages
738
Stringers are done! :joyous:


I ended up cleaning and reusing the some of the used containers, the ones I didn't break, and I kept the roller submerged in acetone between batches of resin, then squeezed it out and rolled the bulk of the acetone out on a piece of wood. I still used a new tray liner with each batch.
 

bigdirty

Senior Chief Petty Officer
Joined
Oct 4, 2013
Messages
652
Yup, I just washed my roller in acetone, and kept using it. Mixing tray, I used the same one for the whole process, but I was mixing batches one after another.. After a session, i just washed and rinsed it out with acetone and continued using it the next day/session. I bought a glass measuring cup for the resin, and rinsed with acetone as well.
 

Mikeopsycho

Senior Chief Petty Officer
Joined
Feb 6, 2014
Messages
738
Over the last couple of days I dry fit and trimmed as required the step down bulkhead, V berth floor, mid ship bulkhead, and the tank floor ribs. I sanded everything and washed down with acetone. I took the grinder to the few areas of porcupine quills at the top of the stringers so I'd quit poking myself on them, then vacuumed and acetone washed everything again.

I put several coats of thinned resin on the edges of the V berth floor, bulkheads, and ribs. Then I bedded and coved in the step down bulkhead and ribs with PB. I was going to screw down and PB the V berth floor in today, but when I checked on yesterdays work I realised that I had forgotten to add the hardener to my last batch of thickened resin, so the last three ribs had to be redone. :doh: I pulled them out, scraped up the gooey mess, and washed everything down with acetone again. Mixed up a fresh batch of peanut butter and reinstalled them. They were perfect the first time, but I managed to get one a little askew today, maybe lined it up on the wrong side of my marks. :censored: Oh well, it'll still work fine and will never be seen again.


I heard from the tank builder, he'll get my tanks done this week.:tickled_pink:

I have the piece of 3/4" plywood for the gas tank floor cut and sanded, but I can't install it yet. I need the water tank in order to line up where to drill through the ribs into the bilge area for a drain line.
 

bigdirty

Senior Chief Petty Officer
Joined
Oct 4, 2013
Messages
652
... They were perfect the first time, but I managed to get one a little askew today, maybe lined it up on the wrong side of my marks. :censored: Oh well, it'll still work fine and will never be seen again.

Ya man, dont sweat it :lol: I managed to glass my entire main bulkhead/wall in and goof up by A WHOLE INCH! from side to side... made the aft cabin shelf's a bit tricky to cut and fit.. :facepalm: and really made me mad, cause my initial dry fit I measured and it was perfect.. (I'm a machinist by trade too, so 1" over 8 feet is a huge deal to me) but in the end, its a boat... and hardly noticeable.. :rolleyes:
 

Mikeopsycho

Senior Chief Petty Officer
Joined
Feb 6, 2014
Messages
738
Ya man, dont sweat it :lol: I managed to glass my entire main bulkhead/wall in and goof up by A WHOLE INCH! from side to side... made the aft cabin shelf's a bit tricky to cut and fit.. :facepalm: and really made me mad, cause my initial dry fit I measured and it was perfect.. (I'm a machinist by trade too, so 1" over 8 feet is a huge deal to me) but in the end, its a boat... and hardly noticeable.. :rolleyes:

I hear ya BD, we're not building rockets here (luckily)

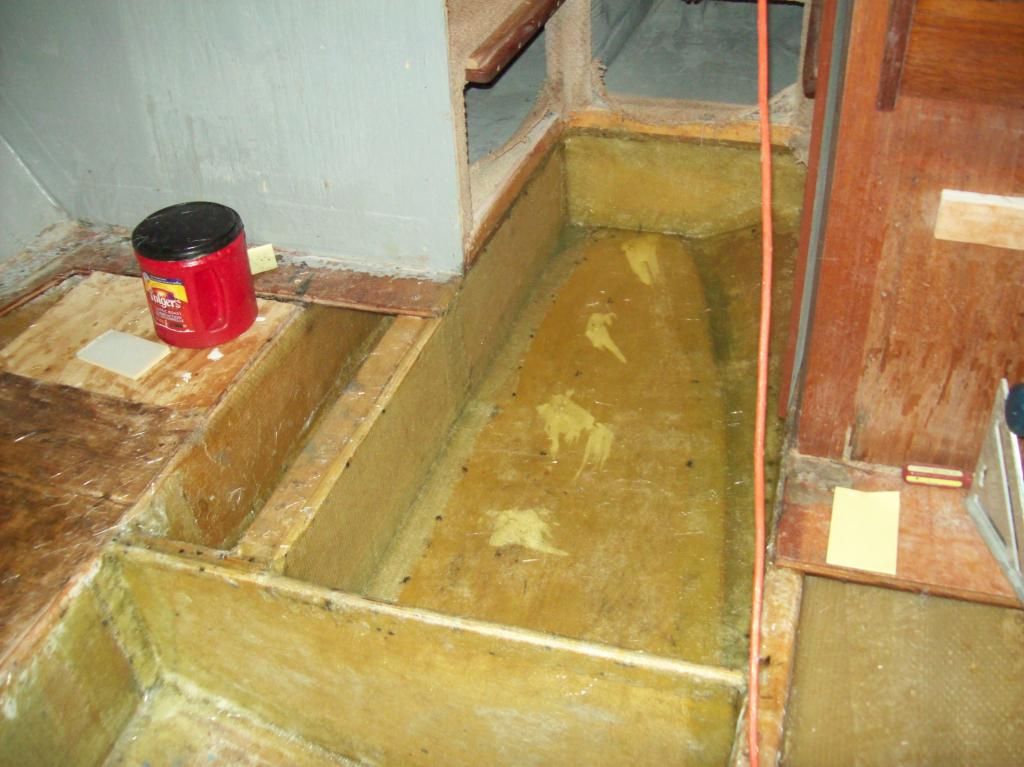
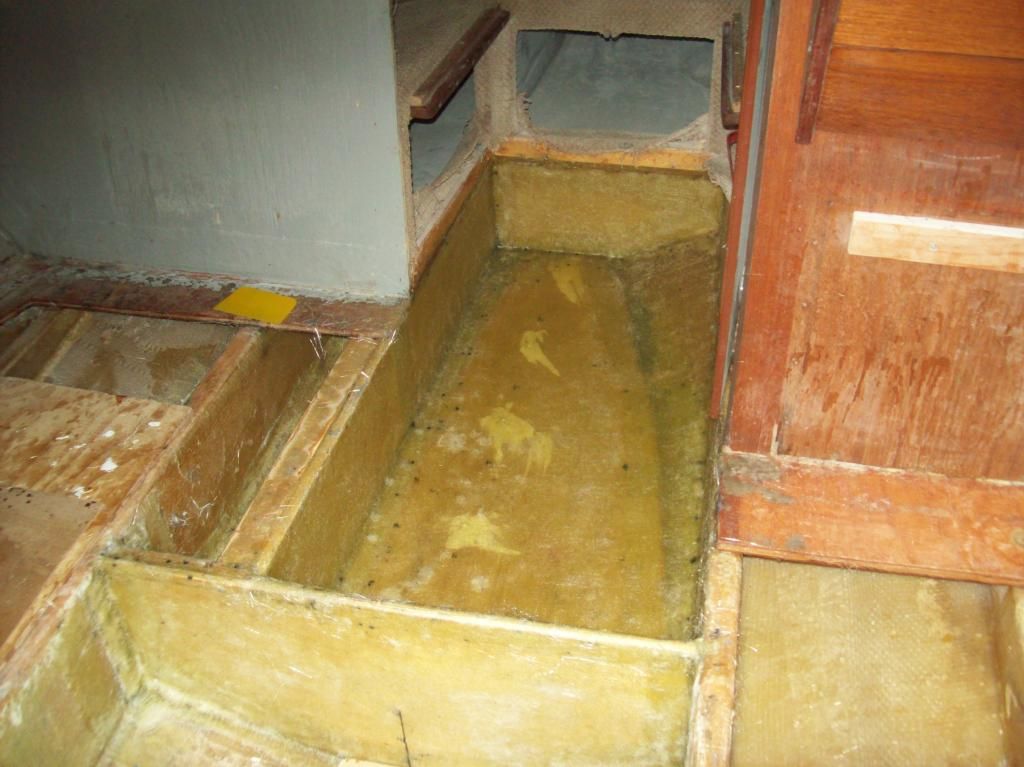
I got the step down bulkhead tabbed in and glassed. Then I marked the edges of where the V berth floor goes and ran a heavy bead of thickened resin (PB) and placed the floor in position. I screwed it down to the keel stringer with stainless steel screws coated in 5200 through pre drilled holes, then filleted the edges for a nice smooth fit to the hull, then I tabbed it with 1708 and glassed with two layers of csm.

Here's the floor all ready to go,


PB'ed in, the white is the mess I made trying to wipe up the excess 3m 5200,


Tabbed,


Mikeopsycho

Senior Chief Petty Officer
Joined
Feb 6, 2014
Messages
738
And glassed with two layers of csm,


I still need to install the kick wall on the port side to more or less complete this section of the repairs.
 

Mikeopsycho

Senior Chief Petty Officer
Joined
Feb 6, 2014
Messages
738
The kick wall is in and PB'd,


Kick wall and bulkheads glassed in with 1708,


Then I put a layer of CSM over the whole thing, sides and floor to smooth things out,


Now the floor has three layers of csm.

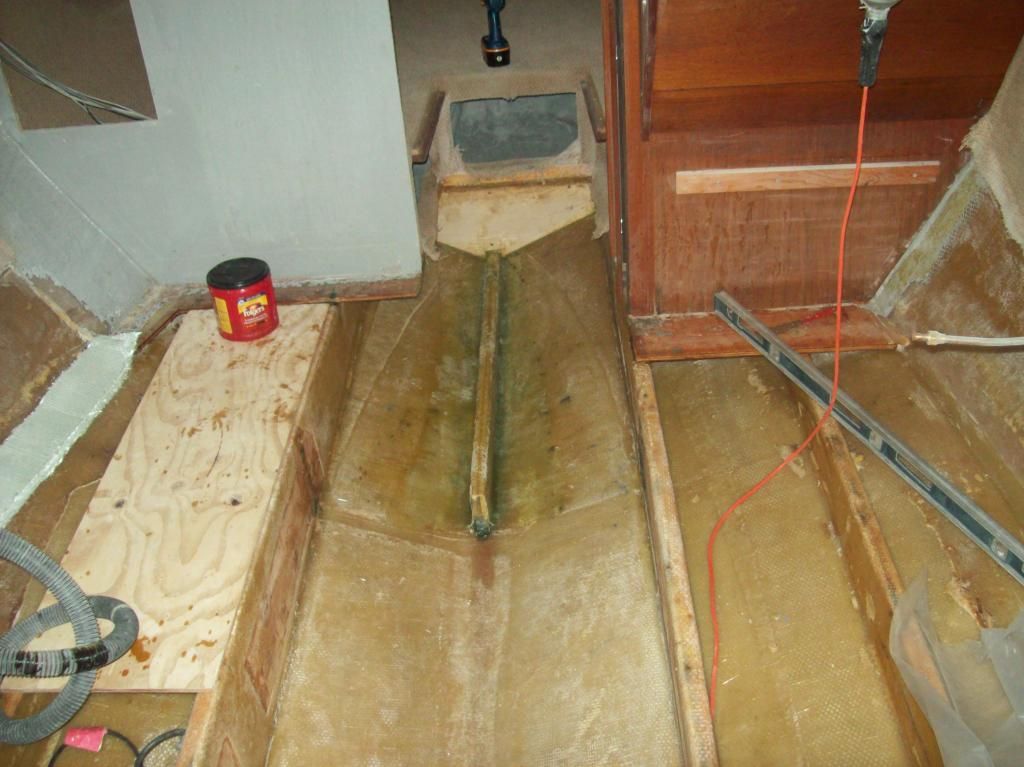
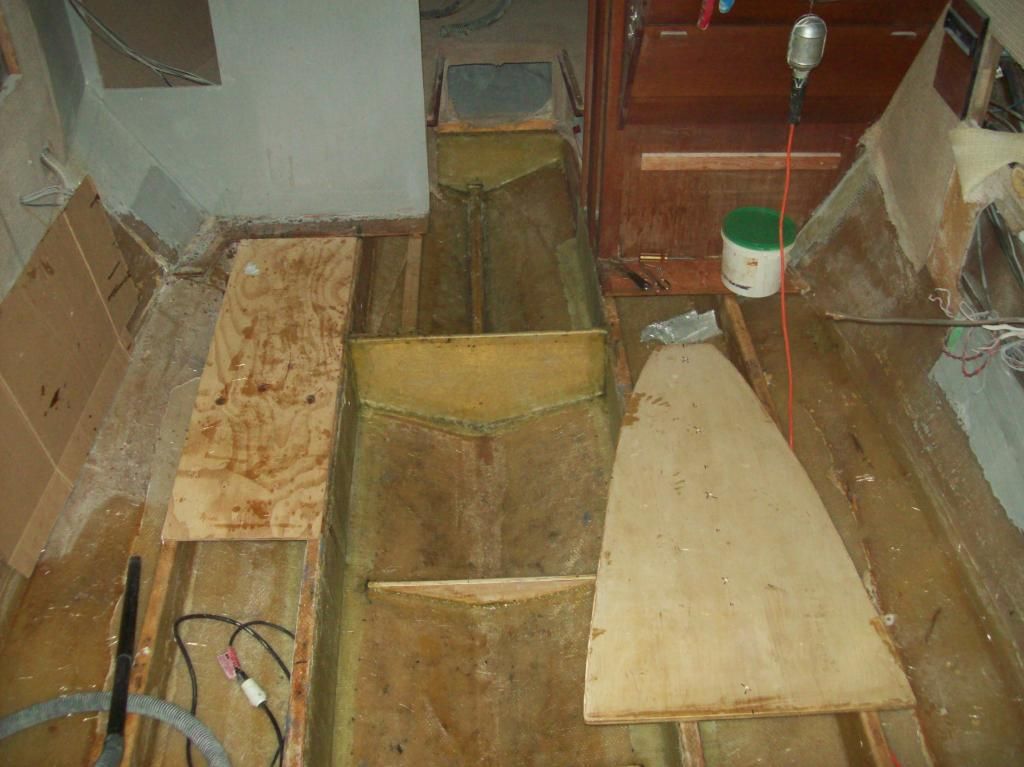
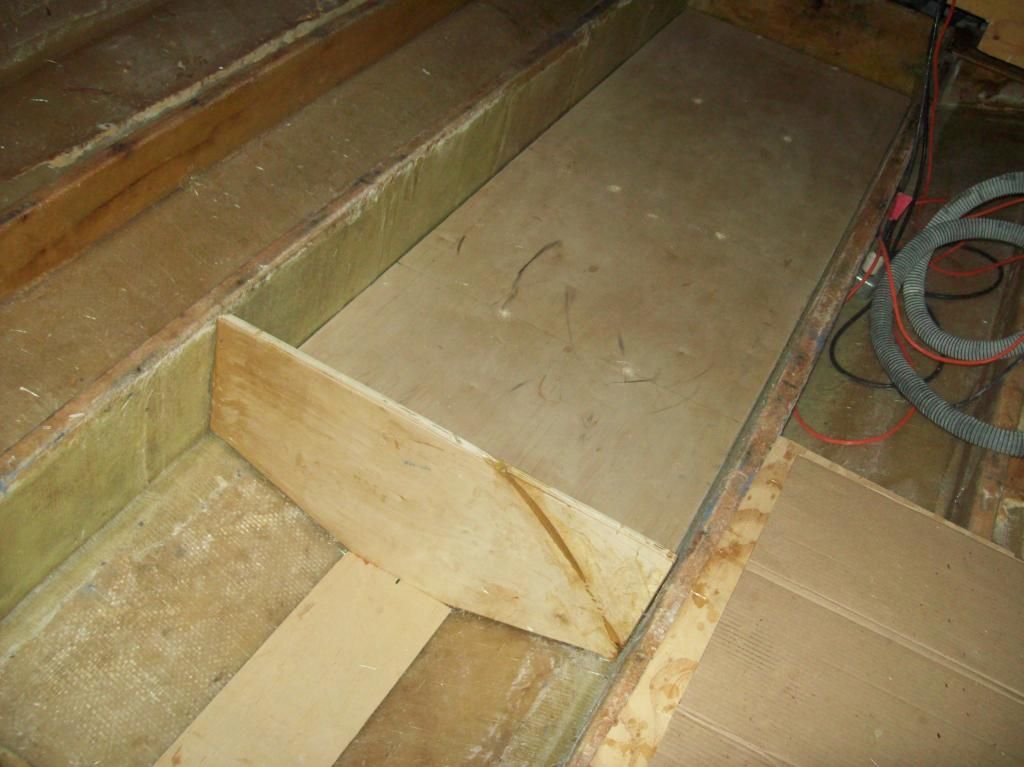
This shot is from the V berth area facing aft, dry fitting and trimming the plywood for the water tank space and the gas tank floor,


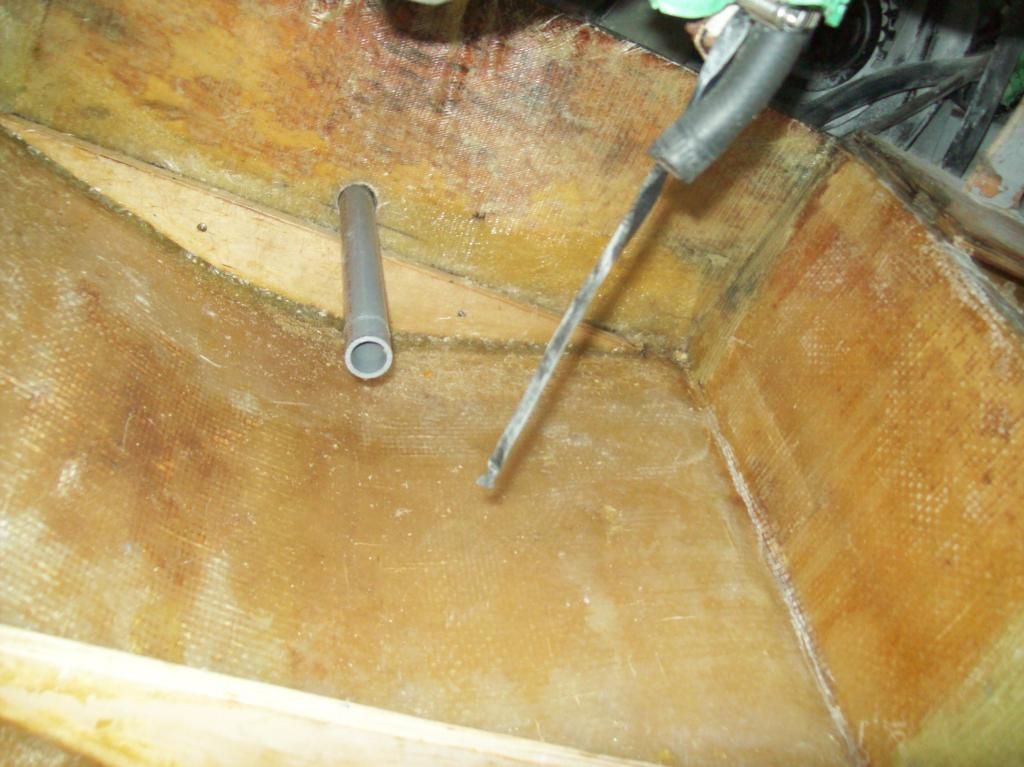
And I augured a 1 1/2" hole to install a 1" piece of PVC conduit for drainage of the gas tank space,


Not sure if I'll seal the conduit in , PB, PL, 5200, or what......
 

bigdirty

Senior Chief Petty Officer
Joined
Oct 4, 2013
Messages
652
Lookin good man! :thumb: I'd probly go with the 5200, as it looks like all the glassing is done there.. rather than have to make a mess grinding a bit, mixing more resin, ect.. the 5200 is good for below waterline, so I'd think it will seal that conduit up just fine where you've got it, maybe rough up the outer diameter of the conduit slightly to give the 5200 something to bite to a bit.. :)
 

Mikeopsycho

Senior Chief Petty Officer
Joined
Feb 6, 2014
Messages
738
Thanks big dirty. Actually, I do have more glassing to do there. The rib is only PB'd in and filleted so far, and the 3/4" plywood floor will be set on top and tabbed in. Hmmmmm, you think I should 5200 it in place then cover with fiberglass when I complete this area, or would the glass or PB adhere to 5200? The conduit runs through about a 10" inaccessible space then goes though another piece of plywood and exits into a bilge area. I think I'll use 5200 at the bilge side of the second plywood piece so I don't have to mess with the gellcoat, and I'll use your suggestion and rough up the conduit a bit first.

I'm also thinking I may have made too small a hole. It's not a snug fit, but I'm not sure I can squeeze much of anything between the conduit and the of the edge of the hole. Could I get away with painting the edges of the holes with 5 minute epoxy and then filleting around the conduit to achieve a seal, or would I be better off drilling a bit bigger and filling the space with the 5200 or PB?

I've also got to drill two more sets of holes through to the bilge, one to drain the water tank compartment, and one that'll contain 1/2" PEX that'll serve as a drain line from the water tank itself. These conduits will run through the five ribs under the gas tank floor, which is why I haven't finished glassing these ribs yet, they are only filleted with thickened resin so far. I'm going to use schedule 40 conduit for these two runs, the sched 80 is too stiff to bend and feed into the holes.
 

Mikeopsycho

Senior Chief Petty Officer
Joined
Feb 6, 2014
Messages
738
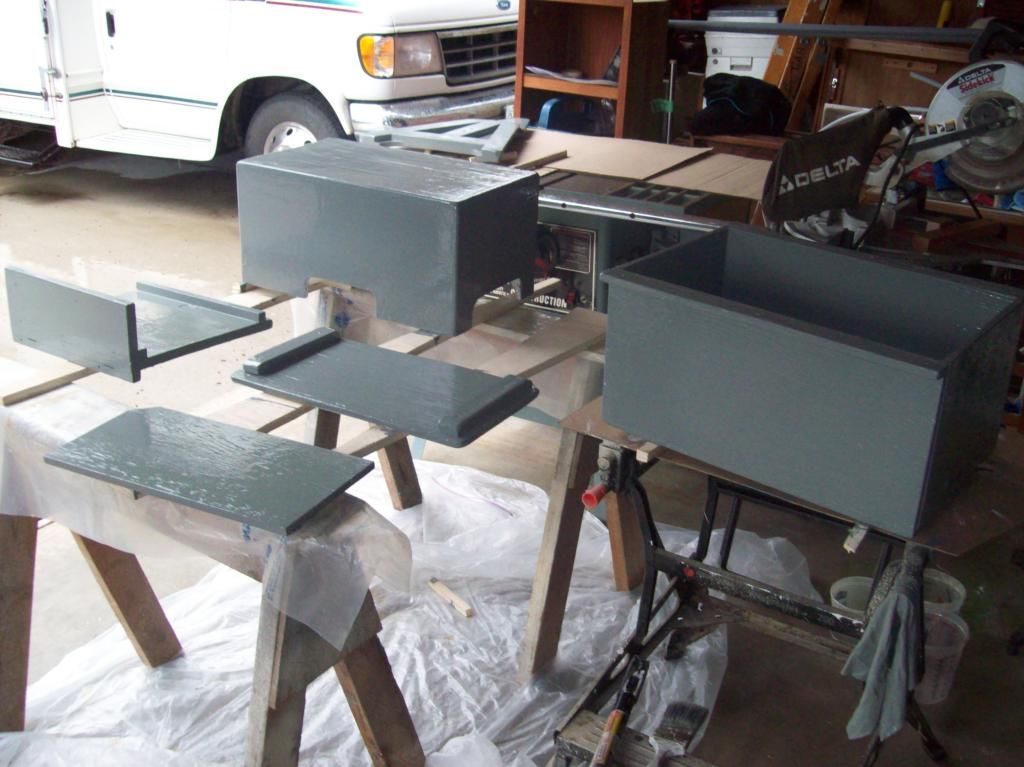
I haven't been able to work on the boat for awhile. Got back to it yesterday. I sanded and wood filled various wooden parts, the battery box, trash can compartment, bilge area stowage box lid and shelf, and water heater support, to prep them for re-painting. I'll finish sanding and get a primer coat on today.

The fabrication shop is finally working on my tanks.:) I'll have them next week.:clap2: Yeah!
 

Mikeopsycho

Senior Chief Petty Officer
Joined
Feb 6, 2014
Messages
738
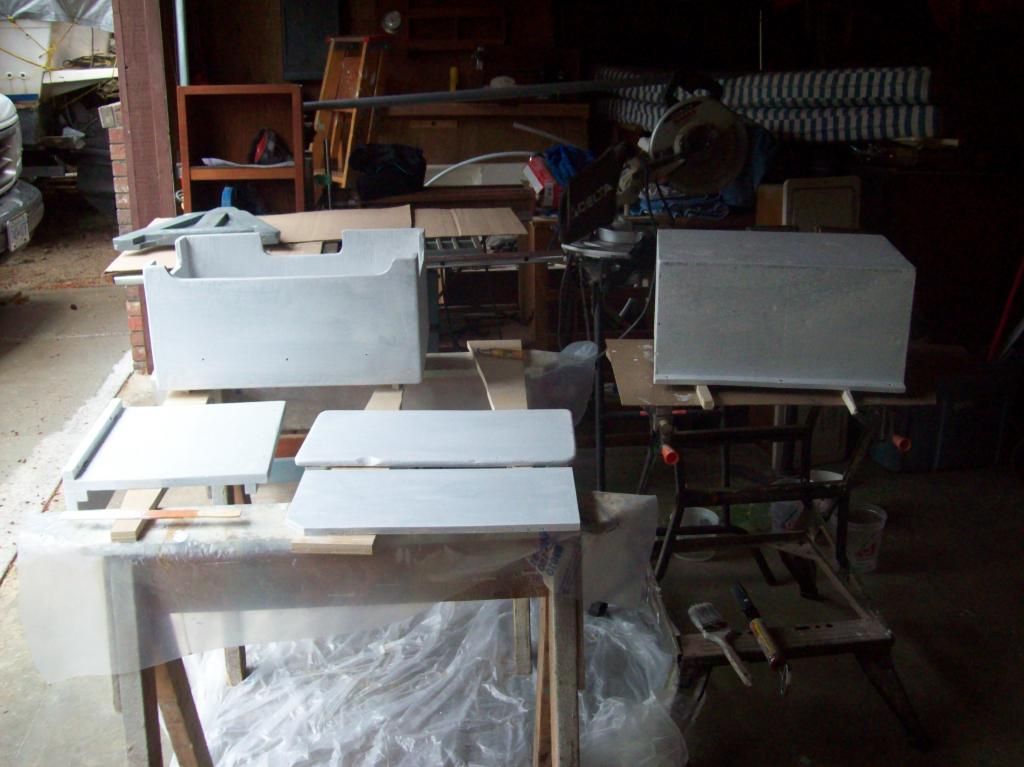
Got the bits and pieces primed,


And one side painted the first coat of marine enamel,


I'll flip them over and paint the other side 1st coat today.

Yesterday I bought a 10 gallon kit of pour in foam. I need enough to fill 26 cubic ft, the 10 gallons are enough to fill 36 cu ft, (theoretically) but it worked out cheaper to get the larger quantity rather than 4 smaller kits. The supplier is a long ways away, so in order to save on the $80 shipping costs I got my brother in law to pick it up and I'll get it from him when he makes a trip inland in a week or so.

I just heard from the fab shop. My water tank is ready, pressure tested and ready to go! :whoo:I'll pick it up today. I'll be able to get a lot done with the water tank here. The gas tank will be done next week.
 
Top