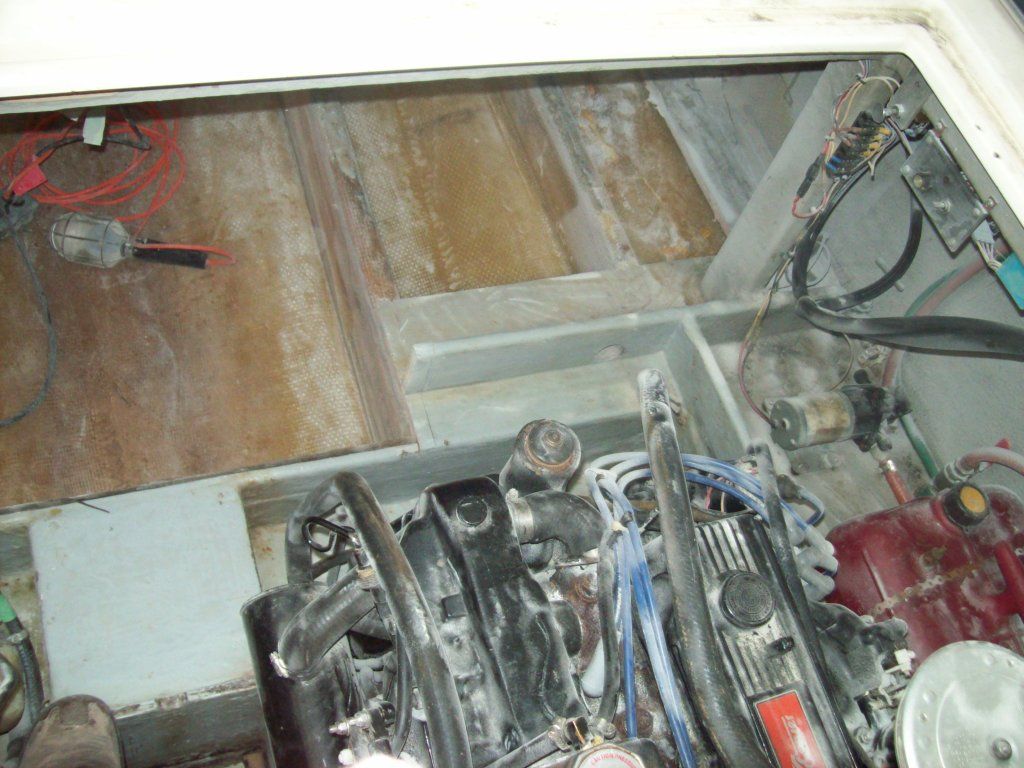
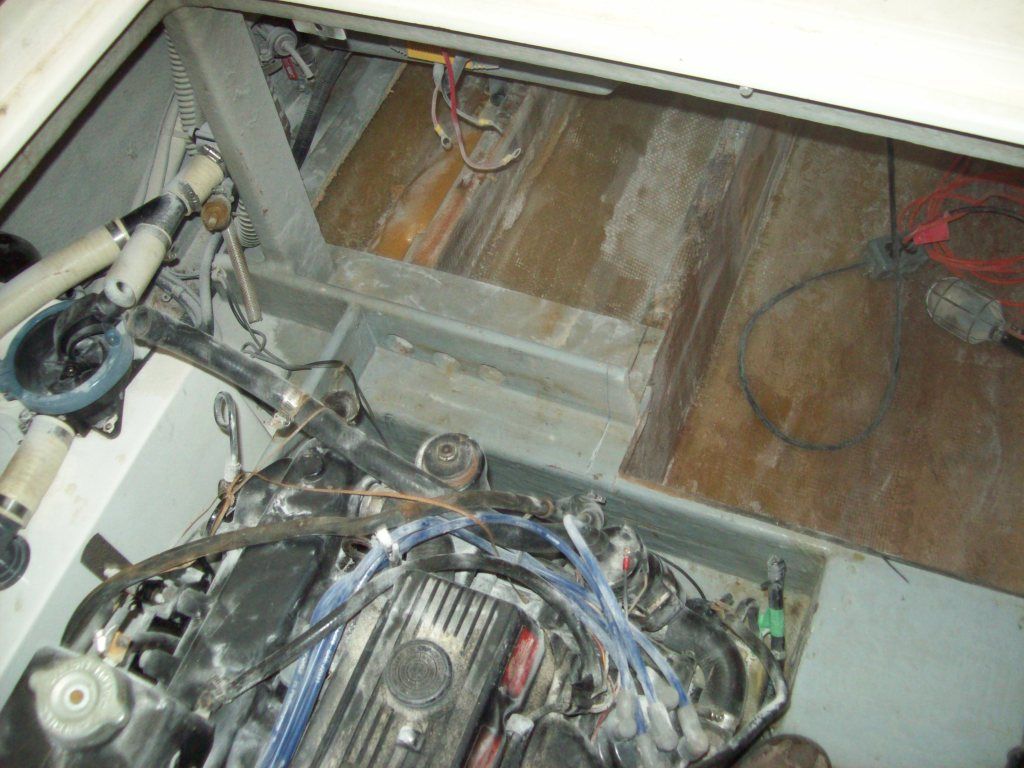
1979 26' Commander gas & H2O tank replacement & ?

Mikeopsycho

Senior Chief Petty Officer
Joined
Feb 6, 2014
Messages
738
Re: 1979 26' Commander gas & H2O tank replacement & ?

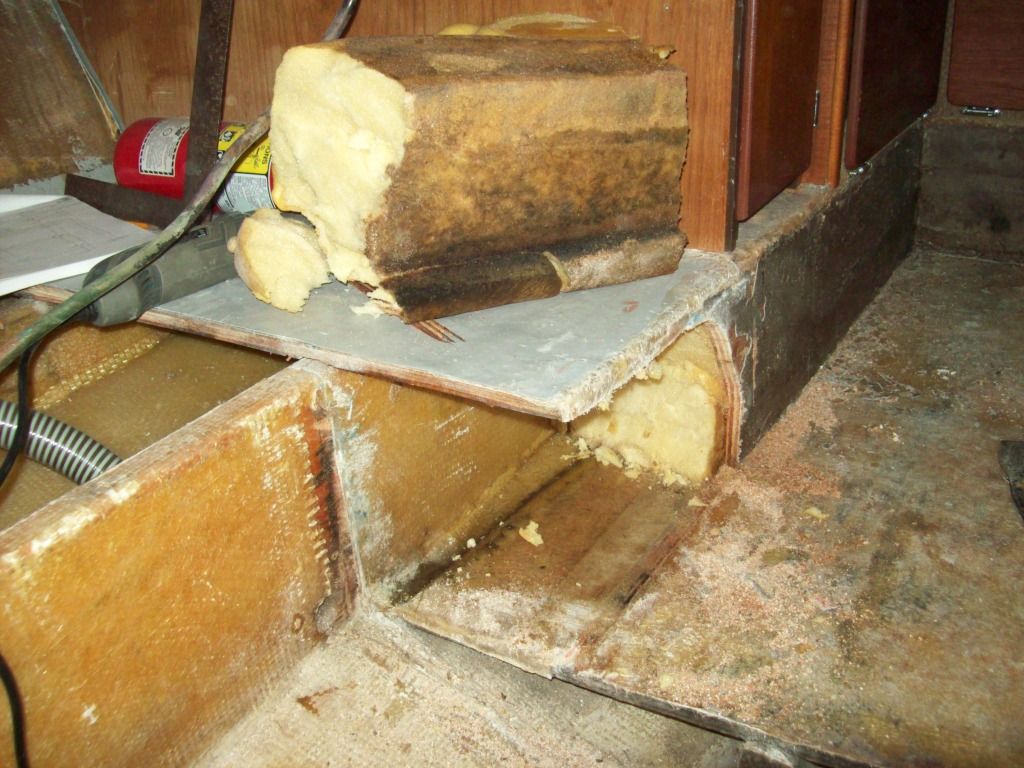
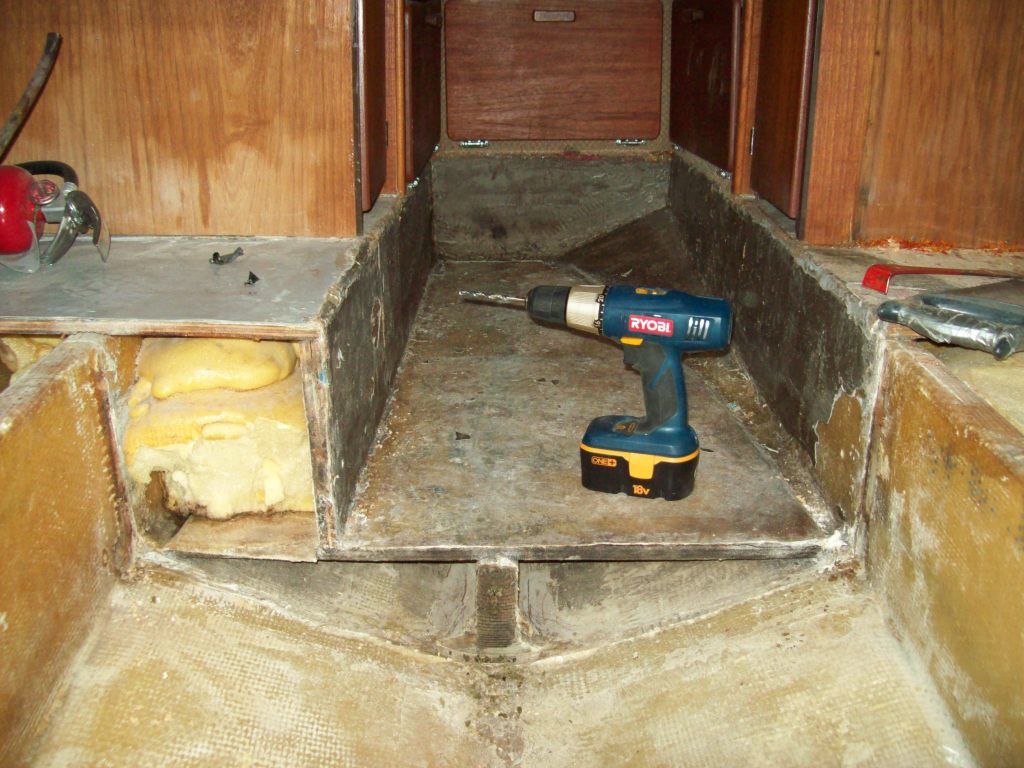
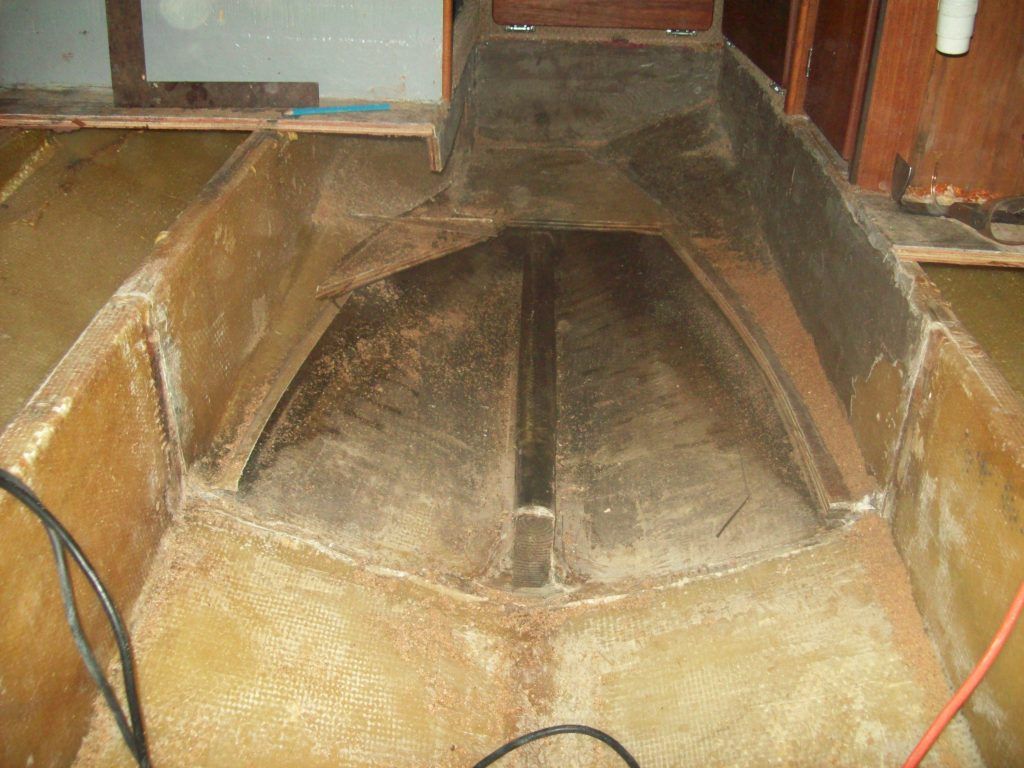
Here's the gas tank space with the stinky foam removed


If anyone has any ideas how to get the gas smell out of the fiberglass on the bottom of the hull please let me know. I'm going to have to scrub it with something, but I don't know what. Thoughts?

I've got some black spots on the back bulkhead I'll have to figure out what I want to do about. I think I'll have to cut out a bit more floor and this bulkhead. I wonder if I could just replace the piece behind the tank, or should the whole bulkhead be replaced?

[URL=http://s994.photobucket.com/user/Mikopsycho/media/OWNER-MSI/New%20folder/018_zps8aa97fdd.jpg.html]
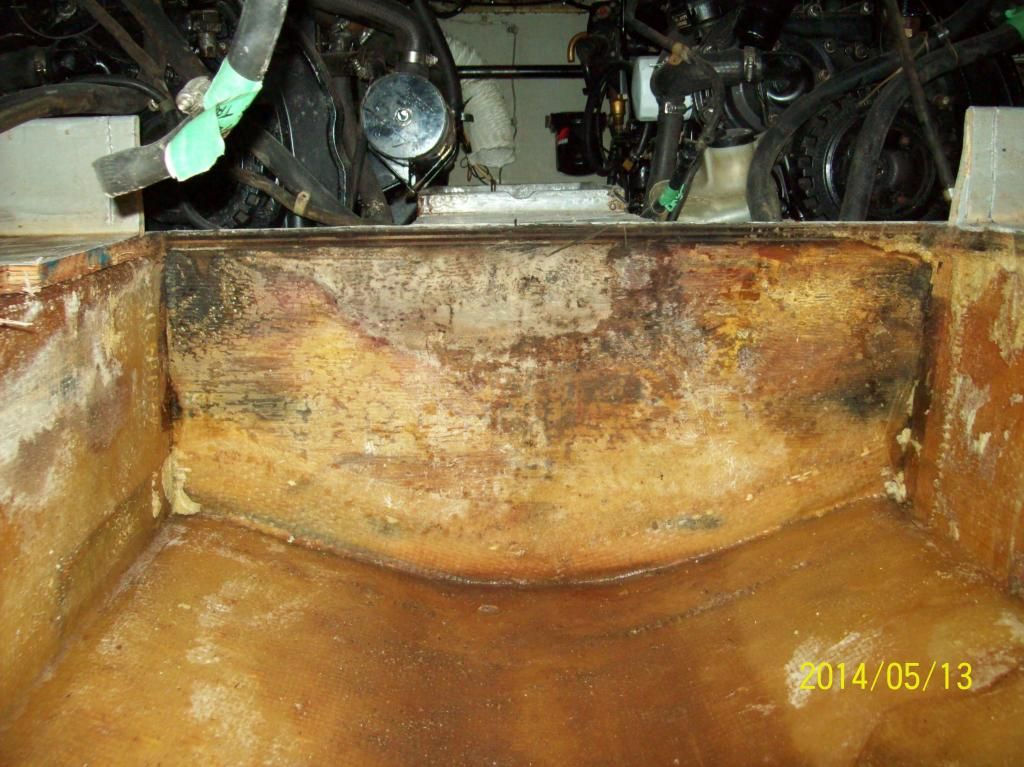

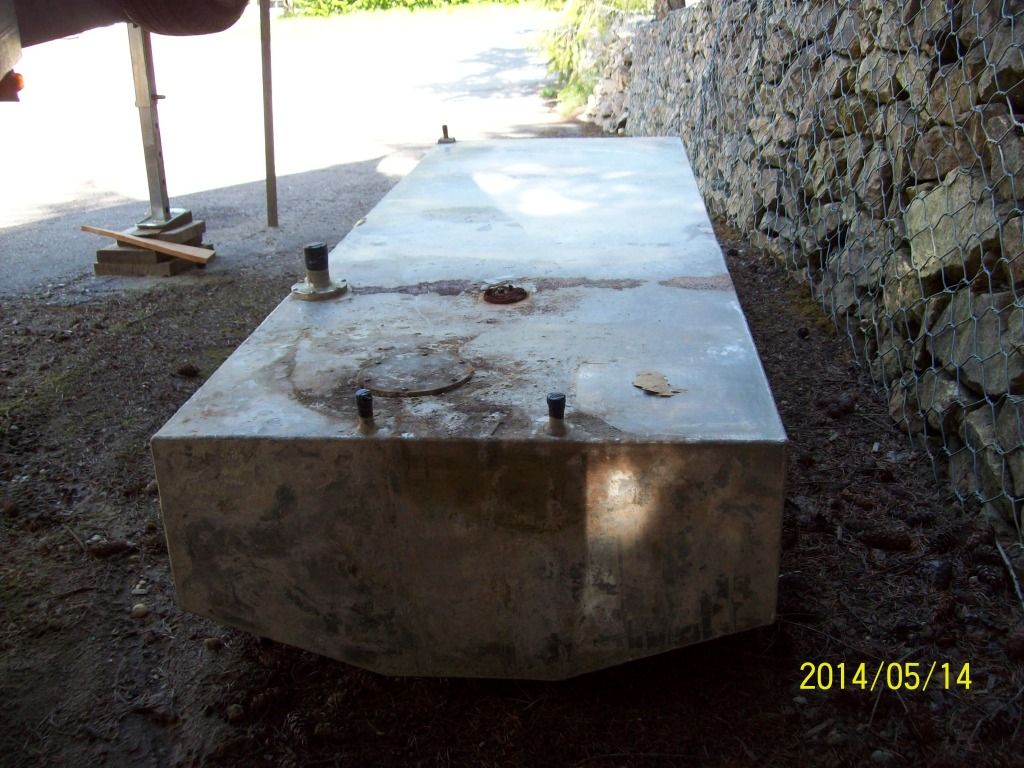
It's hard to see in the picture, but here's some of the corrosion on the tank bottom.
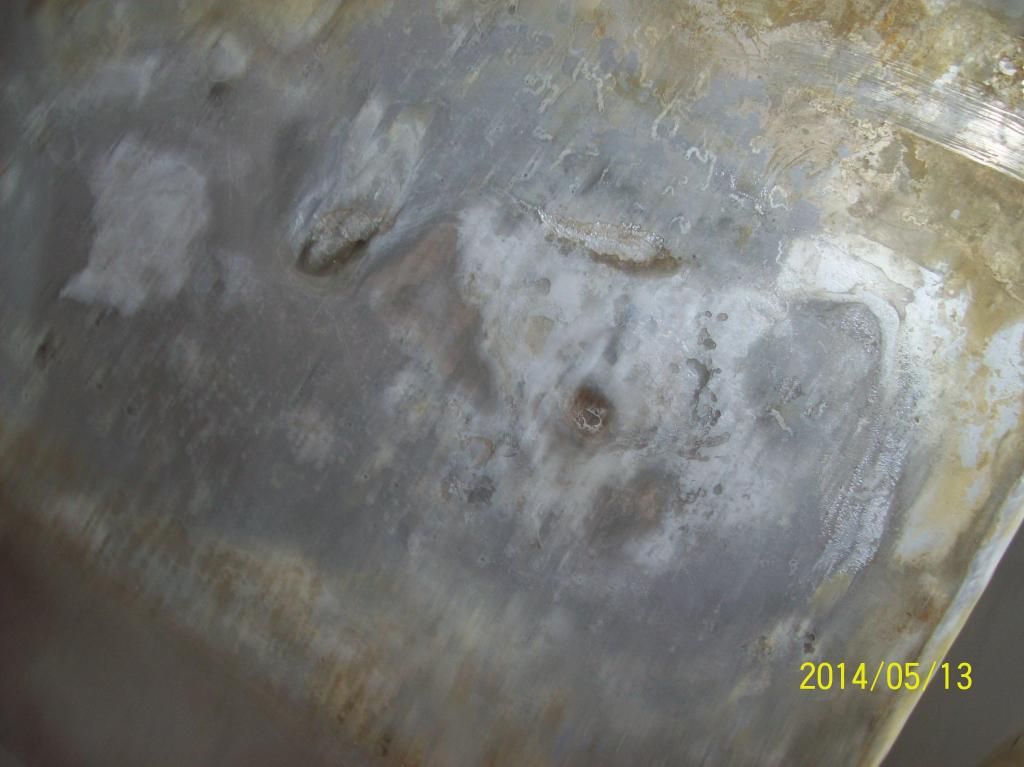


Another view of some of the corrosion.
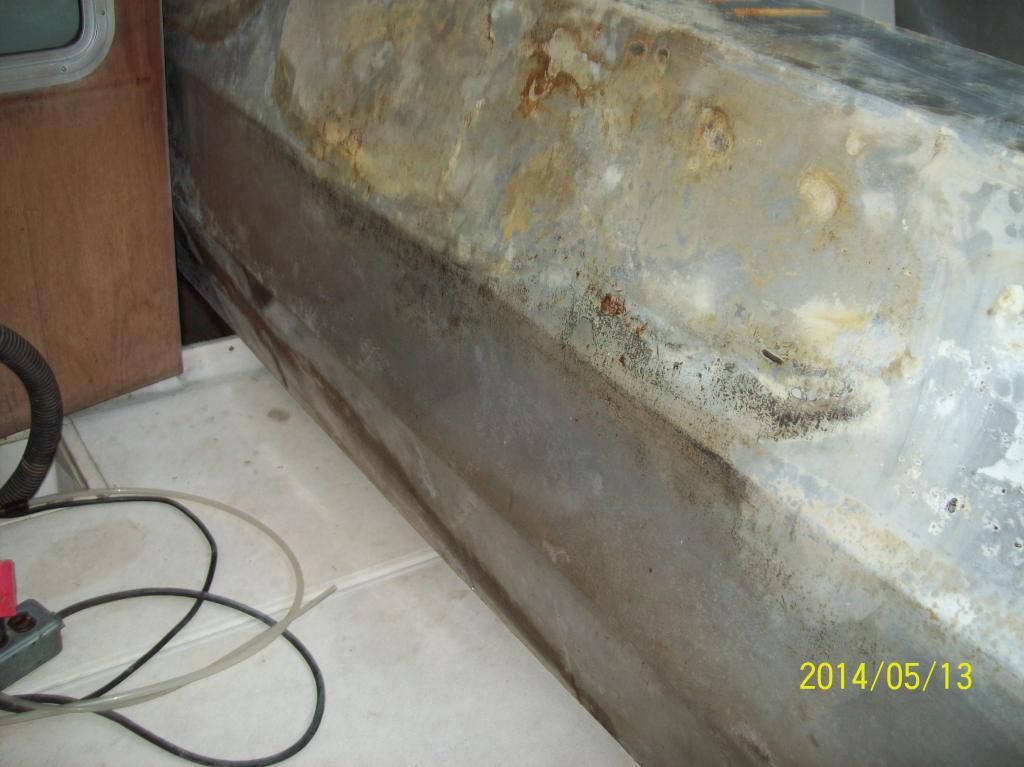


I bought enough CSM, resin (poly), buckets, etc. to get me started. This outa be an interesting learning curve.

I may have a line on a new gas tank from the manufacturer's sales agent, he's supposed to call me back today with the measurements and price of the two tanks they have in their warehouse. I've still got to drill some holes to check the stringers for soundness (fingers crossed). The way this boat is built it looks like I'd be able to redo from the back bulkhead to the transom as a separate project in the future, if needed, without disturbing any of my current repairs.
 

Mikeopsycho

Senior Chief Petty Officer
Joined
Feb 6, 2014
Messages
738
Re: 1979 26' Commander gas & H2O tank replacement & ?

A couple of interesting developments.

One of the two remaining deck 'screws' I pointed out earlier turned out to be a nail, not a screw. Looks like the sole had been nailed to the stringers instead of screwed :facepalm: No wonder they corroded so badly.

I heard back from the Commander boat broker. The tanks the boat builder has are set up for single diesel and will not work for my twin gas set up. He's going to bring the specs for my tank to the fellow who used to build these tanks and see if he'll build me a replacement. The tank builder closed down his business during the last decline in boat building in BC and now works for someone, but he has a full fab shop where he does side jobs. I should get the word and a price next week.

So, on to the interesting part.....the broker thinks my tank has been worked on at some time for a couple reasons.
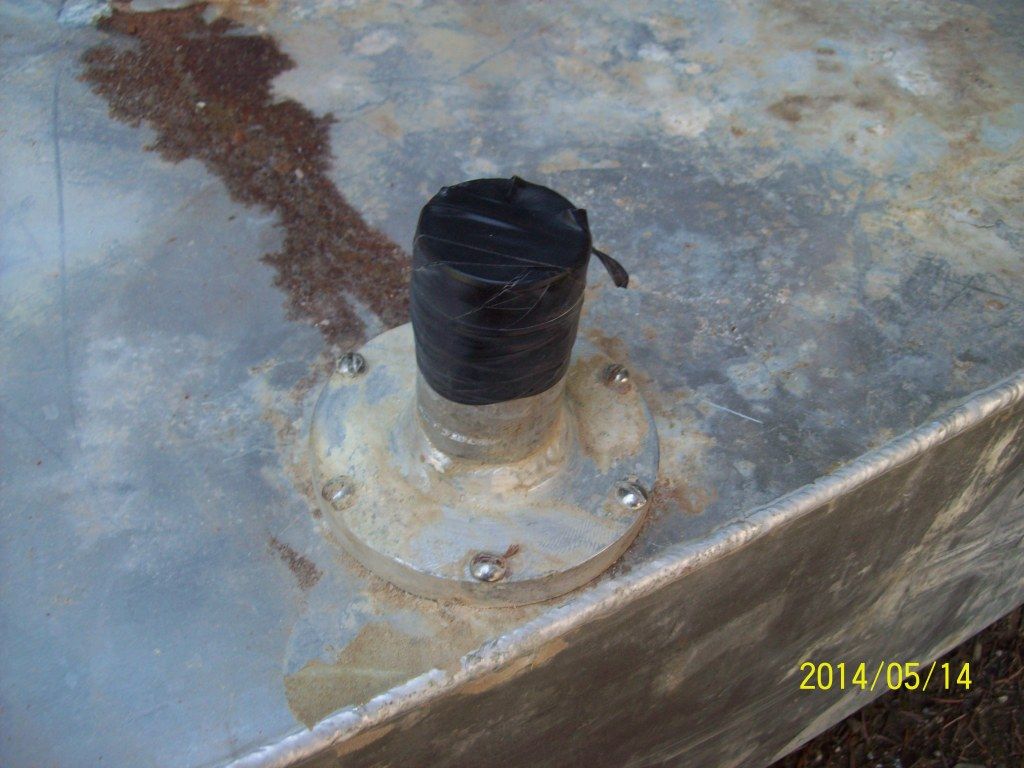
1 - There is an inspection plate on my tank. The gas tanks Commander uses, and have always used, do not have inspection plates.
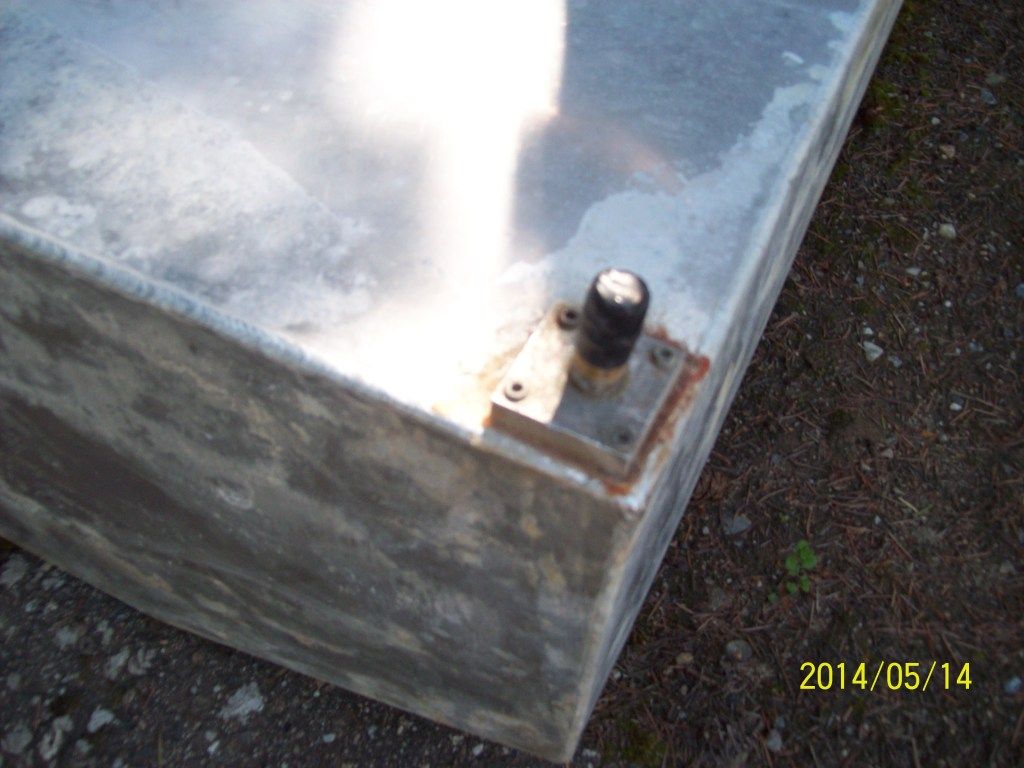
2 - The fill fitting and the vent fitting are mounted on a base piece and screwed to the top of the tank. Originally these fittings would have been welded directly to the tank, the only mechanical fitting being the sender unit. I haven't unscrewed the fill nor the vent fittings yet, but the inspection plate seal was achieved with an O ring in a groove on the bottom of the fitting.


So, not only was the tank leaking from corrosion on the bottom, but because of what looks like poor seals at the screw on fittings, and the fact that I always filled my gas tank for winter layup, it was likely leaking at the top too.
 

Woodonglass

Supreme Mariner
Joined
Dec 29, 2009
Messages
25,927
Re: 1979 26' Commander gas & H2O tank replacement & ?

I'd recommend going to Walmart, and buying 3 large bottle of Baby Powder and dumping them in the hull of your boat and let them sit for a week or two. The Powder will absorb any wet gas etc and do a good job with odor elimination as well.;)

Depending on just how bad your tank is corroded, you might want to take a look at the POE-15 product. It's amazing stuff. You can bring metal back from the dead with it.

POR-15 Fuel Tank Repair Kit
 

Mikeopsycho

Senior Chief Petty Officer
Joined
Feb 6, 2014
Messages
738
Re: 1979 26' Commander gas & H2O tank replacement & ?

Thanks for the info WOG, baby powder, huh, I'll give it a try, a cheap and easy solution. :joyous:

There's a fair bit of pitting and corrosion on the tank. That, and the way the fittings are mechanically mounted on the tank makes me feel replacement is the way to go for me. I just don't think I'd feel safe repairing and reusing the old tank. I read somewhere that the expected lifespan of an aluminum gas tank is about 20 years, which seems awfully low to me. My tanks are 35 years old. If the gas tank was easier to access I would probably try to repair and keep an eye on it, but I never want to have to dig this deep into my old boat again. :blue:
 

Woodonglass

Supreme Mariner
Joined
Dec 29, 2009
Messages
25,927
Re: 1979 26' Commander gas & H2O tank replacement & ?

I completely understand!!! Just wanted to make you aware of the option and the product!!!;)
 

Mikeopsycho

Senior Chief Petty Officer
Joined
Feb 6, 2014
Messages
738
Re: 1979 26' Commander gas & H2O tank replacement & ?

I need to decide if I should cut the sole off at the tabbing to the hull, or if I should just leave a bit of plywood and butt join the new floor to what's left of the old? What do you think WOG, or anybody else? So far there's about 5 or 6" of original plywood left tabbed to the hull sides, most of which is gel coated.
 

Woodonglass

Supreme Mariner
Joined
Dec 29, 2009
Messages
25,927
Re: 1979 26' Commander gas & H2O tank replacement & ?

Personally, I always recommend to cut it all off and retab it directly to the hull. I like knowing I did it, and it was done right. But Hey, that's just me. If you think what's there is fine then do what you can live with. It's your boat and your project.
 

Mikeopsycho

Senior Chief Petty Officer
Joined
Feb 6, 2014
Messages
738
Re: 1979 26' Commander gas & H2O tank replacement & ?

Personally, I always recommend to cut it all off and retab it directly to the hull. I like knowing I did it, and it was done right. But Hey, that's just me. If you think what's there is fine then do what you can live with. It's your boat and your project.

I really respect the advice from guys like you here at iboats. This is all new to me, and if you always recommend to cut it all off and retab that's good enough for me, that's what I'm gonna do.

Now I've got to figure out how to cut it off without doing any damage...........are there any tricks I should know about, or is this just a trial and error deal? I don't have an air chisel, maybe just a hammer and wood chisel would do the trick?
 
Last edited:

Mikeopsycho

Senior Chief Petty Officer
Joined
Feb 6, 2014
Messages
738
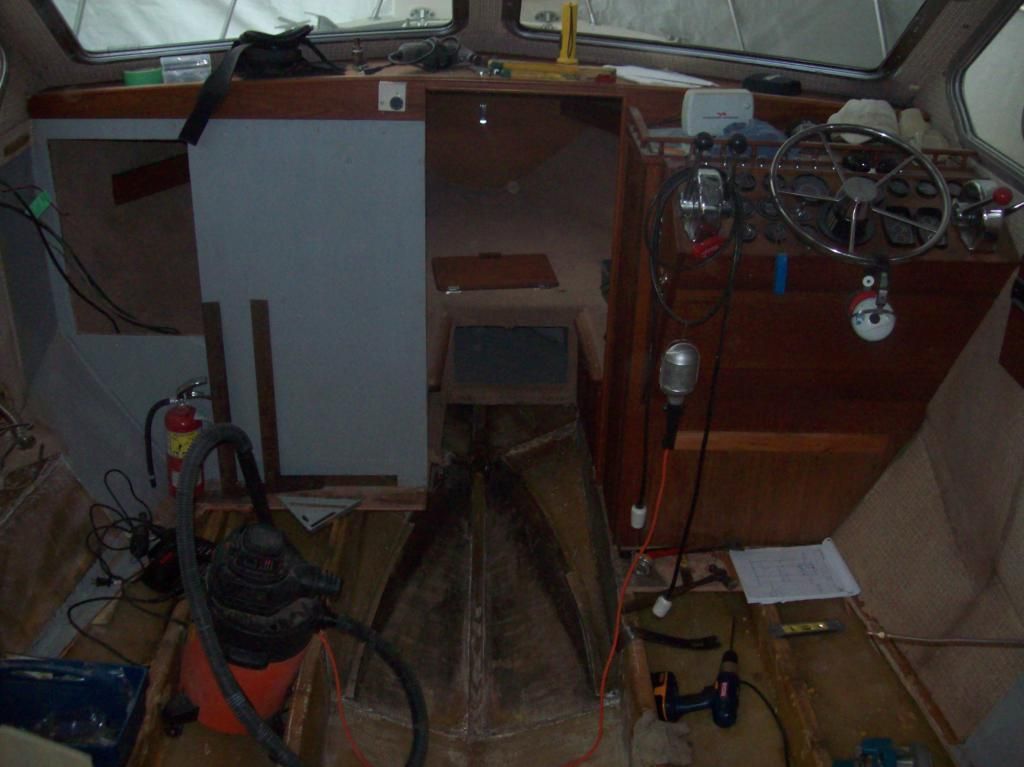
I cut away more of the floor up to a couple inches from the hull sides. I'm going to temporarily leave the little bit of sole on the hull sides for now to use as a guide till I get my new stringers built, then I'll completely remove them and grind for new floor installation. I pulled out most of the rest of the foam, and some of it stinks of gasoline. I also found more water in a couple spots, and what looks like mold developing in a couple areas.


I spoke to a good guy who owns a fiberglass repair shop in town. He gave me lots of tips, and will bring in any materials I need (I couldn't find a supplier that stocked all the correct stuff, because there isn't one in the area). He lives not too far from my place, and said he'd stop by and take a look one of these days. I'll call him up in a few days and lure him over with some cold beer. :very_drunk:
 

Mikeopsycho

Senior Chief Petty Officer
Joined
Feb 6, 2014
Messages
738
I removed the step floor into the V-berth, the forward most bulkhead, and the stringer under the step at the keel area inside the hull. All were wet and rotten. I'm starting to wonder if this was all caused by the leaking fresh water tank, or if some water got in somewhere else, like from the anchor rode locker. I'll check this out carefully. There was wet foam behind the forward bulkhead, and what looked like black mold on the bottom.


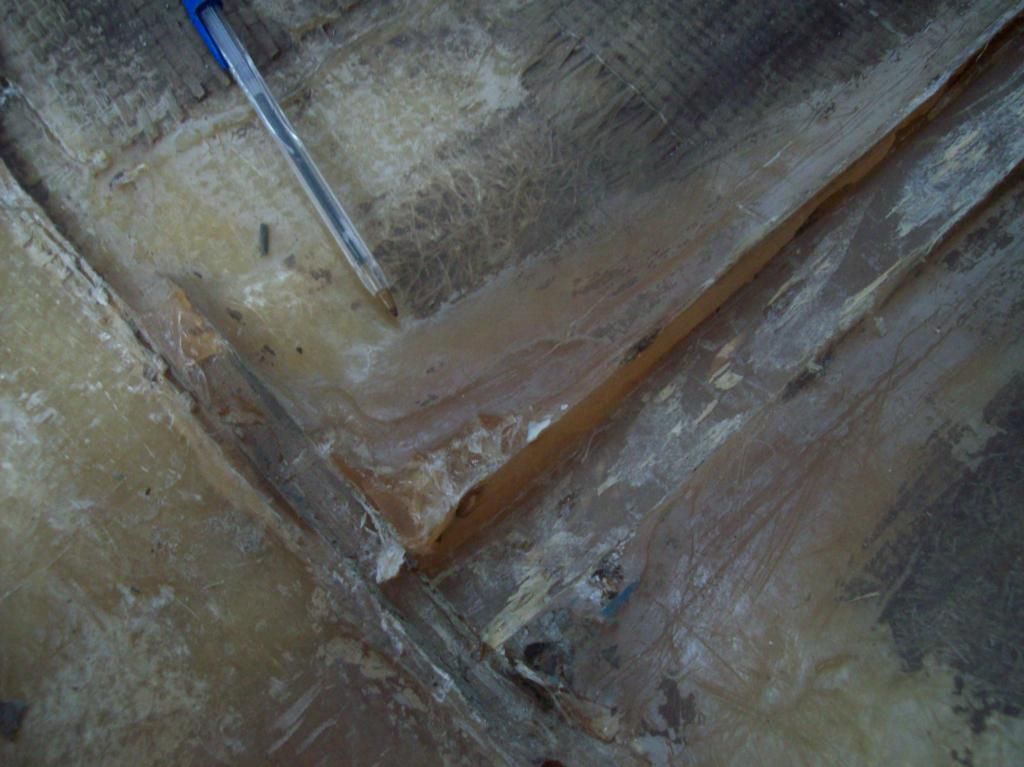
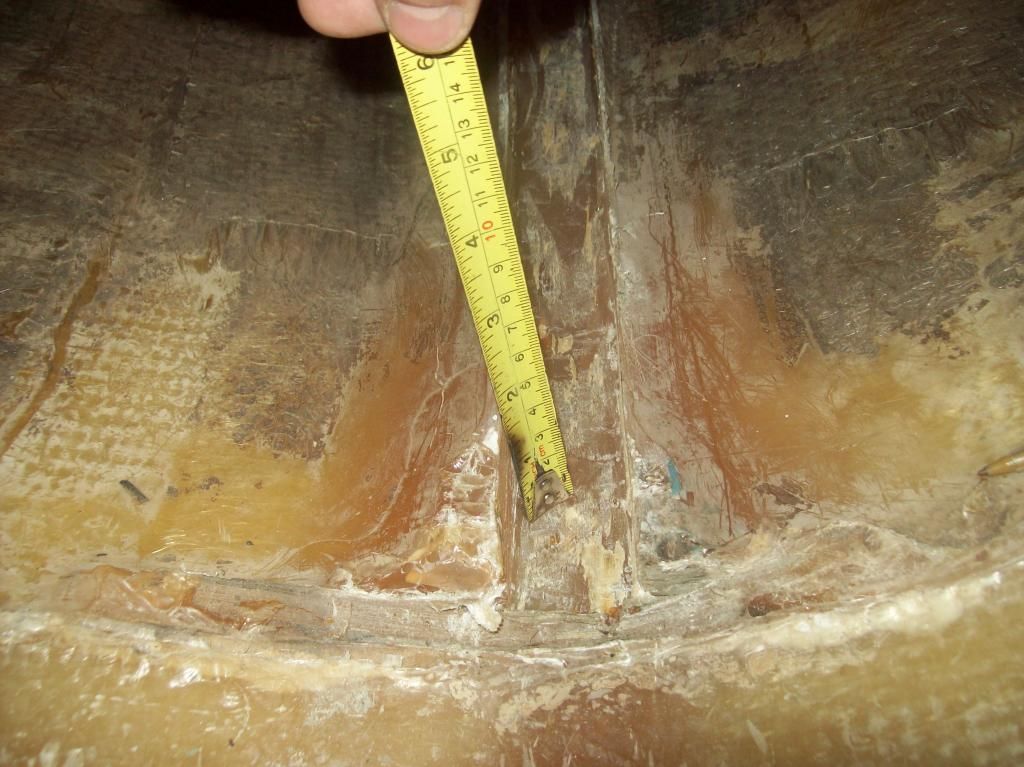
I found the area beside the stringer at the center of the hull built up quite heavy with what might be epoxy resin? Can anyone identify what I'm looking at?


I had intended to use poly resin throughout this rebuild. If this is epoxy will I run into problems by using poly?
 

bigdirty

Senior Chief Petty Officer
Joined
Oct 4, 2013
Messages
652
Hey man, just had a read through this thread.. looks like you opened up a can of worms just like I did :lol: "i''ll just do a few little things and be in the water in a couple weeks..." :rolleyes: From the pics however, there's far less rot in yours though, despite the age difference.. Does it look as though someone before you has been this deep into the boat? I doubt that is epoxy, my guess is just a heavy build up/fillet of thickened poly resin from the factory build... which btw, overall seams like they really did build it like a tank! Hit it with the grinder and see how it roughens up, but IMO think you would be fine to put in new poly right over it..
 

Mikeopsycho

Senior Chief Petty Officer
Joined
Feb 6, 2014
Messages
738
:joyous:
Hey man, just had a read through this thread.. looks like you opened up a can of worms just like I did :lol: "i''ll just do a few little things and be in the water in a couple weeks..." :rolleyes: From the pics however, there's far less rot in yours though, despite the age difference.. Does it look as though someone before you has been this deep into the boat? I doubt that is epoxy, my guess is just a heavy build up/fillet of thickened poly resin from the factory build... which btw, overall seams like they really did build it like a tank! Hit it with the grinder and see how it roughens up, but IMO think you would be fine to put in new poly right over it..

Thanks for the comments bigdirty. Yeah, I was going to just replace the darn leaking water tank.... should have known it would turn into a major project.:violin: My new friend, the guy who owns a boat repair fiberglass shop, stopped by today and had a look at things. First thing he said to me was "I'd hire you in a second, everything is so clean and organized". :joyous: I was pleased to hear that. Anyway, he agreed with you, he figures it's just a thick bit of poly resin, likely the last bit of a batch they poured along the keel stringer to get rid of, incorrectly thinking it would add to the strength. I will grind it and poly right over. Incidentally, it has no cracks at all. He also said for me to call him as I go along and he'll come have a look at the various stages and keep me on the right track. Hell of a nice guy! There'll always be a cold one in the beer fridge for him.

It does look like someone has done some work or repairs to the top of the gas tank, but everything else seems to be original. These boats are well known in BC, and are considered to be very well built. Mine is from their second year in production.

He said the stringers are solid. There are some areas where the glass has delaminated from the wood. He said to get a diamond grinding wheel and carefully cut away the delaminated areas, grind, and re-glass. I am incredibly pleased with his advice, it sounds so much better than what I imagined what I was going to have to do. :clap2:. He's going to order whatever I calculate I'll need (with his help), when he places his own order for his shop. He had a look at what I bought so far, it's all good except for the woven rove I was sold, which I don't need.

I just may get this old girl back in the water this year....I sure hope so!
 

Mikeopsycho

Senior Chief Petty Officer
Joined
Feb 6, 2014
Messages
738
I cut away most of the delaminated fiberglass off the stringers, got a bit more to do. Then I'll grind and re-glass with 1708 and mat.

I bought 5 sheets of really nice good one side 3/4" exterior plywood, and I ordered a bunch of supplies through the fiberglass repair shop. Should be in early next week. I also got some 1/4" plastic for mounting the tanks from Northern Plastics, and I ordered a piece of 10 mil neoprene from Dinoflex for any straps I may use on my new tanks.

I've decided to build a flat floor with support ribs for the gas tank to sit on. I'll mount it with plastic strips and 5200 as instructed on a link I've seen here at iboats that some of you guys have posted a couple times. I wont be using foam around the tanks. I intend to run the new fresh water line under the gas tank through the ribs to the pump in the engine space. Because the water tank sits in front of the gas tank, I'm going to have them build a modified V tank with a flat 9" spot on the bottom. I'll build a flat spot for the tank to sit on low in the hull. The outlet will be at the back bottom of the tank and as I said, the water line will be under the gas tank floor.

I got one price from a guy at the coast and I'm waiting for another price from a fab shop not too far from home for the new tanks. I'll be ordering my tanks next week. I've got lots to do to get ready for the tanks, or at least it seems like lots to me.

I'm glad to see the site seems to be working again! I'll try posting pics when I've got something interesting to show.
 

Mikeopsycho

Senior Chief Petty Officer
Joined
Feb 6, 2014
Messages
738
Here's a picture of a stringer with the delaminated glass removed.


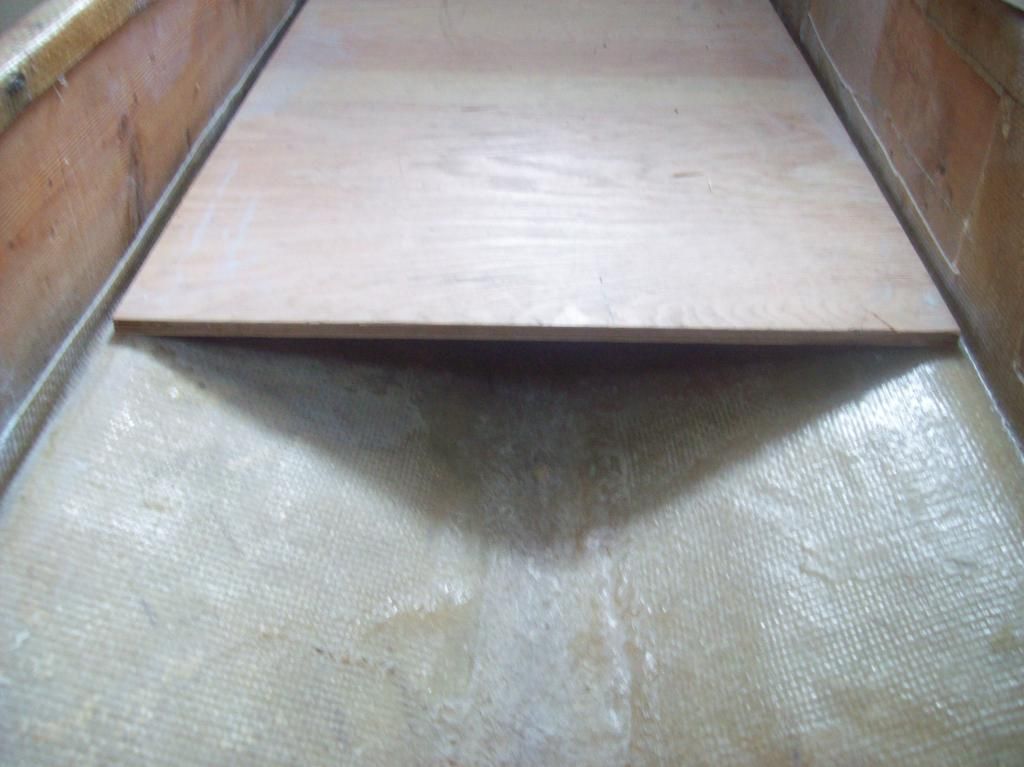
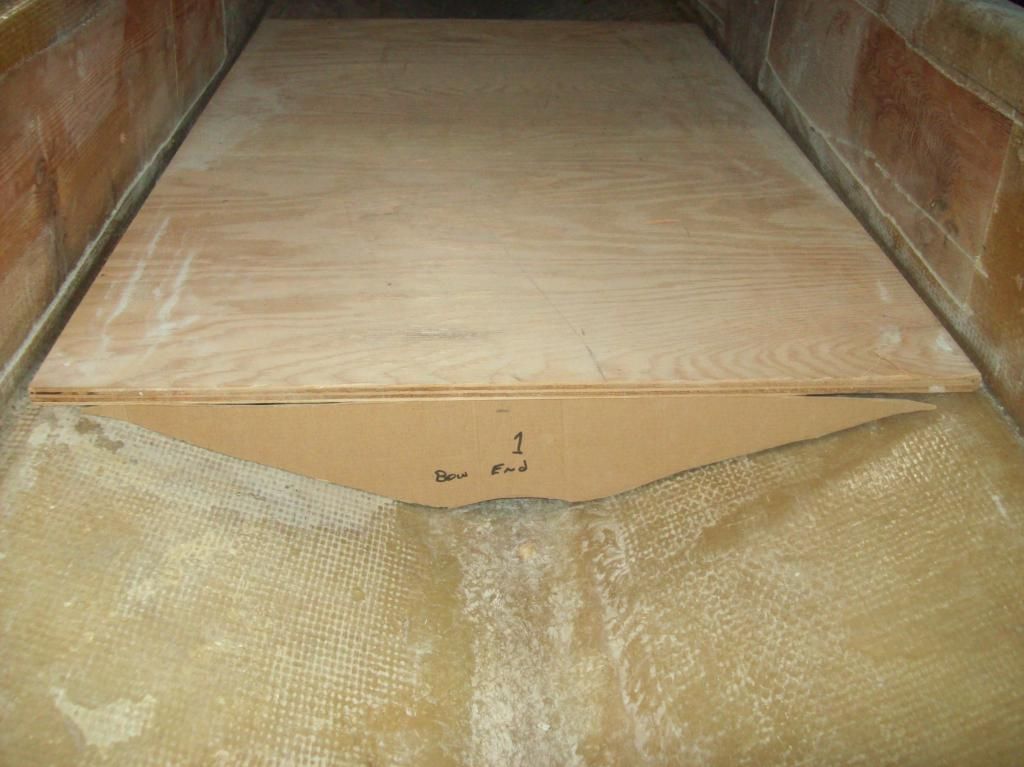
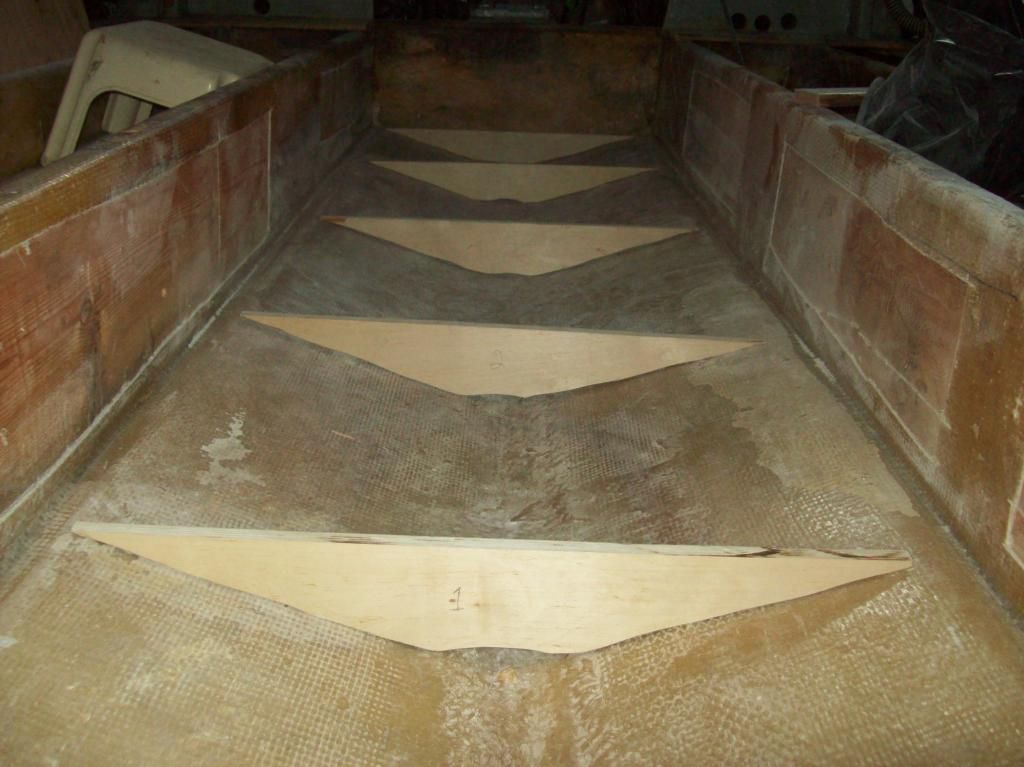
This is how I thought I'd build the support floor for the new gas tank;

a 3/4" plywood floor


supported by 3/4" plywood ribs, like this template


every 24" or so, kinda like this


It'll all get glassed in, but first I've got to finish the stringer re-glass work, maybe next week when my order of supplies gets in.
 

Mikeopsycho

Senior Chief Petty Officer
Joined
Feb 6, 2014
Messages
738
I took off for a few days to go to a fishing derby with my brother in law, my nephew, and his friend. I rarely use barbed hooks, but I used them this time, they make it harder for the fish to shake off, and they make it more difficult to pull the hook out of ones index finger! It took some Crown Royal, an exacto knife, a pair of pliers and a volunteer firefighter who's first aid ticket expired awhile ago to extract the hook. So both index fingers are wounded (I cut through my finger nail and into the finger with a jigsaw last week while working on the boat :facepalm:).

Anyway, I'll get back to the project today, and I intend to be very careful with sharp tools :rolleyes:
 

Mikeopsycho

Senior Chief Petty Officer
Joined
Feb 6, 2014
Messages
738
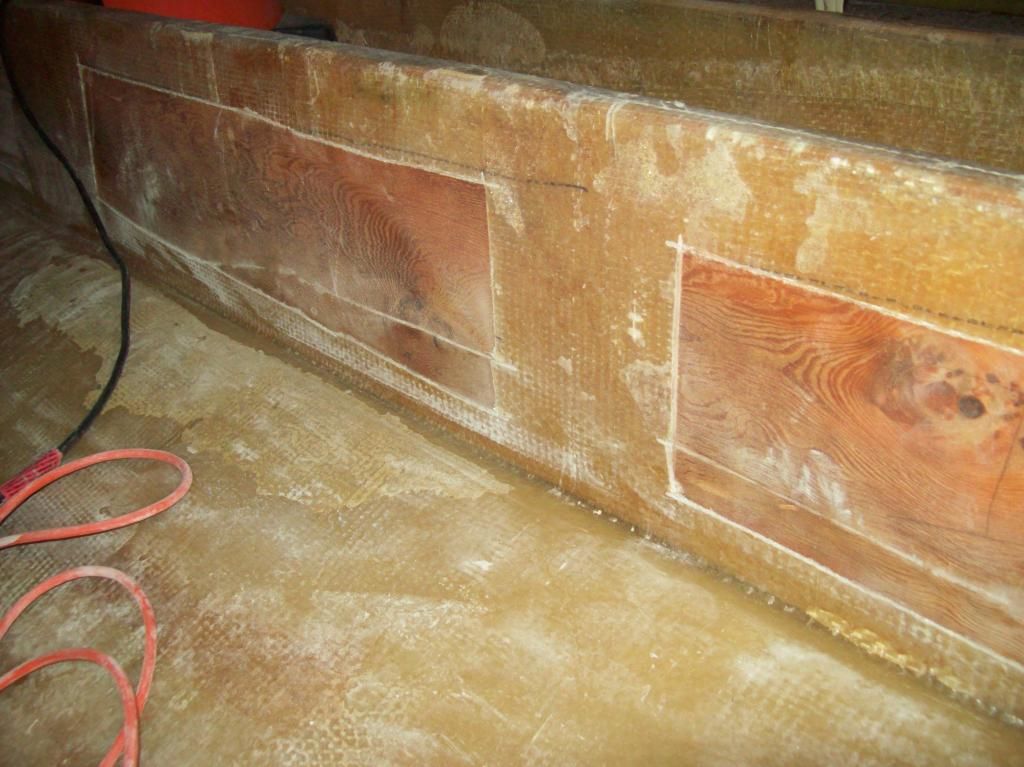
Over the last couple days I got a bit of work done on the project. I cut the last couple inches of the floor off close to the hull. I did a bunch of grinding, and unfortunately I still have a bunch to do. :painkiller: I also cut plywood for bulkheads, ribs, gas tank floor, etc., which will get their final trimming after I complete glassing the risers. Hopefully I'll get most of the grinding done today.
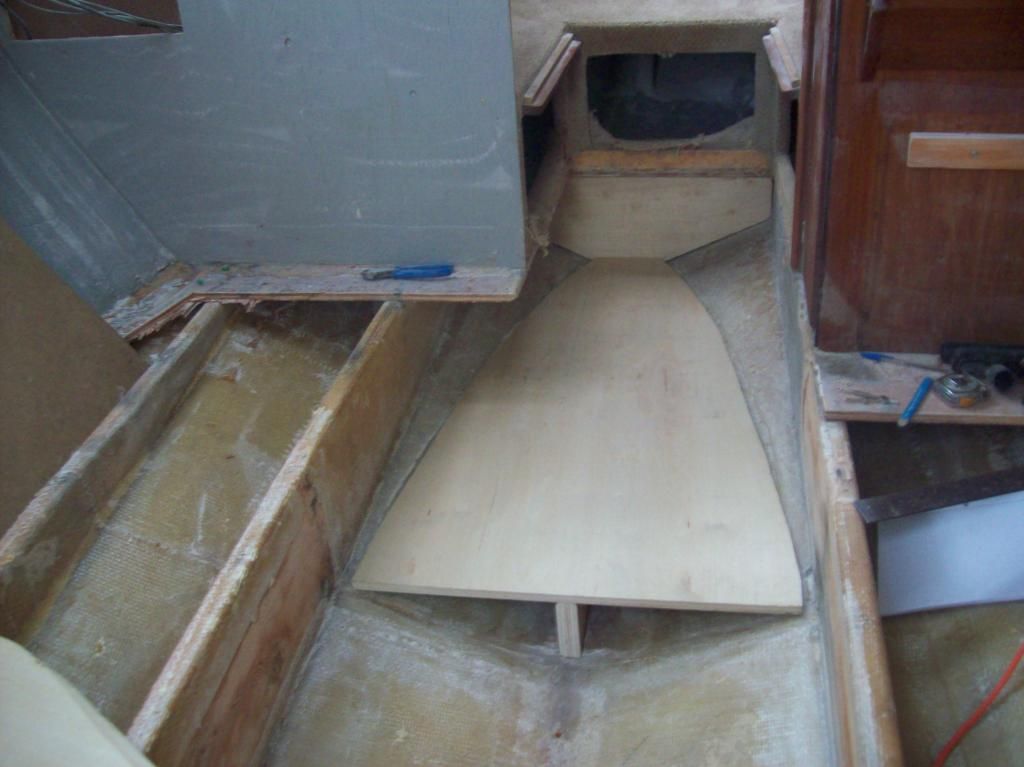
There will be a couple places where the 3/4" plywood floor will butt up to the existing floor with no support underneath, in stowage areas and in the engine space. I was thinking of putting a plywood cleat underneath at these spots. Q - how should I treat these cleats for moisture resistance? Some of the areas are not large enough for me to glass in place. Can I just give them a couple coats of thinned resin to seal them? Should they be mounted with PL and screws or some other way? Are the cleats actually the best way to do this? Would biscuits be any good in this scenario? Or should I just lay a strip of 1708 over the butt joints and not worry about it? I'm ahead of myself, but I want to plan things out.
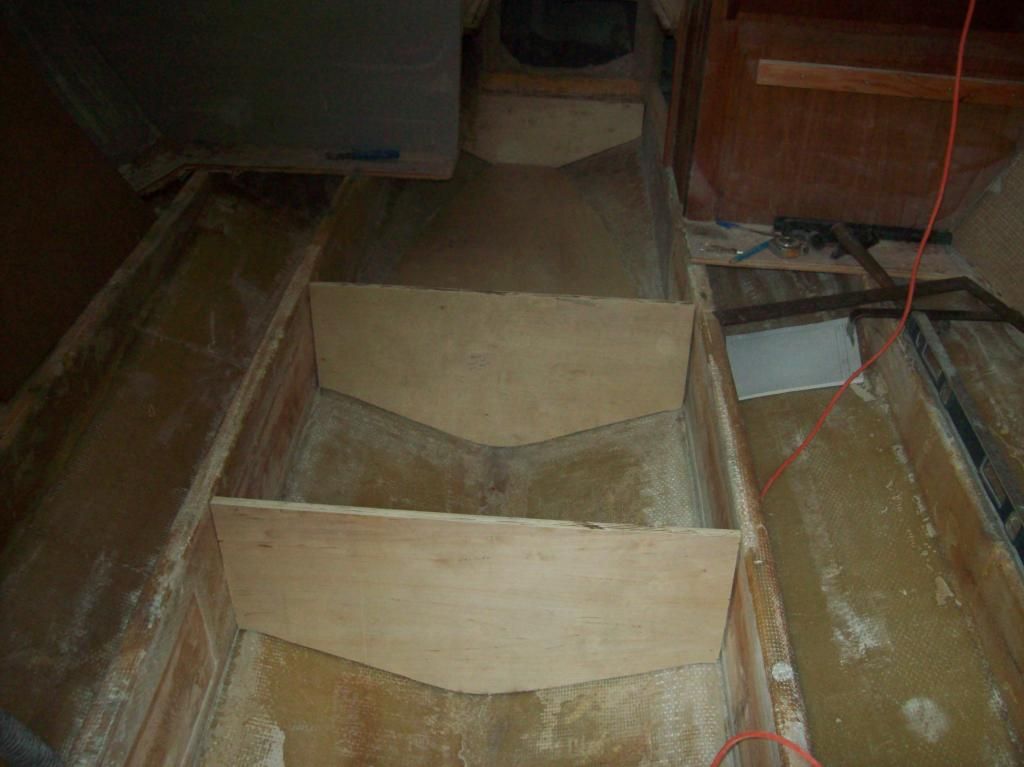
Thanks in advance for any input.
 

Mikeopsycho

Senior Chief Petty Officer
Joined
Feb 6, 2014
Messages
738
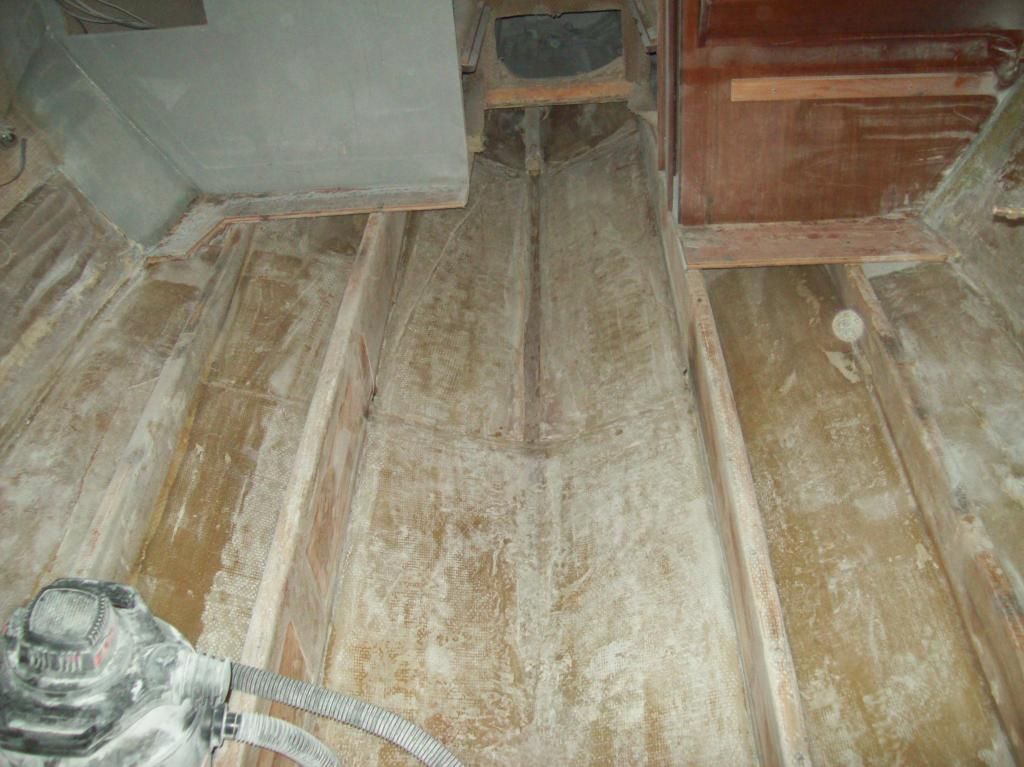
Here's how she looks after many hours of grinding


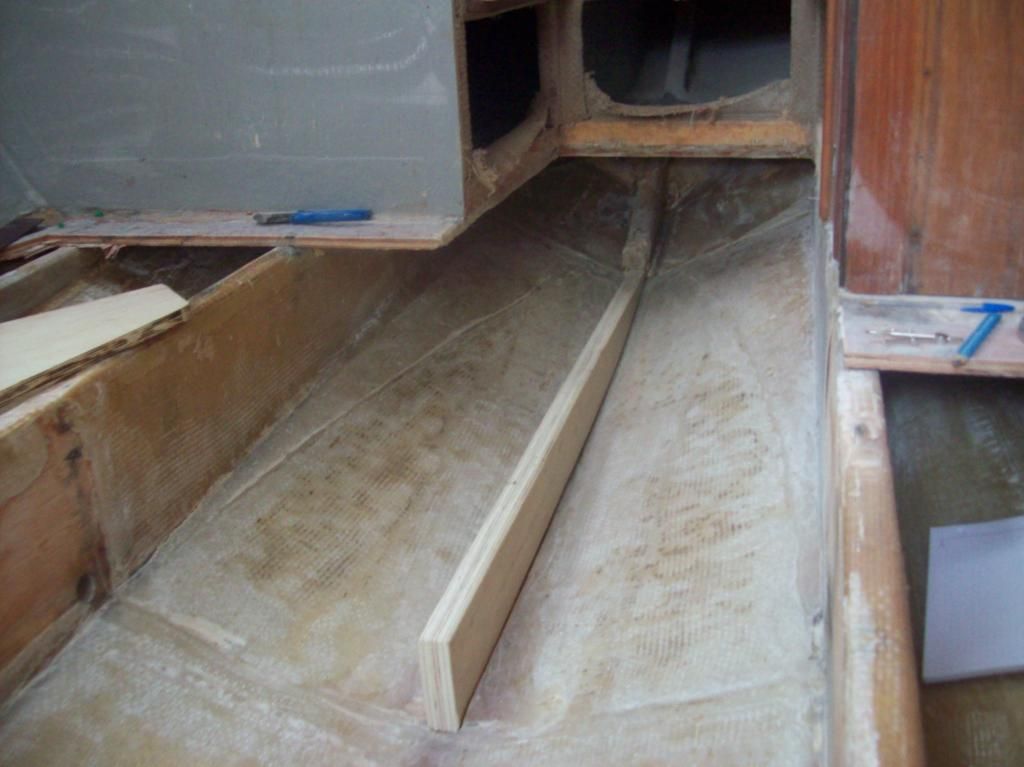
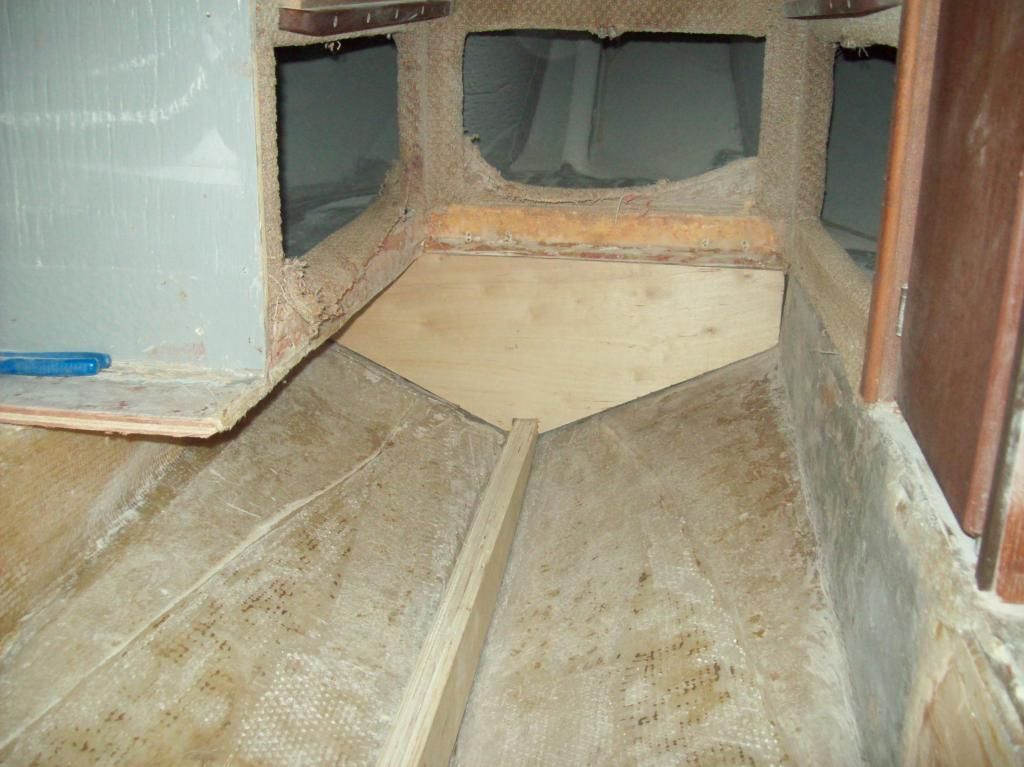
And here I'm fitting in various bits and pieces. They will need a little more trimming once the stringers are re-glassed.

The new keel stringer


The forward bulkhead


The lower floor leading to the V-berth


And here are the bulkheads in front of and behind the water tank


I still need to do a little trimming and grinding in the engine space. I plan to glass the stringers this week weather permitting.
 

bigdirty

Senior Chief Petty Officer
Joined
Oct 4, 2013
Messages
652
Looking good man! And also very familiar.. :rolleyes: At least you have a lot of good structure to rebuild to and around.. i'm gona say your boat is definatly of a better original build quality than mine.
 

Mikeopsycho

Senior Chief Petty Officer
Joined
Feb 6, 2014
Messages
738
Looking good man! And also very familiar.. :rolleyes: At least you have a lot of good structure to rebuild to and around.. i'm gona say your boat is definatly of a better original build quality than mine.


Thanks BD. The builders at Commander would be proud to hear this. Unfortunately, the original builders retired and sold to another BC boat builder, who stopped production in 2011. I think if the Canadian dollar drops low enough they'll fire up production again, and hopefully build to the old owners standards (with a little more modern equipment of course).

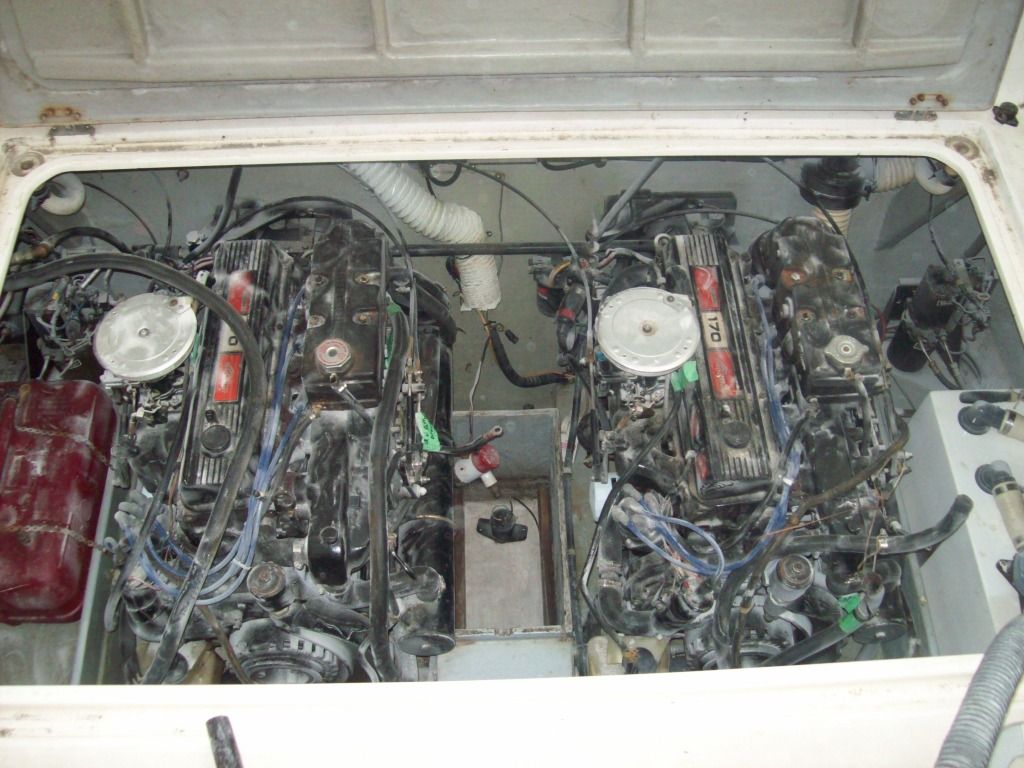
I got some more work done today. I opened the hatch in the cockpit to the engine compartment and I couldn't believe how much fiberglass dust settled on the engines. Here's a photo after I vacuumed them off. (should have snapped a shot before)


I had to decide where to make my final cuts for the fit up of the new floor/sole.

Starboard side


Port side

 
Top