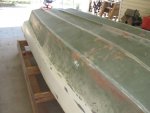
Looking good GM....... and I'm with you and Patfromny that if your going to do it, do it 100%.
Thanks 89 resorter. I always try to give anything I do 100%. I never try for 110% or more because there is no such thing.

A little update.
Well today being Thursday means mowing, edging, and blowing the yard, driveway and walk off before anything else gets done. And since I did get an early start dong that, I was able to squeeze in a little boat work as well.
Again I mixed up some Ever Coat Easy Sand polyester spot putty to fill in some of the little holes in the fiberglass from the original manufacture build. And once again I didn't get very far because that stuff set up quickly. So I cleaned up the mixing plate and mixed some more using a little less hardener. And once again it hardened up before I used it all up. So again mixed up more with even less hardener and it still hardened before all was used up. But I had enough covered so I didn't mix anymore. I will say that that spot putty sand extremely easy. So not a huge problem will all the little holes to be sanded now. Hopefully once I get those pin holes filled and sanded, it will be time to shoot primer. I hope.
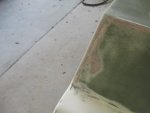
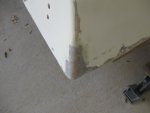
I did come across another issue that I honestly didn't like and again grind all the stuff out to fill with a more solid layup. The actual Keel had about five different colored materials in the area and there were some very little lines that I just didn't like how they looked. While it felt solid, I wasn't so sure it would take any abuse before it cracked out. So I grind it all out and mixed up some polyester resin, Cabosil, and 1/4" chopped stand fiberglass and mixed up a filler to reform that keel area. Yes that stuff it very hard to sand, but it will hold up better then what was there in my opinion.
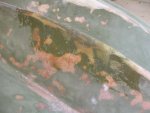
Here is the refilled area that is yet to be feathered in.
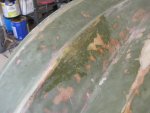
And from the other side.
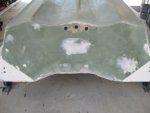
I took a few shots of the spot putty as well. It looks a mess, but really sands easy and all those holes will be filled.
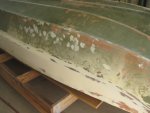
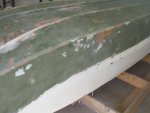
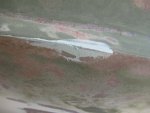
And the opposite side too.
Looks like both sides about a third of the way back had the most pin holes. I guess who ever was make the boat that day didn't spend much time in those areas. :noidea:
I also took a few shots of some of the sanding tools I will use once I start sanding out the primer. Once the primer is shot, I will use a guide coat powder that will allow me to see the low ares. But you can't do that with your hand. You have to use straight or long board sanders. Obviously you an buy all those things at most any auto body store. But you can easily make them your self too. Here are two such home made long board sanders I made.
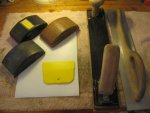
The two sanders on the right are those long board sanders. The rest of the items are typical sanding block for doing tighter areas.
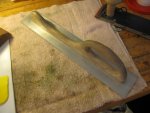
This sander was built from a piece of 1/8" aluminum and a self designed handle.
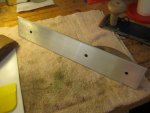
There are three countersunk screws holding on the handle. And the plate is sized for the typical auto body sanding material. This one uses sticky backs sanding pieces. AND they stick extremely well. You can buy such sanding sheets in most any grit and they really are not as expensive as you would think. The black sander uses the same size sanding sheets but it can use either sticky back or non-sticky back sheets, because it has locking clamps on both ends. So see what is available and make some yourself. They work nicely to make a smooth surface without all those ripples in the finish.
Until next time, you all have a very nice day.


