O k a y, I a m t y p i n g r e a l s l o w b e c a u s e m y a r m s t i r e d.

I did start the long board sanding today and I have to say, my arms are tired now and I know I will certainly feel it in the morning too in my hand, arms and shoulders. Been a while since I block sanded anything. And since I am doing this by arm-strong effort and not pneumatic or electricity, it is a lot of tiring effort. I also took some picture to show what you can see when doing such sanding.
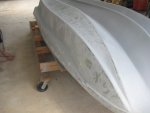
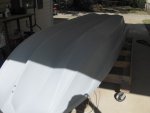
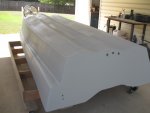
No, the hull didn't caught some leprosy or any thing like that. It is the first long board sanding after the first primer coat.
You can easily see the high areas and low areas. And that is exactly what you want as well. Now I can fill in the lower areas and do it again until I get everything sanded without coming across highs and lows. After a few fills, then I switch to guide coat and start sanding with 400 or 600 grit. And once all the guide coat is sanded off without any highs propping through, it is ready for paint. It is a long process, but will certainly look very nice when painted.
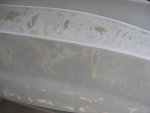
When doing this sanding, some areas don't even get sanded because they are so low to the high areas. We are not talking inches or even 1/8" low areas. We are talking mere thousandth of an inch low areas. So between filler material and high build primer, it will come together.
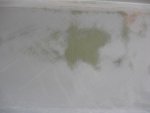
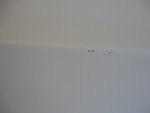
In this picture you can see the cross hatch sanding. Never sand up and down or cross ways. Those will leave gouges from the long board sander edges that would then have to be filled in and sanded out again. You always go diagonally sanding in both directions. Another thing you never ever do, you never sand with your hand and fingers. If you do that you will leave finger groves in the primer. You can use the palm of your hand, but never fingers.
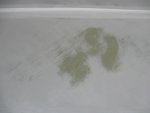
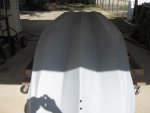
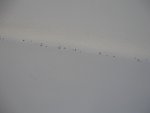
Another area that easily shows the diagonal sanding effort. It takes a little getting use to sanding this way, but after a short time it becomes simple and really cuts fast too.
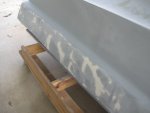
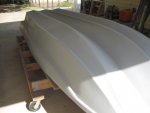
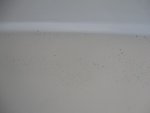
You can see the side area that is sanded ready for the next filler and primer coats. There are three areas shown. First the high areas in the very little looking material. The second is the lighter gray and the third is the areas that didn't even get touched yet with the sanding effort. Those are the lowest areas.
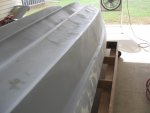
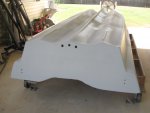
The actual very bottom section didn't come out too bad. It has a few areas, but all in all, it is not too far from ready. I still have the mid side area to sand yet. But my arms said STOP for today. I haven't even started with the center bottom section yet. So you can see there is a lot of sanding to do yet.
I will say one thing though, this PPG JP202 catalyzed high build primer is extremely easy to sand and it honestly doesn't plug the paper even a little bit. I sand for a minute or so (until my arm says swap sides), then take the compressed air hose and blow off all the primer material off the sandpaper. It cleans back to like new again. So one piece of sand paper goes a long ways. This initial sanding is with 80 grit paper. Follow on sandings will be with 180, then 220, 280, 320, 400 and so on.
Maybe this will help some one that has never done this before. :noidea:


