Re: 1975 Starcraft Mariner 18'
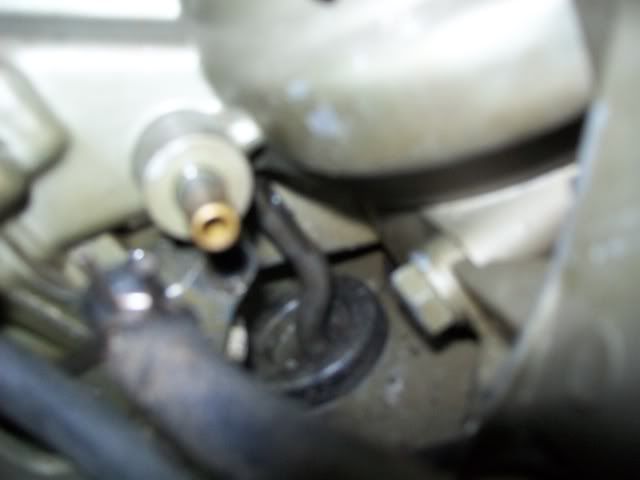
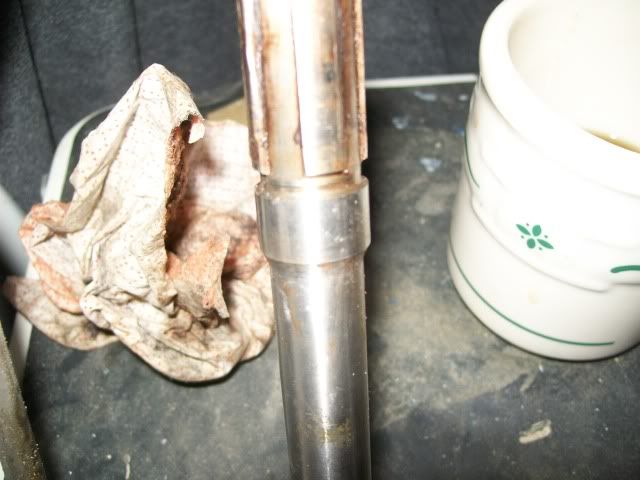
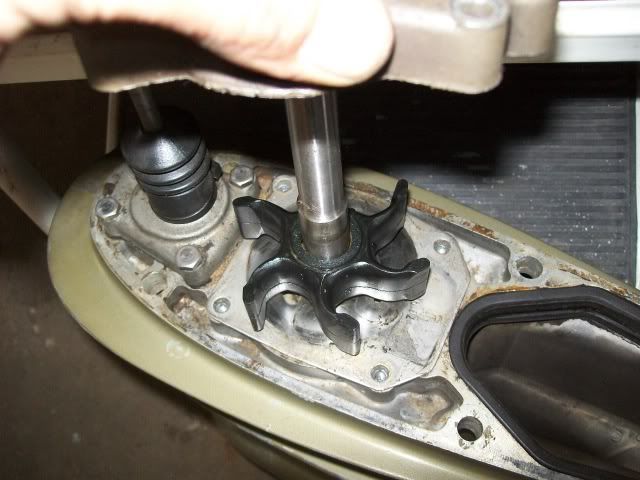
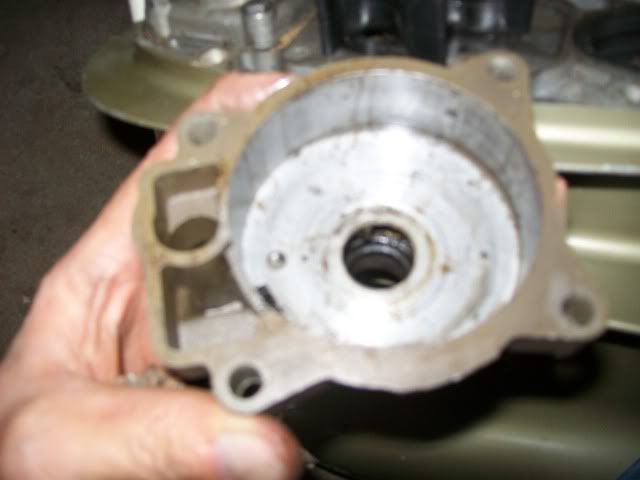
I gave the impeller a spin and it spun free on the shaft took a closer look and found the key underneath impeller I don't think it fell out when I picked up the housing but possible. I'm thinking it's been doing nothing for who knows how long.
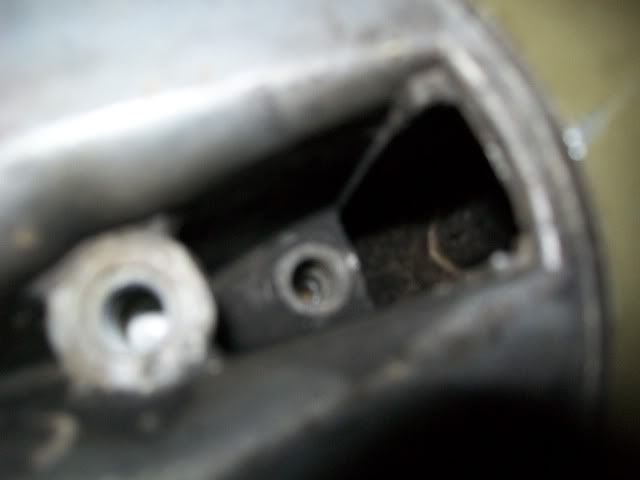
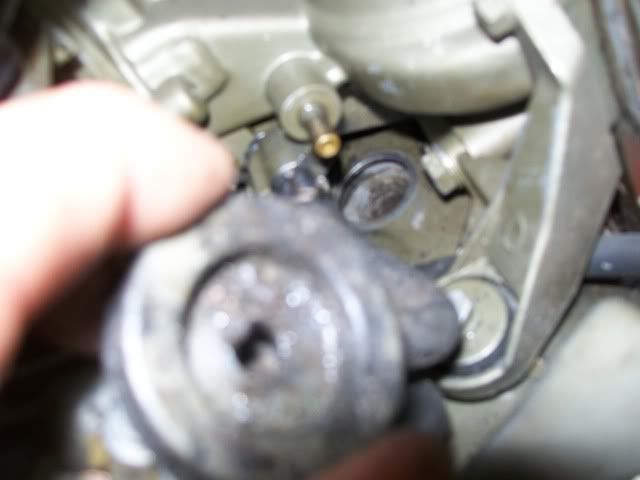
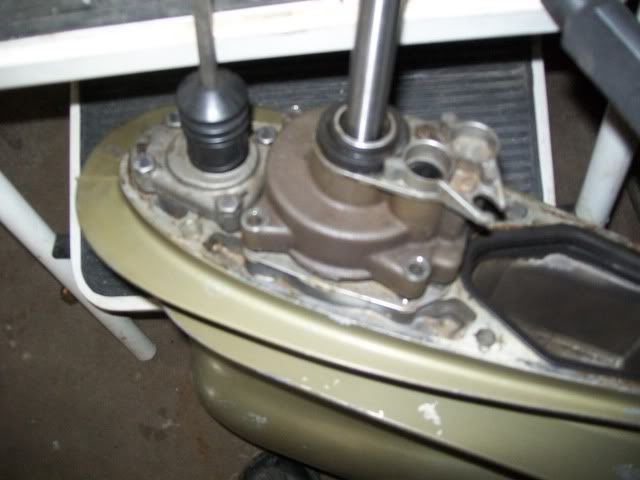
Inside of pump housing looks fine and I guess it's worth noting there wasn't any sand in here so still not sure where that came from ???
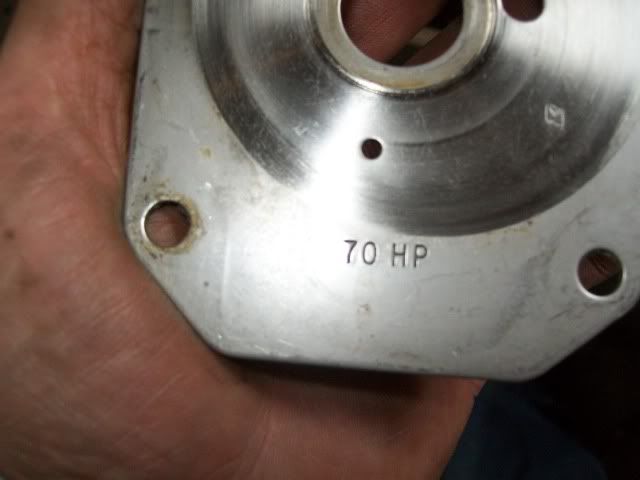
Impeller plate says 70hp and motor is a 65 anyone know if this is right ?
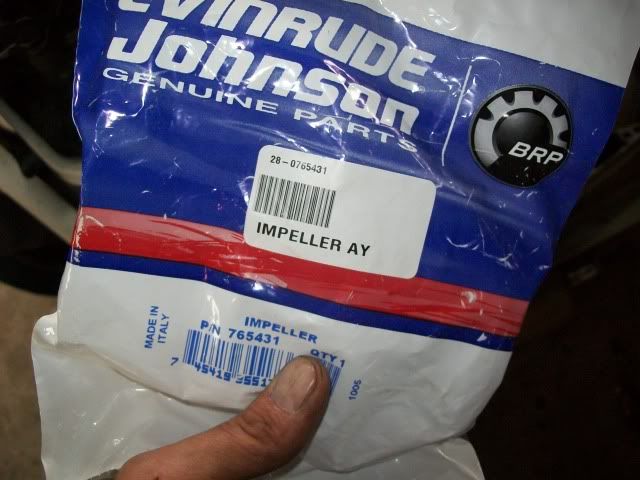
Then I started digging through the parts box to see if I had everything I need . I think I do but needed to spend an hour or two checking invoice against parts book as many of the numbers had been replaced by Johnson. Impeller
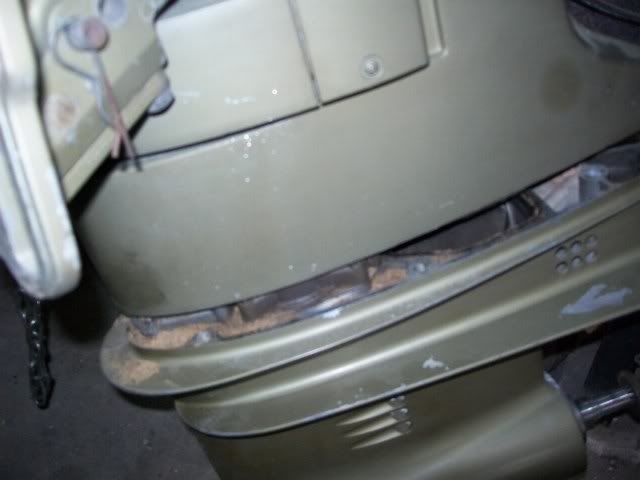
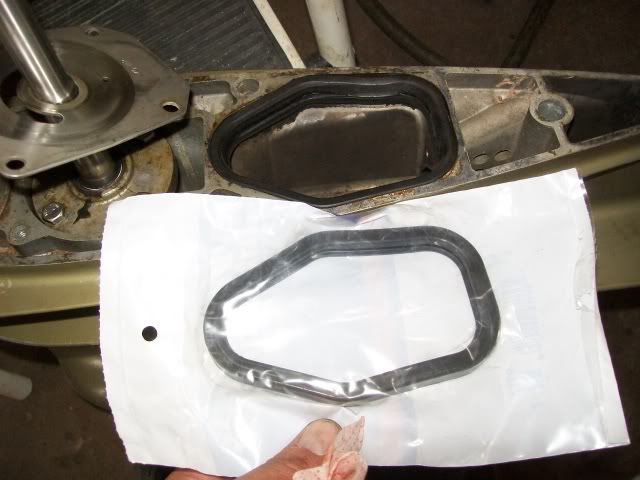
New exhaust seal old one looks fine but I'll change it since I'm in here .
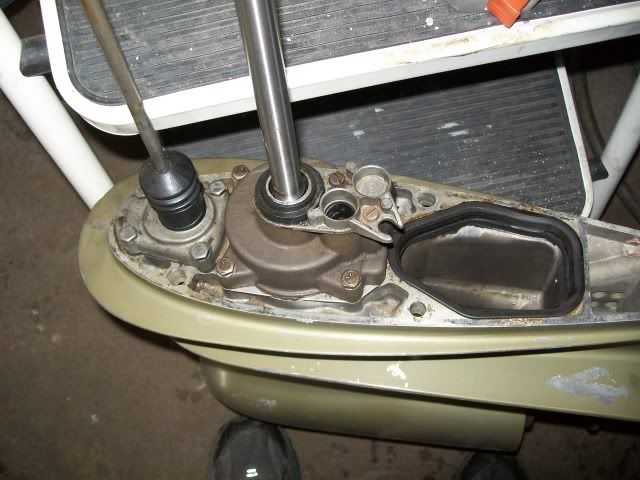
Thats pretty much how I left it. I need to finish cleaning things up and put it back together but first some questions.
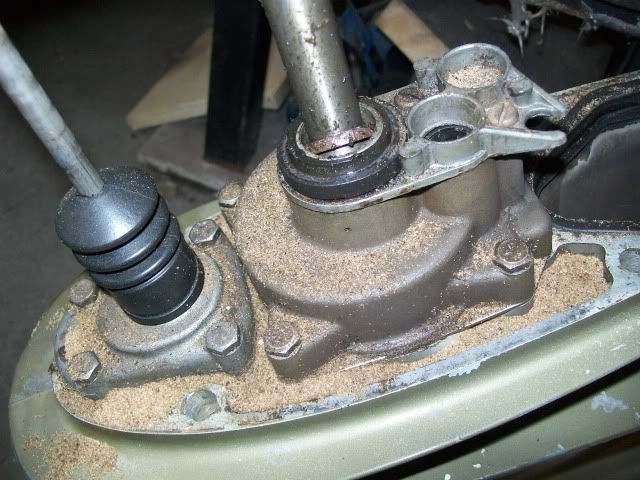
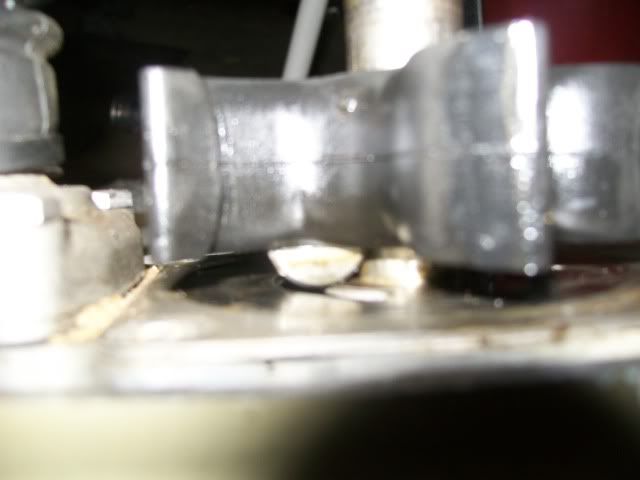
1. Should that sand be there ? I mean should it be able to get there not should I put it back in

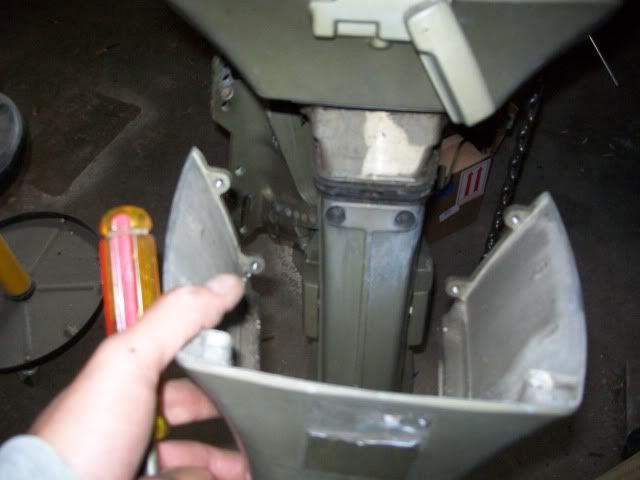
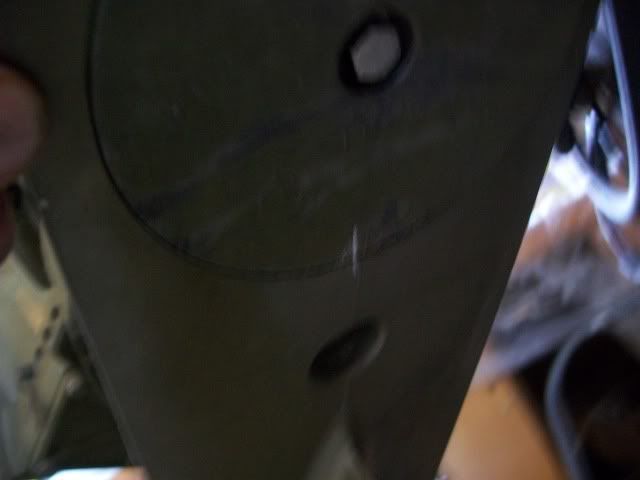
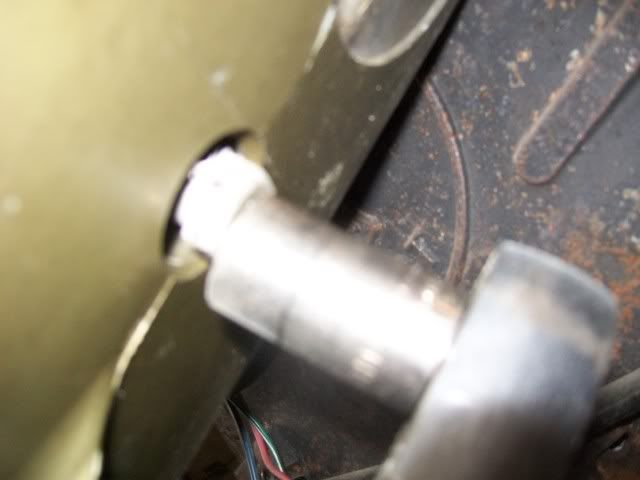
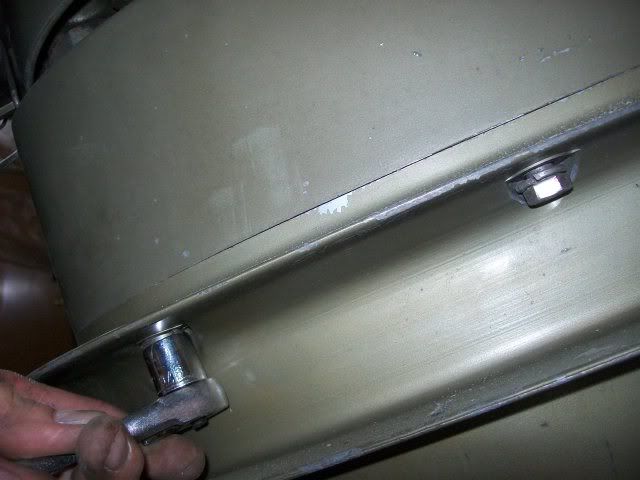
2. I need to find a replacement bolt for inside the trim tab cavity are these stainless or ??
3. Both manuals refer to sealant on impeller plate and housing but no evidence of sealant here also doesn't seem to seal very tight around drive shaft either way so what type of sealant will work and or is it necessary ?
4. Manual also calls for sealant on bolts what should I use ?
5. impeller plate says 70hp and motor is a 65 is this normal ?
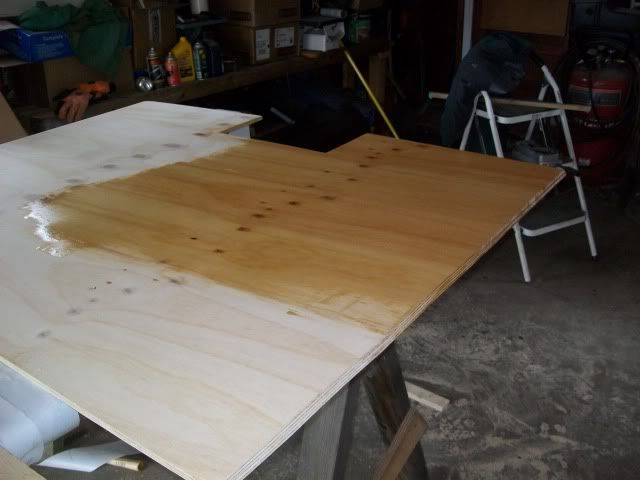
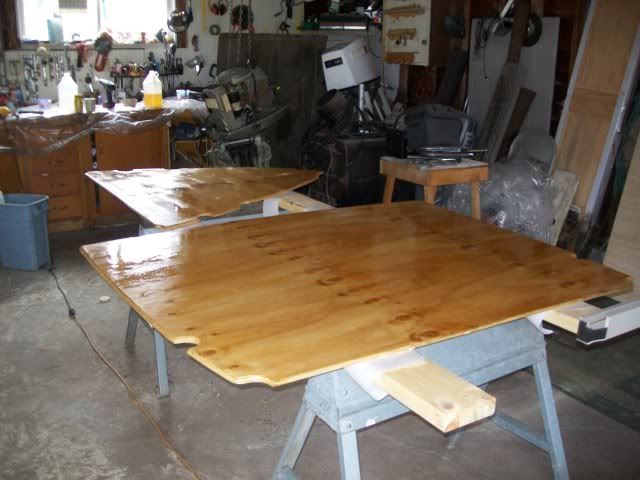
I should probably ask these questions in the engine forum but figure I'll wait and see what I get here. I have the part number for the missing bolt but if it's something I can grab from the hardware that's a lot easier also possible I could steal one from the 72. Thanks for reading and looking forward to your replies. I'm hoping to get another coat of epoxy on and get this ready to go back together today.