1975 Starcraft Mariner 18'

yooperangler

Senior Chief Petty Officer
Joined
Sep 17, 2010
Messages
721
Re: 1975 Starcraft Mariner 18'

I had a little of the blue left after the 3rd coat on console so I slapped it on the bow wood I had filled the holes and epoxied again a few days before still need some more sanding on the cross piece but think I'm ready to put the bow cover on here :D
100_1360.jpg


I've also got the back motor mounting piece all epoxied and ready to go so should be able to put the transom in tomorrow although I'm still considering priming the boat first if the weather holds. I may still have time to rivet the bow cover on before work today so I better get at it more to come stay tuned :cool:
 

yooperangler

Senior Chief Petty Officer
Joined
Sep 17, 2010
Messages
721
Re: 1975 Starcraft Mariner 18'

Quick update of today's progress need to eat something and get ready for work.
First I tried to get some of the overspray off the console with very little success And took a couple close ups for EZ to laugh at....
100_1383.jpg


100_1382.jpg


Then I put the bow cover on I wanted to stick this down with something and had a tube of PL in the junk drawer in kitchen so decided to use that hope I never need to take it off again but definitely isn't gonna rattle wiggle or bend.
100_1362.jpg


100_1364.jpg


Then it was time for some rivets I love putting em back in. I'm pretty sure I should have left some of em out for bow cap etc.. but I'll figure that out later.
100_1365.jpg


Then I clamped and weighted it down in the middle and cleaned up the PL that oozed out of all the random holes most of these need filled with something anyway maybe the PL will work?
100_1371.jpg
 

yooperangler

Senior Chief Petty Officer
Joined
Sep 17, 2010
Messages
721
Re: 1975 Starcraft Mariner 18'

I had the rivet gun and rivets out there so decided to use the rest of the box on the port gunwale I plan to do this on both sides before painting the top. I got most of the way on the port side before I ran out of rivets and cleaned up the tools. Doing this definitely made the gunwale more solid and easy to do. I thought about replacing the old ones but just put in extra instead no plan or pattern just popped em in every 8 or 10 inches.
100_1378.jpg


That's it for today nothing exciting but at least its progress:cool:
 

ezmobee

Supreme Mariner
Joined
Mar 26, 2007
Messages
23,767
Re: 1975 Starcraft Mariner 18'

Well I guess they've always been small. We can do 640x480. I think you're resizing them too small in photobucket. Your prerogative though.
 

jasoutside

Supreme Mariner
Joined
Dec 20, 2009
Messages
13,269
Re: 1975 Starcraft Mariner 18'

I sewed up the gunwales on my Jet with rivets and definitely made it much stronger/stiffer.

You trying to get yours in the water before the snow flies too?
 

yooperangler

Senior Chief Petty Officer
Joined
Sep 17, 2010
Messages
721
Re: 1975 Starcraft Mariner 18'

Ez I'll check My photobucket settings the next time I post some pics I know I set it up to resize em when I upload to photobucket hadn't thought they were to small but I'll try making them bigger:)

Jas I would really like to get her in the water at least enough to run some gas through the motor and see what may need done throughout the winter months but don't know if I'll make it or not if I can just get passed the transom and paint part and get the rest of the floor cut and epoxied soon it might still happen.:D Sounds like rain for My days off so will probably have to work on the floor panels or something if it lets up I may throw the transom in but too much stuff to work on to put the boat back in the garage right now.
 

jasoutside

Supreme Mariner
Joined
Dec 20, 2009
Messages
13,269
Re: 1975 Starcraft Mariner 18'

All right man, keep on it. Snow comes early in your neck of the wood, eh buddy.
 

yooperangler

Senior Chief Petty Officer
Joined
Sep 17, 2010
Messages
721
Re: 1975 Starcraft Mariner 18'

Time for an update I'll post up some pics if I have time but the bride has plans for me this evening so we'll see.Good news rain held off and transom is in :cool: Bad news 5200 is a serious PITA to work with and My aluminum bolts from fastenal were carp:eek:Pics are uploading now but not sure if I'll have time to post em tonight or not stay tuned:D
 

yooperangler

Senior Chief Petty Officer
Joined
Sep 17, 2010
Messages
721
Re: 1975 Starcraft Mariner 18'

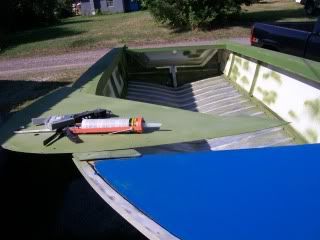
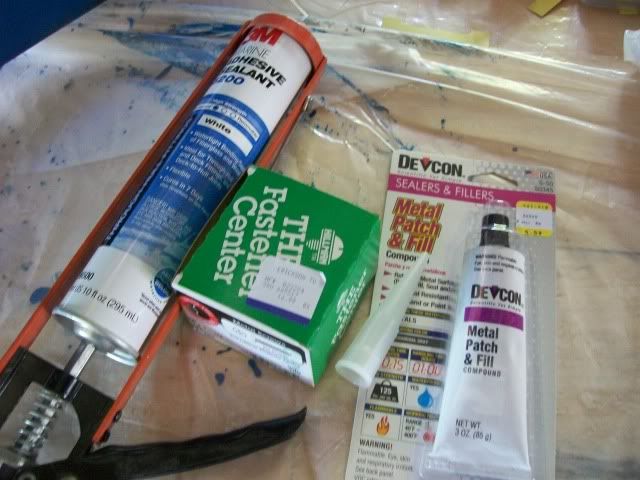
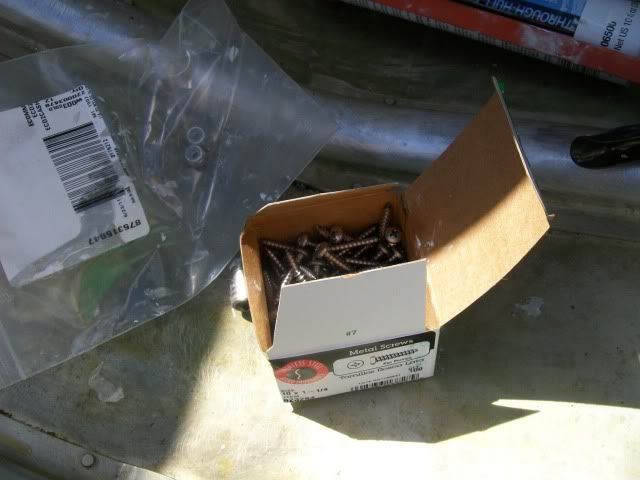
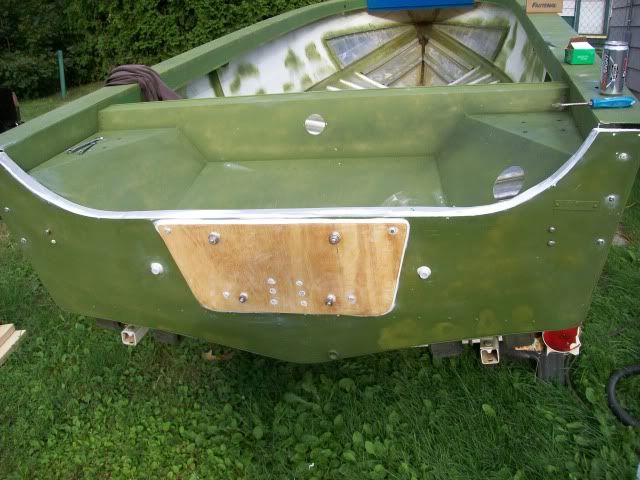
I'll try this again took forever to upload pics last night. I started out yesterday getting everything together to do the transom realized I hadn't ordered new screws for the splashwell so ran to the hardware also found some metal filler stuff I'll try in the bolt holes on bow cover.
0c855e5e.jpg


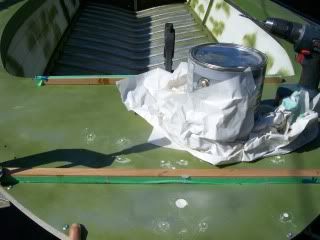
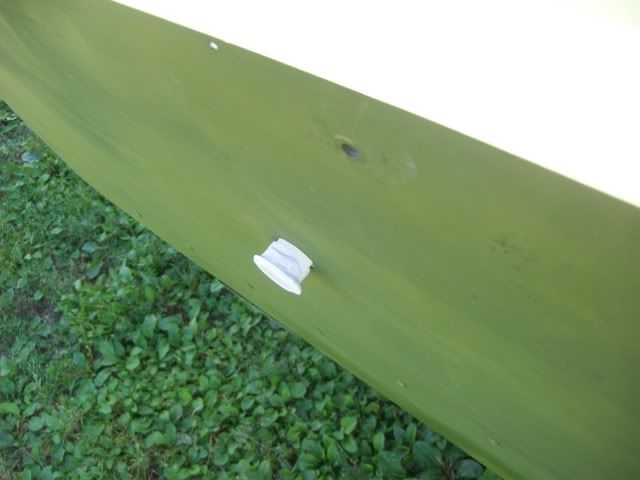
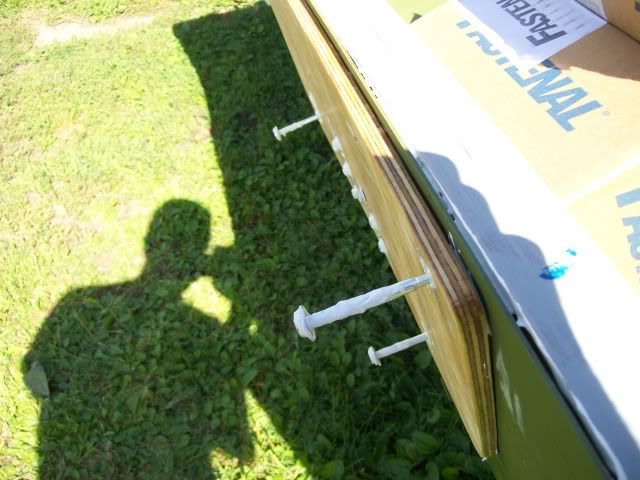
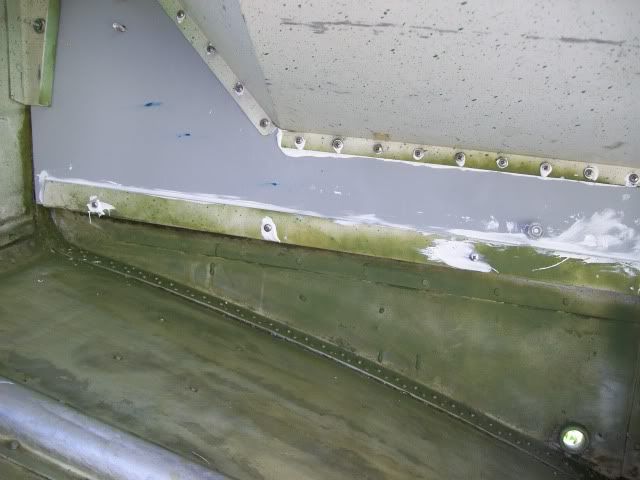
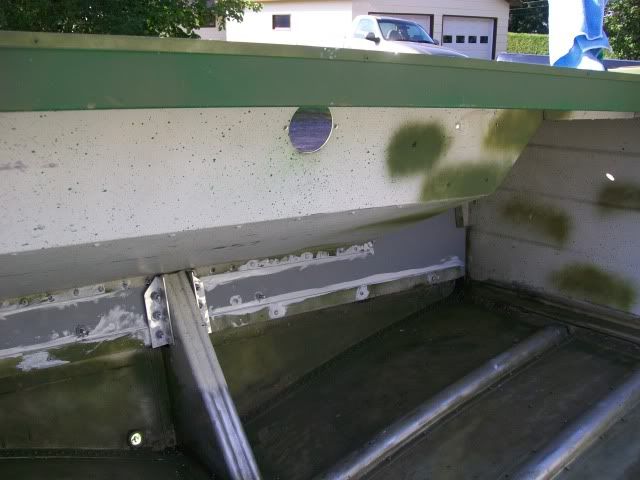
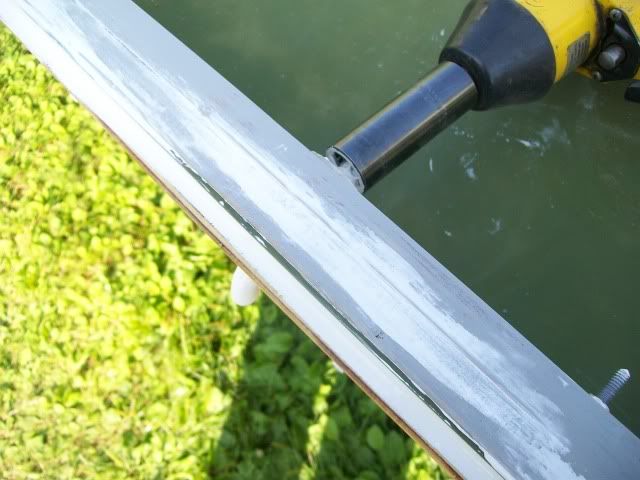
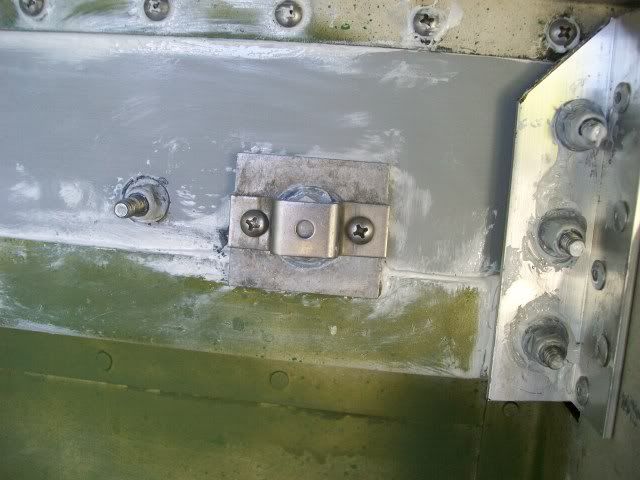
I gooped everything up with 5200, in and around all the bolt holes etc.. This stuff is ooey,gooey and sticky and not good for someone as uncoordinated as Me. I ended up with 5200 everywhere, on the ground ,on My hands,pants arms ,hat shoes shirt, all over the boat.It looked like a toddler had put marshmallow hand prints everywhere. All in all its a good time and everyone should try it at least once:rolleyes:
cacf832d.jpg


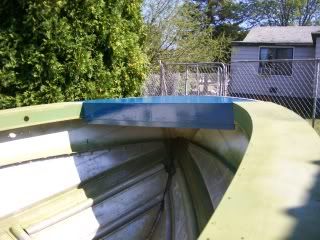
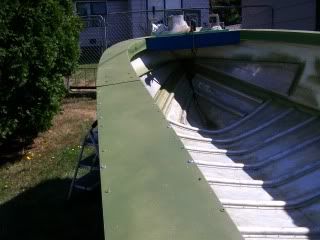
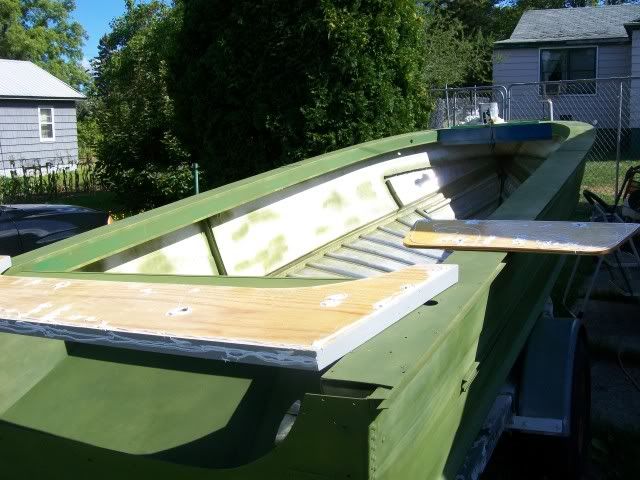
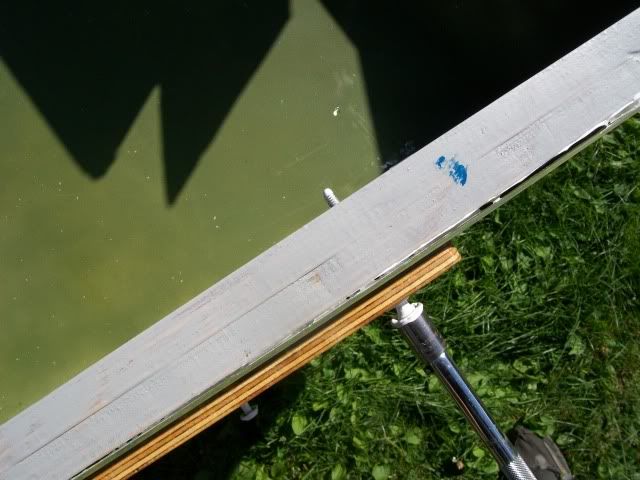
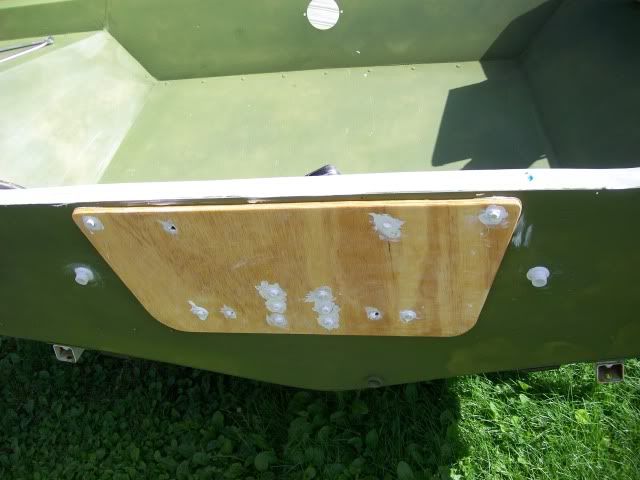
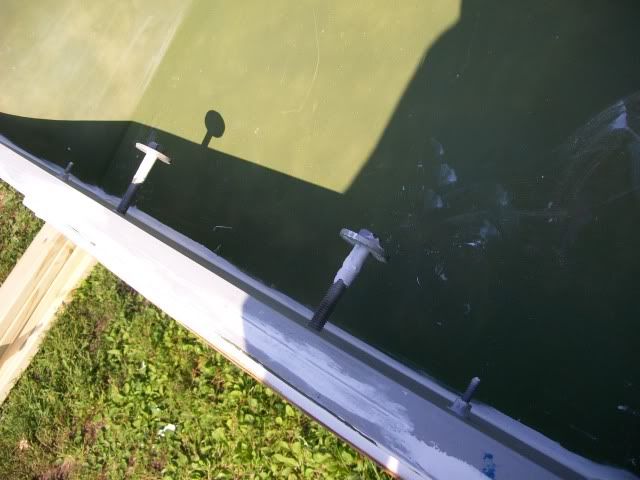
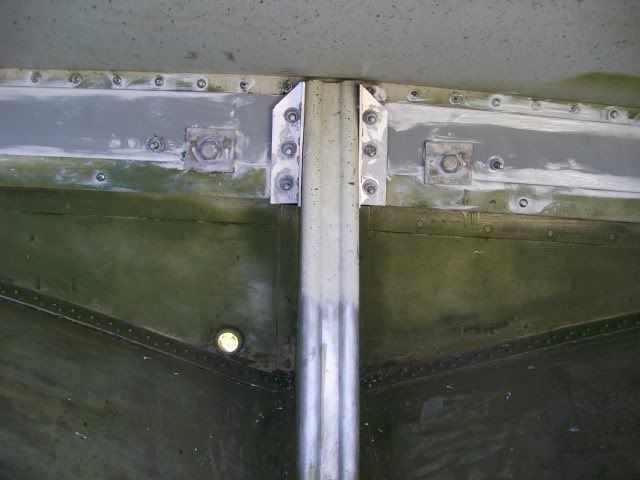
I stuck the transom in and everything lined up nice You can see the ominous ooze starting to come out of the holes let the tar and feathering begin.
6fc2e5e8.jpg


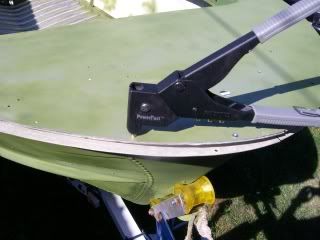
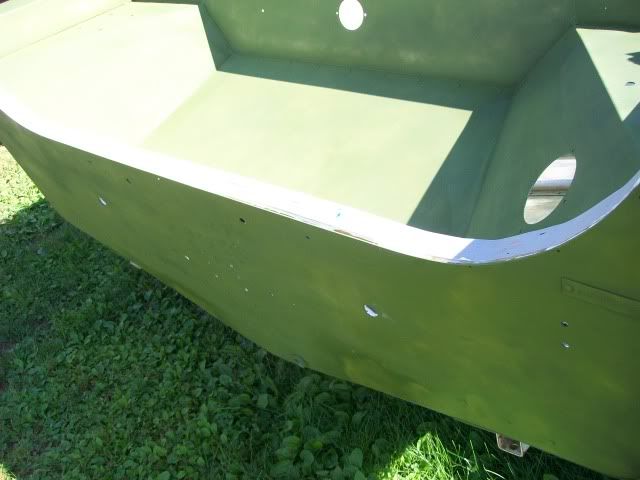
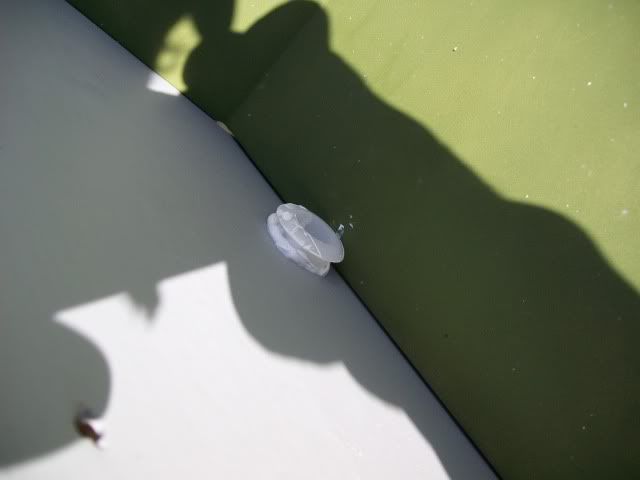
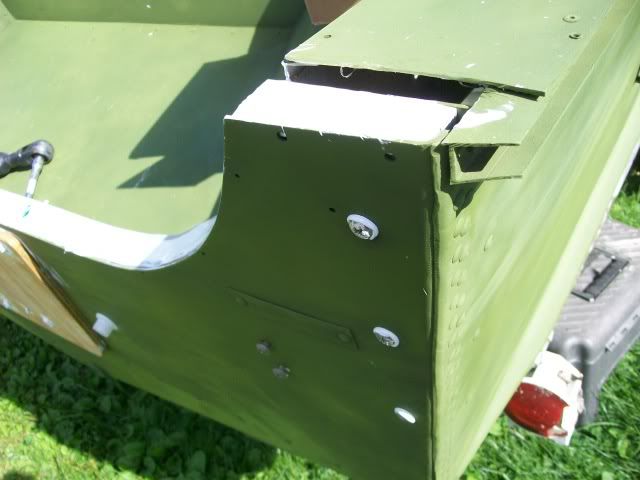
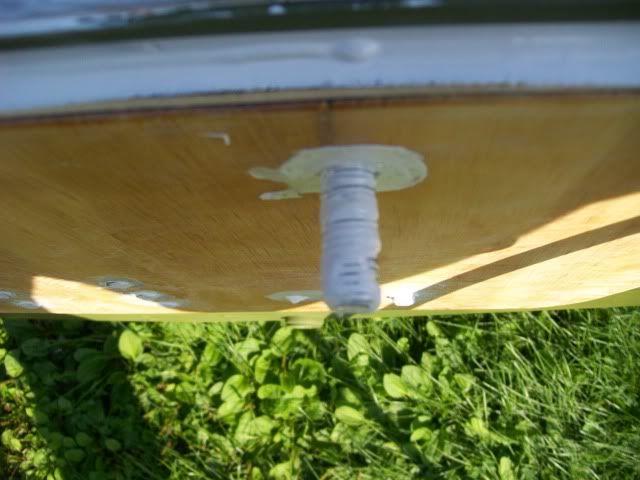
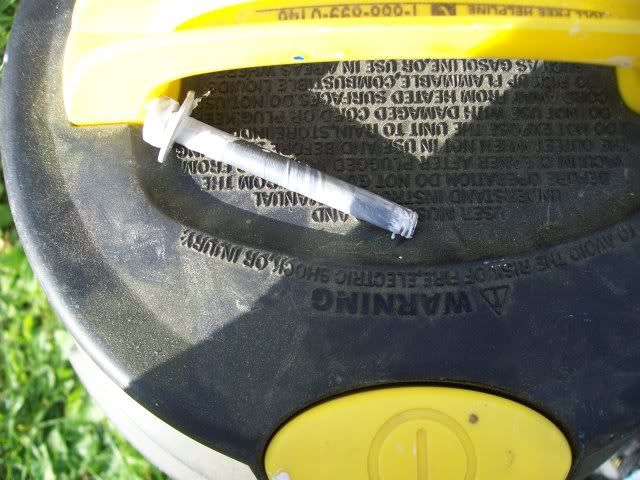
I put the splashwell drains in first gooped up both sides and stuck em in. From this point on My hands were constantly covered in this stuff . A rag with mineral spirits on it was good for wiping em off but really glad this was done before paint.
d5d8fcf0.jpg


03413fe7.jpg
 

yooperangler

Senior Chief Petty Officer
Joined
Sep 17, 2010
Messages
721
Re: 1975 Starcraft Mariner 18'

Then I gooped up all the bolts and stuck em in I put some 5200 on the shank then slid the washer on then more 5200 and ran em in with the air ratchet I had most of them in and tight when I managed to overtighten one and break it. These were the aluminum ones I had special ordered decided they weren't good enough so ran to the hardware and got some SS ones good thing this 5200 has a long working time.
fe70bca5.jpg

dc2dd982.jpg


I reused the original stainless screws for the sides as they were still in excellent shape.
87cf3d87.jpg


In and out of the boat 500 times tightening bolts again
4c5da64f.jpg


Then back in to put the new ss screws in splashwell these are 1 1/4 long so should reach both pieces of plywood original were a little shorter.
619d45ed.jpg


Then I pushed the splashwell up into place and stuck em in this was pretty easy as I had a convenient big glob of 5200 on the floor to dip the screws in and the drill was covered with the stuff so the screws stuck to it nicely.
011cd922.jpg
 

yooperangler

Senior Chief Petty Officer
Joined
Sep 17, 2010
Messages
721
Re: 1975 Starcraft Mariner 18'

At some point I decided the knee brace bolts weren't tight enough yet so back in and out tightening those some more.
e040a0b2.jpg


Then I had to get the motor off the stand since the mounting bolts were holding it on there and I wanted those in while the 5200 was wet.:facepalm:
36a551ae.jpg


I gooped those up with 5200 and ran em in with the impact then gooped the other side and ran em out a ways to make sure everything got sealed up.
05900429.jpg


97c3dee4.jpg


0c056e3f.jpg
 

yooperangler

Senior Chief Petty Officer
Joined
Sep 17, 2010
Messages
721
Re: 1975 Starcraft Mariner 18'

I did the same thing with the bottom ones. I've noticed that on some of the other threads these bolts go in from the outside through the motor brackets but this is the way mine were originally so I'm doing em this way.
52835e8f.jpg


I decided to leave the stern eyes off until after paint (also because I may need to leave one of them off in order to have room for the kicker bracket) so I stuck some bolts through the holes for now.
8ba049b0.jpg


Then the little bolt holder cover thingy's and a whole lot of cleaning up.
3ceec9bc.jpg


The infamous broken bolt pic I should have posted earlier. These probably would have been fine I was putting lots of oomph on a 3/8 drive air ratchet but I feel better with the ss anyway.
888c07fa.jpg


I had countersunk the knee brace holes a little before epoxy and after tightening several times was able to get them nearly flush. You can also see the grinder marks in this pic where My 3rd coat of epoxy had decided to orange peel I started out sanding with the sander but was too much so hit it with the angle grinder to smooth out the raised parts not sure why this happened.
5da65add.jpg
 

jasoutside

Supreme Mariner
Joined
Dec 20, 2009
Messages
13,269
Re: 1975 Starcraft Mariner 18'

I just noticed your photos are way bigger now. Much easier to see and enjoy by all:D
 

yooperangler

Senior Chief Petty Officer
Joined
Sep 17, 2010
Messages
721
Re: 1975 Starcraft Mariner 18'

This is pretty much how I left it. I started around 10 am and didn't come in the house until around 5 to get a beer, then back out til 7ish . I'm in My 40's and in pretty good shape but this wore me out. It would definitely be good to have an extra set of hands when doing this.
935135d5.jpg


It was getting ready to rain so I covered it with some plastic. The wind immediately blew the plastic around and smeared 5200 everywhere again :facepalm: Older fellow next door came over to tell Me it was nice to see rain coming so the boat would finally see some water :D Everybody's a comedian.
4ebbeac4.jpg


I suppose it might be a little early for a before and after but why not ?
100_0470.jpg

935135d5.jpg


I think it looks at least a little better. So far today all I've done is clean up 5200 but hoping for more progress later .
 

yooperangler

Senior Chief Petty Officer
Joined
Sep 17, 2010
Messages
721
Re: 1975 Starcraft Mariner 18'

Agreed! :D

Nice progress Yoop:)

You guys getting snow flurries up there yet?:p

No snow yet but definitely sweatshirt weather today. If the snow holds off for another six months I might get this thing done:) As soon as the 5200 sets up this old girl is getting painted one way or another rain, snow, hurricane upside down or rightside up.:D
Default Re: 1975 Starcraft Mariner 18'

I just noticed your photos are way bigger now. Much easier to see and enjoy by all

Jas I changed the upload size for photo bucket and definitely bigger not sure if there enjoyable though:rolleyes:Thanks for the replies guys I'm hoping to get the rest of My floor panels cut and start epoxying those today but waiting for the ibuprofen to kick in at the moment hopefully more later.
 
Top