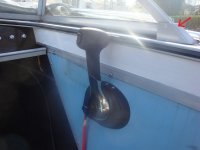
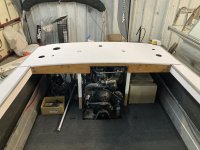
I believe it’s attached with 5/32 rivets from underneathMy boat's in the shop and I'm trying to do some planning. Can anybody tell me how the piece of trim in the picture attaches to the boat? I don't see any rivets.
Also, can anybody explain what is involved with removing the windshield? Are they flimsy when removed? Is there some kind of seal or gasket under it that I should replace when I put it back on?
Thanks for any help you can offer.
on my '75, that lower gunnel trim was secured from the underside with 5/32" pop rivets.My boat's in the shop and I'm trying to do some planning. Can anybody tell me how the piece of trim in the picture attaches to the boat? I don't see any rivets.
Also, can anybody explain what is involved with removing the windshield? Are they flimsy when removed? Is there some kind of seal or gasket under it that I should replace when I put it back on?
Thanks for any help you can offer.


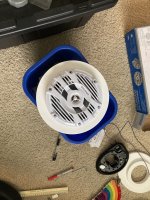
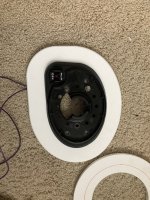
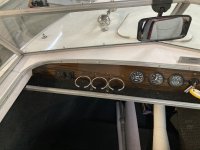
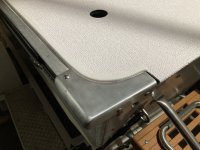
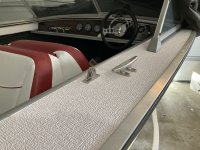
So my windshield seems to be attached the way @classiccat described, but at the ends the pieces looked like they were screwed down with regular screws... I think, The rivet on side of that piece is probably holding the windshield in place and if drill that out the windshield comes out of the trim piece, and the top of the screws holding the trim will be exposed. The picture shows the trim piece I'm talking about. Does anybody know if that's how that goes together?

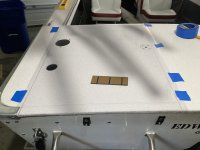
Also, I've been talking to Plasdeck. It's the same company that makes my composite swim platform (Plasteak). I'm going through the process of having a custom mat made for the boat. I think it'll look sharp and it will be a nice surface for the kids to climb onto when they board from tubing/skiing/swimming. The process: They send me a clear piece to mark up with what I want, I mail it back, they digitize it, we discuss, then they make the mat.
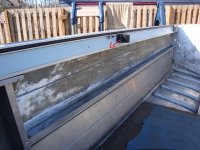
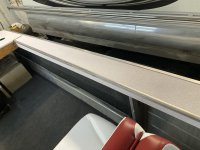
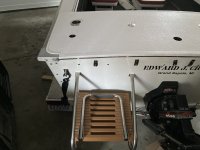
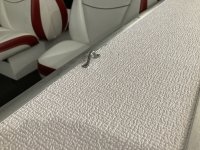
66, hope you don't mind if I poke my head in here briefly.... @SHSU, that pic looks like you put sealant/5200 between rub rail and the Nautolex on the gunnel? If so, how did you manage to keep a clean edge and not end up smearing sealant into all the neighbouring valleys in the vinyl?I would guess that is the case. I didn't have that nice trim cap over the end. It was just the screw/bolt at the end securing it. View attachment 355270
SHSU
No problem at all. That's what we're all here for, discuss and help each other with our project boats.66, hope you don't mind if I poke my head in here briefly.... @SHSU, that pic looks like you put sealant/5200 between rub rail and the Nautolex on the gunnel? If so, how did you manage to keep a clean edge and not end up smearing sealant into all the neighbouring valleys in the vinyl?
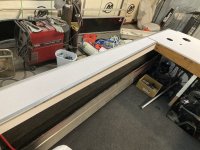
A lot of blue tape. I taped off everything, both vinyl and aluminum side. Think I have a picture or two on my build thread showing how I did it. I will have to go see if I can dig one up.66, hope you don't mind if I poke my head in here briefly.... @SHSU, that pic looks like you put sealant/5200 between rub rail and the Nautolex on the gunnel? If so, how did you manage to keep a clean edge and not end up smearing sealant into all the neighbouring valleys in the vinyl?
No worries, I'll go take a look. I'm surprised how nice the tape worked on that highly textured Nautolex!A lot of blue tape. I taped off everything, both vinyl and aluminum side. Think I have a picture or two on my build thread showing how I did it. I will have to go see if I can dig one up.
SHSU