Stringer repair

bjf66

Chief Petty Officer
Joined
Dec 6, 2016
Messages
406
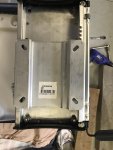
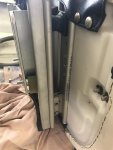
attached photos for reference
 

Attachments

  • photo301101.jpg
    photo301101.jpg
    93.5 KB · Views: 0
  • photo301103.jpg
    photo301103.jpg
    71.4 KB · Views: 0

Scott Danforth

Grumpy Vintage Moderator still playing with boats
Staff member
Joined
Jul 23, 2011
Messages
49,580
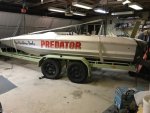
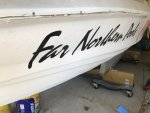
acetone for paint,

razor blade and acetone for decals.
 

bjf66

Chief Petty Officer
Joined
Dec 6, 2016
Messages
406
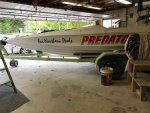
moved the wheel base of trailer frame some 400mm back
got it to where its easy to move around the garage on jockey wheel
seems a little light at 70kg (154lb) on jockey wheel, however for now it will be okay
most probably find need to move back further once start adding fuel tanks
 

mickyryan

Rear Admiral
Joined
Apr 18, 2016
Messages
4,214
use a decal remover rubber wheel they work flawlessly and don't destroy the gelcoat under agree with scott acetone will remove most painted on lettering then wetsand boat until the faded gel matches the rest.
s-l300.jpg
 

bjf66

Chief Petty Officer
Joined
Dec 6, 2016
Messages
406
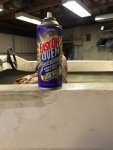
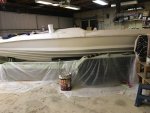
had a crack at one side tonight
used ease off oven cleaner @$3/can...this stuff works, used one can per side
left oven cleaner on the gel coat for 20min before scrapping off
some acetone to clean up and a little polish with 1200 wet/dry
will polish it latter after smoothing out the transom
2 hours cleaning
 

Attachments

  • photo301257.jpg
    photo301257.jpg
    66.4 KB · Views: 1
  • photo301258.jpg
    photo301258.jpg
    105.9 KB · Views: 1
  • photo301259.jpg
    photo301259.jpg
    88.3 KB · Views: 1

bjf66

Chief Petty Officer
Joined
Dec 6, 2016
Messages
406
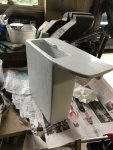
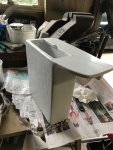
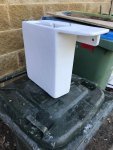
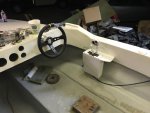
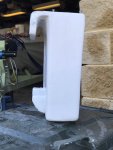
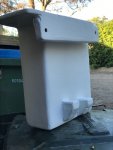
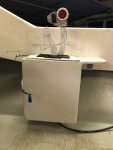
Had a go at building control pod from 6mm gurit board
flocoated it yesterday
needs a sanding and polish
But came up okay

ordered 33c extreme 16' control cable yesterday
will see how this works out for length and may get the other cable a little shorter
 

Attachments

  • photo301808.jpg
    photo301808.jpg
    90.6 KB · Views: 0
  • photo301809.jpg
    photo301809.jpg
    89.1 KB · Views: 0

bjf66

Chief Petty Officer
Joined
Dec 6, 2016
Messages
406
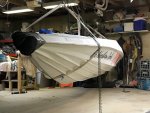
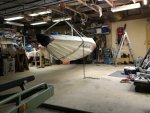
found a picture of boat being swung onto trailer
 

Attachments

  • photo301099.jpg
    photo301099.jpg
    96.5 KB · Views: 1
  • photo301100.jpg
    photo301100.jpg
    104.1 KB · Views: 1

bjf66

Chief Petty Officer
Joined
Dec 6, 2016
Messages
406
sorry I apologies now, as couldn't help myself
however no boom boom music
 

Attachments

  • photo302660.jpg
    photo302660.jpg
    57.9 KB · Views: 1

bjf66

Chief Petty Officer
Joined
Dec 6, 2016
Messages
406
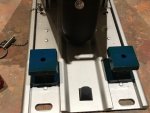
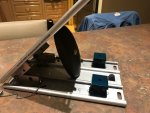
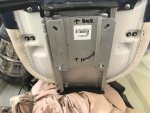
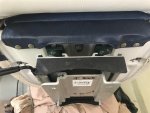
Garelick 77000, 77300, 99191
Suspension seats:
Found 2* new Garelick 77000 Seat Shock Absorbers, for good price?
However when they arrived one set of rubber shock absorber was perished, needed to organise some replacements

looked at Amazon, approx. $35 /set, was going to costs another $50 to get them to Australia

Managed to find urethane shock absorbers for $12.95/set through Great Lake Skipper
https://www.greatlakesskipper.com/t...-pliable-rubber-boat-anti-vibration-pads-pair
fantastic service, arrived Australia 7 days from purchase

These are replacement for Garelick 99191

http://www.garelick.com/Active-Seat-Suspension-Systems
 

Attachments

  • photo303364.jpg
    photo303364.jpg
    80.6 KB · Views: 1
  • photo303365.jpg
    photo303365.jpg
    88.9 KB · Views: 1

bjf66

Chief Petty Officer
Joined
Dec 6, 2016
Messages
406
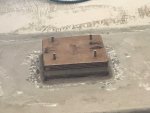
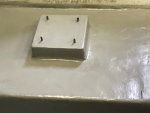
carried on with drivers seat positioning
using 40mm hole saw cut 60mm long floor section
recessed 50mm' long rod joiners into the floor and filled with PB
Using 10mm stainless rod

Built up 75mm H seat pad from ply and gurit board
glued together with PB, then PB to floor
Using 600oz CSM and 200 grm cloth finished
will be sanded tomorrow and flocote once again

Drivers seat will have 100mm sliding adjustment and shock absorber
 

Attachments

  • photo304634.jpg
    photo304634.jpg
    134.5 KB · Views: 1
  • photo304635.jpg
    photo304635.jpg
    113.8 KB · Views: 1
  • photo304636.jpg
    photo304636.jpg
    133.6 KB · Views: 1
  • photo304637.jpg
    photo304637.jpg
    167.5 KB · Views: 1
  • photo304638.jpg
    photo304638.jpg
    158.8 KB · Views: 1
  • photo304640.jpg
    photo304640.jpg
    267.6 KB · Views: 1

bjf66

Chief Petty Officer
Joined
Dec 6, 2016
Messages
406
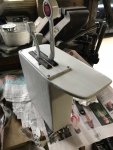
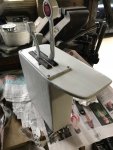
Finished off the throttle pod, sanded and another coat of flocote, followed by light sanding with 600 grit and polish

Installed a gaffrig trim switch on throttle shifter
will use this to trim the Arneson drive

Need another trim switch to control the twin K-planes rams, not sure how I'm going to do this
 

Attachments

  • photo301808.jpg
    photo301808.jpg
    90.6 KB · Views: 0
  • photo301809.jpg
    photo301809.jpg
    89.1 KB · Views: 0
  • photo304641.jpg
    photo304641.jpg
    98.5 KB · Views: 0
  • photo304642.jpg
    photo304642.jpg
    71.5 KB · Views: 0
  • photo304643.jpg
    photo304643.jpg
    82.1 KB · Views: 0
  • photo304644.jpg
    photo304644.jpg
    66.2 KB · Views: 0
  • photo304645.jpg
    photo304645.jpg
    55.1 KB · Views: 0

bjf66

Chief Petty Officer
Joined
Dec 6, 2016
Messages
406
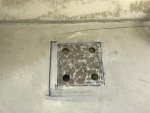
drivers seat mounting block finished, one down one to go
 

Attachments

  • photo304697.jpg
    photo304697.jpg
    62.3 KB · Views: 0

Scott Danforth

Grumpy Vintage Moderator still playing with boats
Staff member
Joined
Jul 23, 2011
Messages
49,580
i would have embedded a tapped plate of 17-4ph. that way if the bolt broke off, you could unbolt the seat drill it out and re-tap.
 

bjf66

Chief Petty Officer
Joined
Dec 6, 2016
Messages
406
Scott
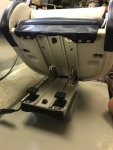
Started on passenger seat: refer attached picture threaded rod goes through the pedestal glued to floor, under floor the rod is screwed into 8mm*50mm threaded rod joiners

If threaded rod fails, I would assume this would happen at the top of the pedestal due to pressure/movement of seat base, in which case may need to go looking for the end to get hold of it to screw out, or alternative drill out the top of the pedestal to get on to rod

finished seat to follow
 

Attachments

  • photo304768.jpg
    photo304768.jpg
    87.8 KB · Views: 0

bjf66

Chief Petty Officer
Joined
Dec 6, 2016
Messages
406
finished drivers seat mounted
 

Attachments

  • photo304769.jpg
    photo304769.jpg
    72.6 KB · Views: 0
  • photo304770.jpg
    photo304770.jpg
    58.8 KB · Views: 0
  • photo304772.jpg
    photo304772.jpg
    76.9 KB · Views: 0
Top