Re: Starcraft SS 18' I/O restore project
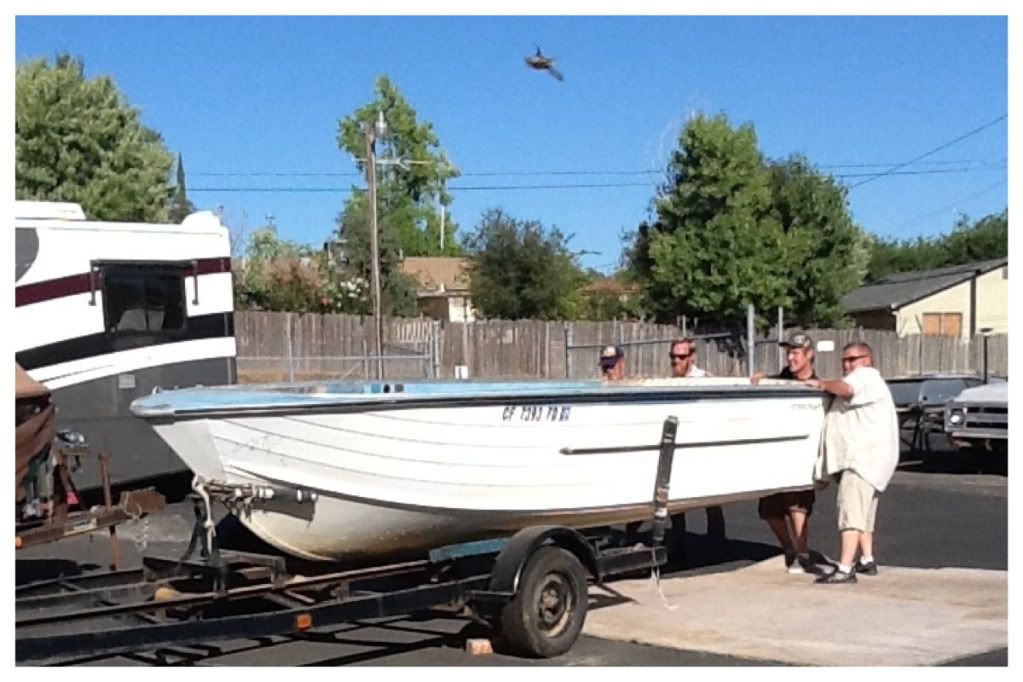
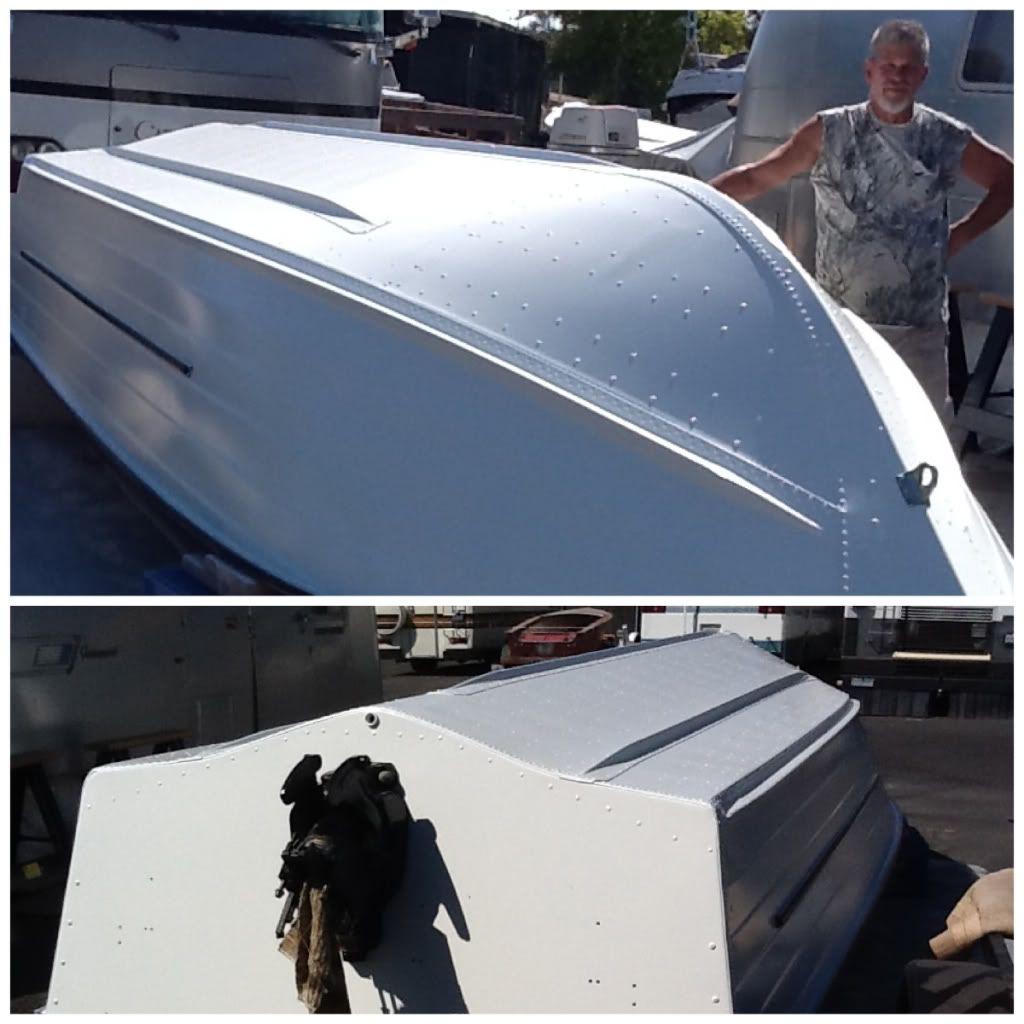
Well it's been awhile since last I had the time to update this thread. Sorry about my tardiness, but it has been a long extensive effort to get this paint job accomplished and I've spent many days of ten to twelve hours getting to this point. Two reasons: I really like things done right and I have an auto painter/body specialist friend who insists on things being just so, and he's been my help all through this job. Therefore, this became a first class paint effort, the kind that would cost you several grand if you went to a custom paint shop to have it done. Without going into great detail of all my pain and suffering, here are some photos and explanations of the work as it stands today and which wil hopefully be done by next Tuesday.
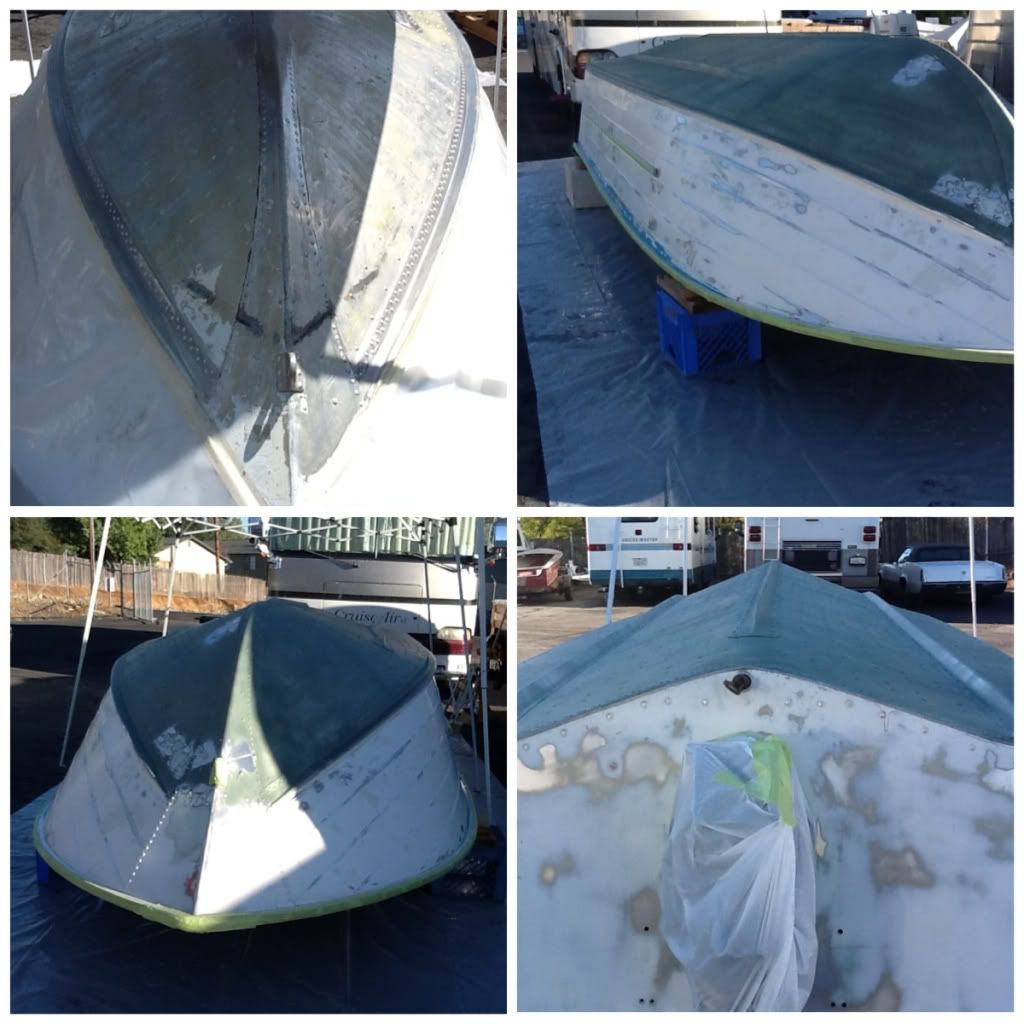
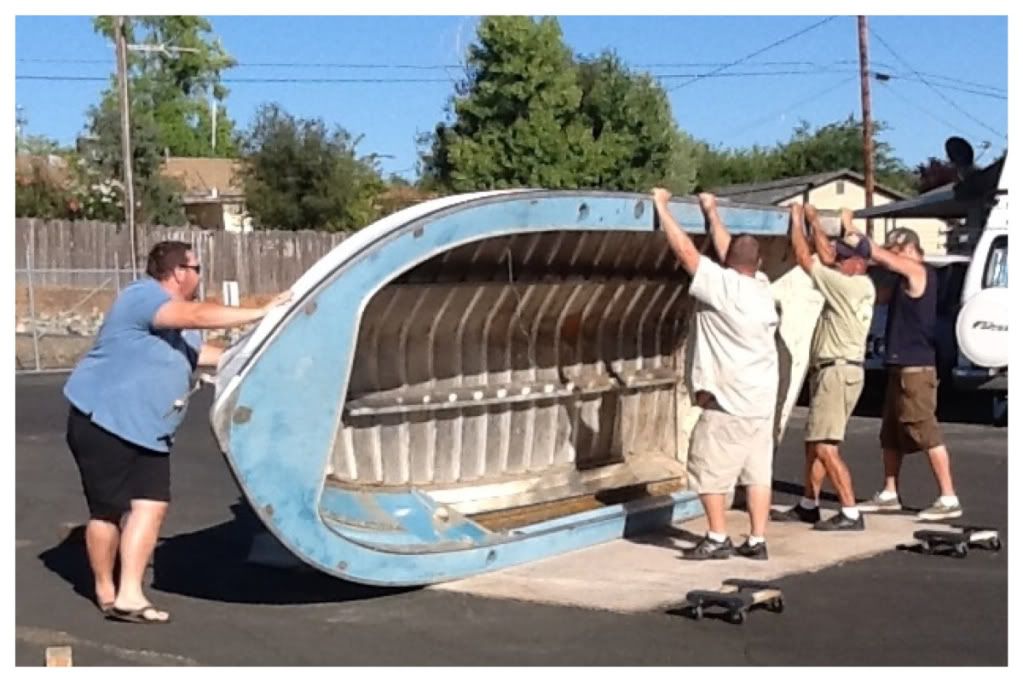
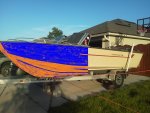
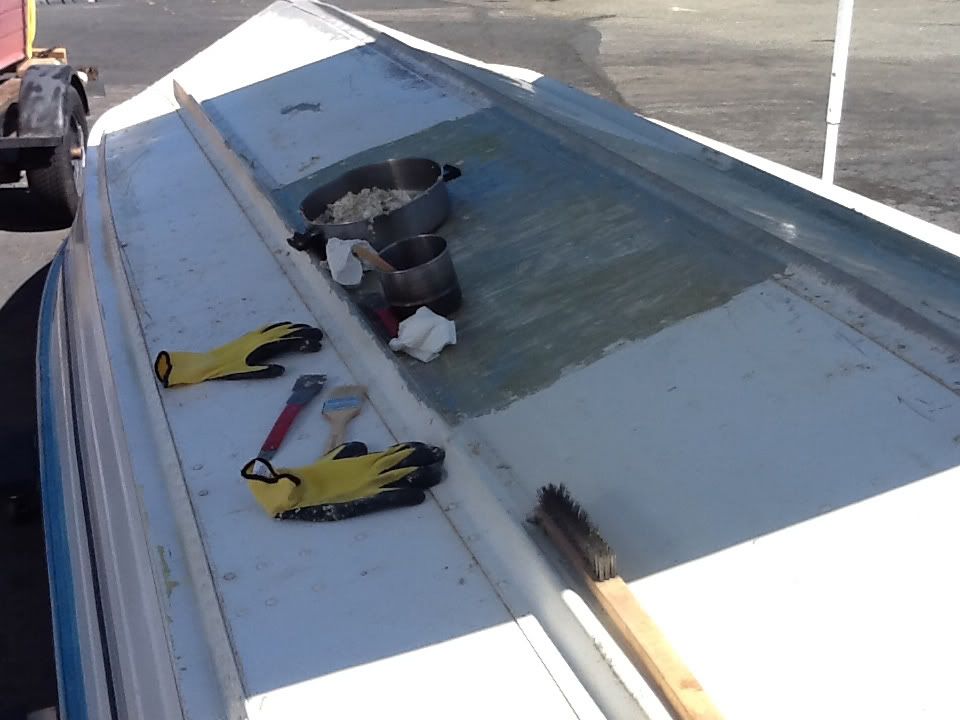
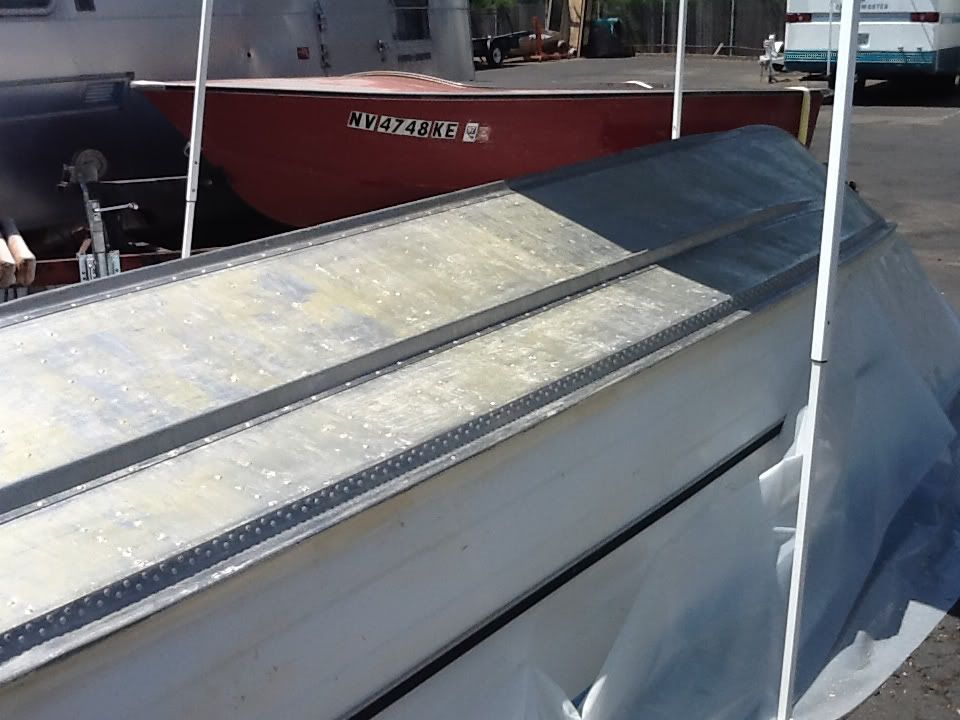
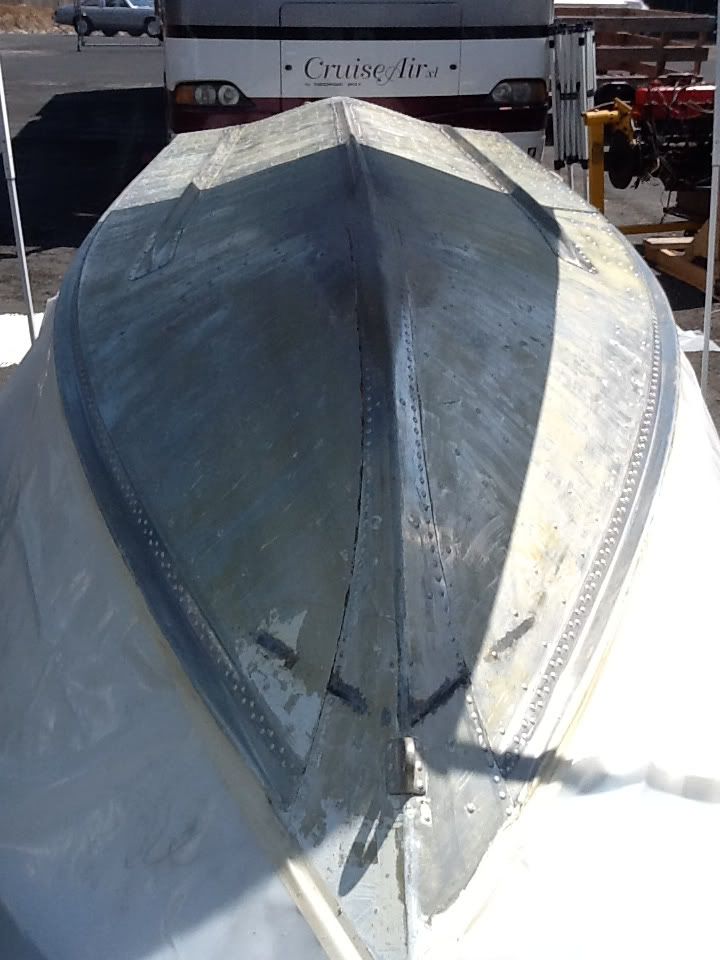
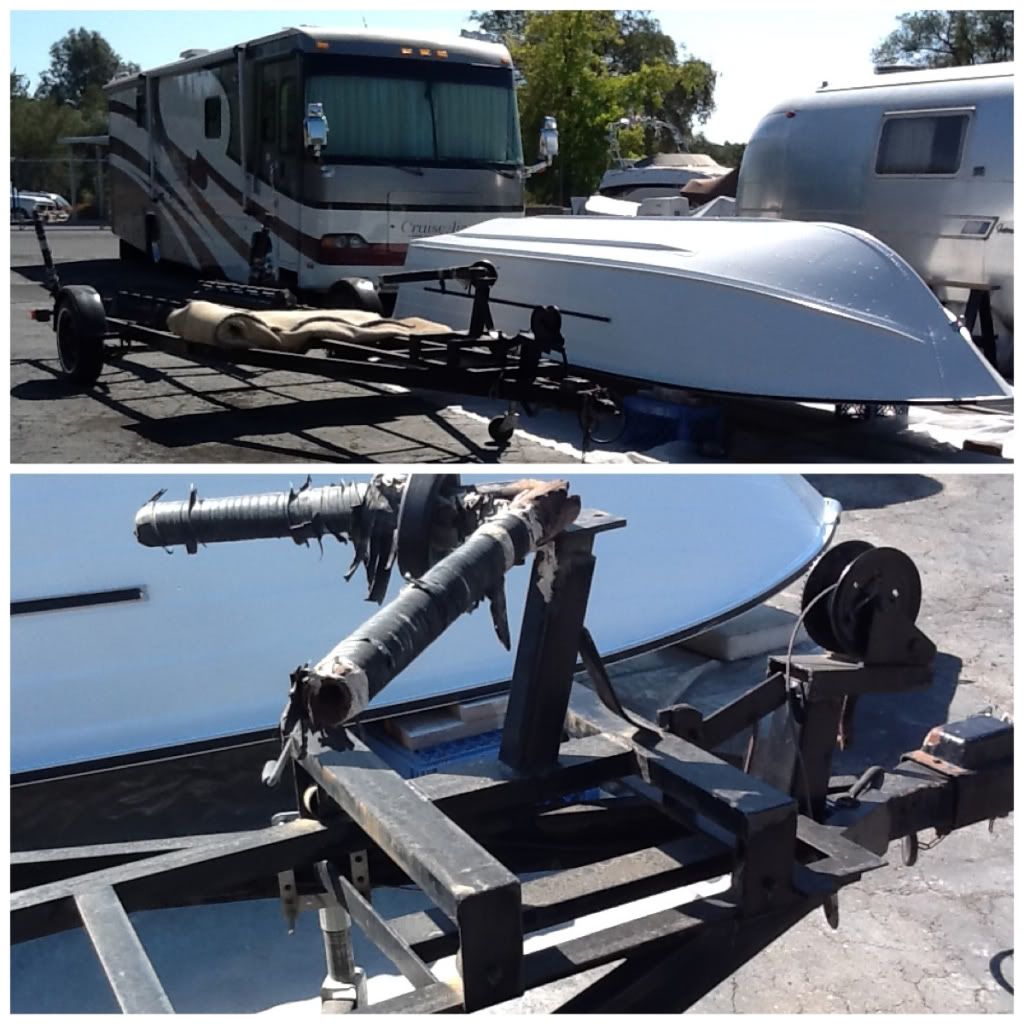
Top left: I started by stripping the bottom beginning Aug 7. It took about five days to do it all in the heat which considerably slowed the process. The two black lines are hull damage/wear caused by using round pipe for a large V shaped guide-on on the trailer. This needs to be removed from the trailer and replaced by flat bar stock. The pipe wore indentations in the hull plate which had to be filled. Top rt: I put a light coat of self etching primer on the bare aluminum to stop any oxidation since I knew it was likely to be at least a couple of weeks before I'd get paint on it. I now wish I'd gone ahead and stripped the entire boat. Instead, I used glazing putty to fill all the damaged paint areas, scratches in he hull, etc. Huge job. Lots and lots of sanding as you can see if you look closely. Probably took 10 to 12 days. Lower left: nearly ready to prime, a few places to touch up with filler, but she's now straight as an arrow down the gunwales. Lower rt: Transom prepped.
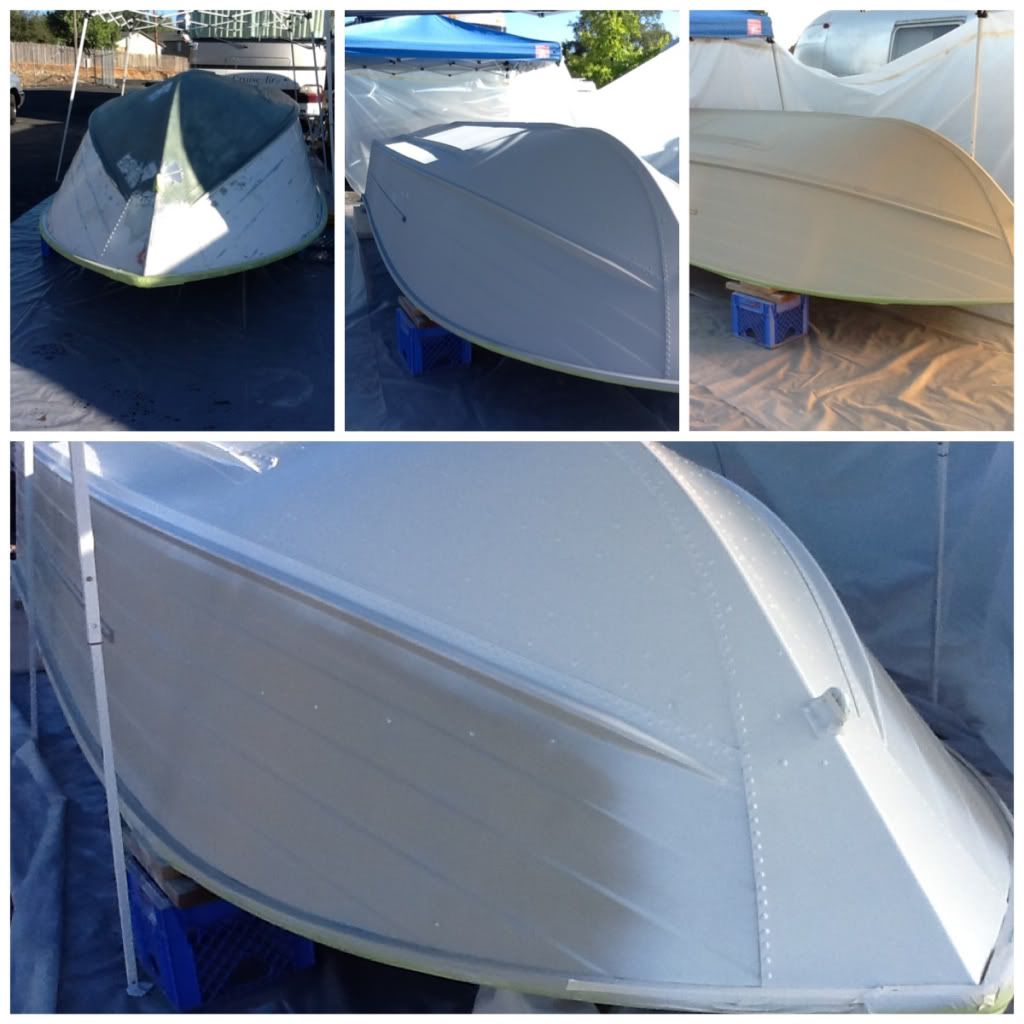
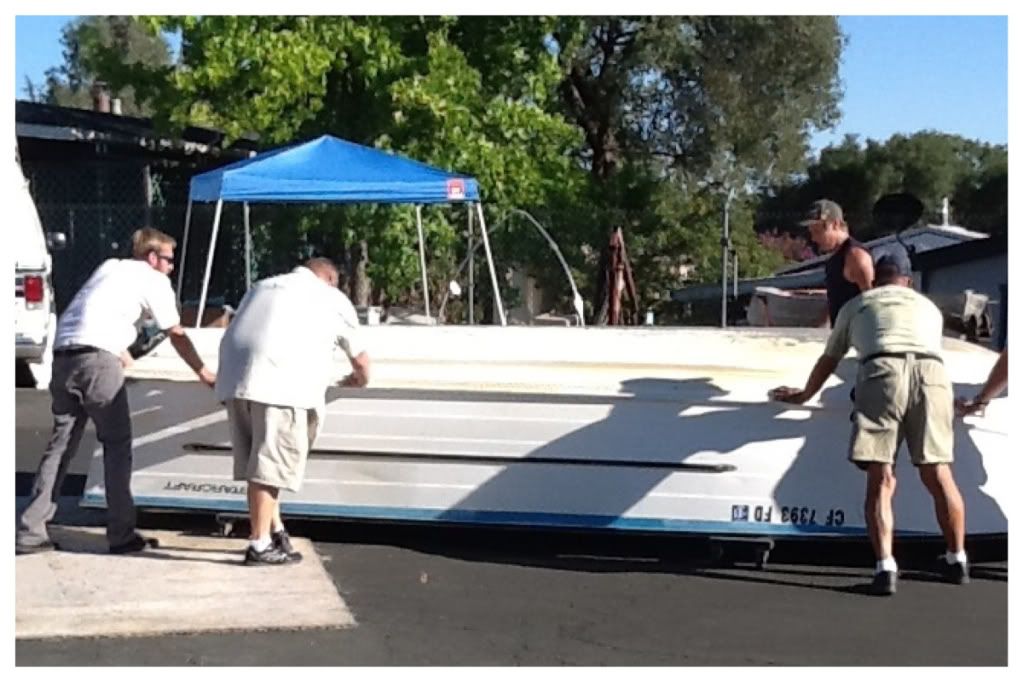
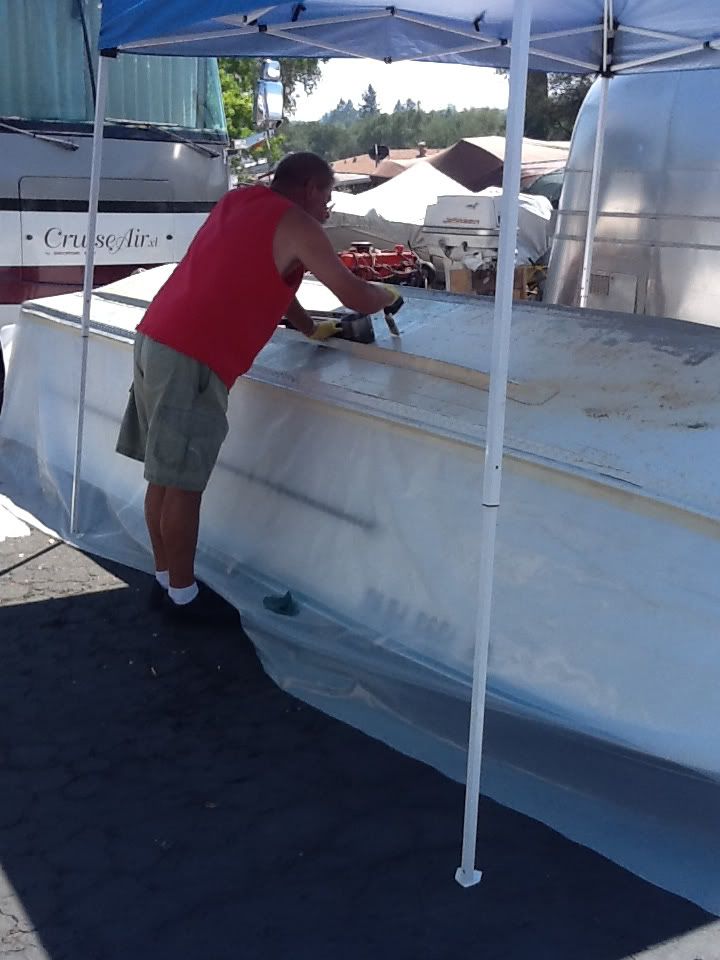
Upper rt: Tent me and I'm ready for paint. Upper middle: First primer, grey filler primer to help fill all scratches, pin holes, etc. Must be block sanded after drying with 220 grit dry. Two days what with the hundreds of rivets to work around on the bottom. Upper rt: first of two coats of sanding primer. When dry it must be wet sanded with 320 grit. One day per side, two days on the bottom and two plus hours on the transom. By the way, a few minor exceptions, I did all the sanding. Bottom: three coats of Amerlock 2 two part epoxy reduced 30% with zxylene to get an approximate 5 to 6 mil build. BIG PROBLEM. Paint looks gorgeous, but would not set up and dry. Took a full week to get dry enough to feather where we have to blend the bottom and sides together. It's going to be a couple of more weeks before it fully cures and I was not happy. The literature says this is a fast dry paint. But the guys who sold it to me didn't do their homework. After talking with an industrial paint specialist I was told that zxylene is recommended for reduction up to 20 percent when brushed or rolled, but when spraying this paint should be reduced with Methel Ethel Keytone, a rapid evaporator/dryer. So now that the previously sprayed bottom is dry, we can spray the rest next Tuesday. Since we both have a golf tournament to play Monday, well get 'er done Tuesday.
Over all, this amerlock paint is beautiful. It's almost impossible to make it run. If you brushed it, it would fill in like a dream. It is a very high solids content paint, and the test pieces I've done have dried up hard as a rock. This stuff will be durable, and best of all can be applied without primer on any metal surface or can be applied over any existing paint.
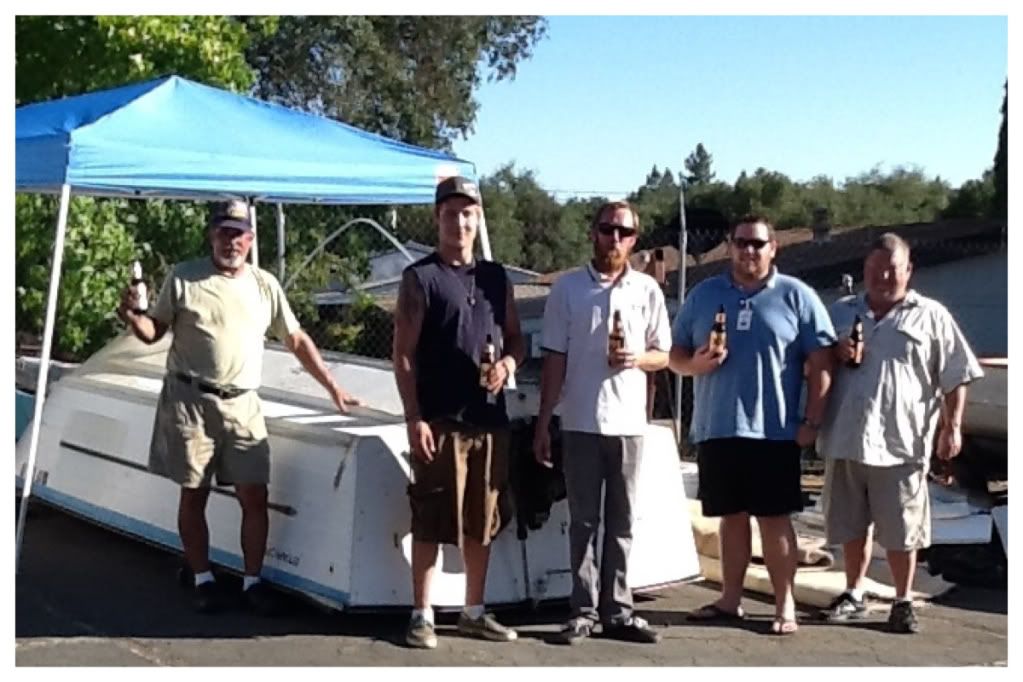
Ok, I've brought it more or less up to date. I'm way behind schedule, but that's the way it goes. I'll be back with more pics next week when we get e rest of the paint on it. Then I've got to get the trailer squared away so I can put this monster back on it, seal it up, get floor in it and install that six banger, all before it rains!!


