Ooo! Sparkly! Redfury's Grinding again!

redfury

Commander
Joined
Jul 16, 2006
Messages
2,655
Re: Ooo! Sparkly! Redfury's Grinding again!

Well John, I gave up having a timeline for the boat. I'm taking it as I can.

My hopes for this summer is to have the deck installed and all the supporting wood cut and glassed in, ready for the cap to be permanently installed.

However, that plan may change as I may just get the deck done, and then flip the hull and start the body work there and get it painted and ready for next summer where the cap will find a permanent residence back on the hull.

I'll just have to see how it goes...so far so good though...other than all this dang rain! It's been raining ALL WEEK....:grumble: :mad:
 

redfury

Commander
Joined
Jul 16, 2006
Messages
2,655
Re: Ooo! Sparkly! Redfury's Grinding again!
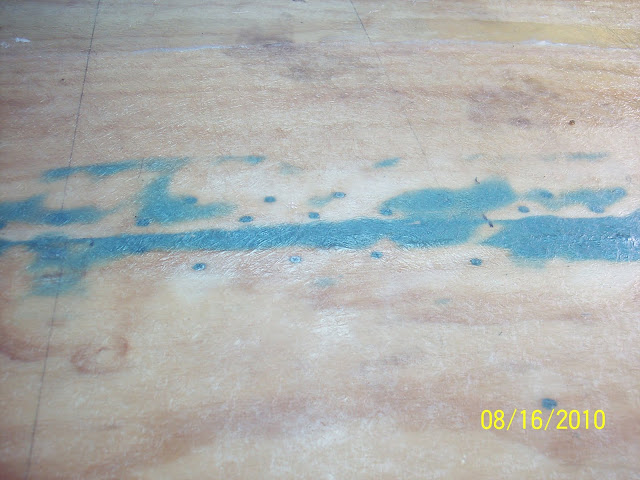
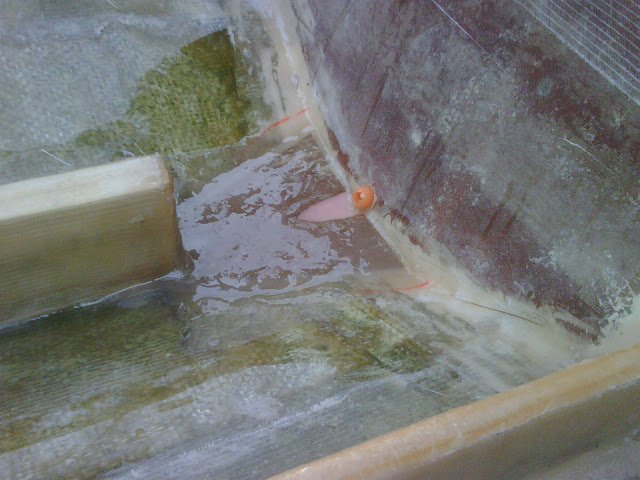
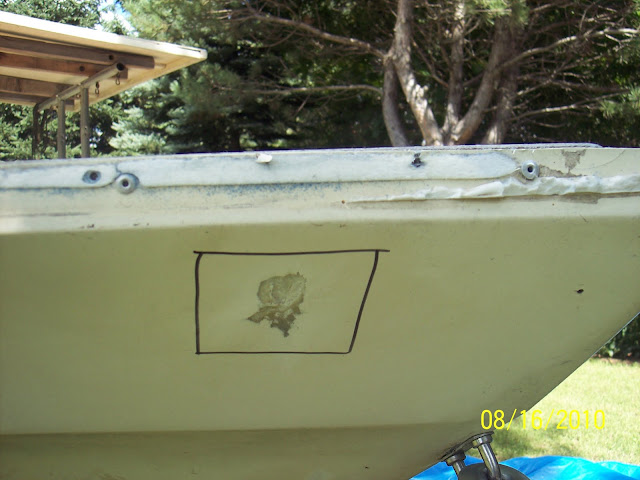
As usual, I end up just "doing it" without showing my process. Well, it was pretty simple all things considered. At least my phone has a decent camera on it so I could snap a pic as soon as I realized what I had done, so this is thick with resin before I laid a final piece of CSM over it for good measure.
drainage%20corrected.jpg


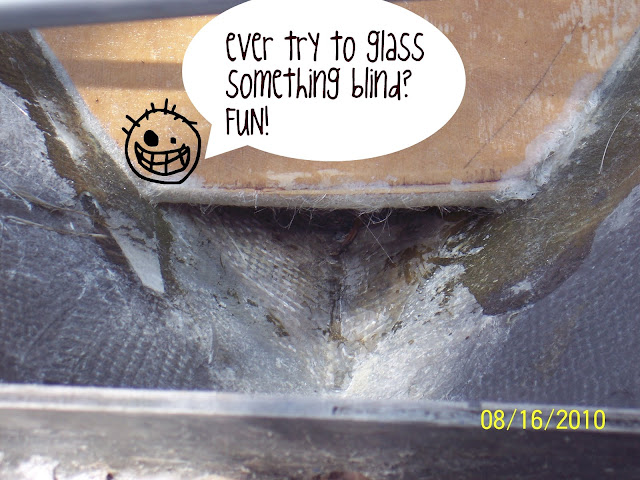
the drainage problem is solved. I shaped some pink foam insulation with my table top sander and then cut a piece of cardboard to go over it, then applied 3 layers of CSM with resin infused with microballoons to create a nice hard section of glass for the water to drain out of. The pink area is curved to allow the water to drain down to the drain plug hole. the orange ball is a bungie ball pulled tight into the hole to prevent resin from getting into the drain hole. I used the cardboard because I knew the resin would eat the pink foam. I also glassed one side of my first bulkhead since I had to use up the last of my resin ( got to go get some more supplies before I can do anything else ).
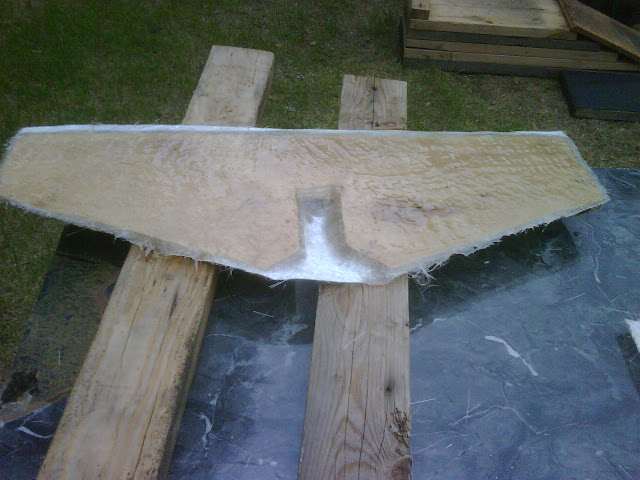
bulkhead.jpg

oh, and I added another layer of CSM to this also. Between this piece and the build up I used 500ml of resin.....I've done a whole stringer length on the boat on one side with 500ml with 1708!
 

vegasphotoman

Lieutenant
Joined
Jul 13, 2009
Messages
1,411
Re: Ooo! Sparkly! Redfury's Grinding again!
Redfury Im glad you're back on this tri hull....

ROCK ON! :D
 

redfury

Commander
Joined
Jul 16, 2006
Messages
2,655
Re: Ooo! Sparkly! Redfury's Grinding again!

Wish I could say I have greater things in the works, but with my 10th anniversary this month, among other things ( like rain! ) I'm probably not going to get to do much to the boat until late June or even into July :( But, I do have a plan of action to follow and that will speed everything up once I get on it. :D
 

redfury

Commander
Joined
Jul 16, 2006
Messages
2,655
Re: Ooo! Sparkly! Redfury's Grinding again!

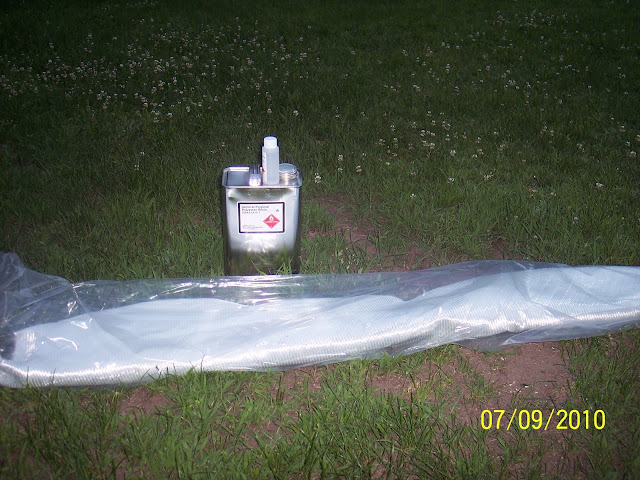
100_2450.jpg
Guess what I brought home today? :D 4 yards of 1708 and a gallon of resin....the stringers are going to get FINISHED, as well as the transom is going to get its thickness built up proper ( as soon as we shed some of these high 80's days )
100_2444.jpg

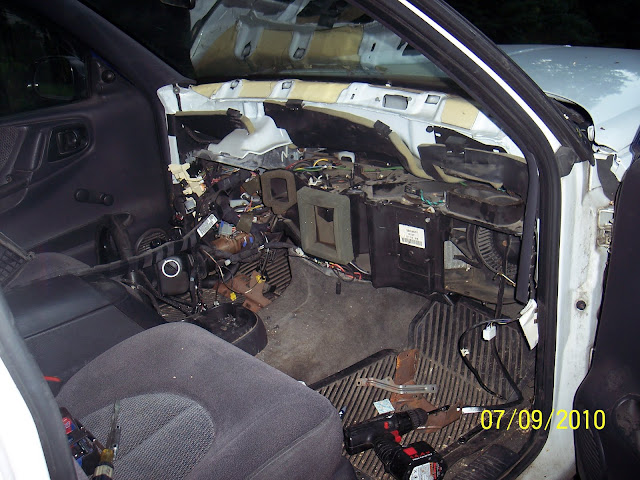
Oh, and as soon as I get this darned heater core replaced in my truck :eek: What a PITA!
100_2445.jpg

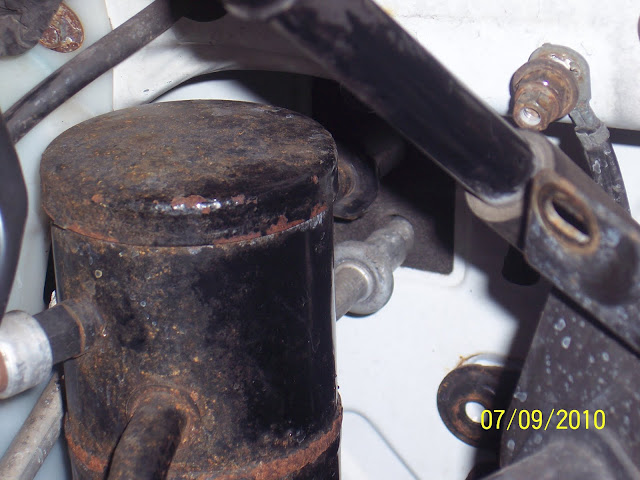
Talk about no room to work...I played H-E-double hockey sticks getting these fittings off the evaporator. Finally got them off with the help of a little penetrating fluid and my disconnect tool. Seriously, I'm glad I don't do this for a living....hardwood floors are so much more friendly.
 

redfury

Commander
Joined
Jul 16, 2006
Messages
2,655
Re: Ooo! Sparkly! Redfury's Grinding again!

The good news is that I got the new heater core installed and the dash back in place. It's gone back together faster than it came out, which I'm not going to complain about! Hopefully I didn't forget anything critical and have to pull the dash back off because I missed something. I'm pretty sure I'm good there.

Gotta get a couple of parts to finish up the job, but I got the majority of the dash put back together in a couple of hours. I figure 2 or 3 more and I'll be done and up and running again.

Which means of course, I get to fiberglass again! As long as it doesn't rain that is...forecasted to do such a thing on Sunday, but Monday ( my day off ) looks good. Hopefully I can get something accomplished this weekend?

Keep your eyes peeled for more pics and witty banter by yours truly! :D
 

vegasphotoman

Lieutenant
Joined
Jul 13, 2009
Messages
1,411
Re: Ooo! Sparkly! Redfury's Grinding again!

you did that heater core job, you're a nut! bummer you had to mess with it....
I was a mechanic for 15 years, in the old days pre 90s they used to be smart and put the heater cores in easy to access places...NOT ANYMORE! welcome to the dash removal nightmare!

hehehe

good job on the drainage issue, my 1978 Newman boat has the same issue....but Im not keeping her and we rarely get rain etc...so I prob wont do anything about it....besides Im selling it when shes done, with a nice boat cover etc

Hey for $199 at Kmart I seen these nifty car/boat shelters ....10ft x 20ft in length, mebbe it would help you keep some kind of schedule going.. (danged RAIN DELAYS)

they also have $99 dollar versions without side covers...
http://www.kmart.com/shc/s/search_10151_10104?keyword=car+shelter&x=0&y=0&vName=
click link to see em

ROCK ON!
 

redfury

Commander
Joined
Jul 16, 2006
Messages
2,655
Re: Ooo! Sparkly! Redfury's Grinding again!

I had thought about picking one up, but every time I look at them, I think "man, that's just flimsy...one good windstorm and it's a goner"

Then I go look at the ones made out of box steel and think to myself "man, I'm too much of a cheap *** to buy one of these...and the city would probably make me take it down anyway...maybe the cheap one would be better to go with...."

Then, I don't buy anything and just look at the boat sit out in the hot sun or getting its hull washed by the rain....

Anyone want to donate to the "Redfury needs a proper garage fund" ? :D
 

83mulligan

Senior Chief Petty Officer
Joined
Feb 7, 2009
Messages
687
Re: Ooo! Sparkly! Redfury's Grinding again!

hey red, good to see you getting geared up to go again.
 

redfury

Commander
Joined
Jul 16, 2006
Messages
2,655
Re: Ooo! Sparkly! Redfury's Grinding again!

Yeah, it'd be great to get going again....once this monsoon stops! This is twice in one week! This is not the norm for MN. We had so much rain earlier, all my grass clippings from mowing were washed off the lawn! :eek:
 

redfury

Commander
Joined
Jul 16, 2006
Messages
2,655
Re: Ooo! Sparkly! Redfury's Grinding again!

The threat of rain just won't let up, but I decided to say the hell with it and start being a little riskier with the boat project if I want to get anything done to it at all!

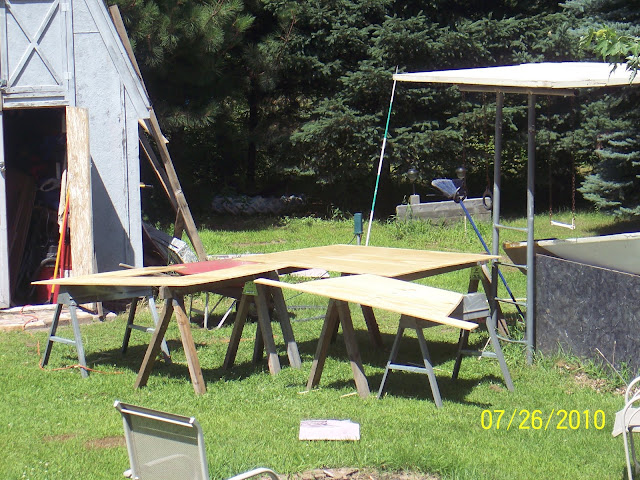
So, I got out in the blazing heat and humidity and cut the rest of my deck panels out and spent an hour trimming them to fit the way I was happiest with.

100_2473.jpg

This was before I got everything trimmed up just right, but it's pretty much spot on with the templates I made. I'm pretty happy with it.
100_2477.jpg

Got two coats of a fast drying oil based sealer on both sides of the major pieces ( have the nose piece to finish, but that's the least of my worries at the moment ). Of course, I'm also helping my neighbor install a wood floor in his master bedroom, so every couple of hours, I'd come over and sand and coat the wood until it was all done...at about 9pm-which is when the last coat of sealer was put on.

Woke up only to have had it rain last night. I went out and found the water had beaded up on the boards like they had all been freshly waxed...good enough for me! I think they are sealed! :D

Next step is bracing the seams. I'm on the fence as to putting boards across and into the tops of the stringers, or just using strips of plywood between the stringers, bridging the gap underneath using PL adhesive and some rivets or screws. Haven't decided that yet. I've got the rest of the week to decide as we are supposed to have crummy weather for a few days yet...this weekend looks promising though, and I have a short vacation coming up. I'm hoping that I'll have the deck installed and glassed by the end of next week....cross your fingers! :D
 

redfury

Commander
Joined
Jul 16, 2006
Messages
2,655
Re: Ooo! Sparkly! Redfury's Grinding again!

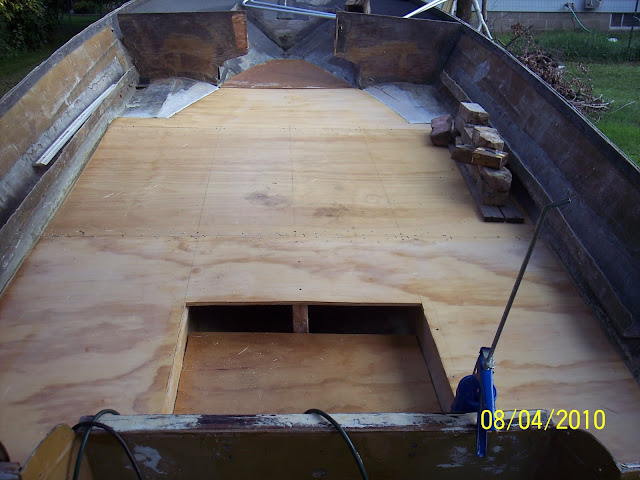
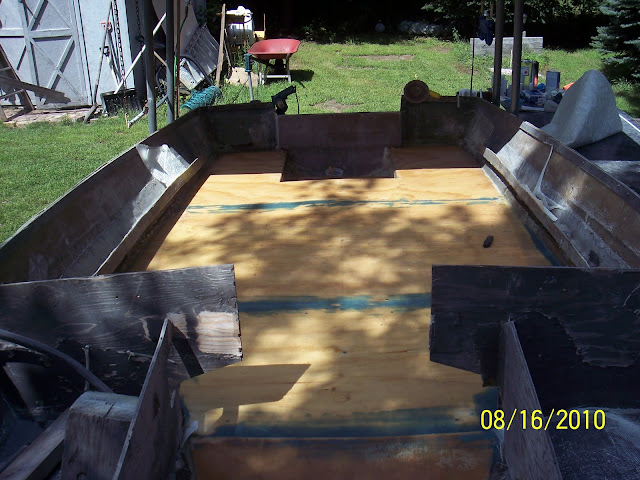
We have a Deck! It's not done, but the hard part is pretty much finished...it's time for the Glass work as soon as the temps cool down at night and I have the time to do it ( sooner than later, they are predicting some rain this weekend! )

100_2487.jpg

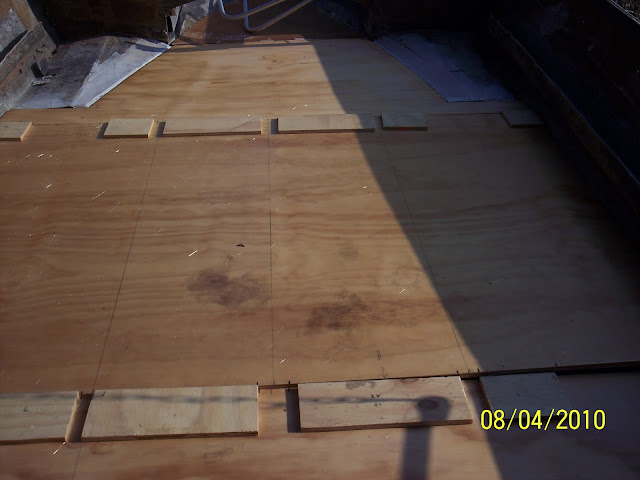
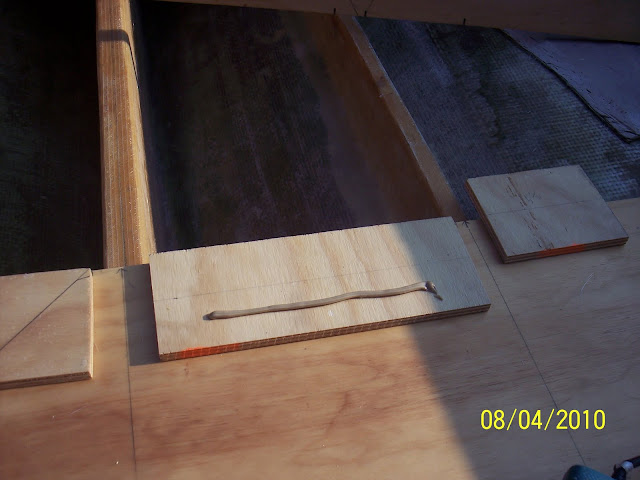
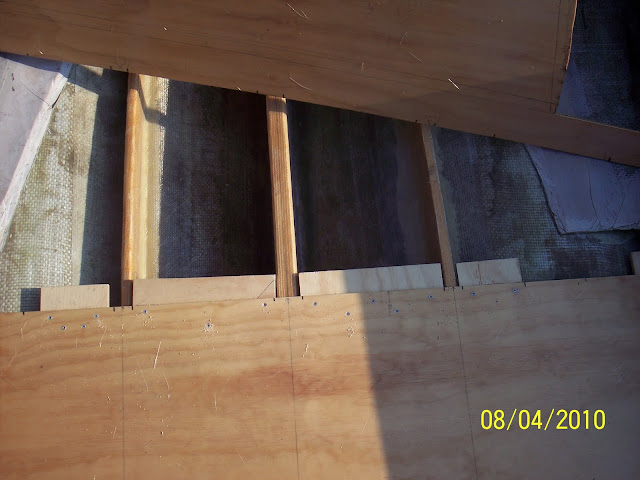
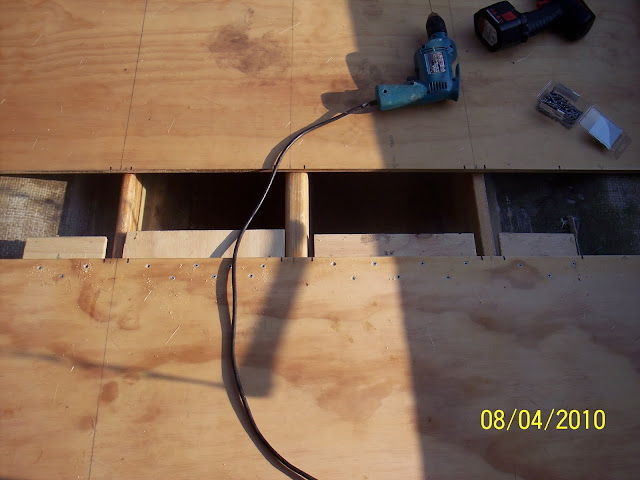
So, I scrapped the idea of installing braces across the stringers, which would have meant me cutting into them and hoping that my sealing job would hold and not let water into the stringers where the cuts were. I got this idea from another restorer that did an overlap joint for his panels and made a monolithic deck. Well, I can't handle a piece of plywood this big by myself, so I did the work in the boat....tried to get as many photos that made sense as possible to show what I was doing. So, here are my sealed boards for tabbing the two seams together.
100_2488.jpg

a little PL premium....
100_2489.jpg

a few one inch long coated exterior deck screws....
100_2490.jpg

The second seam is ready...
 

redfury

Commander
Joined
Jul 16, 2006
Messages
2,655
Re: Ooo! Sparkly! Redfury's Grinding again!

100_2491.jpg

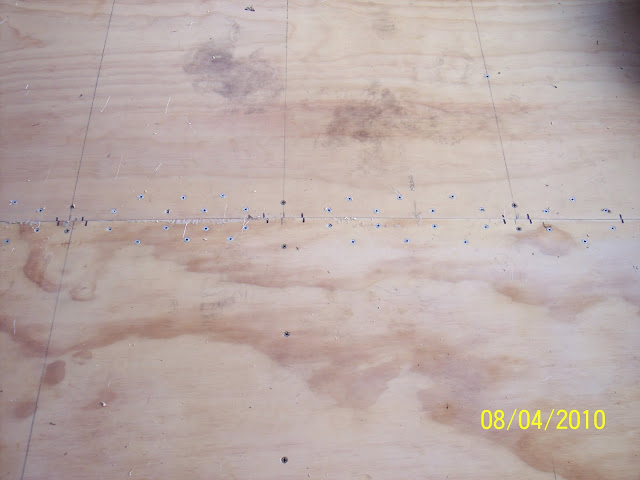
PL Premium down the stringers and down the curve of the hull where the deck meets it and about a grand total of about 120 screws to hold it all in place, as well as a little bit of weight, some PL around the perimeter to help hold it in place until I get it taped up with some Biax.

I have to finish the bilge area, but that is going to get the router treatment and I have to finish shaping the bulkhead before I call that area good for glassing.
100_2492.jpg

Of course, all of these screws have to come out one by one and get some sealer in there to avoid an future problems, even though the PL and glassing should take care of it, the extra step is piece of mind for me.
 

redfury

Commander
Joined
Jul 16, 2006
Messages
2,655
Re: Ooo! Sparkly! Redfury's Grinding again!

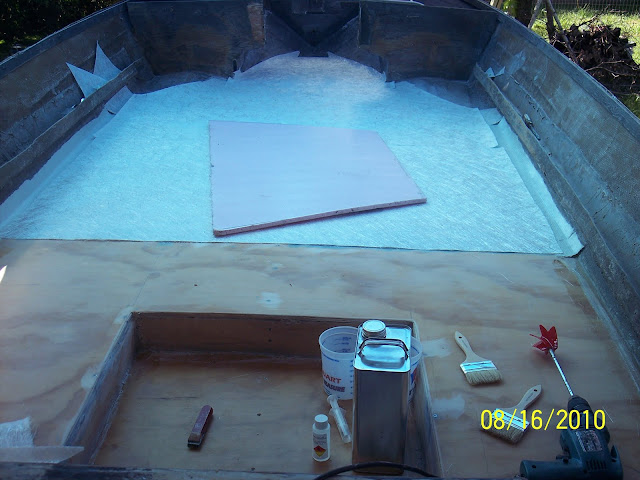
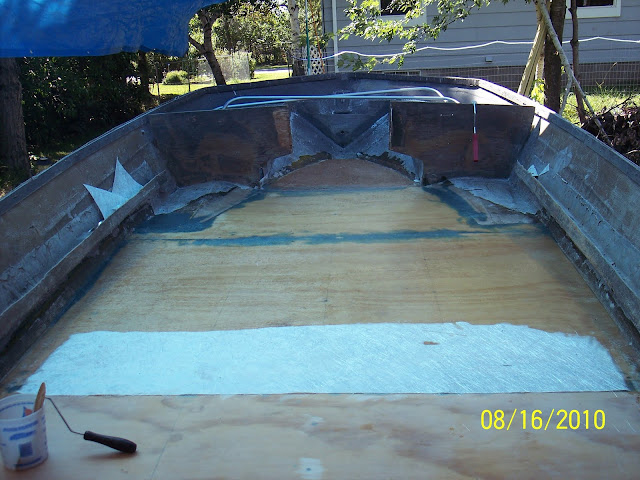
Well, here it is! Finally got a good weekend to do some glassing! Took me a couple of nights and two days to get this done, but it's mostly finished. At least the HARD part is done. I have a few spots that need some work as I ran out of resin part way through! Picture 3 shows where I left off. I ended up cutting out the section that hadn't been glassed in yet, and then cleaned up the edges a bit and then started glassing again. I found a closer place to get resin that is 1/5th the distance away from me than my normal supplier ( thank you George's Repair in East Bethel,MN! )...an cheaper to boot! I got two gallons of resin from them and it worked beautifully!
100_2510.jpg

100_2505.jpg
100_2506.jpg
100_2509.jpg
 

redfury

Commander
Joined
Jul 16, 2006
Messages
2,655
Re: Ooo! Sparkly! Redfury's Grinding again!

100_2508.jpg

Glassed in! I used a large bubble buster roller and a 3 inch chip brush to do the work. I tried originally to use a roller to roll the resin out, but it seemed that when using it, it just wouldn't roll. There's gotta be a better way to roll out the resin into the CSM. I used more than I should have, I know that. I'm not complaining, because it turned out super! I think perhaps a hard rubber roller would help squeeze out the excess resin.
100_2507.jpg

For what its worth, the major glassing is done! I have to finish the bilge area yet, but that was my staging area, so I have to clean it up before I can finish putting glass in there. All in all though, it went tons better than I had expected it to.
 

redfury

Commander
Joined
Jul 16, 2006
Messages
2,655
Re: Ooo! Sparkly! Redfury's Grinding again!

100_2512.jpg

http://lh4.ggpht.com/_pf6aWNx1mbk/TGmlpaRZhGI/AAAAAAAADKw/Z_DDKcx_d2o/s512/100_2512.jpg
click for a larger picture.
100_2516.jpg


You can see where I had to cut the glass and seam it here. I'll end up doing more work here once I start working the surface of the deck for the final floor ( whichever I end up choosing. )

100_2514.jpg

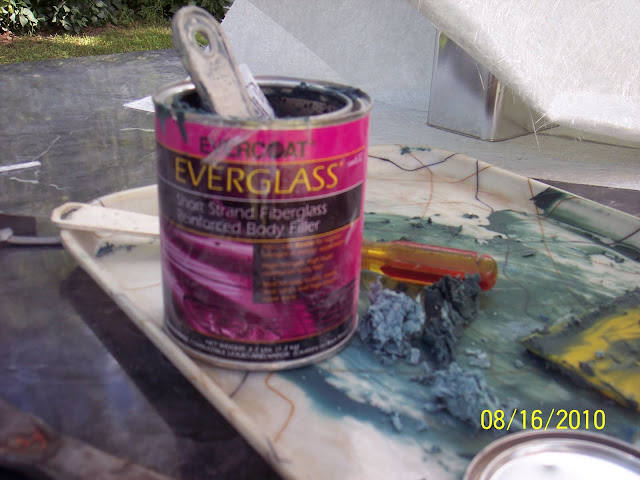
This stuff was pretty easy to work with. It was 20 bucks for the quart, but I really have no qualms with it. It's tough, but very workable. The actual work time is short though, so you definitely don't want to make up too much of it.
100_2515.jpg

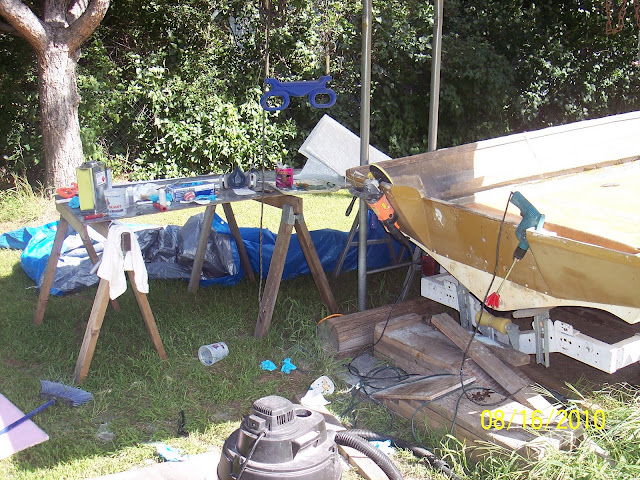
The aftermath. Yup, I've got stuff strewn all over the place. Part of the hurricane that went through here was me trying to open my partial container of resin that I had to find a channel lock for ( which I ended up finding in the house ) I am so happy though! All the large project garbage is done short of the hull paint. It's going to be all smallish projects from here on out, which means I can start doing this kind of stuff EVERY NIGHT...oh, my wife and kids are going to be thrilled that Dad is never in the house :D
 

redfury

Commander
Joined
Jul 16, 2006
Messages
2,655
Re: Ooo! Sparkly! Redfury's Grinding again!

Smallish projects...like THIS!
100_2513.jpg
 

redfury

Commander
Joined
Jul 16, 2006
Messages
2,655
Re: Ooo! Sparkly! Redfury's Grinding again!

One thing that I did find that I liked, was that when I used the 1708 scraps to tab the deck in, the back of the boat, I glassed them in first. The front of the boat, I glassed everything in at the same time. The difference is noticeable simply from a finishing standpoint...the ridge you see on a lot of projects around the edge is not apparent.

Also, I love glassing horizontal surfaces :D So much easier than when I did the transom and the stringers, even if it was a larger project.

For my deck, I did about 7 or 8 750ml pours, with about 500ml left to pour in the bilge area ( I plan on doing a double glassed section since there are going to be batteries there to avoid any problems in the future ).
 

redfury

Commander
Joined
Jul 16, 2006
Messages
2,655
Boat flippy time!

Boat flippy time!

Well, I gone and done it. GOT THE BOAT FLIPPED. As promised, I took some pictures. Since I did this BY MYSELF, the pictures will be fewer and less detailed, but I will do my best to describe what was going on in each picture and how I got there and what my thought process was to get to the next step.
100_2532.jpg

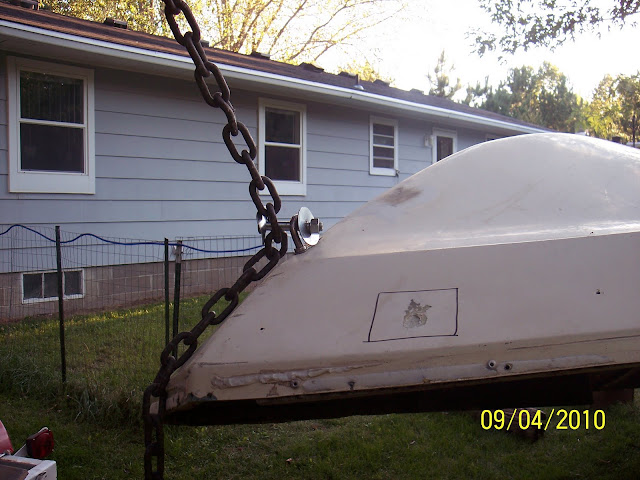
First step was to secure the front of the boat. What you don't see is how I got the nose this high ( and the fact that the boat is upside down already makes little difference as to how I got it here ). I used a logging chain and secured it to a sturdy pine by wrapping it around the trunk above some protruding branches and then hooked the chain hook onto the chain. I used the trailer winch to winch the boat nose up in the air ( along with the trailer ) by detaching it from the bow eye and hooking it on a link of the logging chain. I raised it up so that it would be over the halfway height that the boat is wide ( approx 4 feet off the ground ). Once it was up, I put the bolt and washers through the eye and chain and loosed the trailer back to the ground.
100_2531.jpg

nose secured, tree not bending. :D
100_2534.jpg

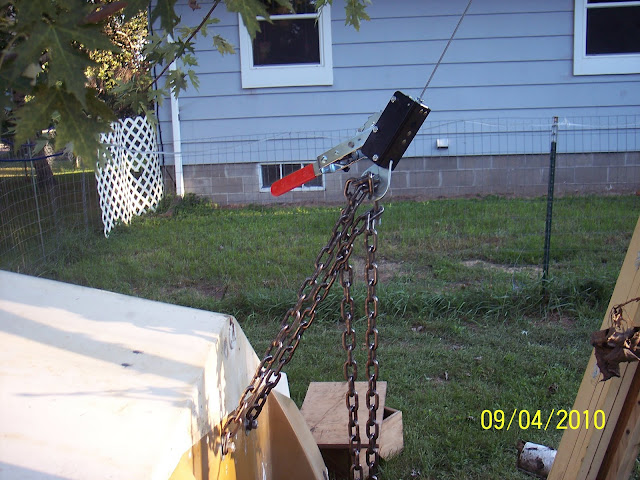
I bought this little do-dad from Northern Tool for $20 some odd bucks. It is listed as being able to do overhead lifts and handle 1000 lbs. Half the weight of the hull is much less than that, so it should work fine. I picked up 10 feet of heavy chain as my first attempt with braided rope ended in almost dismal failure. Half the rope broke from stress when I tried to roll the hull. Fortunately, I had tied a "loop" in the middle for the ratchet lift and that kept the boat from slipping off the remaining rope line and to the ground :eek:. Near miss. That rope was at its limit!

DO NOT USE ROPE OF ANY KIND FOR THIS KIND OF JOB. ROPE IS DESIGNED FOR PULLEY LIFTS ONLY.

****I used a heavy rope too...it's the same stuff I pull my cap with, but there are two ropes, 10 pulleys and 4 points of contact and a completely vertical lift.

100_2533.jpg

Heavy bolts and fender washers held everything in place beautifully. No creaks or groans from the boat during the whole process.
 
Top