My tri-hull transom replacement w/ pics

Status
Not open for further replies.

BobsGlasstream

Commander
Joined
Sep 11, 2009
Messages
2,128
Re: My tri-hull transom replacement w/ pics

Thanks Drewpster,
I will continue to follow your progress. I can't wait to see the final product.
I'm also picking up a lot of interesting information.
This forum is a bit addictive too.
Bob
 

bear_69cuda

Commander
Joined
Oct 10, 2008
Messages
2,109
Re: My tri-hull transom replacement w/ pics

Dude,

Wow it's been awhile since I've checked progress... Looks incredible! Man you do great work! Just givin some kudos!

Peace
 

drewpster

Commander
Joined
Oct 17, 2006
Messages
2,059
Re: My tri-hull transom replacement w/ pics

thanks bear, its been fun so far.

Yes Bob it is an addiction. Its nice to communicate with others having the same interest, or......I mean...... mental affliction.
 

redfury

Commander
Joined
Jul 16, 2006
Messages
2,655
Re: My tri-hull transom replacement w/ pics

Hey Drewp, you ever think of adding drain holes to the insides of those seat boxes? I added some to mine, and need to add another hole in a low spot for water to drain...by the time I'm done, my boat will drain like a sieve, instead of leak like one :D
 

drewpster

Commander
Joined
Oct 17, 2006
Messages
2,059
Re: My tri-hull transom replacement w/ pics

The drain holes got covered over with new glass when I installed them. I have not decided what I want to do just yet, but they will get drains.
 

drewpster

Commander
Joined
Oct 17, 2006
Messages
2,059
Re: My tri-hull transom replacement w/ pics

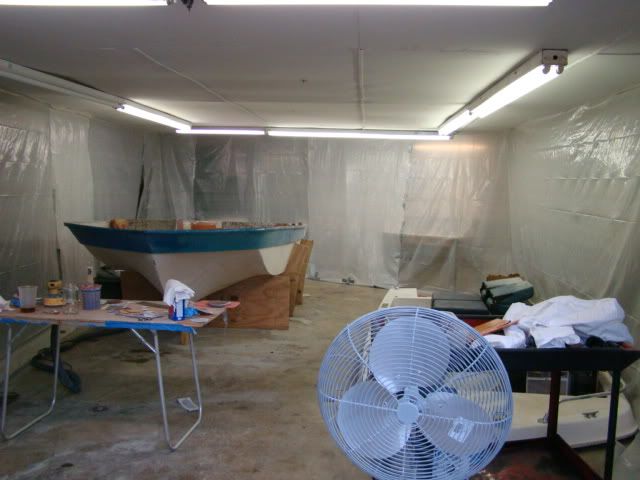
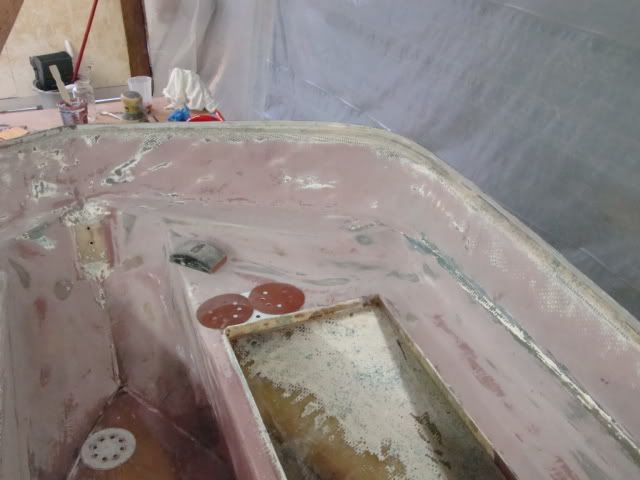
So I figured out a way to keep the dust from getting all over everything in the shop.

It was expensive ($40) roll of plastic sheeting but the result is well worth it. I really hated having to spend a couple of hours dusting out the shop after every session of grinding.
DSC05312.jpg


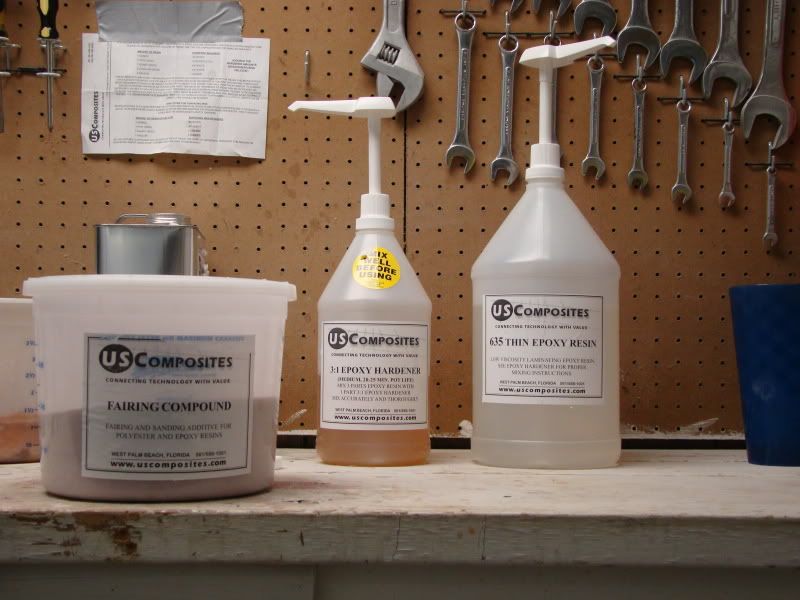
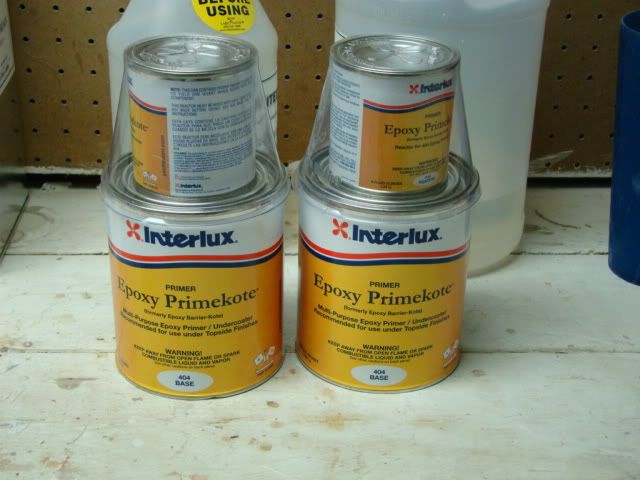
I bought a gallon of epoxy resin and a ready made fairing mixture from U.S. I was not sure how well it would sand so I started the fairing before putting the cap back on.
DSC05314.jpg


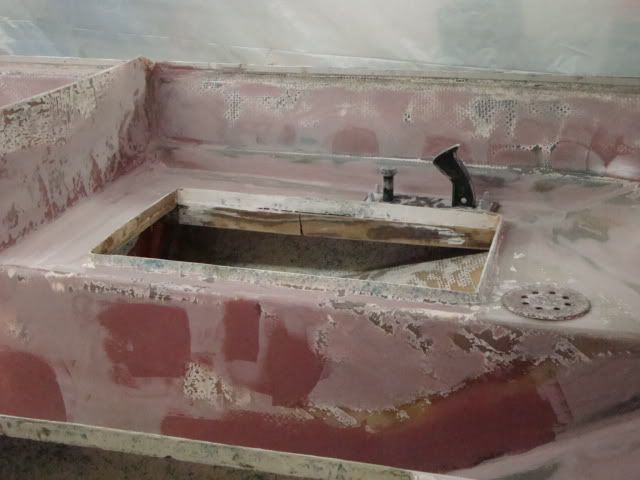
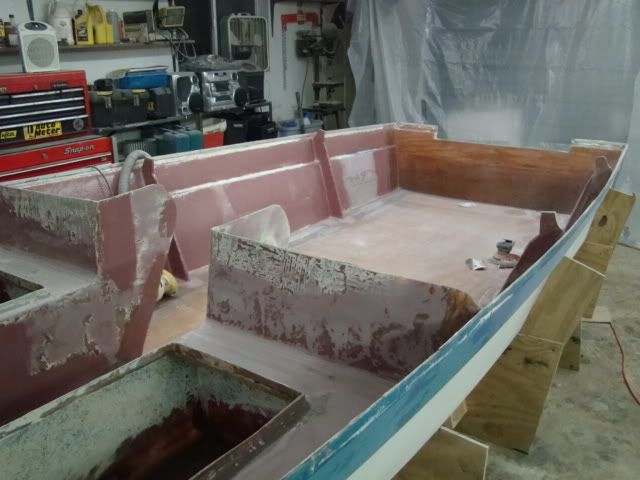
At first I considered not fairing the inside of the hull. Originally the inside surfaces of the hull sides were left with allot of roving print through when the boat was built. In fact every inch of all of the inside of the hull were left rough. After getting the deck down and all of the work I put in to the seat boxes I could not leave well enough alone. I knew it would look funny having all those smooth newly glassed areas next to the rough factory surfaces.
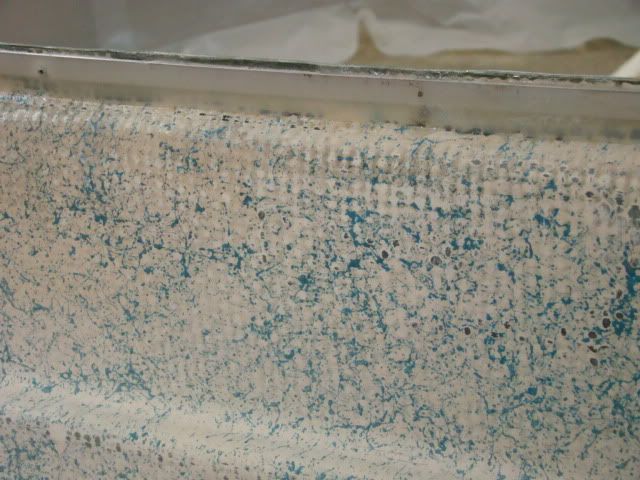
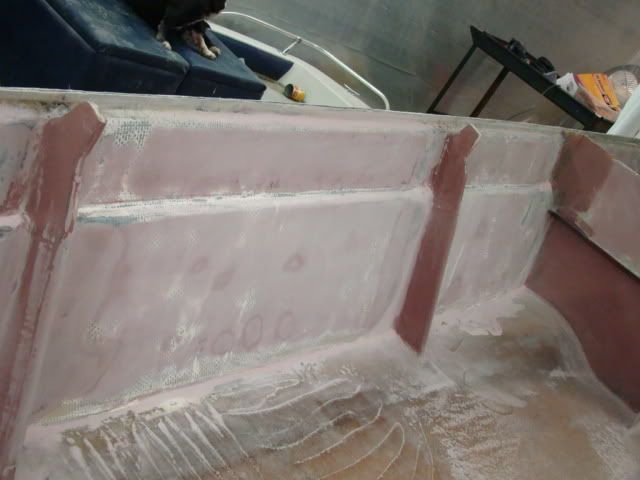
This is a pic of the inside of the hull. You can see how rough it is. Man! More Sanding!
DSC05309.jpg


Before starting any of the fairing I preped all of the areas to be faired by cleaning and sanding them. I paid close attention to the newly glassed areas so that sanding them would smooth them only slightly, keeping the glass strong and saving as much fairing compound as possible.

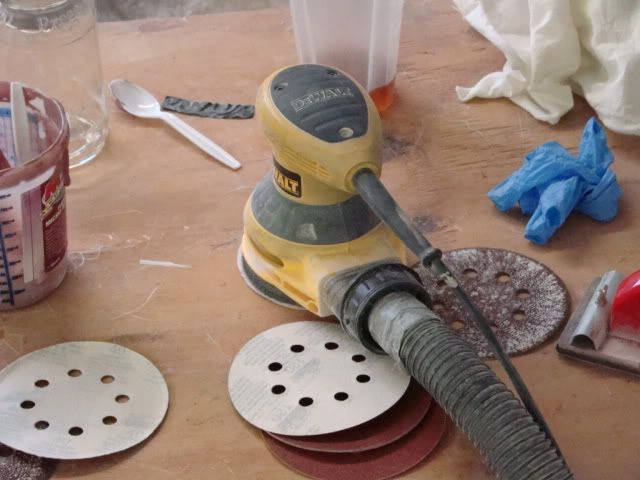
I mixed the compound in small batches using 1 quart plastic containers I picked up at Lowe's. After mixing a small amount of epoxy and hardener I mixed in the dry components until the mix turned a smooth mayo-like consistency. I then used a soft 4 inch plastic spreader (bondo spreader) to spread a thin layer of fairing compound over the surfaces I want smooth and flat.

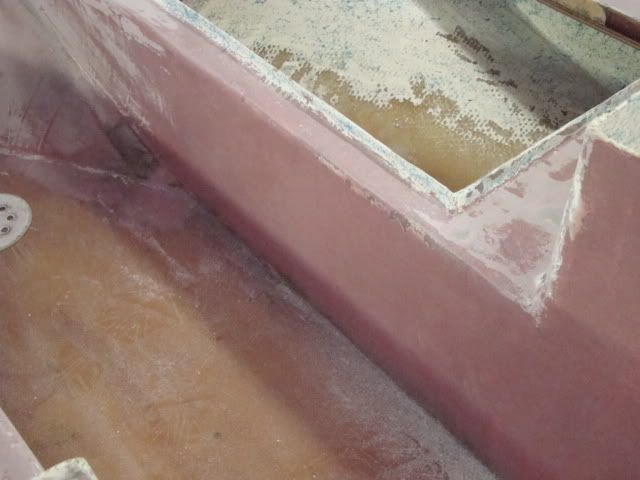
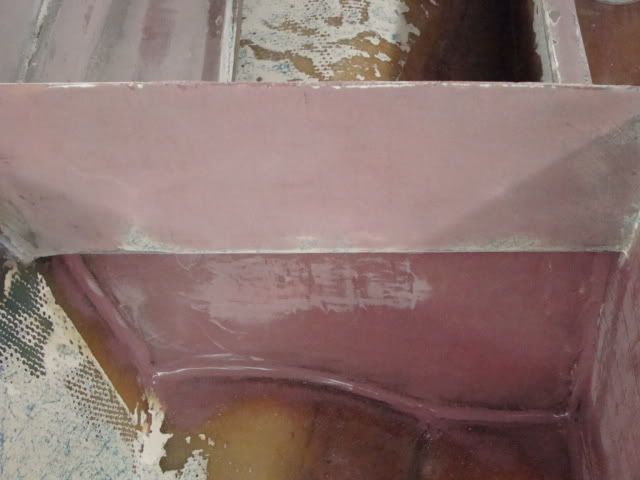
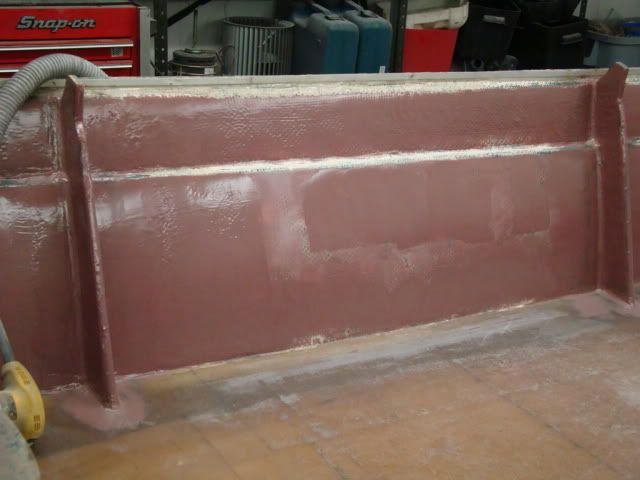
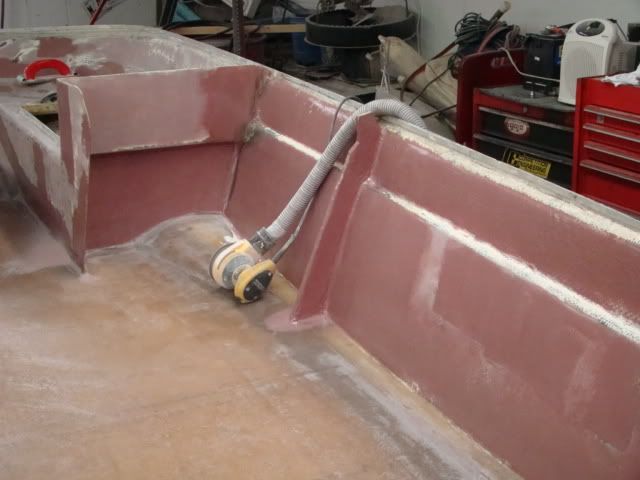
Here is an area on one of the seat boxes. After the compound has had time to harden. I worked to keep the compound as smooth as possible so getting it flat wont be such a chore.
DSC05308.jpg


I learned from fairing the deck on 'Nostalgic' that epoxy fairing compounds are difficult to sand. I was anxious to see if the ready made mix from U.S. would be any different. It is easier to sand, but it is best to sand it in its "sanding window". As the epoxy hardens it gets more difficult to sand. I found that it works best if you allow about 30 hours curing time before sanding it using the medium hardener.

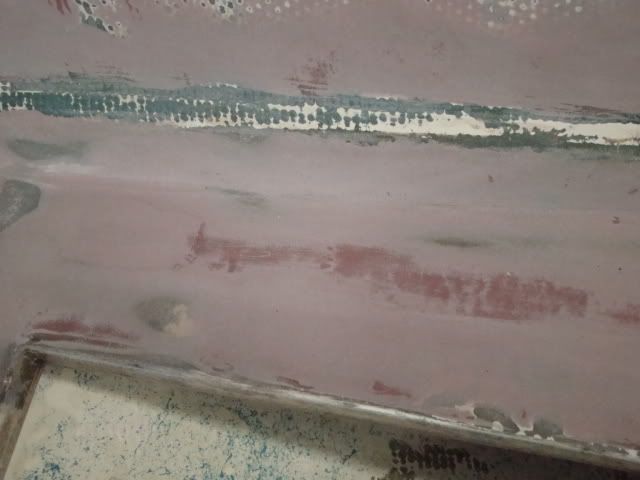
Here is an area after a few minutes with the orbital sander and 40 grit paper. The light areas are flat and smooth, the darker areas are low and the areas where I sanded through are level.
DSC05306.jpg
 

drewpster

Commander
Joined
Oct 17, 2006
Messages
2,059
Re: My tri-hull transom replacement w/ pics

I found I could use a small cheap jitterbug sander to get in to the corners and help smooth the fillets. It worked well as long as I used the roughest paper I could find for the sander. (50 grit)

DSC05310.jpg


I mentioned before that I was not going to go through all of this trouble on this boat. But the truth is I want to make it really something special. these extra steps in the prep for paint will make a huge difference in the way this thing looks after the paint goes down.

Here is an area under where the dash boxes will go. you wont even see it unless you get under the dash but I wanted to see how the fairing compound would smooth out a flat surface. Smooth as a baby's butt!
DSC05307.jpg


Here is my other fairing sander. It is a Dewalt orbital sander attached to a shop vac. It really helps to use the vacuum. I have to spend a little on filter bags to make the vacuum last. But I hate dust almost as much as sanding! The best idea is to use a D.A. sander to do this work. Unfortunately my compressor is on its last leg and would not hold up a DA. But Christmas is coming! Think I'm Gonna wait? Nope.

DSC05311.jpg


After initially sanding all of the faired surfaces I will spot fill the low areas and start block sanding. What a joy.:(

DSC05305.jpg


The U.S. Composites fairing mixture is certainly easier to sand than my own mix. It is obvious I was using way too much silica and not enough micro balloons when I did 'Nostalgic's deck. Lesson learned. If I decide to do any more fairing I will use the US mix. Its cheap as well. Lesson learned.
 

BobsGlasstream

Commander
Joined
Sep 11, 2009
Messages
2,128
Re: My tri-hull transom replacement w/ pics

drewpster,
It's really looking great.
I should have known after looking at your glassing abilities that the rest would be at the same standard.
Very nicely done.
I use the plastic idea when working in my basement woodworking shop.
My wife would rmove something if I didn't. :eek:
Keep up the great work.
Bob
 

drewpster

Commander
Joined
Oct 17, 2006
Messages
2,059
Re: My tri-hull transom replacement w/ pics

Thanks Bob, Sanding is the most tedious part of the project. But after seeing how the deck turned out on the bigger boat I cant resist getting it done. I spent a few hours in the evening tonight getting everything as level as possible and I started the spot filling. I'm hoping the hull sides will be a little less difficult. At least I will be able to get off my knees for a change. I think I am going to need an Aleave pill tonight. Whew!
 

lowkee

Lieutenant Commander
Joined
Dec 13, 2008
Messages
1,890
Re: My tri-hull transom replacement w/ pics

Wow, I can't believe you faired the entire inside of your boat! lol, that is crazy! I've considered the same, but decided I was being horribly anal. Guess I'm not alone :) The boat looks great! Really neat how you managed to save the bow seating for reuse.
 

drewpster

Commander
Joined
Oct 17, 2006
Messages
2,059
Re: My tri-hull transom replacement w/ pics

Thanks lowkee,
I have not had much time to get in to the shop the past couple of weeks. The holidays are always hectic around here. The lights on the house look fantastic though.:p
I ordered some more of the US composites fairing mixture. It is on stand by in my garage. I plan to get back at it ASAP. I really struggled with the decision to fair this thing. It is overkill to say the least, but the start looked so good I had to commit.
A friend at work is letting me borrow his DA sander but as it turns out my compressor is just to weak to keep up at any reasonable rate. I have been looking at a new stand-up 60 gallon single stage compressor. I think that will do the trick. Maybe after Christmas calms down I can start saving for it. Its a real dandy. The argument "If I lose my job, I can still make a living" seemed to fair well with my wife.:)
 

BobsGlasstream

Commander
Joined
Sep 11, 2009
Messages
2,128
Re: My tri-hull transom replacement w/ pics

Hey drewpster,
Got any new progress to report?:)
I'm always looking for reasons to buy or make a new tool. The boat project has got me several. These guy's on here have even got me looking for a welder, and most of what I do is with wood. I'm even looking for a bigger air compressor. My wife gives me that blank stare every time I come home. wondering what I have brought with me.:p
Keep rolling
Bob
 

tallcanadian

Captain
Joined
Sep 7, 2006
Messages
3,245
Re: My tri-hull transom replacement w/ pics

Boat is looking awesome drew. You've done a lot of work to it. Can't wait to see it done.
 

drewpster

Commander
Joined
Oct 17, 2006
Messages
2,059
Re: My tri-hull transom replacement w/ pics

For someone who hates sanding this was not a great move. But onward and upward! I started with the great (sick) idea of fairing the inside of the hull. The rationale for this idea was to cover all of the rough surfaces of the hull to match the new glassed areas. Well its working, but it is allot of sanding. You would think I would have learned my lesson by now....seems not.

If you have been reading along here you know I am planning to paint. The fairing compound I am using is a mix I ordered from US Composites. It comes dry and you simply mix it with your resin and go to town. I decided epoxy was the way to go. It provides a great bond and is flexible enough not to pop off the surface.

I prepped by sanding and cleaning all of the surfaces to be smoothed up. I then used plastic spreaders to apply the fairing compound. I don?t want to build it up too much so I started with a thin layer.

DSC05419.jpg


After some initial sanding (40grit orbital, 80 grit DA) the low spots become very apparent.

DSC05306.jpg


It takes a little more work to get a larger flat surface to cut down. As it does the compound yields a very smooth surface.

DSC05418.jpg


If it looks easy, I assure you its not. Bondo and other light weight fillers are much easier to sand. The epoxy in this stuff makes it more difficult. But when it is done, its done. It won't flake or come off due water absorption.

I have been using the same mixture to block with. I have found that if you plan ahead you can make it work rather well. Epoxy fairing compound becomes more difficult as it cures. To block, it let the initial layers cure a little longer after sanding them. Then block sand the low spots as soon as you can after you lay them down. The softer, less cured, layers will block down easier than the initial ones.

DSC05416.jpg


Here is a good shot of the insanity so far.

DSC05413.jpg
 

drewpster

Commander
Joined
Oct 17, 2006
Messages
2,059
Re: My tri-hull transom replacement w/ pics

I still have not decided what I want to do with the deck. One side of my brain wants to gelcoat it, sand it, then cover only the deck with carpet. The other side of my brain slaps the carpet side and says fair it, paint it with non-skid and be done. But that is going to mean more compound and more...bless me...sanding. What do you think?

I have noticed that if you wait a little long in the work time of the epoxy, spreading this stuff will cause pin holes. It has not been a problem. I have found very few of them. The trick is to only mix as much as you can get spread on the surface before it starts to gel. I can get about a pint of mixed compound spread before the work-ability of it goes away. A half pint should be plenty to cover about a 2' X 3' area.

It took about a pint and a half to cover the areas you see in this picture.

DSC05417.jpg


The pin holes are no real concern. If I feel the need, I will fill them using a lighter weight filler. Small pin holes and shallow low spots are not really a concern. I am going to be using an epoxy primer to cover and seal the fairing work.

DSC05420.jpg


I have used this stuff before and it works great. After...it is of course....sanded!
 

Friscoboater

Captain
Joined
Jul 3, 2009
Messages
3,095
Re: My tri-hull transom replacement w/ pics

I just did my deck with durabak and I love it. That is the way to go.
 

BobsGlasstream

Commander
Joined
Sep 11, 2009
Messages
2,128
Re: My tri-hull transom replacement w/ pics

drewpster,
Your right, you do make it look easy, but I know the truth.
The extra work is really paying off the boat is really looking great.
I wood do the boat as if you weren't going to put carpet down. That way if you want you can put down some snap in carpet, and remove it we you need or want too.
Looking good, keep it coming.
Bob
 
Last edited:

ezmobee

Supreme Mariner
Joined
Mar 26, 2007
Messages
23,767
Re: My tri-hull transom replacement w/ pics

Looks great, but all that sanding would be a nightmare for me!
 

redfury

Commander
Joined
Jul 16, 2006
Messages
2,655
Re: My tri-hull transom replacement w/ pics

Just remember one thing, if you get too anal about this thing, you are going to be too afraid to use it! You'll put as many hours into cleaning the thing as you have put into restoring it!
 

lowkee

Lieutenant Commander
Joined
Dec 13, 2008
Messages
1,890
Re: My tri-hull transom replacement w/ pics

I see a scratch, but I'm not telling where.. You'll have fair the entire thing again to find it :D

Looking fantastic, drewpster. I'm dying to see that first coat of paint. I want to paint my deck as well, so you are making a great tutor on the subject.

Have you considered a compromise with the carpet side of your brain? Make snap in carpeting and recess the snaps (so they don't end up being toe killers)? That's another plan of mine, but I haven't fully thought through recessing the snaps, as water will likely puddle and dirt will gather, making them tough to snap.. but there must be a better way than just mounting metal speed bumps all over the deck.
 
Status
Not open for further replies.
Top