MFG rebuild getting started pics

tallcanadian

Captain
Joined
Sep 7, 2006
Messages
3,245
Re: MFG rebuild getting started pics

Wow, sp. That's beautiful. I'm so jealous. It's too nice to use now. Awesome, dude.
 

sphelps

Supreme Mariner
Joined
Nov 16, 2011
Messages
11,468
Re: MFG rebuild getting started pics

I would offer to come take it off your hands for a mere Pittance!!!! :

Yep Woody I would have to sell it to ya real cheap cuss it is just a project boat . All it needs is a little TLC and some new trailer tires ! :rolleyes: :)

TC ,
Thanks ! With the money and time spent on her she's most definitely gettin used !..... Someday .......
 

Decker83

Commander
Joined
Apr 5, 2011
Messages
2,593
Re: MFG rebuild getting started pics

What a difference a little white gel coat makes... That is OUTSTANDING!!!!
 

sphelps

Supreme Mariner
Joined
Nov 16, 2011
Messages
11,468
Re: MFG rebuild getting started pics

Thanks Decker !
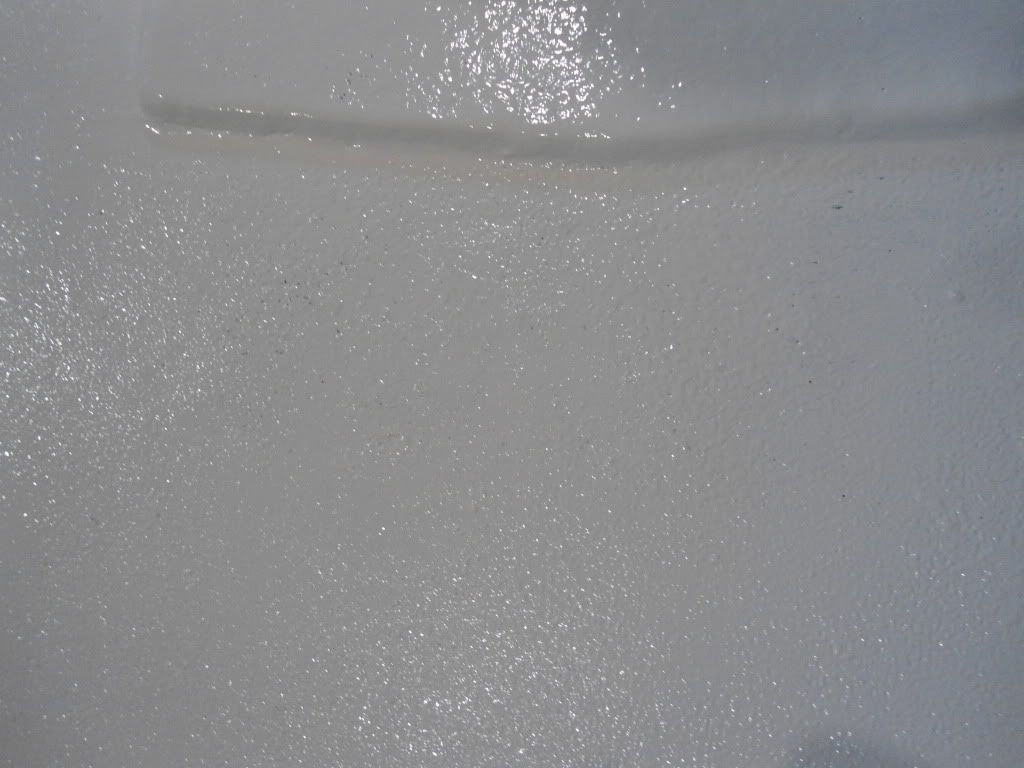
Iput the second coat on the deck this afternoon . It's been in the 80's for about 3 or 4 days down here but today it decided to get windy and chilly . I closed up the tarp on the garage and turned a little heater on and it stayed right at 65 to 66 degs inside the boat . I did add extra hardener just to make sure . Hopefully it all cures ok . Here is a shot of an area where there was a flat spot and I blended it in with a texture loop type roller .
DSC01046.jpg

A pin hole here and there but ok I think .
The gel will dry dull/flat looking . Do you think I can just use compound and buff it to bring a little shine back ? I'm not looking to give it a mirror shine but a little shine would be nice .:)
 

Trooper82

Commander
Joined
Nov 21, 2011
Messages
2,648
Re: MFG rebuild getting started pics

I'd think some buffing would do exactly as you are wanting...looking good SP!
 

craigweaver

Chief Petty Officer
Joined
Oct 24, 2011
Messages
550
Re: MFG rebuild getting started pics

WOW SP, she's looking fantastic!!! I love the color combination and that white deck just pops.
 

sphelps

Supreme Mariner
Joined
Nov 16, 2011
Messages
11,468
Re: MFG rebuild getting started pics

Thanks ! Troop , fstorm, and looky what the cat drug in ! :D CW good to here from ya buddy .. You getting ready to git back on yours ?
 

craigweaver

Chief Petty Officer
Joined
Oct 24, 2011
Messages
550
Re: MFG rebuild getting started pics

looky what the cat drug in ! :D CW good to here from ya buddy .. You getting ready to git back on yours ?

yupper there SP, gitten back at er. Now I got's a bit of a deadline :facepalm:
 

sphelps

Supreme Mariner
Joined
Nov 16, 2011
Messages
11,468
Re: MFG rebuild getting started pics

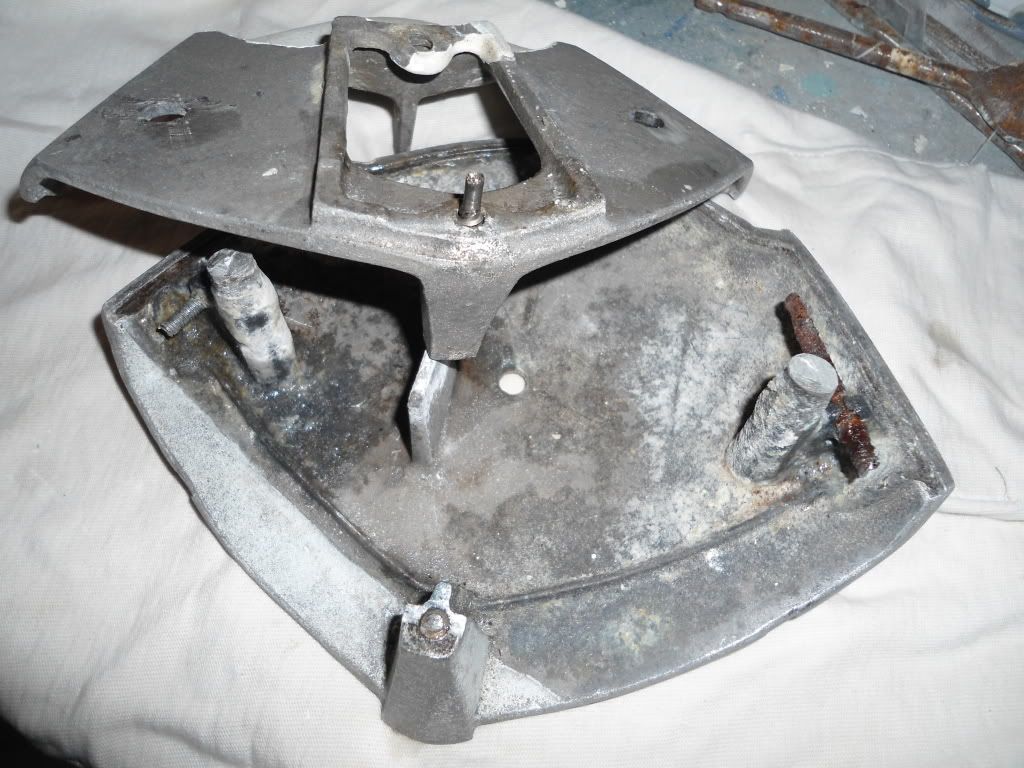
This was a tuff oyster to shuck ! But I got it apart without to much damage..
DSC01047.jpg

The rusty screw on the right that holds the lens looks like someone stuck a larger screw in that was intended to be . Once I remove whats left of the screw I may try and remold the spot with some jbweld then retap it . Can you tap into jbw ? I have never tried it.
 

sphelps

Supreme Mariner
Joined
Nov 16, 2011
Messages
11,468
Re: MFG rebuild getting started pics

Ok , after reading all the info on all the links the consensus is jbw does not work well for retap . But those were for larger more critical applications like generator mounts . When I remove the rusty screw there ain't gunna be much left of the area . The only thing the screw will need to hold will be plastic lens . One suggestion was to coat the screw with oil/cooking spray then build the jbw around the screw so when cured you can unscrew it without retapping . Any other suggestions ?
 

Trooper82

Commander
Joined
Nov 21, 2011
Messages
2,648
Re: MFG rebuild getting started pics

Drilll the hole out large than the thread size...drive a pin of aluminum in the hole ...you want a tight fit but not too tight...if you could drill the pilot hole in aluminum before putting it in part would be best.....redrill the hole for original size thread...and tap it..but be careful...I'd def tap it by hand...
 

sphelps

Supreme Mariner
Joined
Nov 16, 2011
Messages
11,468
Re: MFG rebuild getting started pics

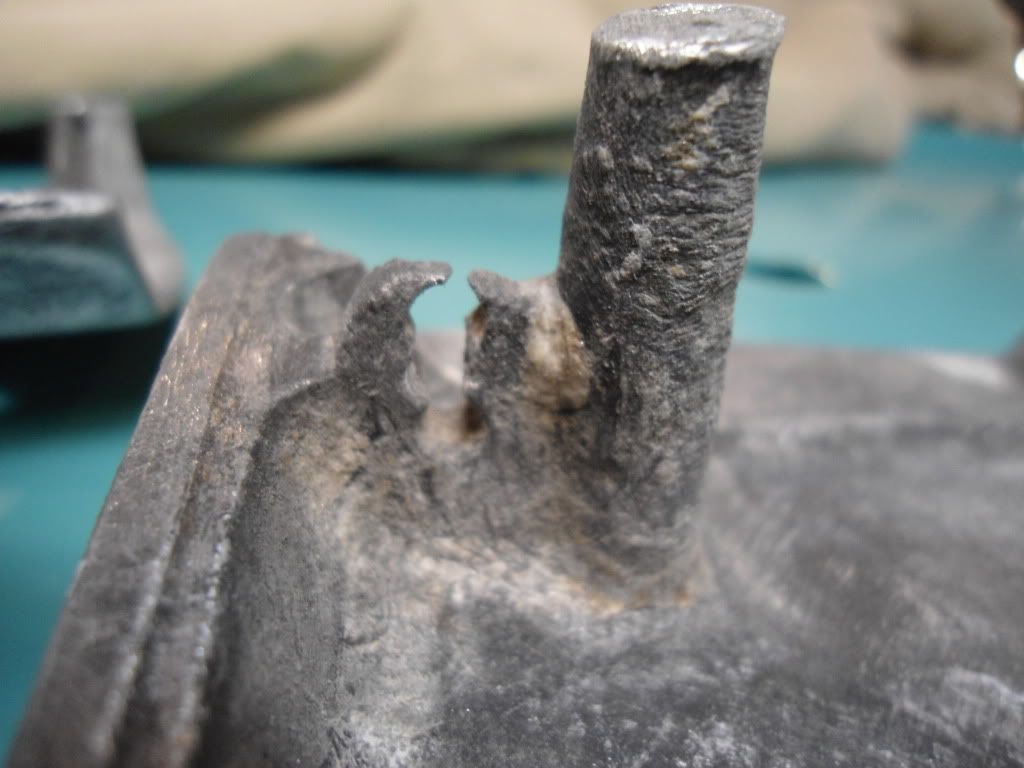
Thanks guys . Take a good look at the pic . The mounting hole is split open where a much larger screw was forced in . Drilling out larger may not be an option . When I take the old screw out I should have a better idea on how to fix .
 

jbcurt00

Moderator
Staff member
Joined
Oct 25, 2011
Messages
25,058
Re: MFG rebuild getting started pics

Looks like it's a tab that the over-sized screw is stuck in.

Is there room in the housing to make it a deeper pocket to screw into when you reassemble the light?

As non-load bearing & not a torque spec screw, I might be inclined to make a deeper screw socket w/ JB Weld & attempting the lube'd screw as it sets up....
 

GT1000000

Rear Admiral
Joined
Jul 13, 2011
Messages
4,916
Re: MFG rebuild getting started pics

Finally made it back...

Wow, simply WOW! the deck looks incredibly amazing! AWESOME!

My 2? on the rusty bolt problem...

JB Weld will work...keep in mind to leave the area to be repaired as rough as possible and as super clean as possible...I like to use a small wire brush and flush the area with Brake Cleaner or denatured alcohol, that doesn't have any Petroleum Distillates in it...build up the JBW, shape it, then just carefully drill and tap...remember, it is just going to be used to hold a light fixture together, not a cylinder head bolt that requires a bunch of torque...you should be fine...

One other option I just thought of...

If absolutely necessary, you could use a HIGH temp HOT glue or some clear silicone, to put the light back together...fairly permanent, and it might make bulb replacement difficult, which could be negated by using one of the new-fangled LED bulbs...

Hope this gives you a couple of ideas to work with...

L8r...
 

sphelps

Supreme Mariner
Joined
Nov 16, 2011
Messages
11,468
Re: MFG rebuild getting started pics

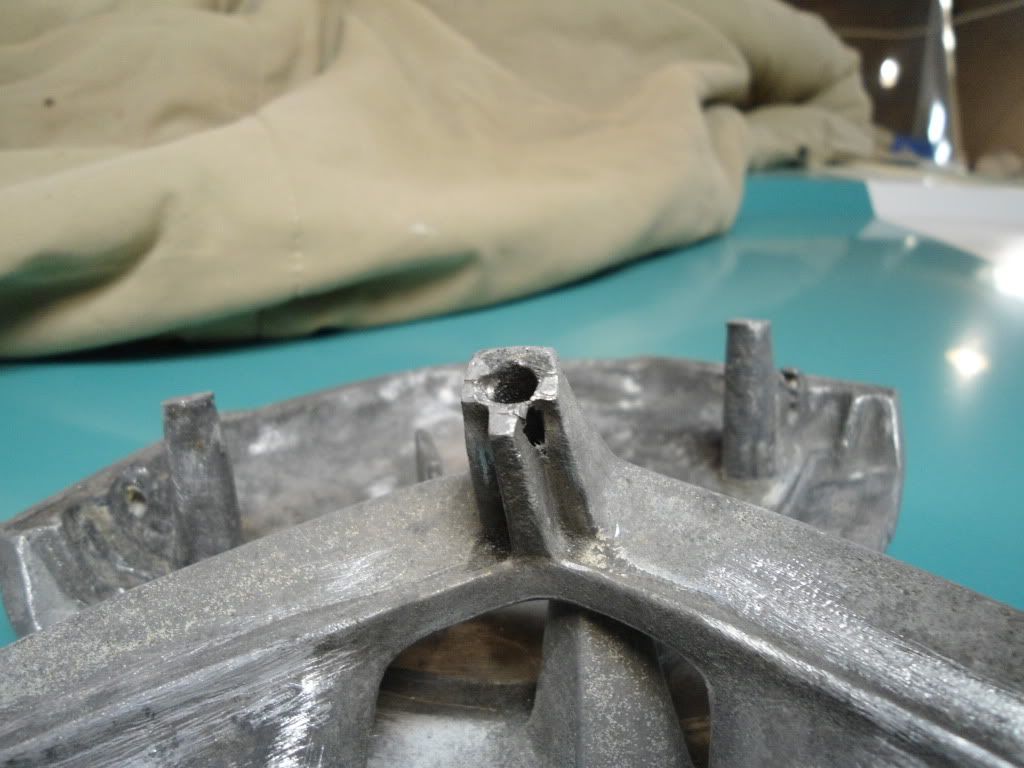
Thanks Jbc , GT ! Yep definitely gunna have to rebuild the area . Here is what's left after screw removal ..
DSC01051.jpg

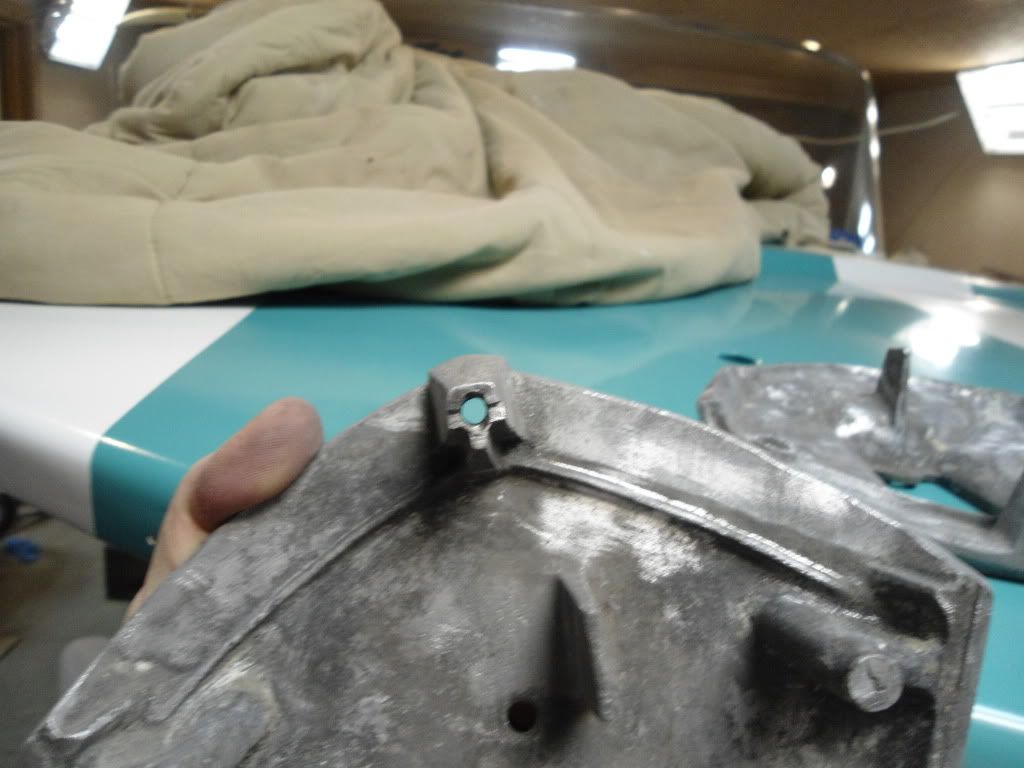
Almost 3 inches of drilling through a ss screw encased in aluminum . A major time consuming PITA !
DSC01053.jpg

DSC01050.jpg

Just about through the last 1/2 " the bit slipped off the screw and went through the side !
GRRRRRRRRRR ! :rant:
Hey I do need to replace the bulb socket so the LED idea sounds good . My only other progress of the day . It was in the 70's all day so heck I sanded the deck and rolled another coat of gel on . 1gal yielded 3 good coats and I still have about an inch and a half left in the bottom of the can ..:)
 
Top