MFG rebuild getting started pics

Decker83

Commander
Joined
Apr 5, 2011
Messages
2,593
Re: MFG rebuild getting started pics

The seats are looking great.
Sorry to hear about the paint. In all of the pics your boat is awsome. I know you will get the paint worked out.
Don't let it get to you to much. You have alot of talent and you will finnish.
 

Woodonglass

Supreme Mariner
Joined
Dec 29, 2009
Messages
25,928
Re: MFG rebuild getting started pics

How big of tip R U using? What's your volume? Use a 1.2mm tip and Low Volume and "Mist" the Paint Early In the Morning.
 

sphelps

Supreme Mariner
Joined
Nov 16, 2011
Messages
11,468
Re: MFG rebuild getting started pics

I was using the 1.4 tip . I don't have a 1.2 unless the one in the small touch up gun has one . I looked on the shelf at h/f where I bought the gun for other tips and o-rings but they did not have any . I turned the volume down to just past open and tried a little thicker ,thinner it's weird because I was spraying on my old sample board and it seemed to be spraying ok and I also sprayed on the side of a plastic can and it looked good but when I tried on the boat it would still mess up .
 

Woodonglass

Supreme Mariner
Joined
Dec 29, 2009
Messages
25,928
Re: MFG rebuild getting started pics

Get up early and giver her a bath with cold water. Dry her off and wipe her down with Acetone then shoot her with the touch up gun. I think the high temps are getting you. Also use the high temp reducer.
 

sphelps

Supreme Mariner
Joined
Nov 16, 2011
Messages
11,468
Re: MFG rebuild getting started pics

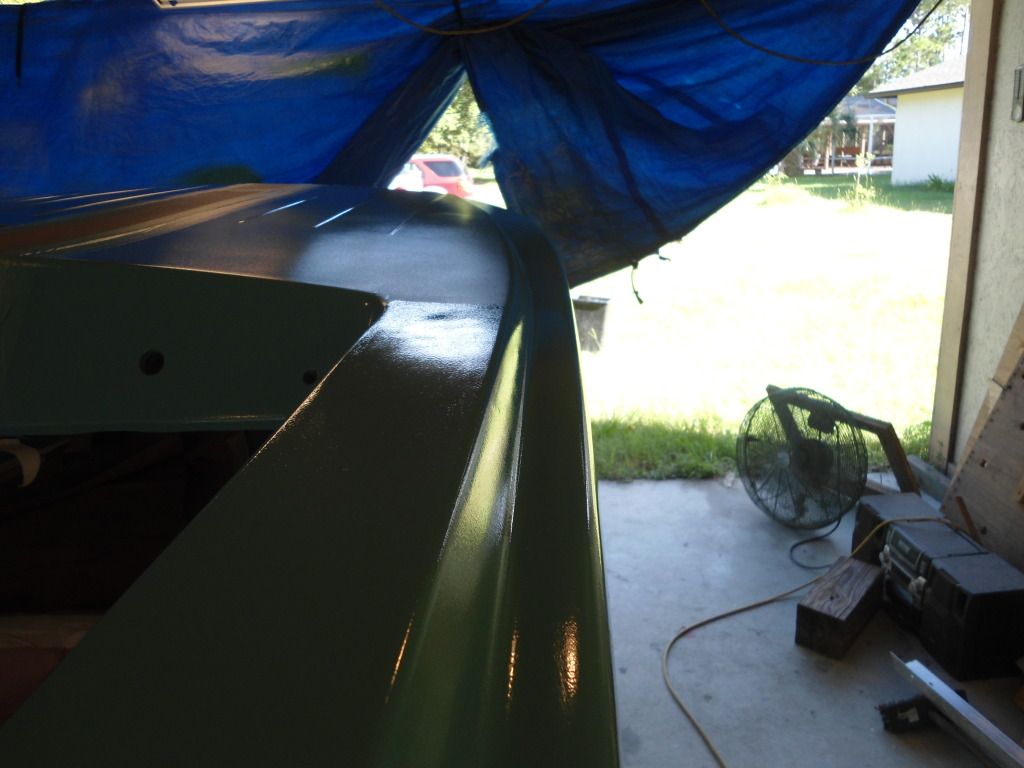
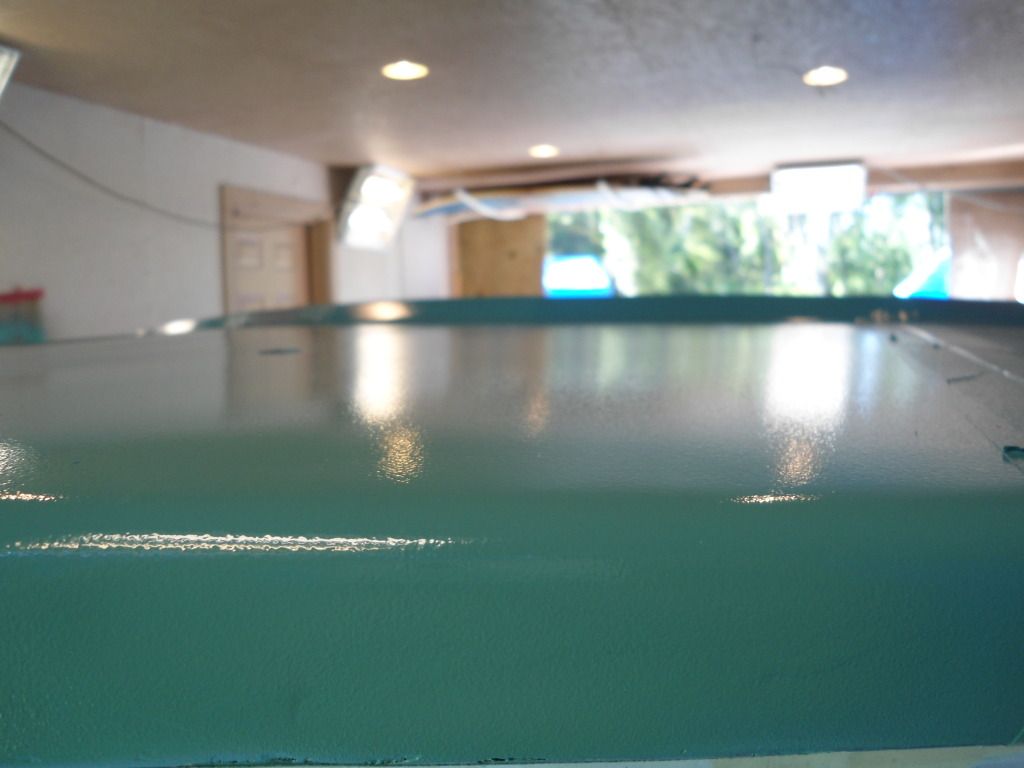
I looked at the touch up gun and it has a 1.0 tip in it . I tried to get a pic of what I was getting . You can kinda make it out.
DSC00703.jpg

You can see where I started rolling ..
DSC00704.jpg

The first trouble shoot I had before I tried buffing was twice as bad as this pic ..
 

Woodonglass

Supreme Mariner
Joined
Dec 29, 2009
Messages
25,928
Re: MFG rebuild getting started pics

If you use that 1.0 tip, 1 cup paint 1/2 cup reducer maybe 3/4 cup, give her a cold water bath early in the morning i betcha you'll get rid of the orange peel. I think the temps and the tip is the culprit.
 

sphelps

Supreme Mariner
Joined
Nov 16, 2011
Messages
11,468
Re: MFG rebuild getting started pics

I should wet sand it out first right ?
 

sphelps

Supreme Mariner
Joined
Nov 16, 2011
Messages
11,468
Re: MFG rebuild getting started pics

Thanks Wood I greatly appreciate all of your help and the advice you give to all of the rest of our iboats community !
 

Jon Sob

Master Chief Petty Officer
Joined
Jun 11, 2011
Messages
827
Re: MFG rebuild getting started pics

Thanks Wood I greatly appreciate all of your help and the advice you give to all of the rest of our iboats community !

I am glad my project is just about finished and I really feel sorry for the newbies and those that are struggling thru their own projects without one of the best sources of info in this forum. You will never replace the kindness, knowledge and experience that we have just been deprived of today.
 

sphelps

Supreme Mariner
Joined
Nov 16, 2011
Messages
11,468
Re: MFG rebuild getting started pics

^^I agree and I think it could have been dealt with differently . I guess the mods did what they felt they had to do . I don't like it but I do respect it. I would hate to have their job and do appreciate what they do !


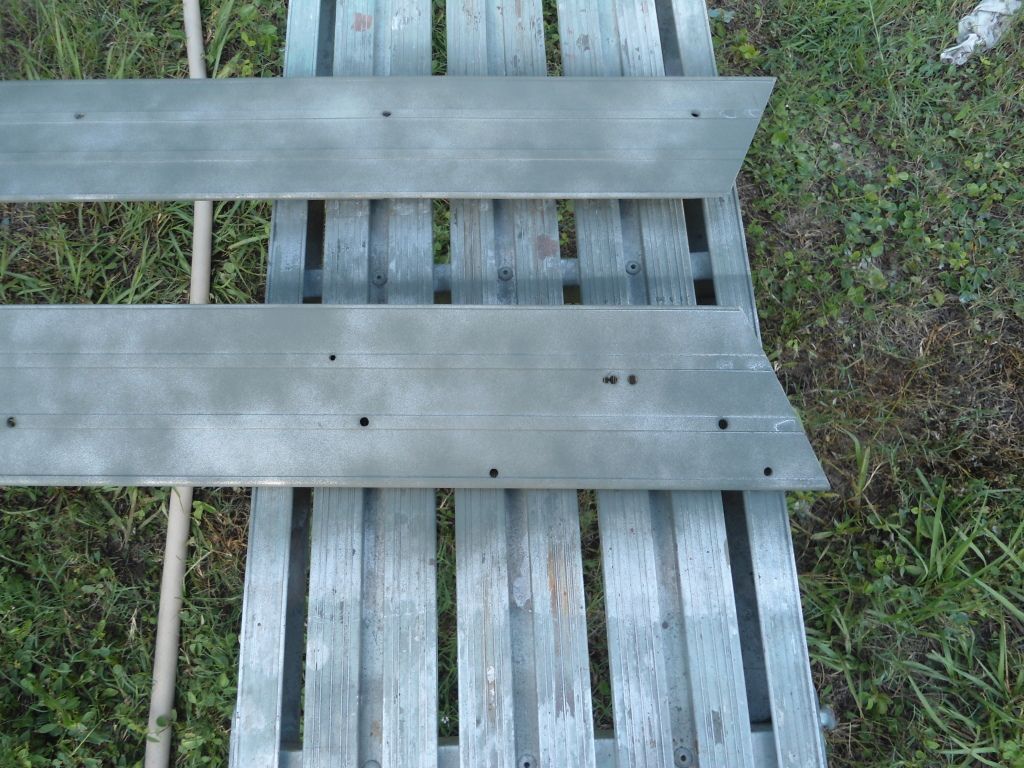
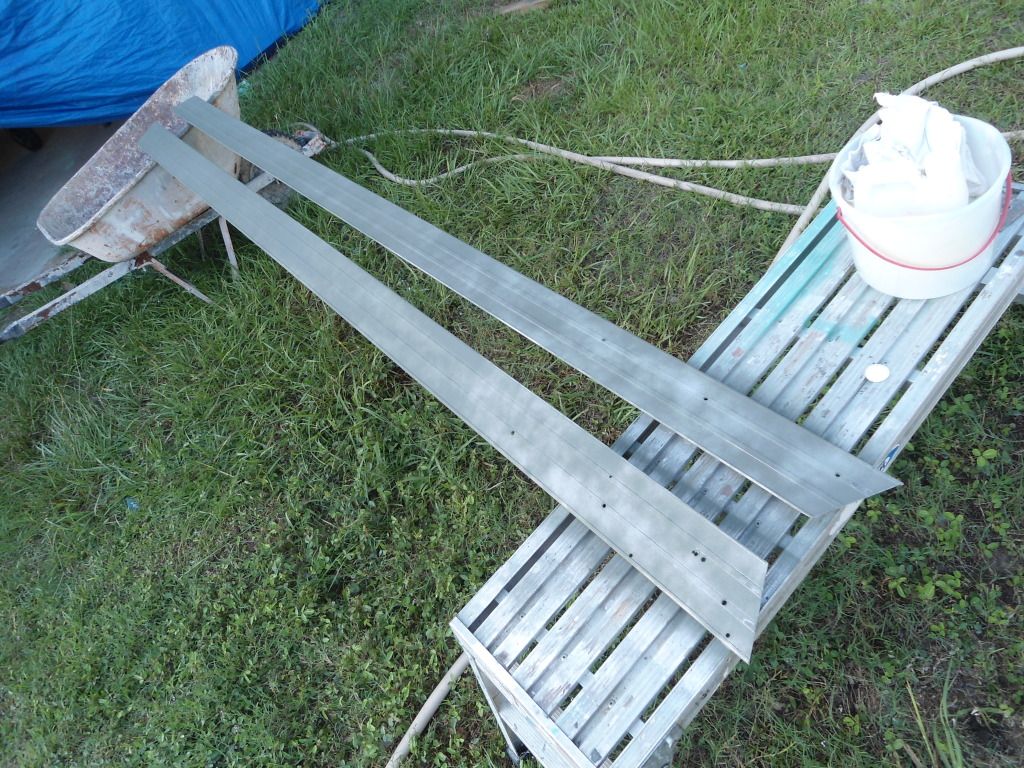
Anyway , I did do a little today. After tsp and vinegar bath I sprayed the allum gunnel pieces with the rusto SEP . A light coat . Did I cover it enough ?
DSC00710.jpg

DSC00709.jpg

I would like to patch the unused holes on the starboard side before I prime with the metal primer. What do you guys think will work for the patches ..
 

jbcurt00

Moderator
Staff member
Joined
Oct 25, 2011
Messages
25,072
Re: MFG rebuild getting started pics

JB Weld. Tin fellas use it all the time.

Pre-SEP might have been able to plug weld them but if thin, heat & warp would be a problem....

Speaking of WOG, he posted an All-metal patch that was specific to aluminum. I'll see if I can find it & edit this post.


EDIT:
Found it: USC All-metal
 
Last edited:

sphelps

Supreme Mariner
Joined
Nov 16, 2011
Messages
11,468
Re: MFG rebuild getting started pics

Thanks jbc I think I will try the jb weld . A qt of the usc stuff would prolly just sit around collecting dust . That is unless I bring home one of those shinny tin boats or something ..:rolleyes:
 

jbcurt00

Moderator
Staff member
Joined
Oct 25, 2011
Messages
25,072
Re: MFG rebuild getting started pics

A qt of the usc stuff would prolly just sit around collecting dust . That is unless I bring home one of those shinny tin boats or something ..:rolleyes:

This has been known to happen, occasionally:facepalm: Wait, what? There's still a Manta Ray waiting for you up JonSob's way:)

Glass dust gets in your blood & takes it's hold on you. Like a bad case of poison oak:eek:

BTW, I think you've got the necessary dusting coat of SEP;)
 

Decker83

Commander
Joined
Apr 5, 2011
Messages
2,593
Re: MFG rebuild getting started pics

I am glad my project is just about finished and I really feel sorry for the newbies and those that are struggling thru their own projects without one of the best sources of info in this forum. You will never replace the kindness, knowledge and experience that we have just been deprived of today.

What am I missing here. How have we been deprived?


The JB Weld works good. I have used it on old car transmisions and on my 1972 rude and it's still holding.
 

sphelps

Supreme Mariner
Joined
Nov 16, 2011
Messages
11,468
Re: MFG rebuild getting started pics

Don't worry Jon , I don't think MFG ever made tin boats ..I got 3 glass boats in the yard and until the pole barn build there's no more room in the Inn..:)
 

sphelps

Supreme Mariner
Joined
Nov 16, 2011
Messages
11,468
Re: MFG rebuild getting started pics

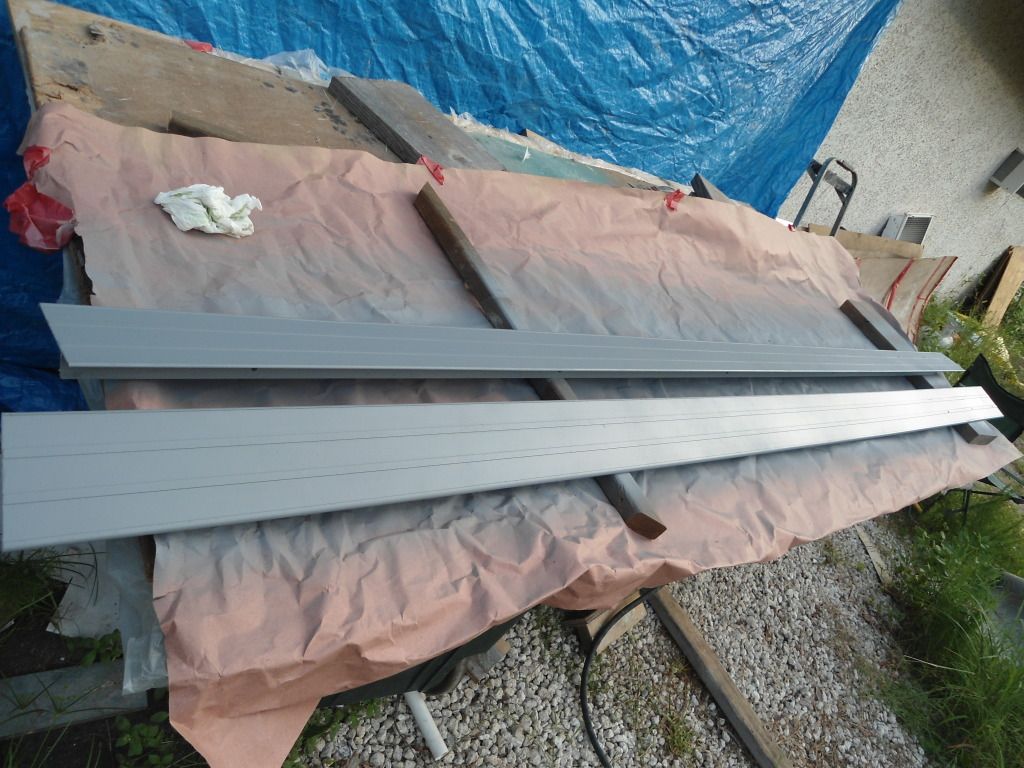
Shot a little primer..
DSC00711.jpg

The jb weld worked out well.
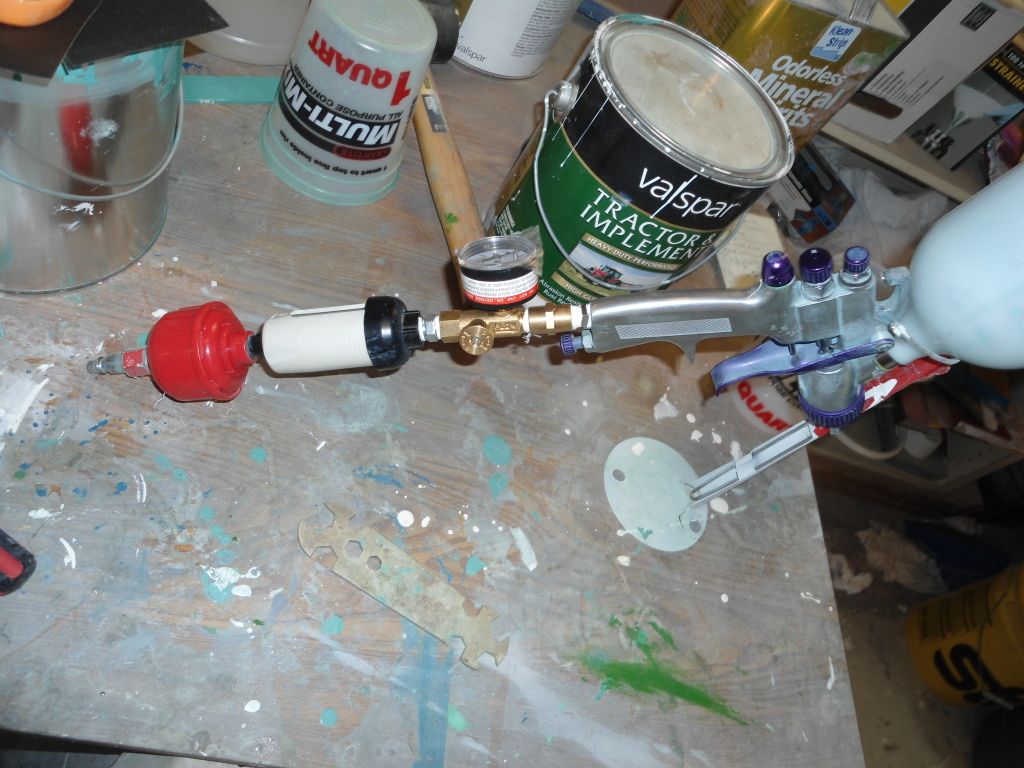
While fiddling around with the hvlp I may have figured out my bad orange peel problem..
This is how the gun was set up except the air regulator was in front of the filters.
DSC00712.jpg

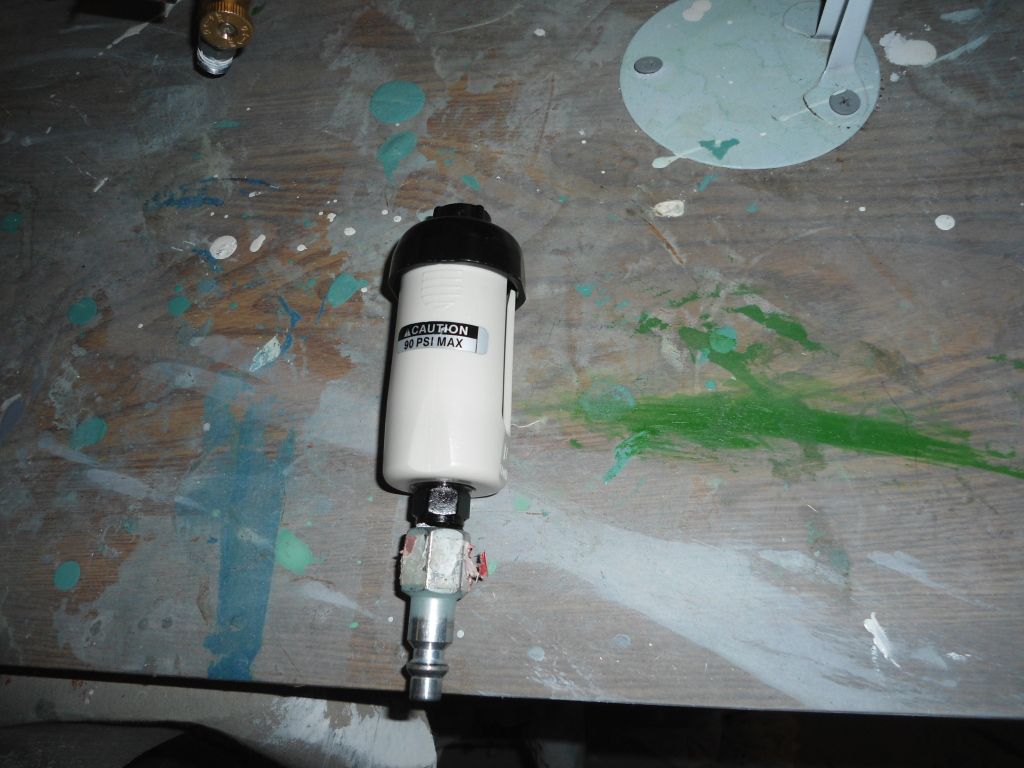
I thought that I was not getting the correct psi reading at the gun with it going thru both filters so I installed the reg as it is in the photo. With it set like this I could not get psi above20 . So with it installed with the reg in front of the filters I was reading 35 to 40 psi but I bet was only getting 20 at the gun. I think that just might cause a little orange peel you think..So after checking the air flow to both filters individually I found out that this one was the culprit !
DSC00713.jpg

The red filter checked out fine. If my assumption is correct that filter cost me 2 now 3 coats of paint !:facepalm:
Other than the hot temps do you guys think this could have caused the problem..

I know if Wood is reading he is prolly saying "Duhh make sure it's reading right at the gun SP ".
 

Decker83

Commander
Joined
Apr 5, 2011
Messages
2,593
Re: MFG rebuild getting started pics

Did you change the gun before or after you sprayed the primer? Could you tell any difference?
I am not in WOG class when it comes to spraying but I do know if there is not enough air at the tip the paint will not
fan out properly. I don't think the heat alone would cause this problem. I think you just figured out the main problem.
Hope the final coat goes on great for you.
 
Top