Mercruiser Inliner Swap Progress...165 Rebuilt I6 replacing the old 470

WOEISMEIGOTTA470

Petty Officer 1st Class
Joined
Aug 31, 2012
Messages
375
There you go. It's written down, so it must be true. Here's to a Happy New Year... on the water!!!
Exactly! Haha

Looks good Woe! Hope you get her splashed soon!
Thanks! Same to you, that trailer of yours is coming along nice, you are a welding machine!

Be safe under that cover with a propane heater fired up. Good luck!
Good advice! Good thing is that I have a lot of height under there, and an OK amount of fresh air with a breeze blowing.

Way to go that gel coat on the boat floor looks awesome:applause: I think i'm going to try that on mine. Carpet is hard to maintain . Maybe gel coat with snap in. Keep up the great work. Today it is 10 degrees. No work on my boat today . I have been back to work on it though and ordered some new out drive decals, Brickie
Thanks Brick, I'm hoping gel coat will hold up alright and be easy to clean and maintain. Still need to work out a nonskid of some sort. Snap in carpeting is always nice...

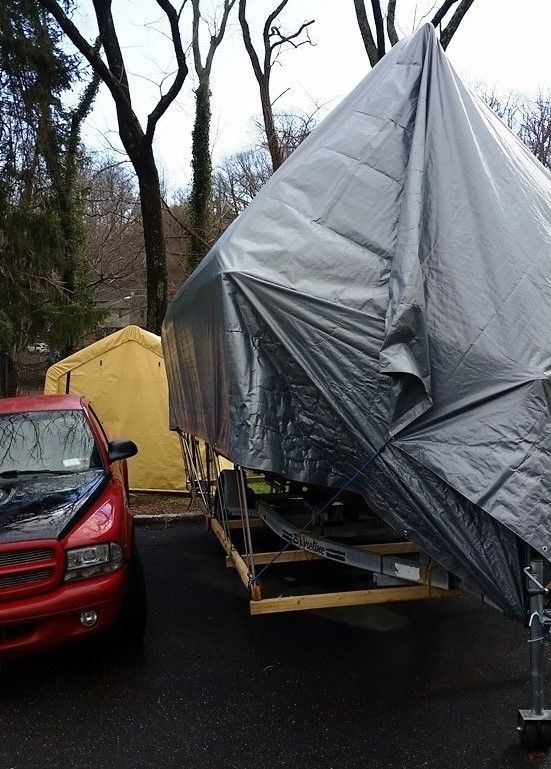
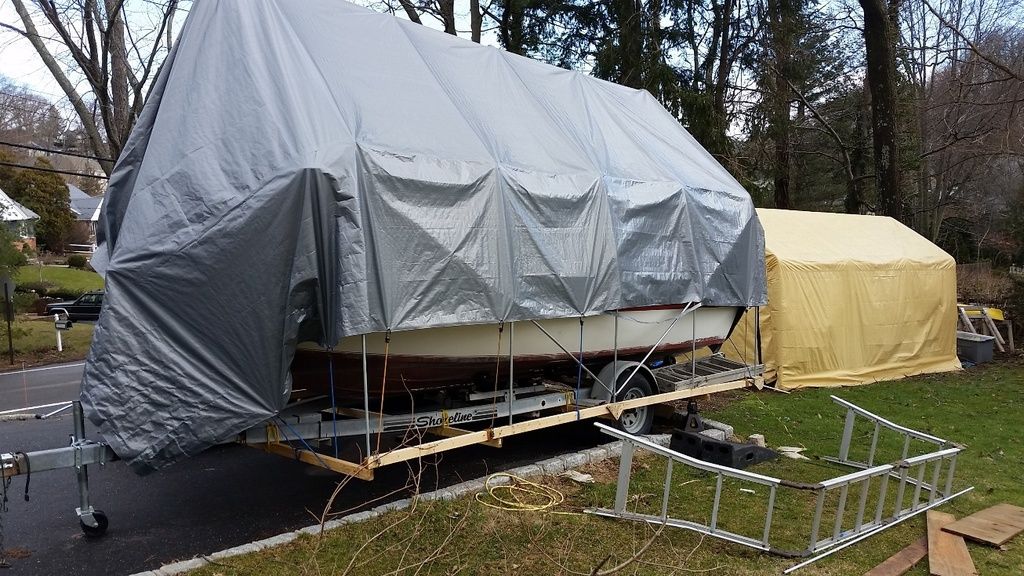
Sadly I have nothing new to report on the boat other than the tent has withstood some pretty descent winds (gusts up to +/-50MPH) and a few snow events, with no drama to speak of! So I'm really happy about that.

So I know I've been dormant for a while on here. I actually just returned from a week long vacation in the Caribbean. Buddy of mine had his wedding on a Carnival cruise ship, the Carnival Breeze. It was my first time ever on a cruise and ended up being one best experiences of my life, it was an absolute blast! We left out of Miami, and cruised to ports in Falmouth, Jamaica, Grand Cayman, and Cozumel, Mexico.
Being around all those nice beaches and beautiful water and weather, really makes me anxious to finish this tub I'm building and have it ready to go all summer!
I'm hoping I'll be able to give her some attention real soon, I'm overdue, just been so damn busy with other stuff.

Anyone have any good cruise stories?
 

WOEISMEIGOTTA470

Petty Officer 1st Class
Joined
Aug 31, 2012
Messages
375
Well damn, we have had some crazy windstorms the past couple days. Two nights ago it was blowing so hard, the boat/tent literally became a sail boat for a few seconds! I heard that a wind gust peak of 67mph was recorded in my area, which is no joke. The wind swung the trailer about 10 degrees to the right or so, and then back. I quick ran outside to chock the trailer better. I was lucky my truck which was parked alongside wasn't damaged. I'm actually impressed that the tarp held together, but the frame suffered a bit of damage, a few of the uprights on the port side are now bent.


Hoping to work on her soon but this weather is making it difficult. Hoping for some nice days ahead.
 

WOEISMEIGOTTA470

Petty Officer 1st Class
Joined
Aug 31, 2012
Messages
375
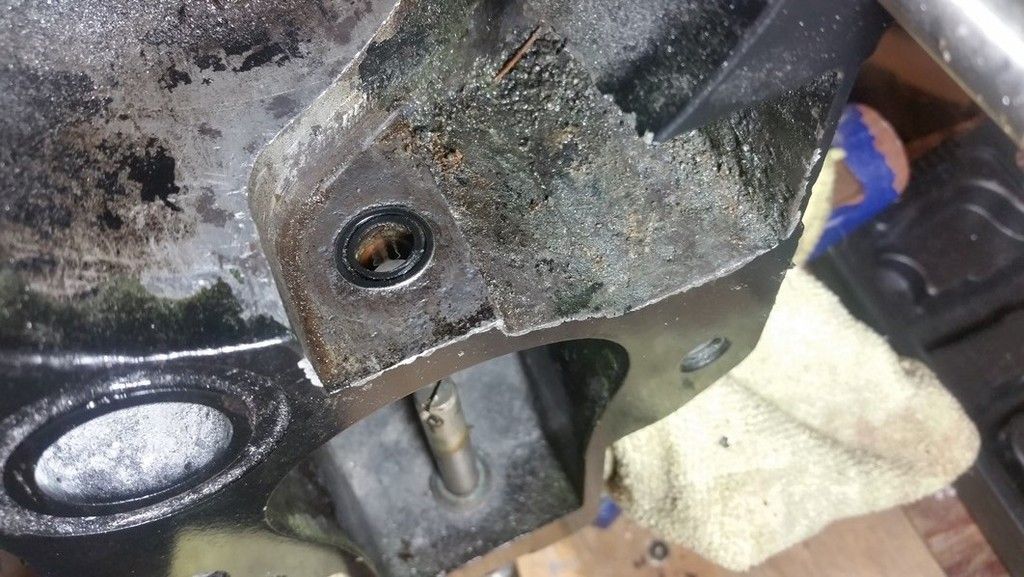
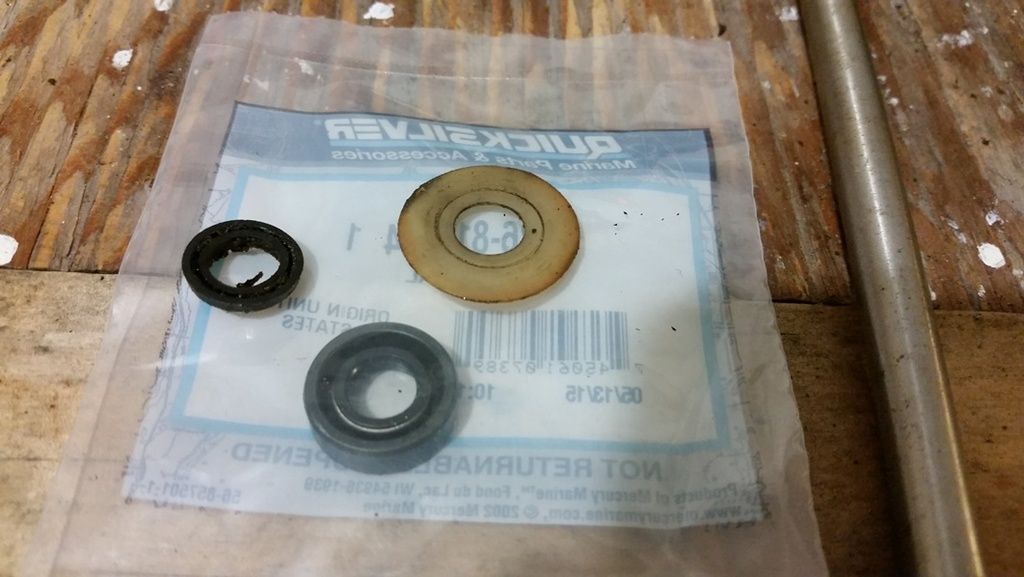
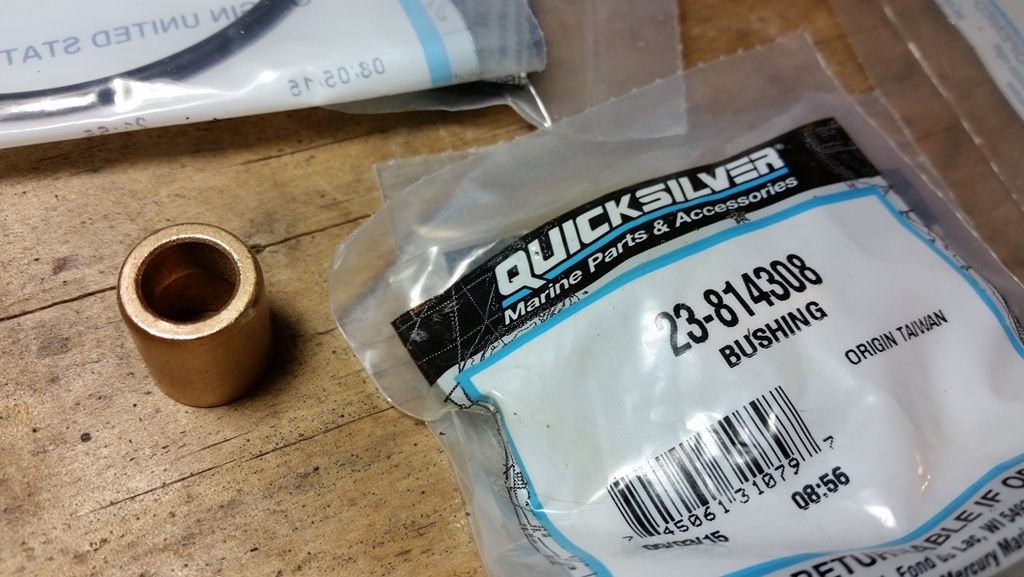
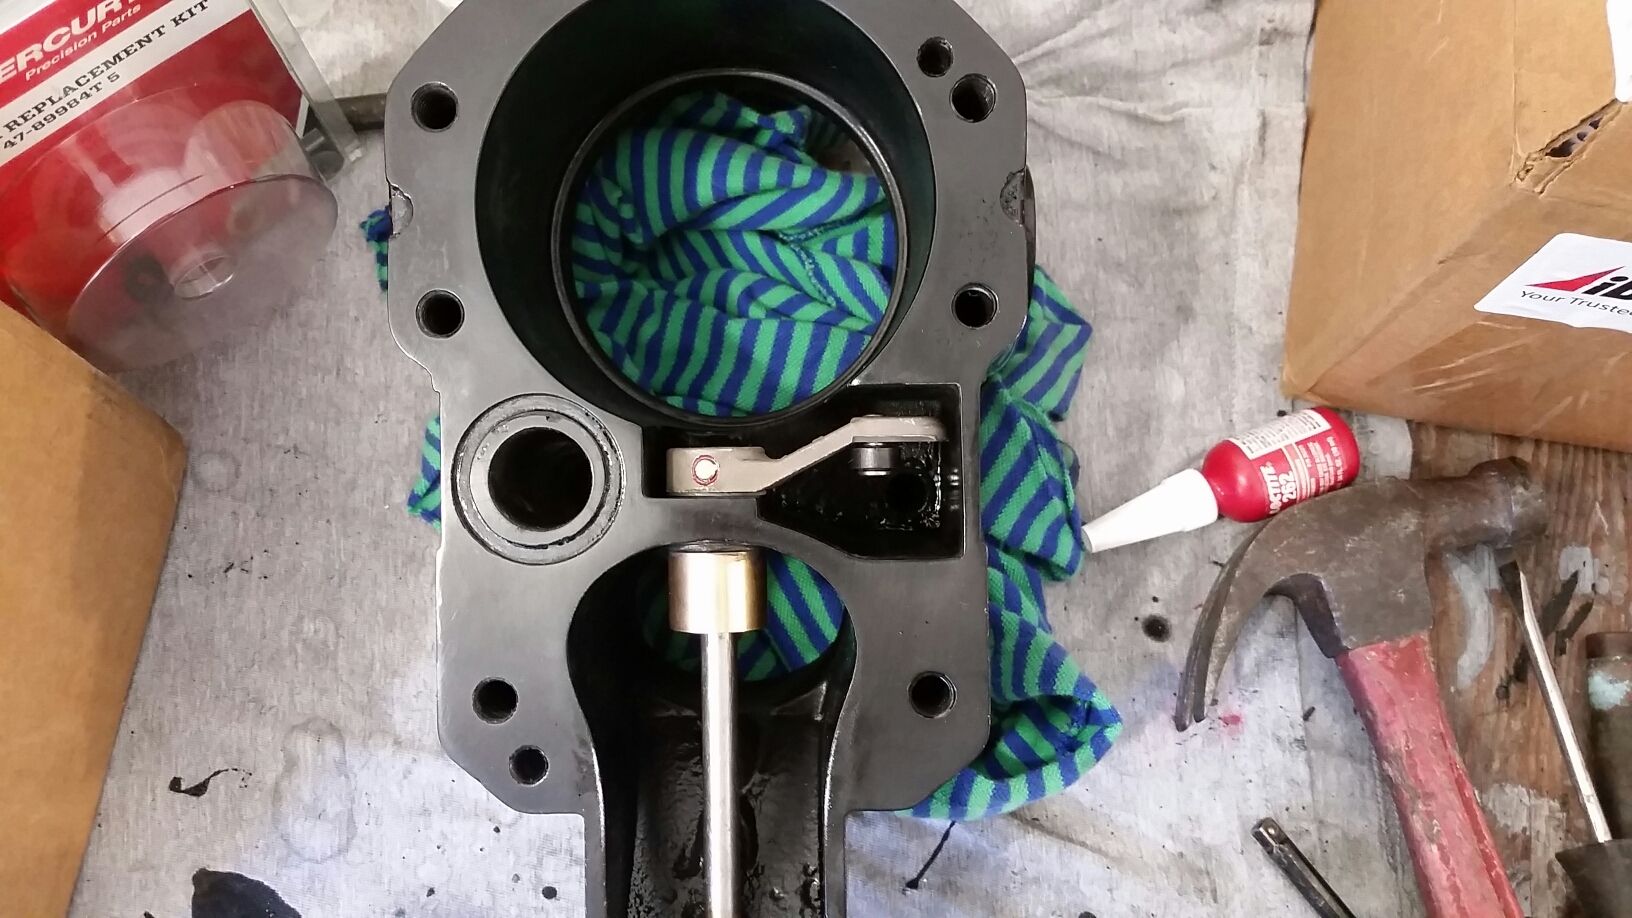
OK so I'm back from my winter slumber, begun work on the outdrive starting with the bell housing. I wanted to install a new shift shaft seal, but ran into some trouble. The parts I ordered don't look like they'll fit. The new bushing's ID appears too large and there is a good amount of slop, (p/n 23-814308). The new seal (p/n 26-8164641) also is quite a bit larger than the old one I pulled out. I found out that the old style seal (p/n 26-45587) isn't typically used anymore, and has been replaced by a new integrated bushing & seal kit, 23-805041A2. I happened to find and order a kit 45518T1, which includes not only the new style seal/bushing, but also the shift arm, basically everything needed for this service. I'm hoping that this kit will work, and that the old bushings can be pulled out without too much effort. There is some pitting around the upper bushing which has me a bit concerned, another reason why I think the new style seal will also work better.
 

WOEISMEIGOTTA470

Petty Officer 1st Class
Joined
Aug 31, 2012
Messages
375


Had to break the shift lever in half, since the set screw snapped on me. Used a cut off wheel and a hammer to crack it in two, it's a cast piece so that helps.


With that out of the way, the old seal is exposed. This old part is p/n 26-45587, and was glued and pressed in place.


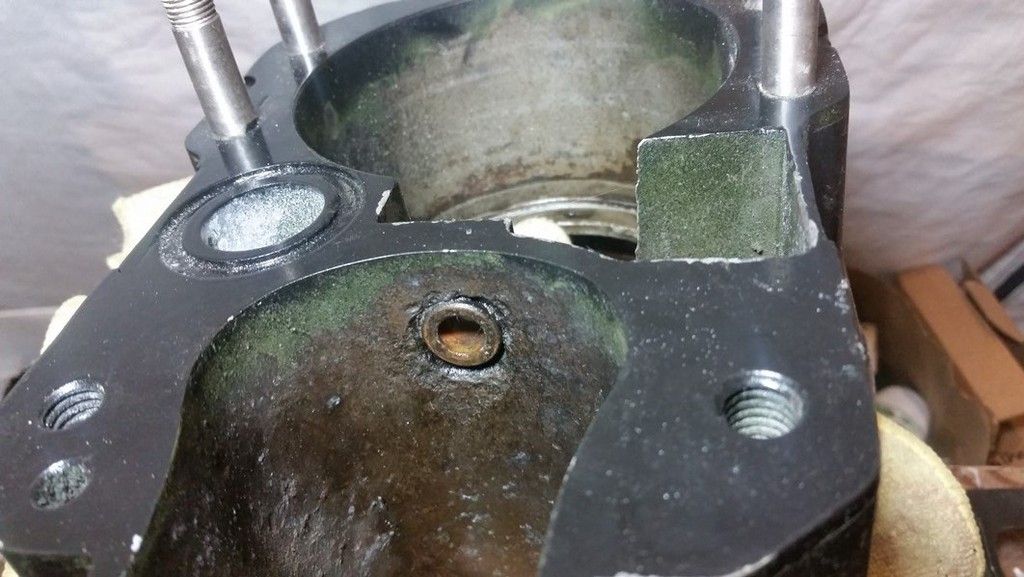
A look underneath the upper bushing shows some corrosion around the bore...I hope this won't prove problematic.


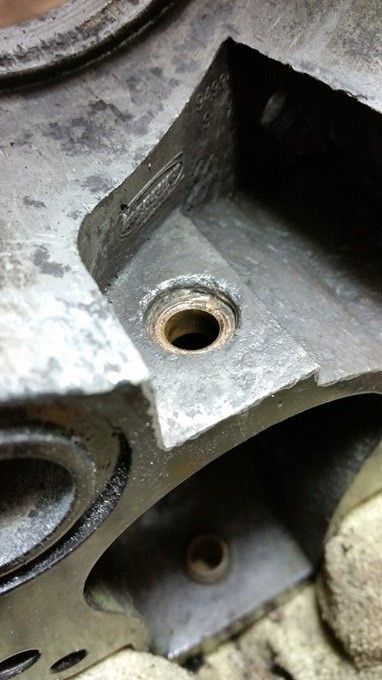
Old seal removed and area cleaned up a little. I'm certain that this seal was leaking seeing all the pitting in this area...


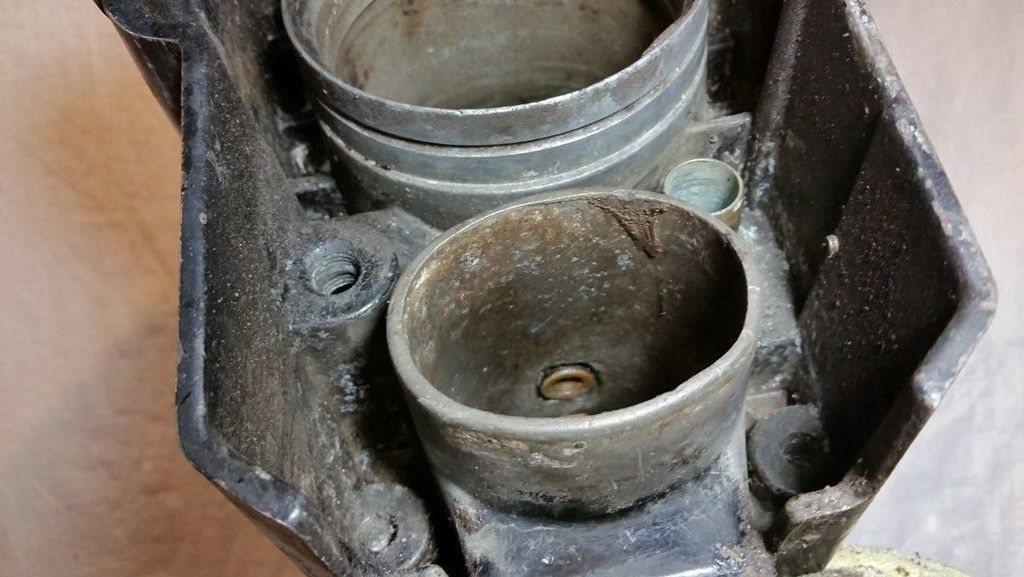
A view from the back of the housing, I managed to clean off all the old bellows adhesive around both bellow flanges. They cleaned up nice with some brass wire brushes dipped in acetone. To make even quicker work I chucked the brushes in a drill (bottle style brush).


Here's a picture of the old seal compared with the one I purchased.


and the new bushing that doesn't appear to work, fits sloppy on the shaft...
 
Last edited:

52FordF2

Petty Officer 1st Class
Joined
May 31, 2013
Messages
372
Can you find a bushing with the correct size OD and a smaller ID. Then get an adjustable brake hone for that size an ream it to the correct ID.

Just my .02. I've had to do this to different bushings I have had, to get to work. Just can't get parts for old or antique equipment anymore.
 

WOEISMEIGOTTA470

Petty Officer 1st Class
Joined
Aug 31, 2012
Messages
375
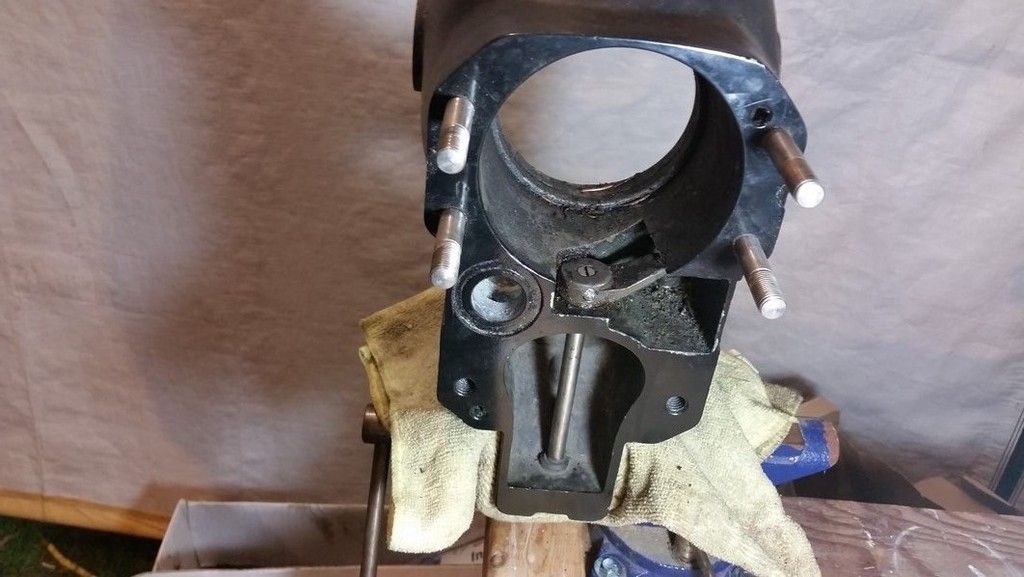
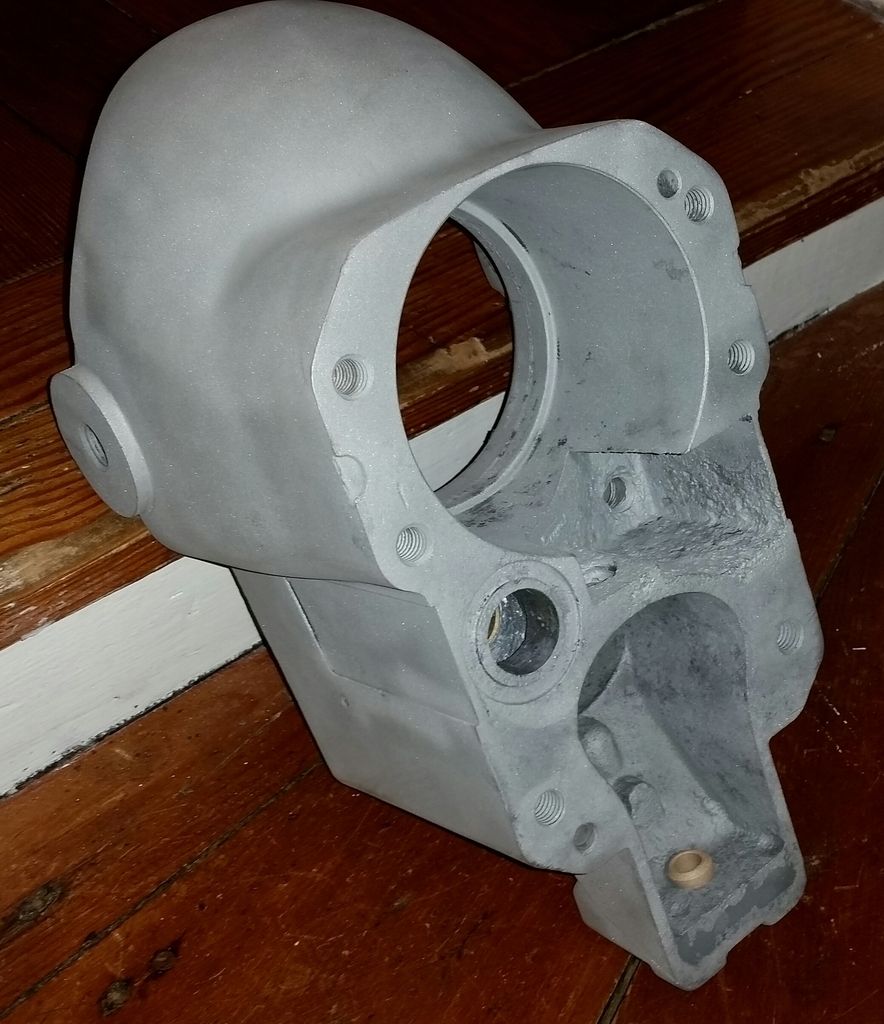
Thanks '52, that's good advice. When in doubt, make your own fix! I was able to order the updated bushing and it looks like it will work out nicely. I decided to strip the bell housing down to bare metal for a repaint, and to clean up the corrosion. I am a very grateful dude, for tonight my neighbor gave me access to use his awesmome blast cabinet to clean up the part. Sanding this thing would be a total PITA, frankly no other method would do as good a job. What is a bit astounding is how much corrosion was actually hiding! I still think I can save the housing, but I beleive JB WELD will be my best friend for the next few days!

I also ordered some paint, I plan on shooting it with an epoxy DTM primer sealer, and acyrlic urethane two stage paint! Any prepping and painting suggestions are welcome. I plan on giving the part an etching bath using POR-15? Metal Prep solution, http://qr.absolutecoatings.com/QR-assets/downloads/POR15/MetalReadyDescription.pdf
 
Last edited:

WOEISMEIGOTTA470

Petty Officer 1st Class
Joined
Aug 31, 2012
Messages
375
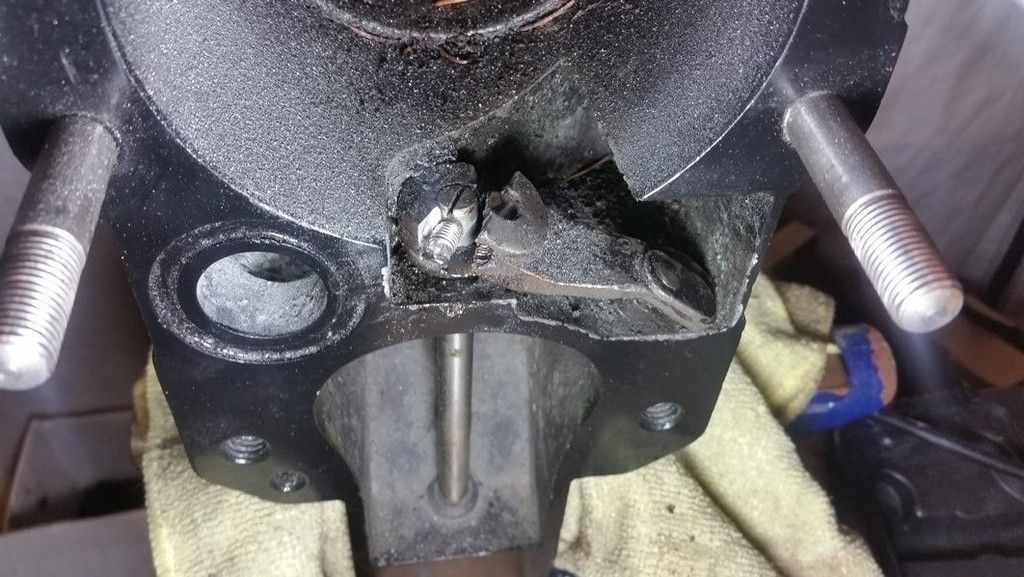
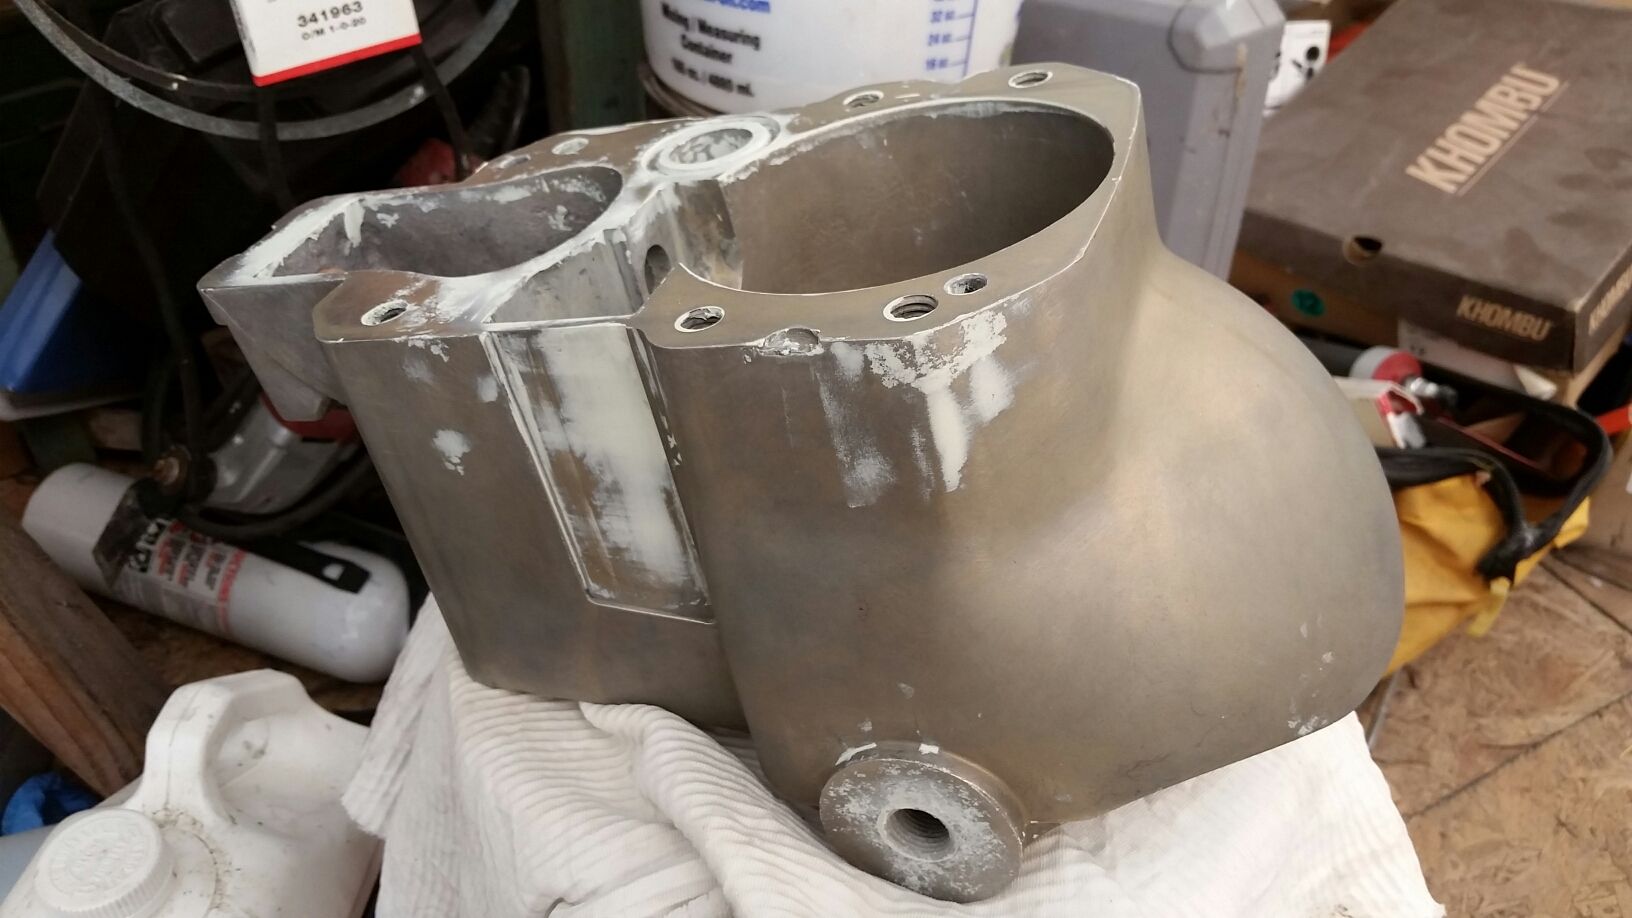
In the lower part of the image you can make out my previous JB WELD repair. It held strong against the abrasive blasting...that's a good sign.
20160407_214836-1_zpsnn4zavi6.jpg


The worst of it...


Backside isn't too bad. The black spots are actually just leftover bellows adhesive.
 
Last edited:

WOEISMEIGOTTA470

Petty Officer 1st Class
Joined
Aug 31, 2012
Messages
375
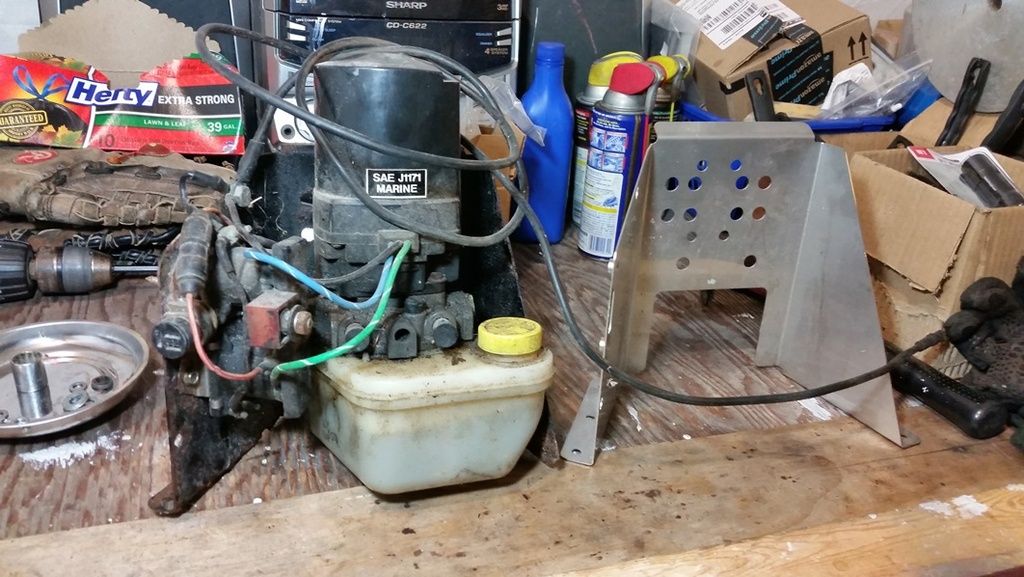
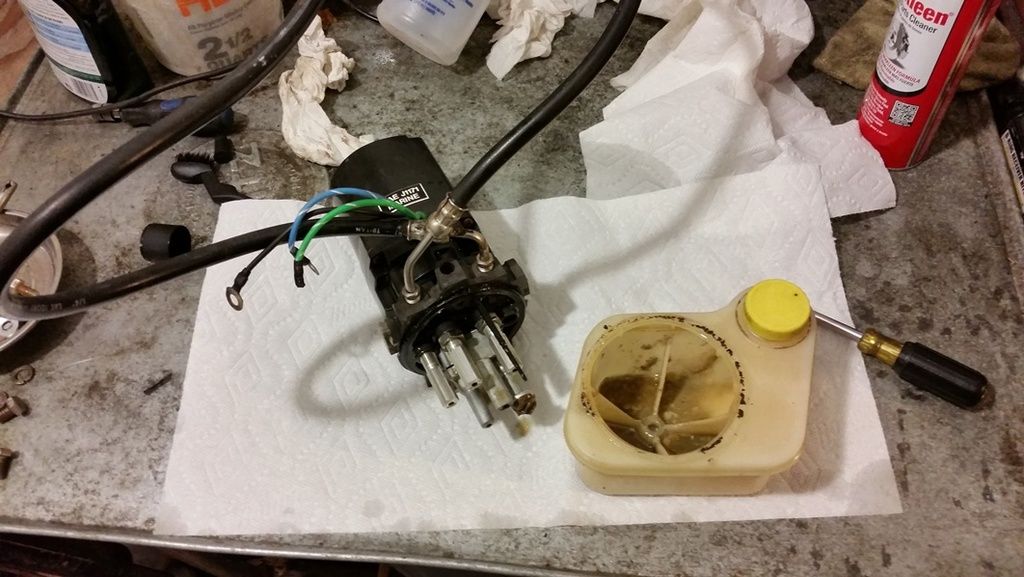
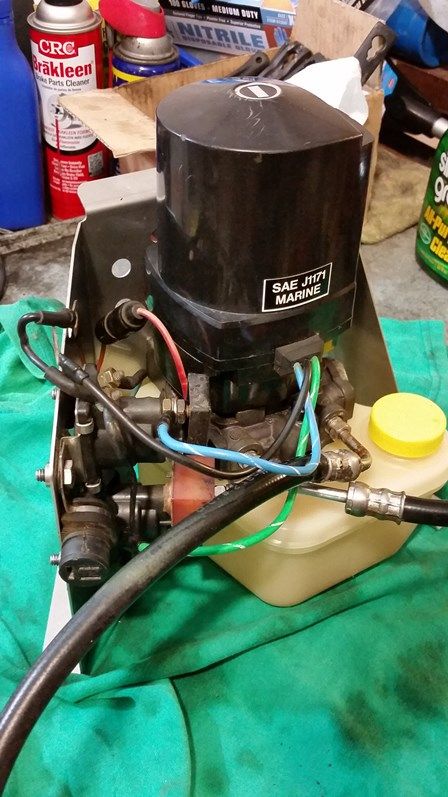
Did a little work on the trim pump assembly last night...

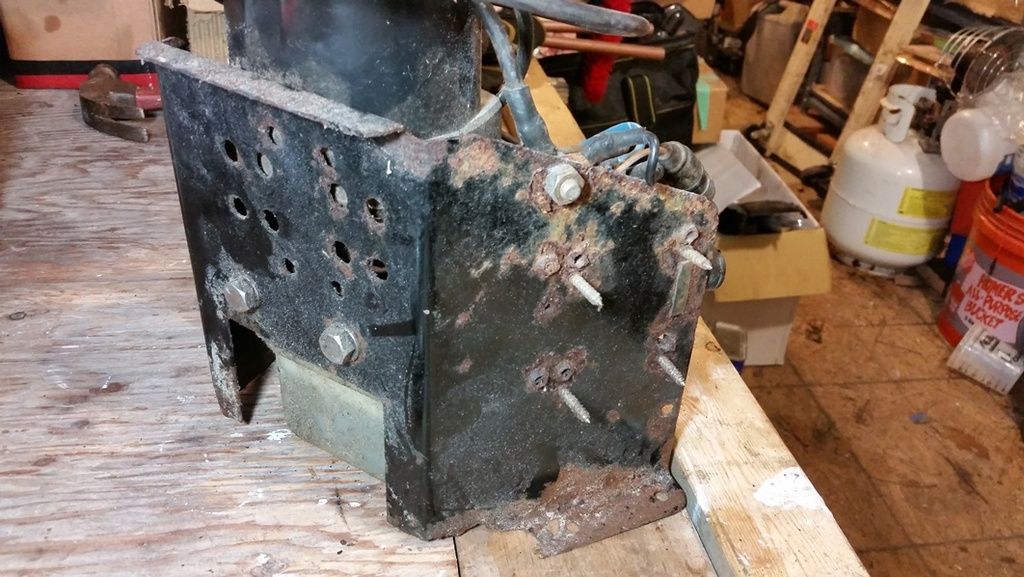
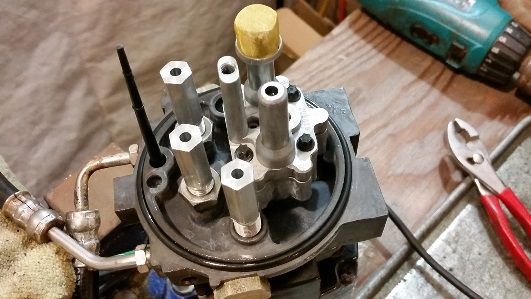
Removed nasty rusted steel bracket and de-greased the pump...


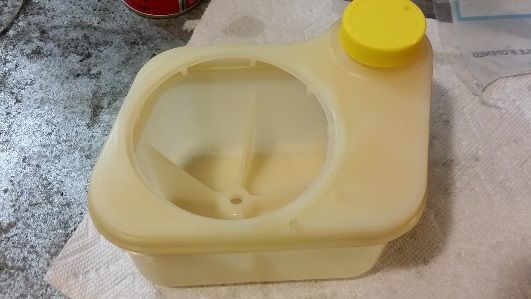
Removed tank:


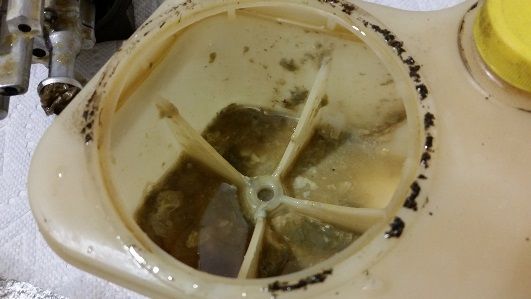
Nasty sludge


replaced inlet screen filter


Nice clean tank


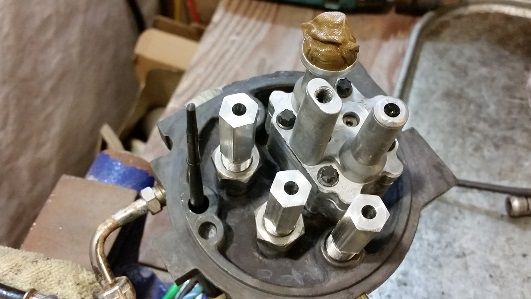
Cleaned up solenoids and electrical contacts, and re-assembled onto new s.s. bracket :D


Much better!
 

WOEISMEIGOTTA470

Petty Officer 1st Class
Joined
Aug 31, 2012
Messages
375
Well, 4 months since my last post...was not expecting time to run away from me again, another summer season past. Every year is more busy and flies by quicker than the last. I have barely done any work to this heap this summer, but not for long! In recent news, I left my full time job and have had this whole week off. It's a great feeling, I'm planning to now give the boat my full time attention for the coming weeks! Yippee!!
With that being said, I'm getting close to painting the drive, and actually have some questions for the pros out there. First, I have cleaned sanded and filled all the pits, scrubbed, degreased and acid etched everything. Then applied alodine, and after a thorough rinse and dry, coated with zinc chromate primer, which is the current status of these parts. Now my question is on the next steps for paint. Now I have DTM epoxy primer, should I use this or is it unnecessary? Should I just go straight to shooting 2k primer, then topcoat? I'm wondering if the epoxy primer would add any benefit, durability, or corrosion protection?
Thanks for now, I will be posting more often! Pics to follow!
 

WOEISMEIGOTTA470

Petty Officer 1st Class
Joined
Aug 31, 2012
Messages
375
This is the bell housing after much work filling and sanding work, and post alodine coating:


And here is the drive split in two, spent the last two days cleaning out the insides and coating with zinc primer...


WOEISMEIGOTTA470

Petty Officer 1st Class
Joined
Aug 31, 2012
Messages
375
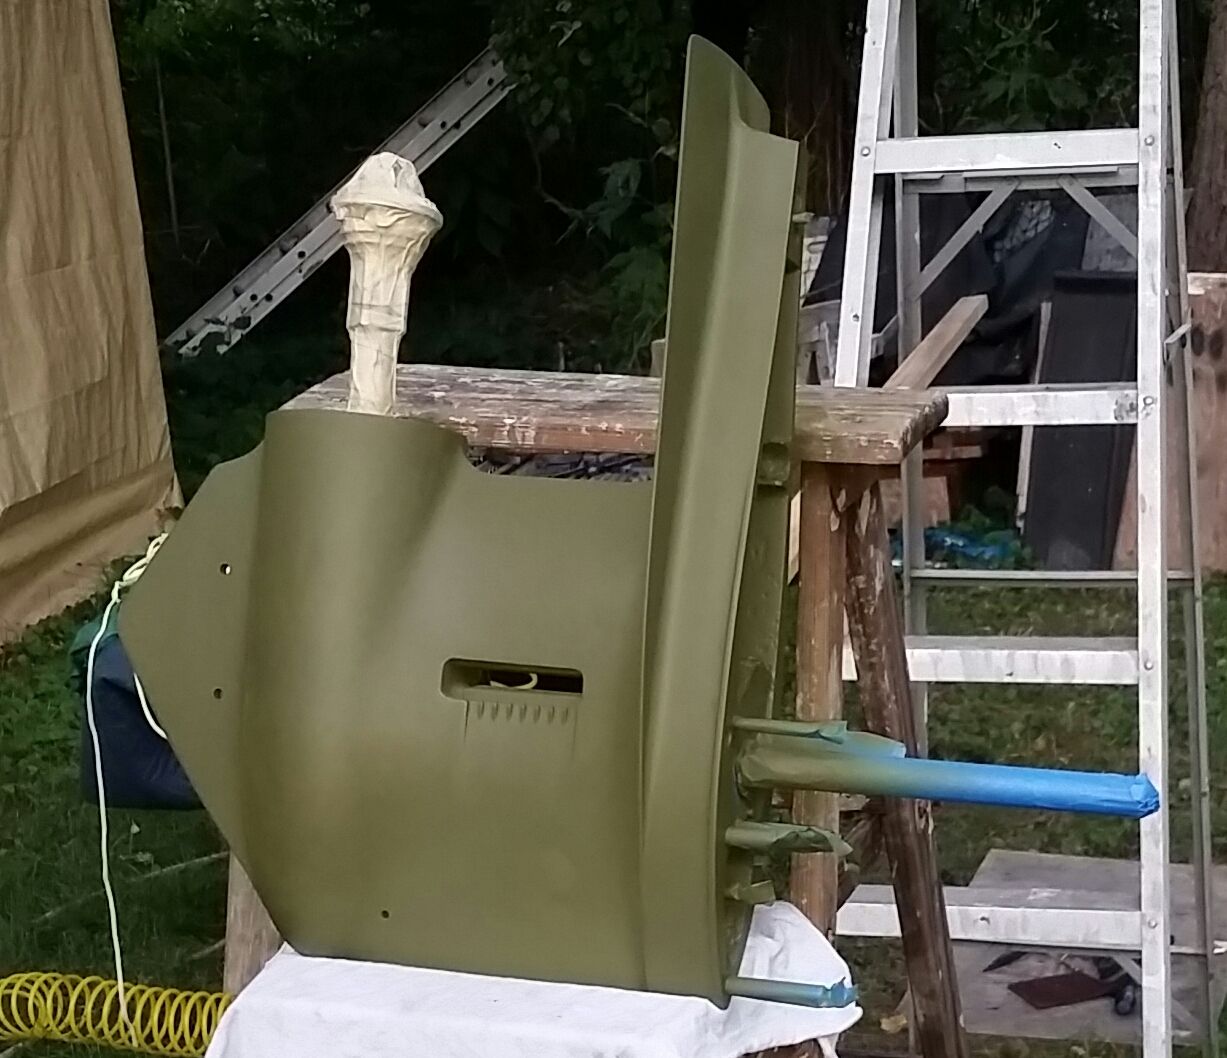
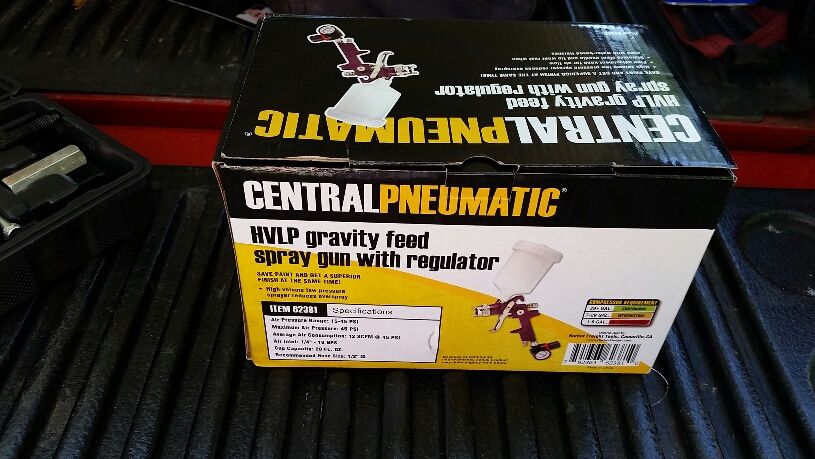
So, I did more research and found out that the zinc primer is inferior to DTM epoxy. Also the solent based urethane paints would likely lift all the zinc primer. So I painfully removed all that primer, and recleaned the parts. Got everything painted up nice, used single stage jet black from kirker automotive paints. The economy gun from eastwood of sucked, shot everything with the purple harbor freight gun. Not perfect, but after cutting and buffing, I'd say it came out pretty nice! Pics to follow.
 

WOEISMEIGOTTA470

Petty Officer 1st Class
Joined
Aug 31, 2012
Messages
375
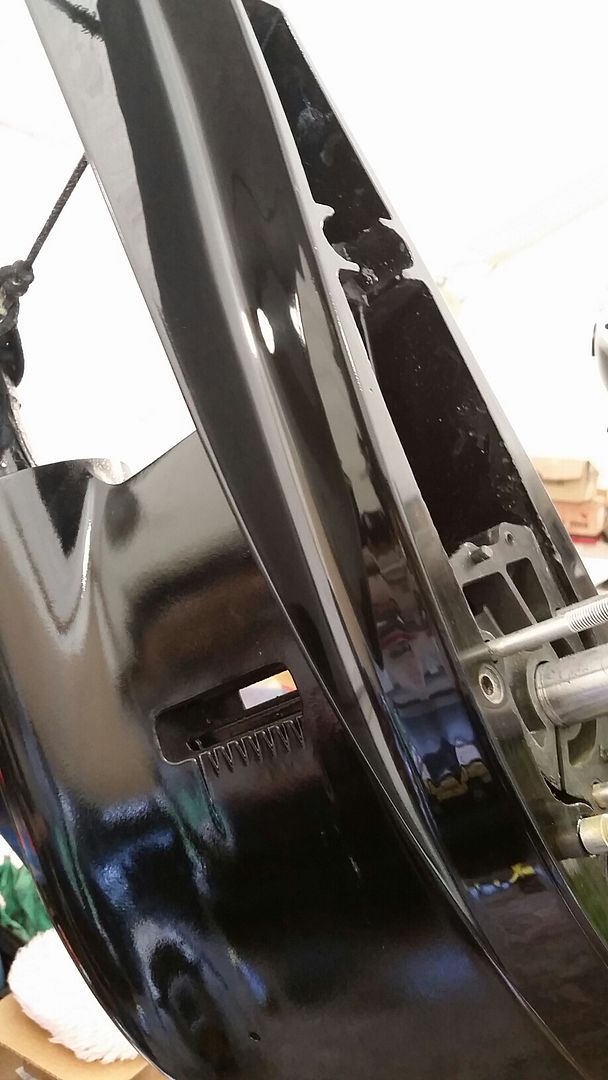
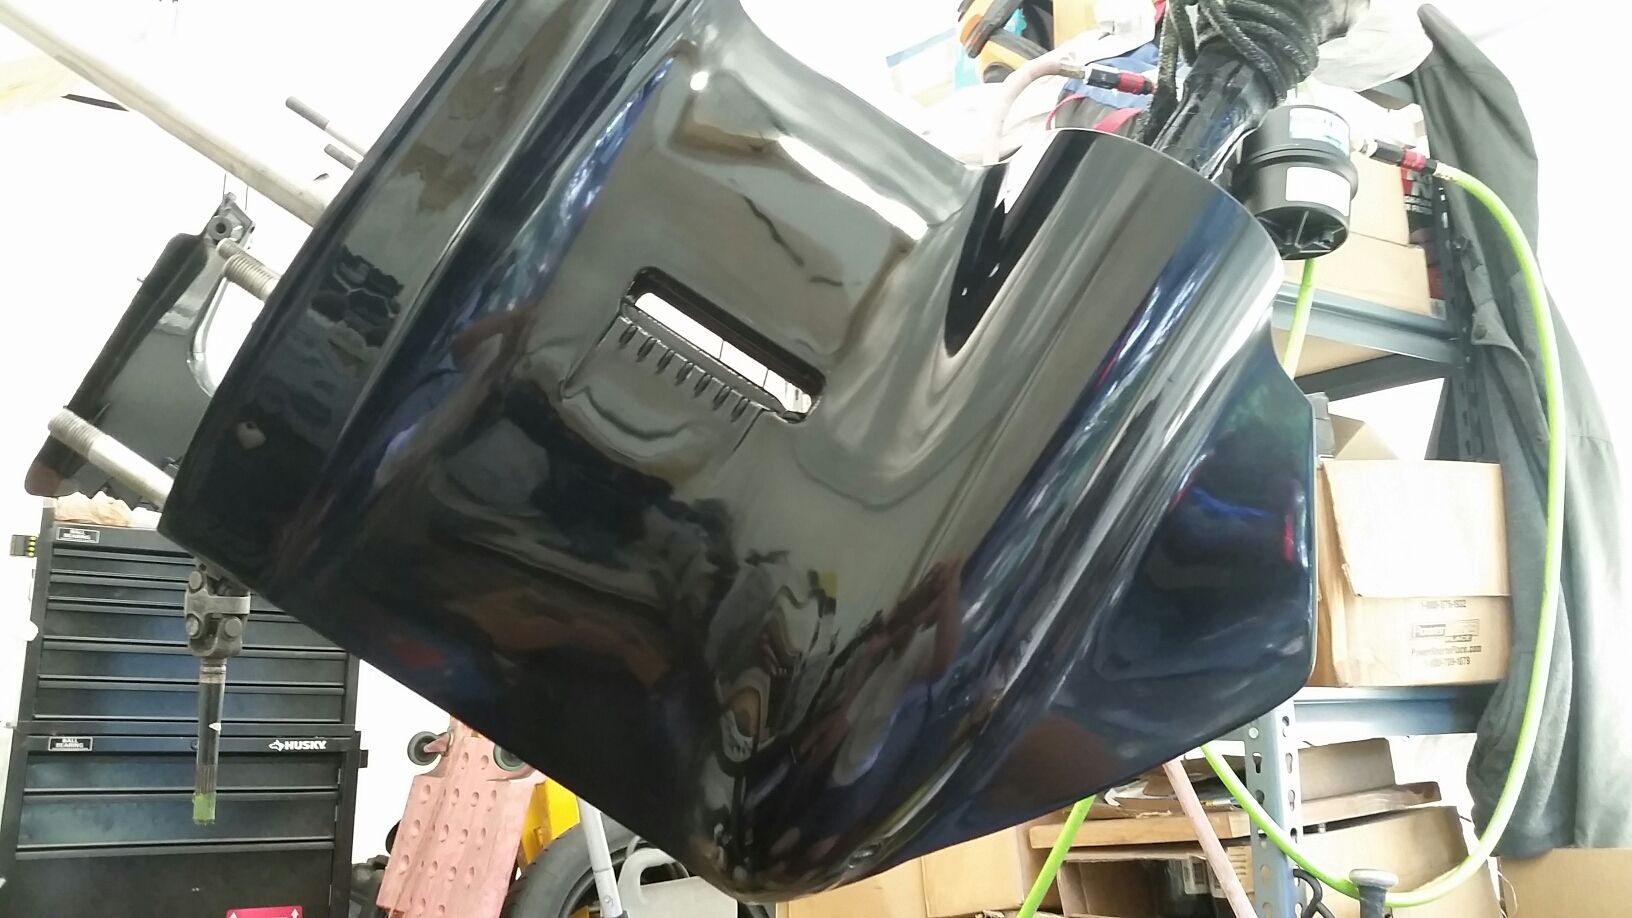
So here is the final product...

This pic shows the lower unit, with the top portion wet sanded and polished, showing the difference!


Here is the entire lower polished...
 

WOEISMEIGOTTA470

Petty Officer 1st Class
Joined
Aug 31, 2012
Messages
375
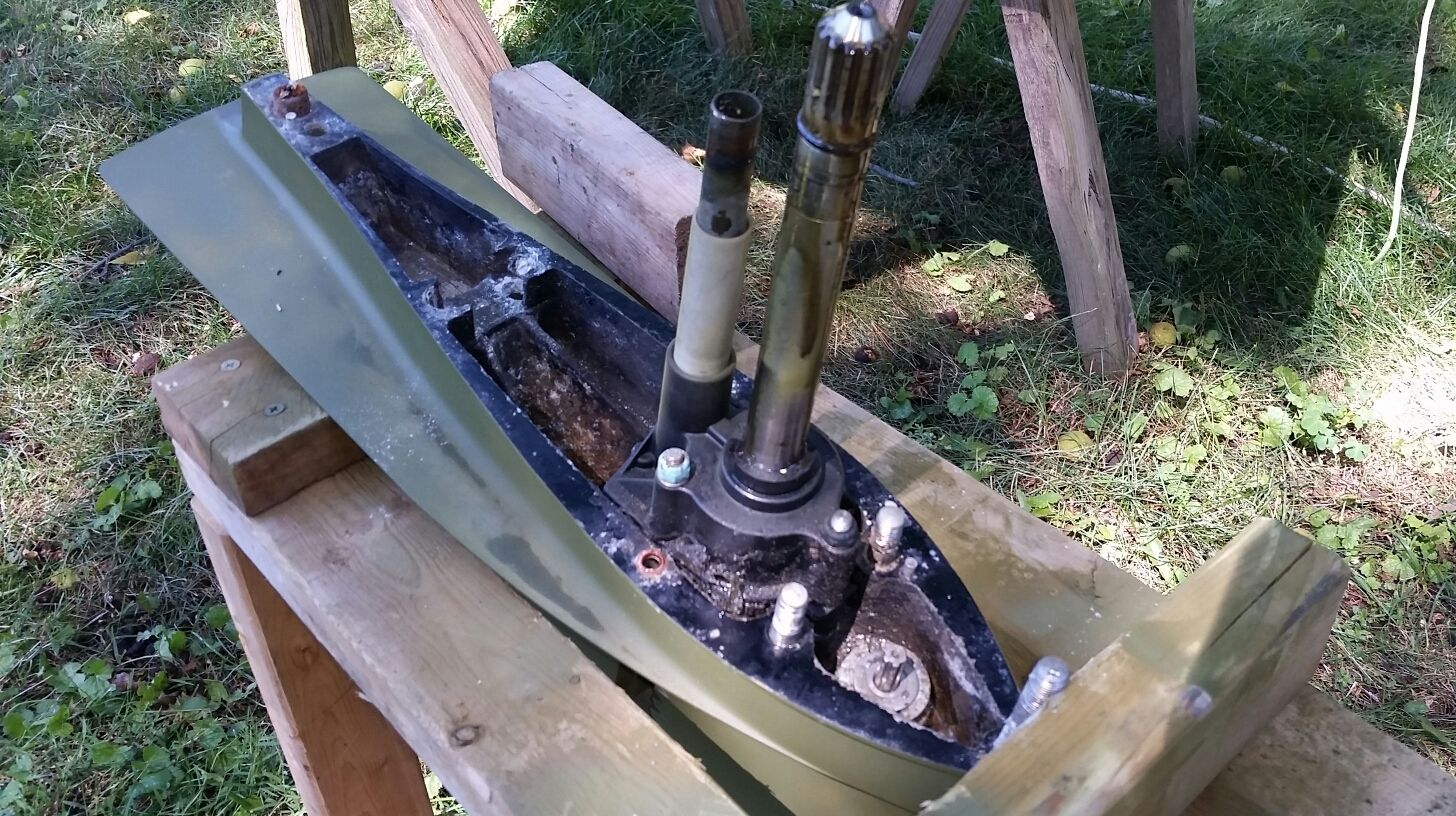
Some before pics...

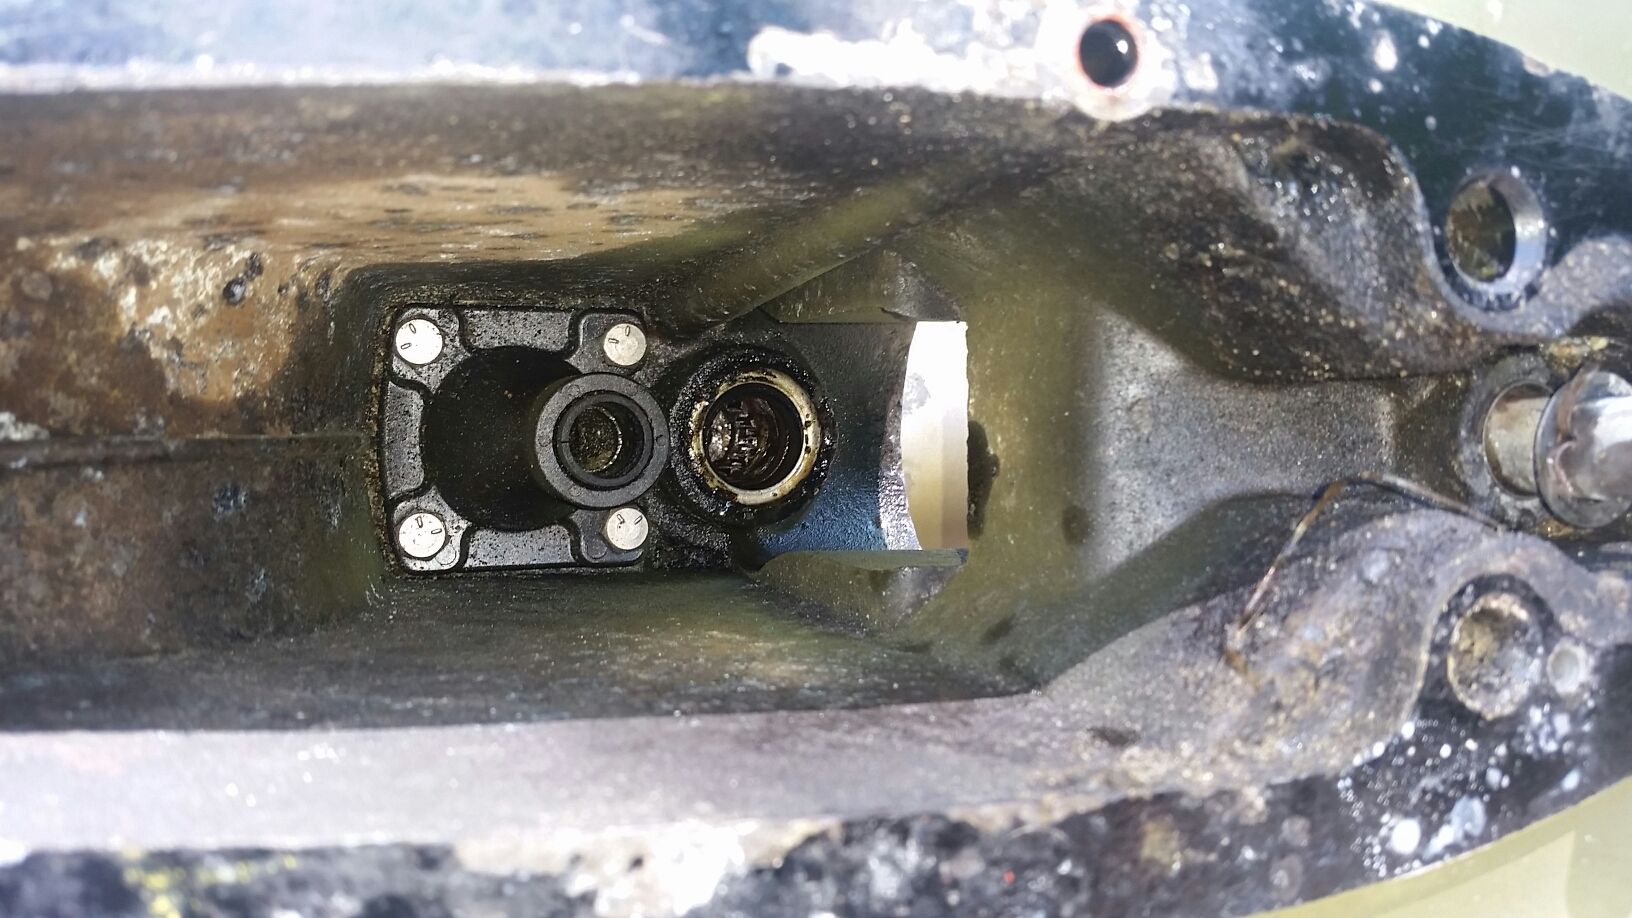
The upper had a bad shaft oil seal:


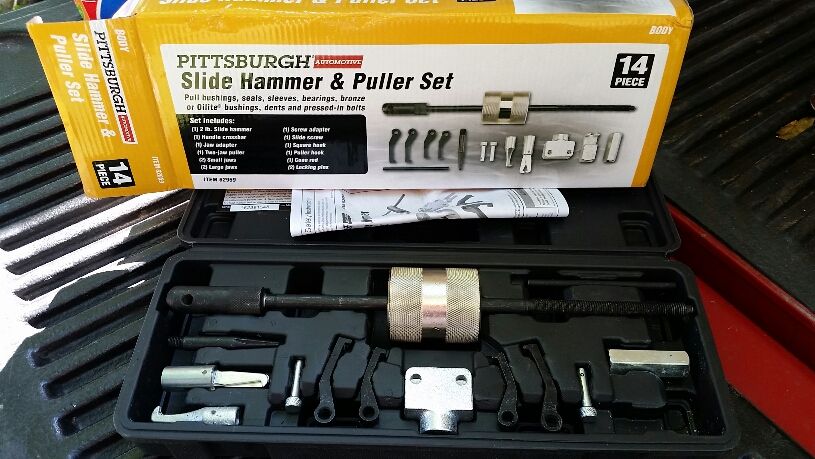
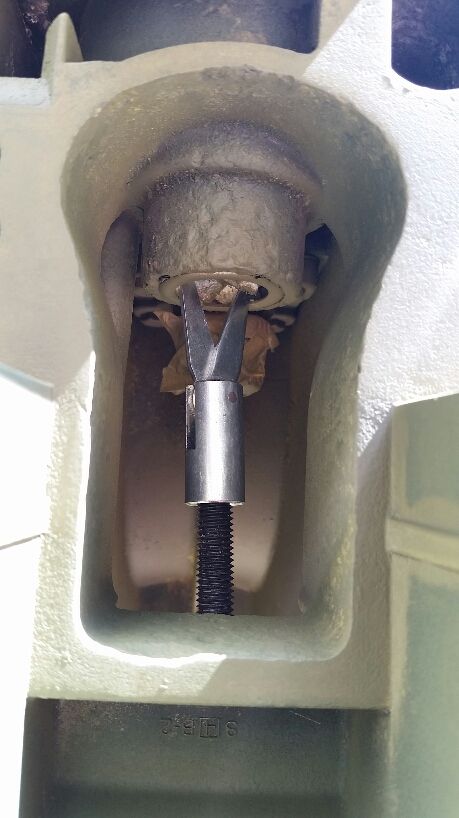
Used this puller to get the old one out:


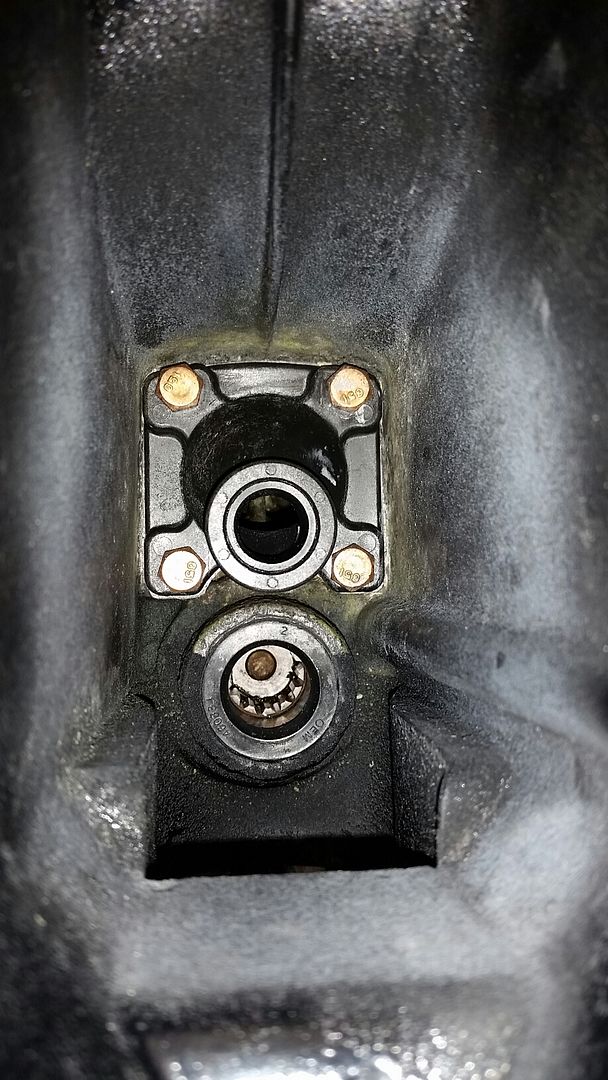
Here is the upper with new seal and water inlet housing:
 

WOEISMEIGOTTA470

Petty Officer 1st Class
Joined
Aug 31, 2012
Messages
375
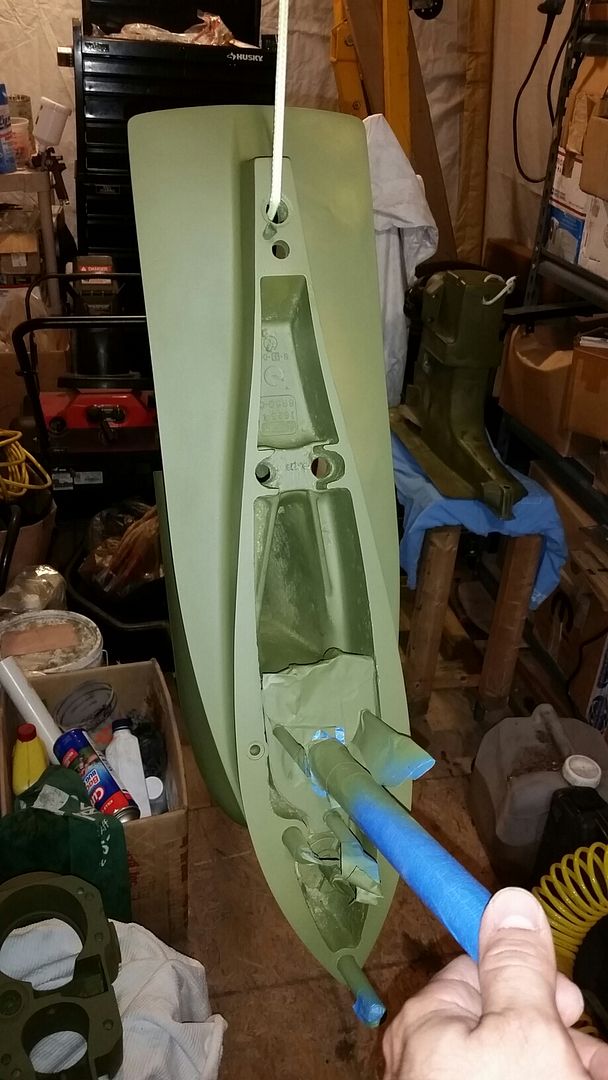
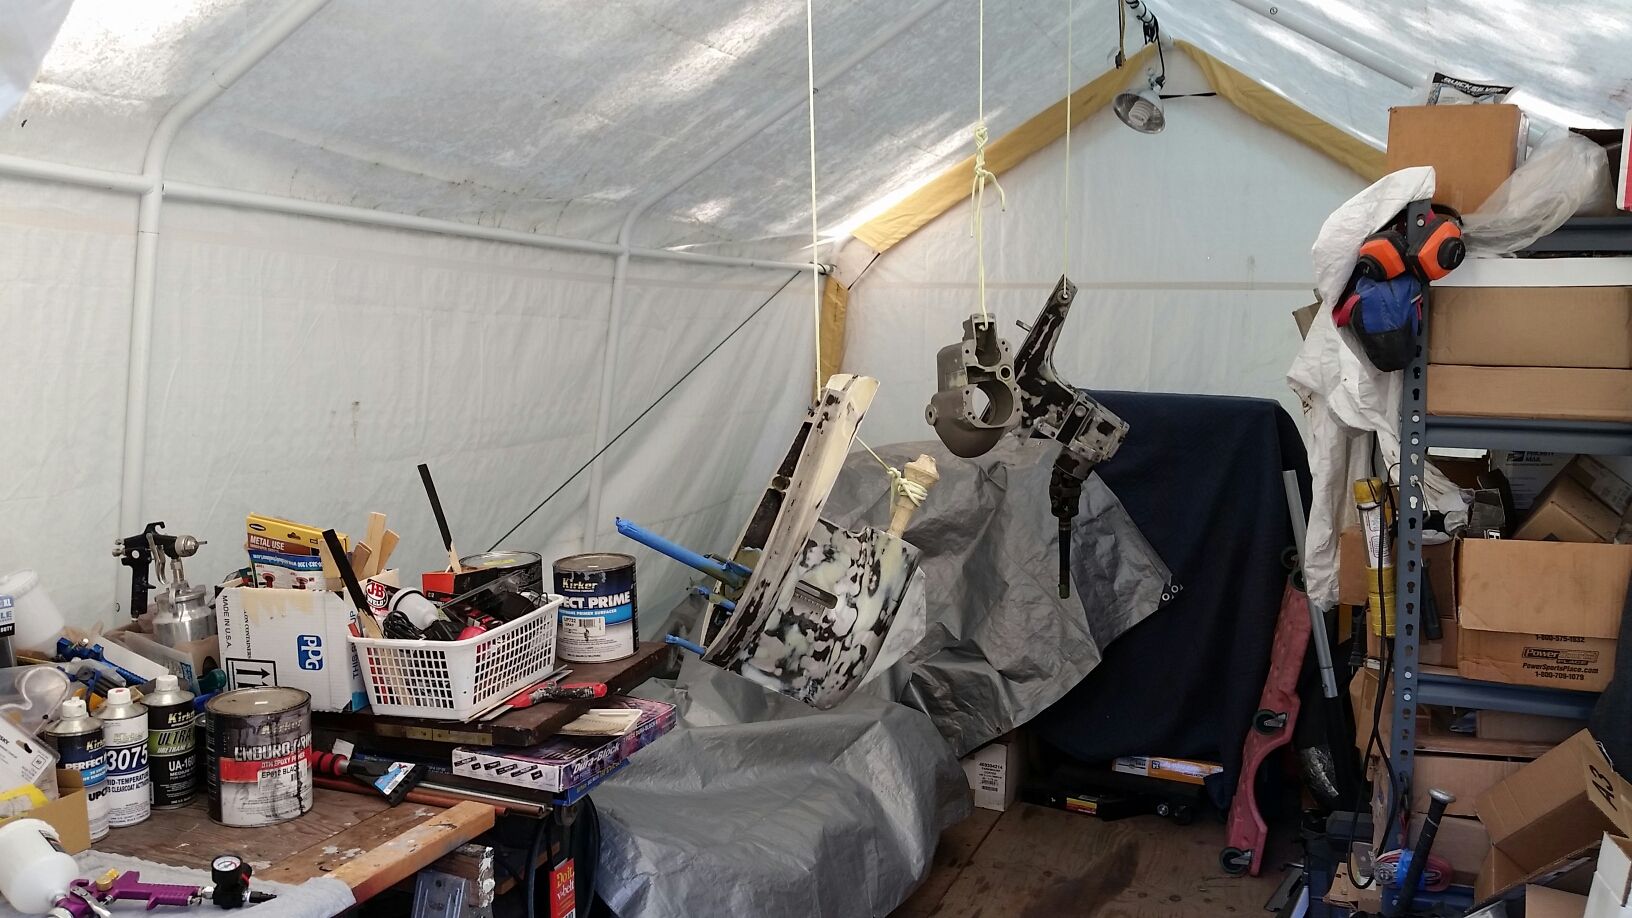
Parts hung up for spraying..


Here's the gun I ended up going with, the Eastwood model looks nearly identical but sprayed horribly. Only downside to the HF gun is that the dam thing is impossible to disassemble. They must've glued the nozzle on lol
 

WOEISMEIGOTTA470

Petty Officer 1st Class
Joined
Aug 31, 2012
Messages
375
Lower unit water pump rebuilt


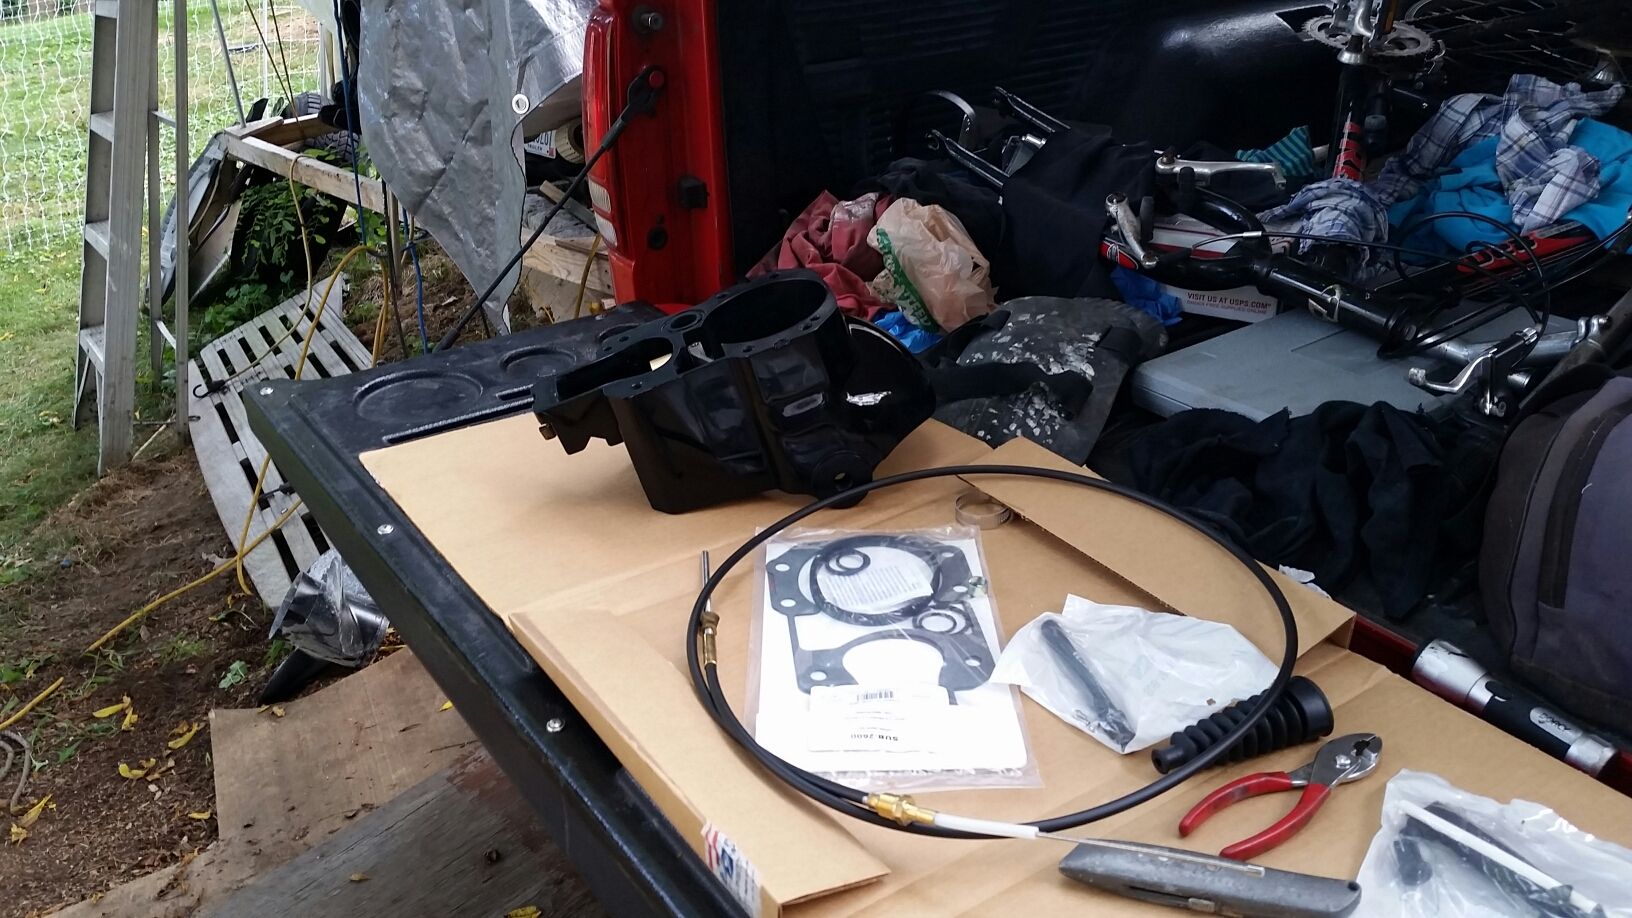
Bell housing rebuilt with new shift shaft bushing, seals, lever...


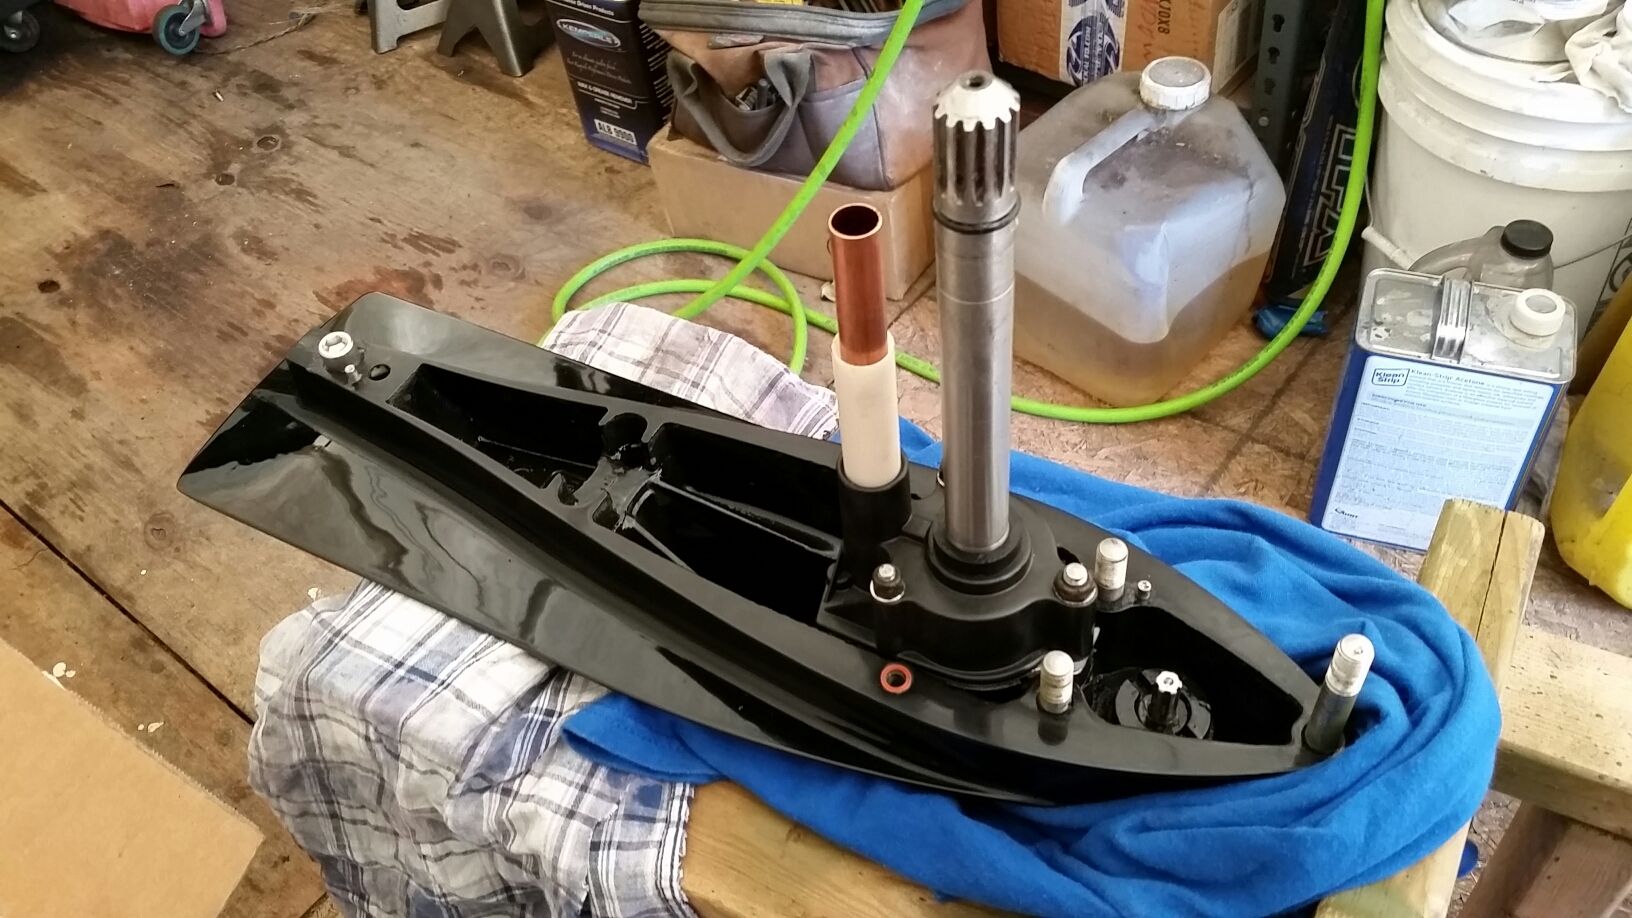
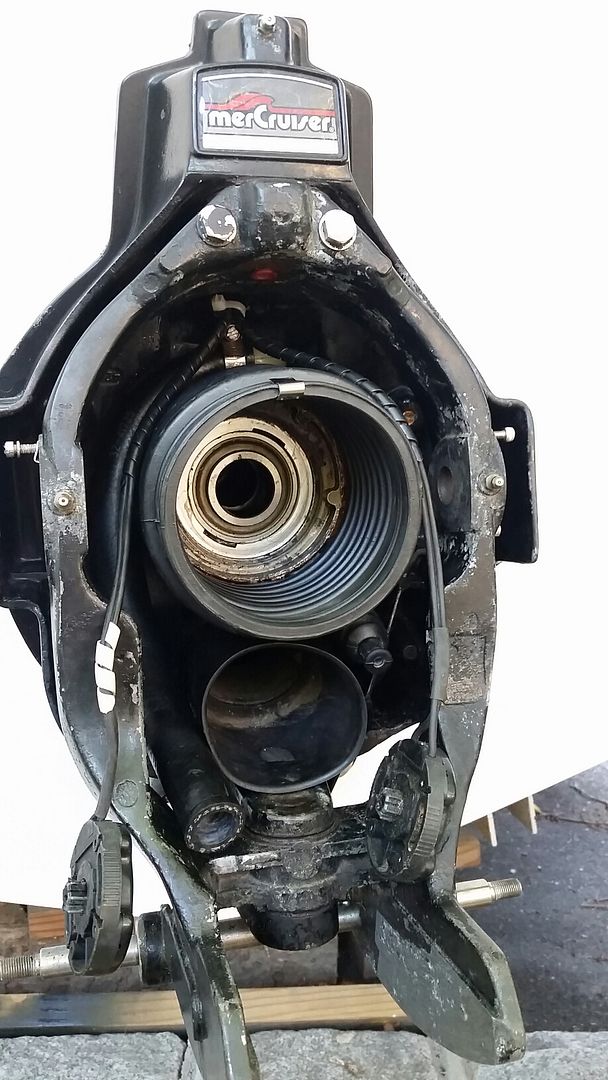
Gimbal housing cleaned up, bellows installed:


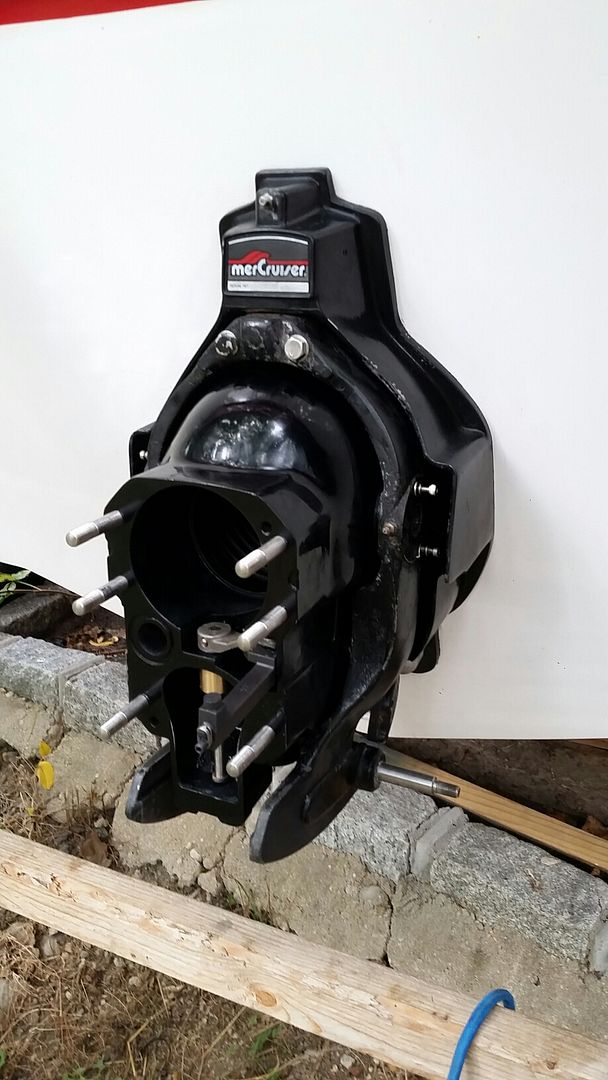
Bellhousing and shift cable installed...


WOEISMEIGOTTA470

Petty Officer 1st Class
Joined
Aug 31, 2012
Messages
375
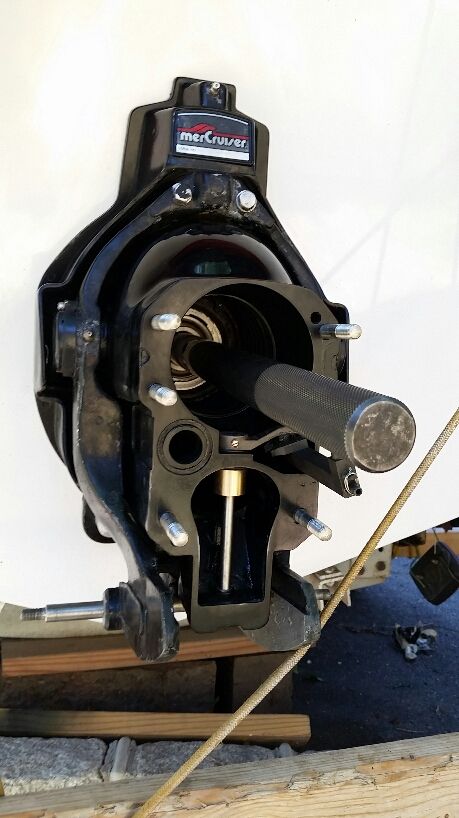
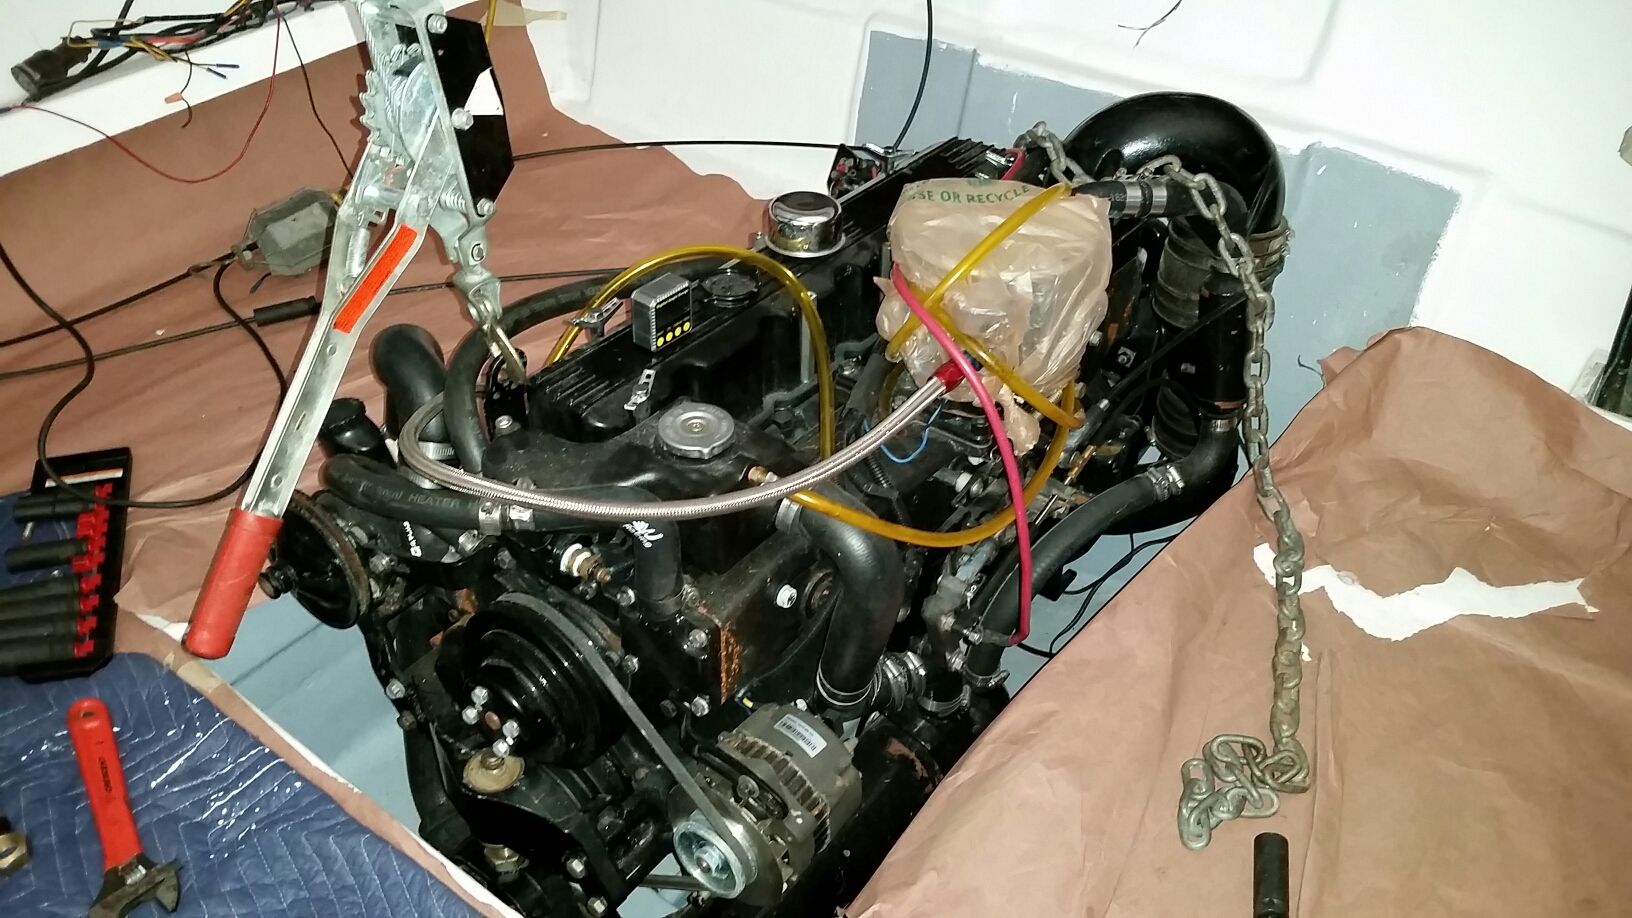
So the latest stage where I'm at now is trying to get the engine aligned. For some reason I've run into problems with getting the alignment tool to go in.


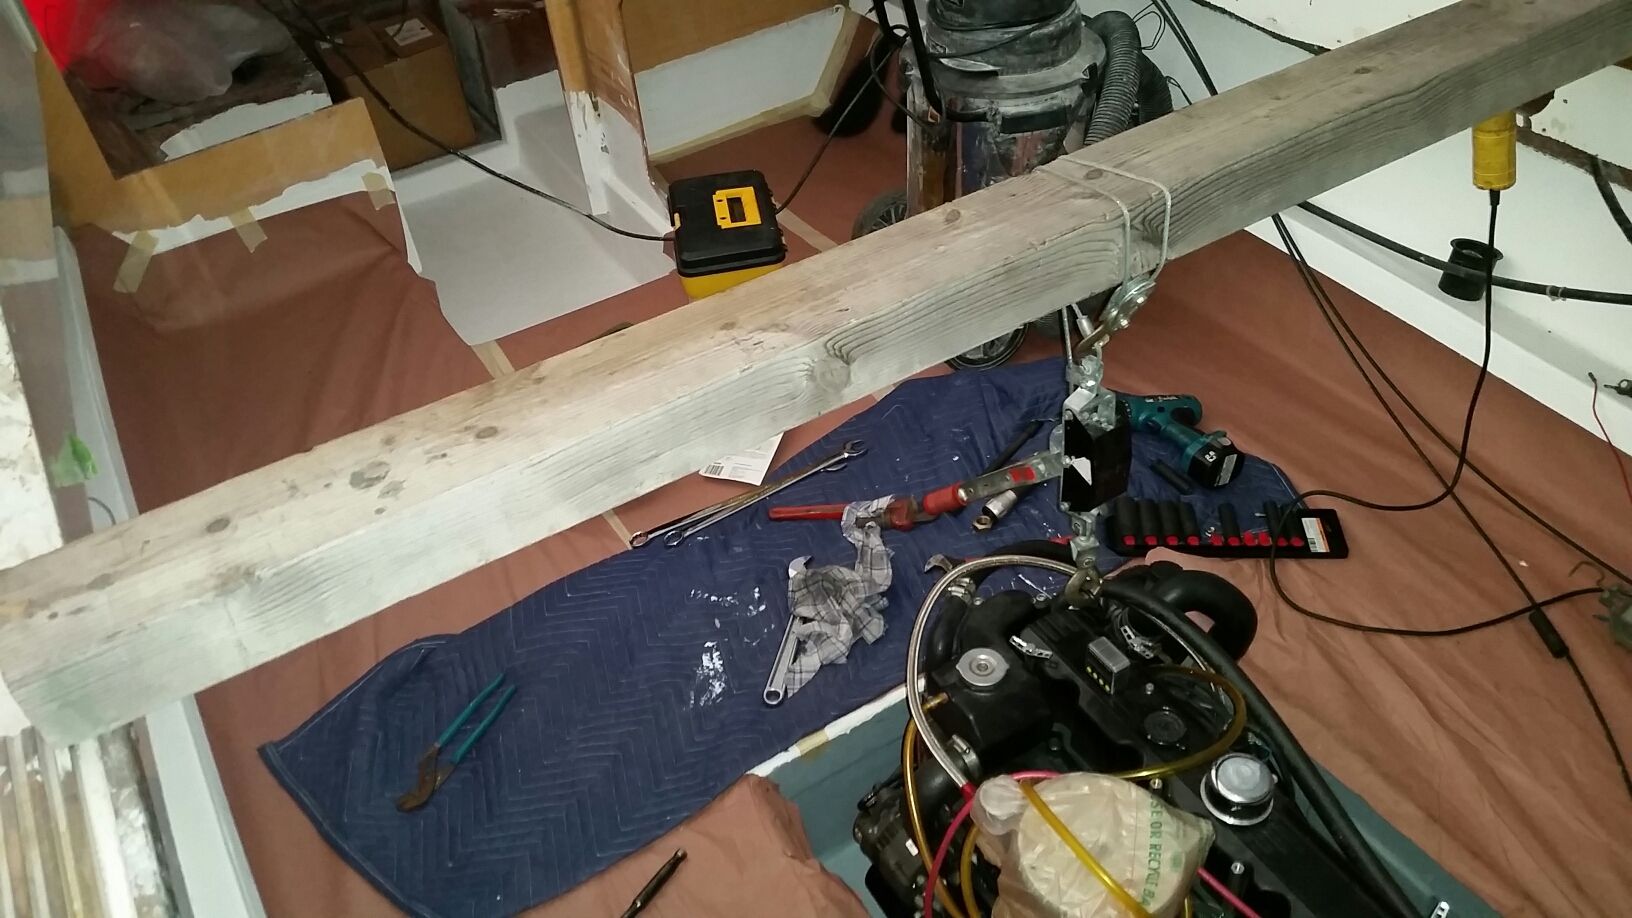
I've adjusted the mount through its entire range, and nada. I hooked up a come-along to raise and lower the engine easier and quicker. I even used it to check the hardware under the transom engine mounts, which is just the helical spring washer and the large fiber washer right? I'm out of ideas...


Next is I'm going to remove the front mount completely and try to get more range that way. It's possible my front mount is too high, but I glassed in the new mount just like the existing one sooo....
I don't think the 470 front mount would differ that much from this motor...?
Sorry for posting so much at once, lol just been really busy cranking away on this thing for once!
 
Last edited:
Top