Mercruiser Inliner Swap Progress...165 Rebuilt I6 replacing the old 470

Rick Stephens

Admiral
Joined
Aug 13, 2013
Messages
6,118
You get a good eyeball on the bearing being aimed at the coupler? It should be capable of eyeballing it really close.
 

WOEISMEIGOTTA470

Petty Officer 1st Class
Joined
Aug 31, 2012
Messages
375
Thanks Rick, yeah it looks very close "eyeballing" it, hard to tell but seems that maybe the coupler is a tad high up, only because the alignment tool is marking up the bottom splines of the coupler.
 

mickyryan

Rear Admiral
Joined
Apr 18, 2016
Messages
4,214
ahh sounds like you got it figured out took me a evening of screwing around to get mine right but I did opposite I made my mount low and then shimmed the motor when I installed the front mount since I know I will probably rebuild mine I used wood then I will glass it in when I got the motor out again.
 

WOEISMEIGOTTA470

Petty Officer 1st Class
Joined
Aug 31, 2012
Messages
375
ahh sounds like you got it figured out took me a evening of screwing around to get mine right but I did opposite I made my mount low and then shimmed the motor when I installed the front mount since I know I will probably rebuild mine I used wood then I will glass it in when I got the motor out again.

mickyryan, yeah it seems I actually did figure it out. Good thing for you, shimming higher is not as hard a thing to do. However, it seems that in my case there's actually nothing wrong at all with the front engine mount positioning. I had a thought come to mind and a few mins ago went into the boat to test my theory. In short, the angle of my engine isn't the issue, it's how high the rear of the engine that's my problem.

And rather than explain it all in words, I made a quick video from a few mins ago to test out my theory and share it with all y'all! :lol:

video:
https://youtu.be/R_9L2UyewcA

It's funny cause yesterday I was sooo frustrated and stumped as to why I couldn't get the tool to fit and was racking my brain... :dejection:. I gave up and enjoyed my Saturday out on the kayaks with my girlfriend, and met up with friends out in the bay. Had an awesome day, relaxing and enjoying our friend's gorgeous 2015 Boston Whaler Conquest 315. Sometimes it takes taking a break, maybe a few beers, and coming back to the matter with a fresh head. Anyways reaallly happy I don't need to fuss with my front engine mount!!!
 

WOEISMEIGOTTA470

Petty Officer 1st Class
Joined
Aug 31, 2012
Messages
375
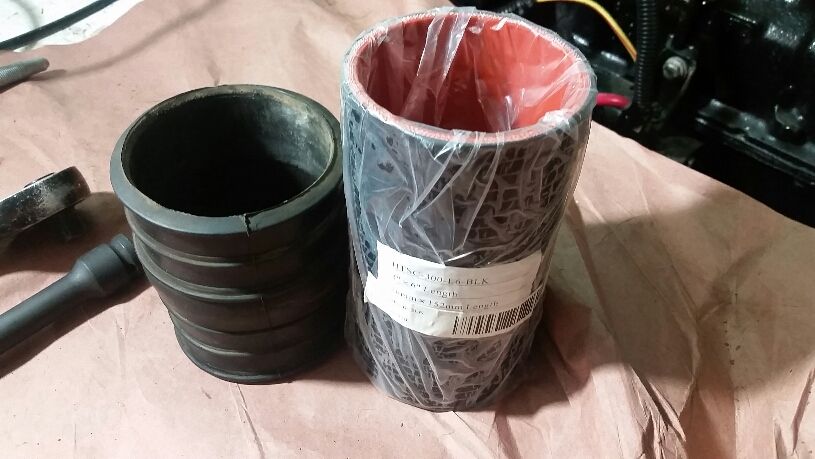
A little update, got the engine all lined up so I'm happy about that. I wrapped up a few loose ends on the engine. Installed a new exhaust flapper, and a longer rubber exhaust coupler. (Needed a longer piece as my exhaust elbow is higher up from the closed cooling block off plate.)
Stock vs. 6"L coupler.
2016-09-11%2023.18.52_zpsrpxqm7qb.jpg


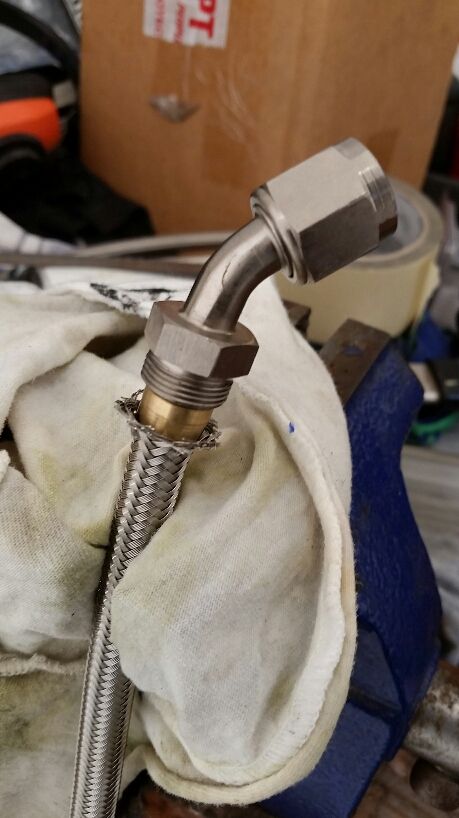
I also worked on assembling my power steering pressure hose. I'm using Russel -6AN powerflex hose, braided stainless ptfe. Had to order the correct metric adapter for the steering actuator, turns out it's metric 14mm x 1.5 for those who care. I used Russel adapter 648060.
2016-09-11%2023.20.27_zps9cgxqcai.jpg


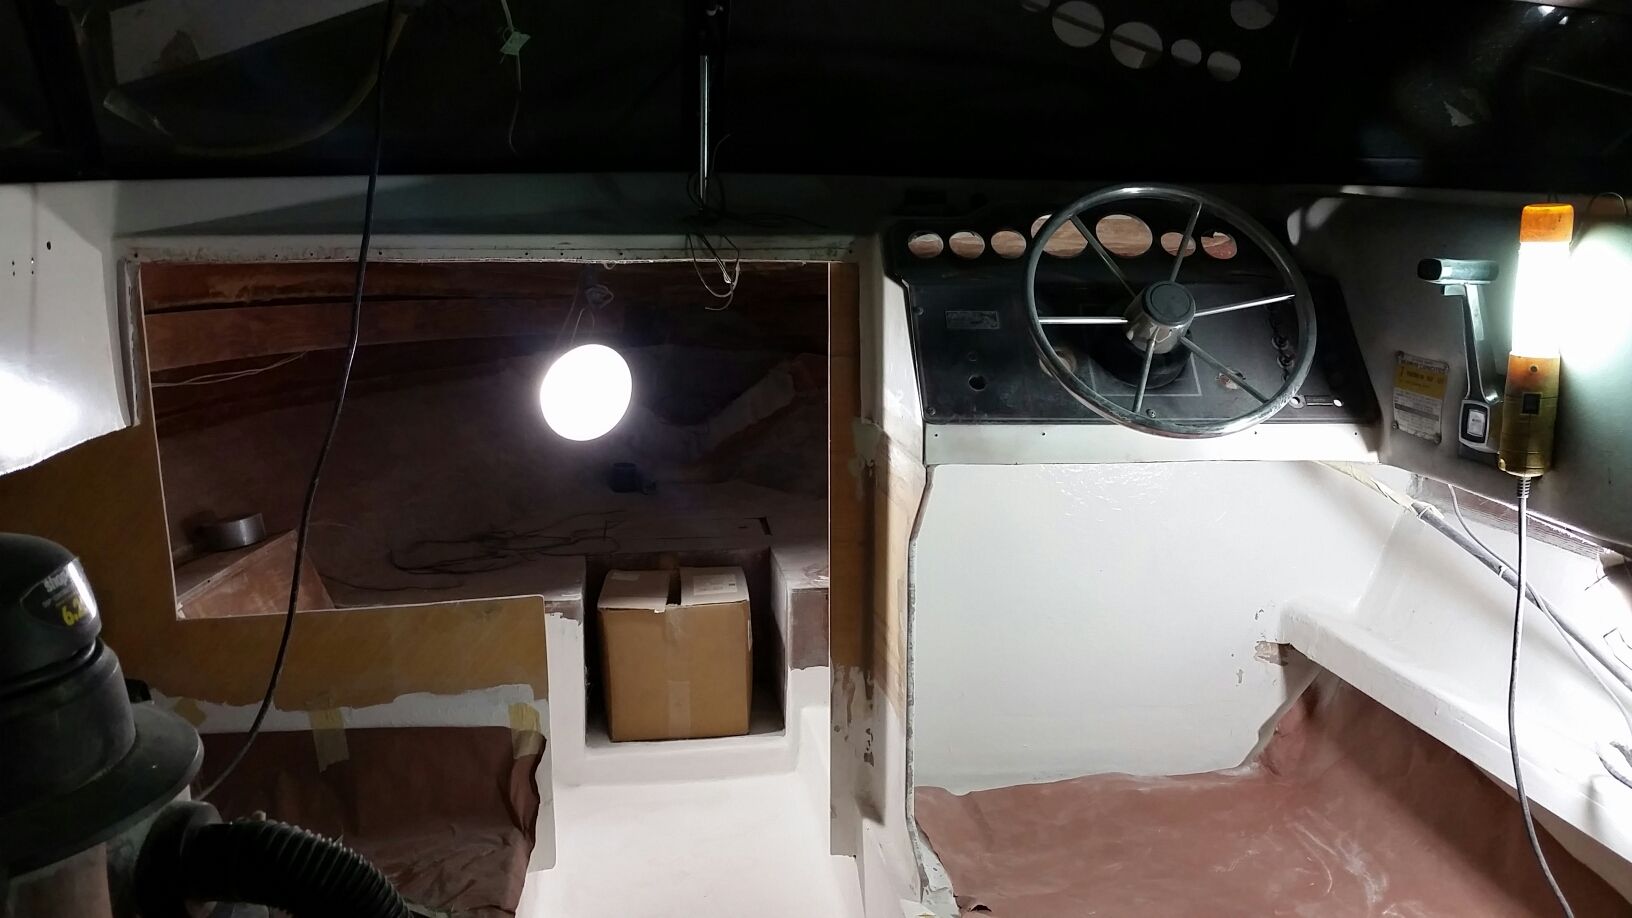
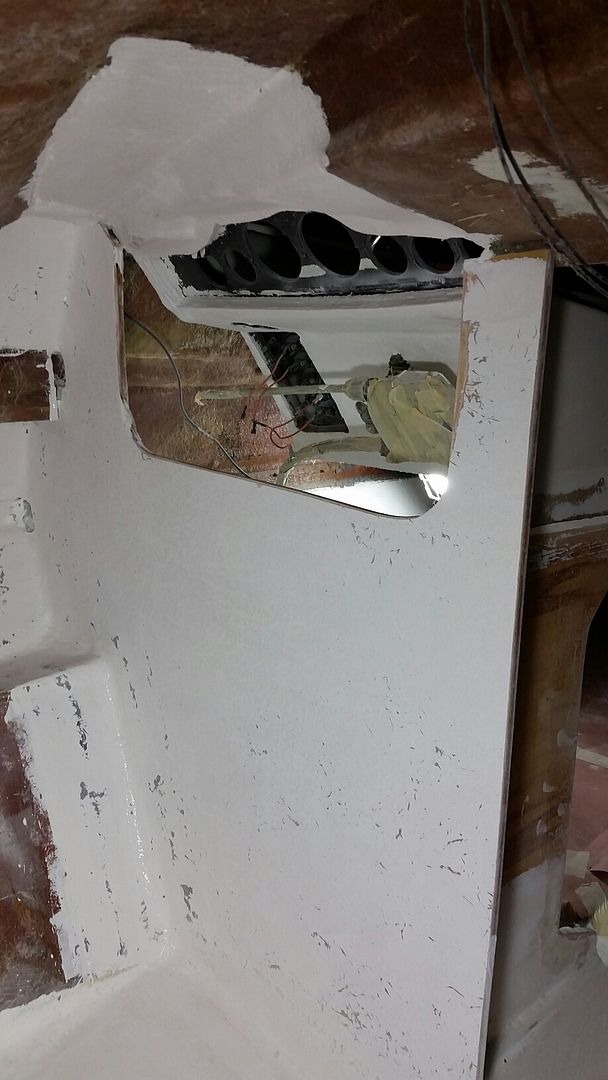
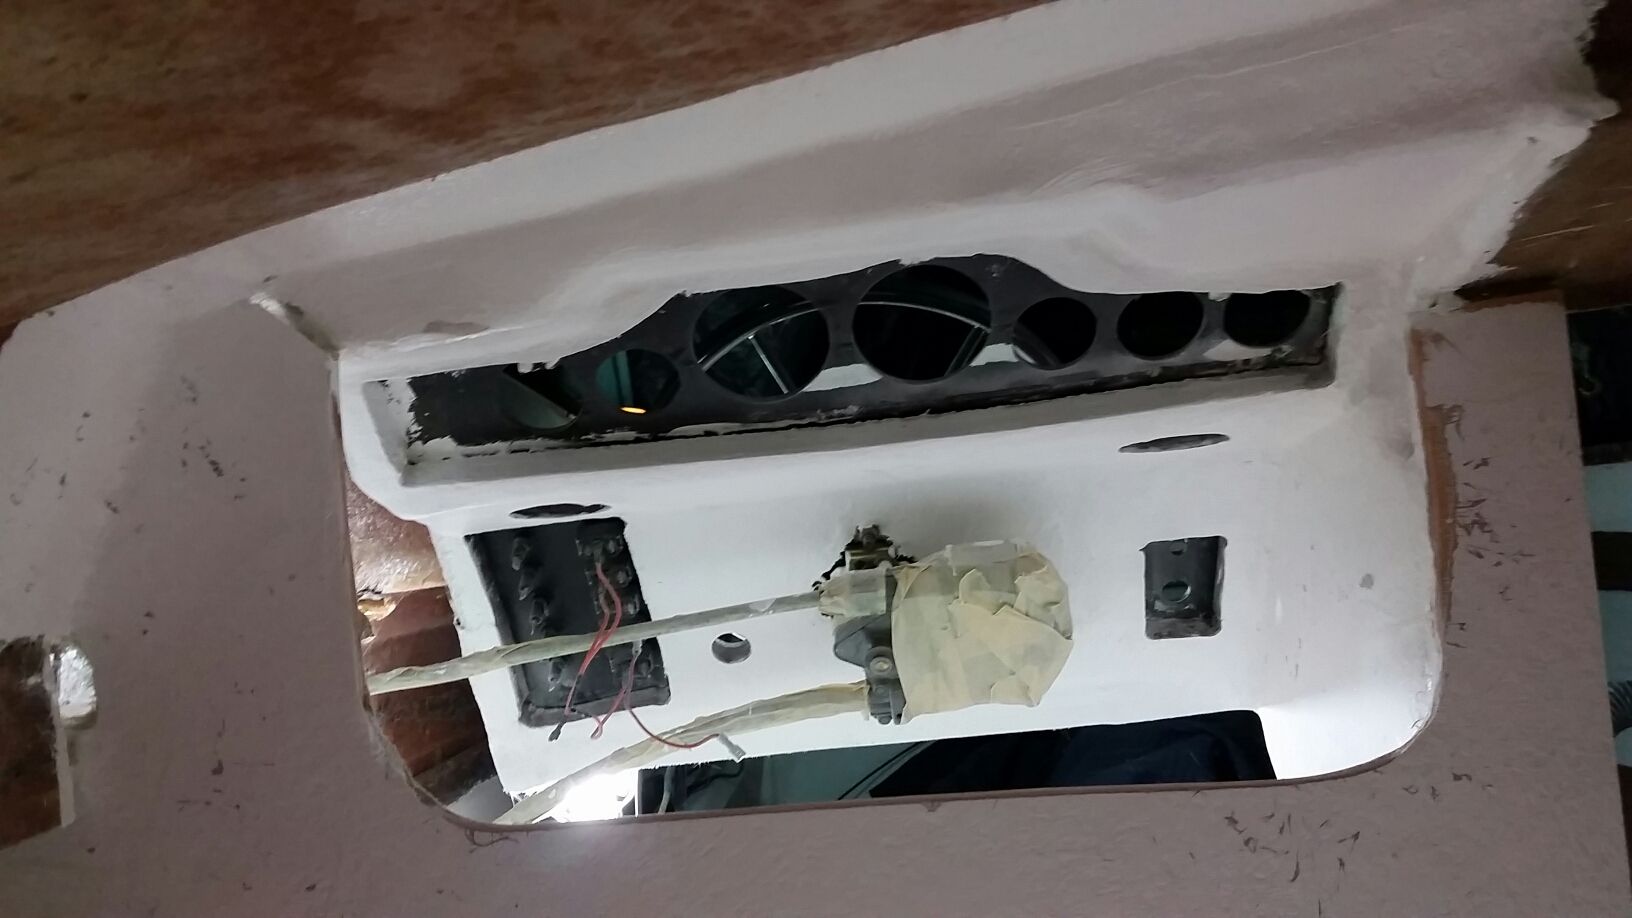
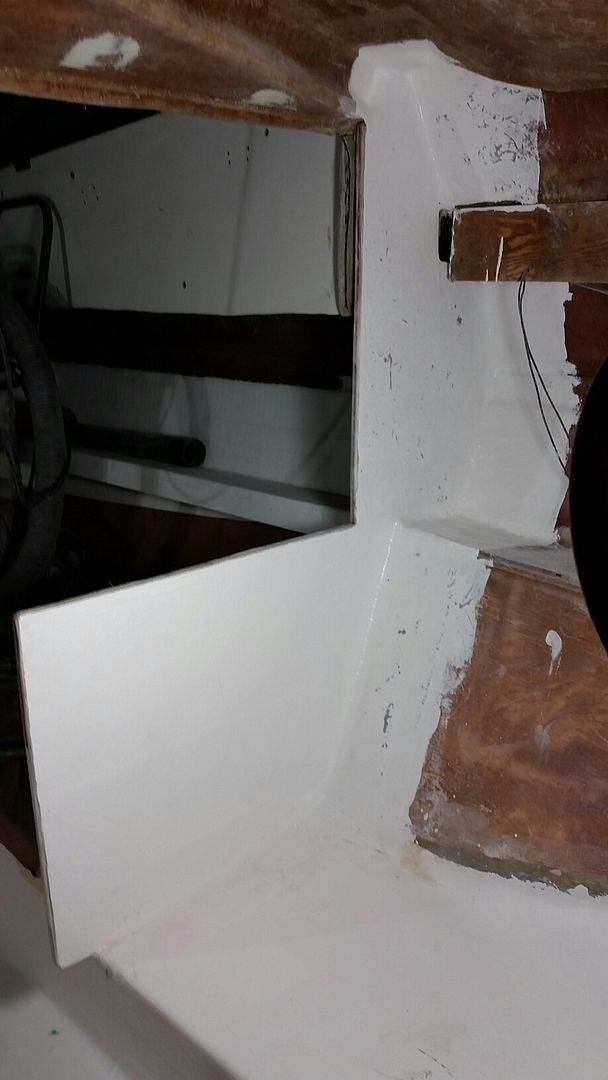
Getting prepared to do wiring next, so I turned my focus back on finishing up fiberglass behind the console and getting gel coat up in there. Also finished up glassing the inside cabin bulkhead too while I was at it.
Love nice fresh white gelcoat. Thinking of just doing the entire cabin too lol. But cabin is a lower priority at the moment.

2016-09-11%2022.48.24_zpswnbdvwdb.jpg


2016-09-11%2022.52.54_zpsiygjjtcm.jpg


2016-09-11%2022.54.22_zps6nlnolp4.jpg


2016-09-11%2022.51.33_zpsdnzeptku.jpg
 

WOEISMEIGOTTA470

Petty Officer 1st Class
Joined
Aug 31, 2012
Messages
375
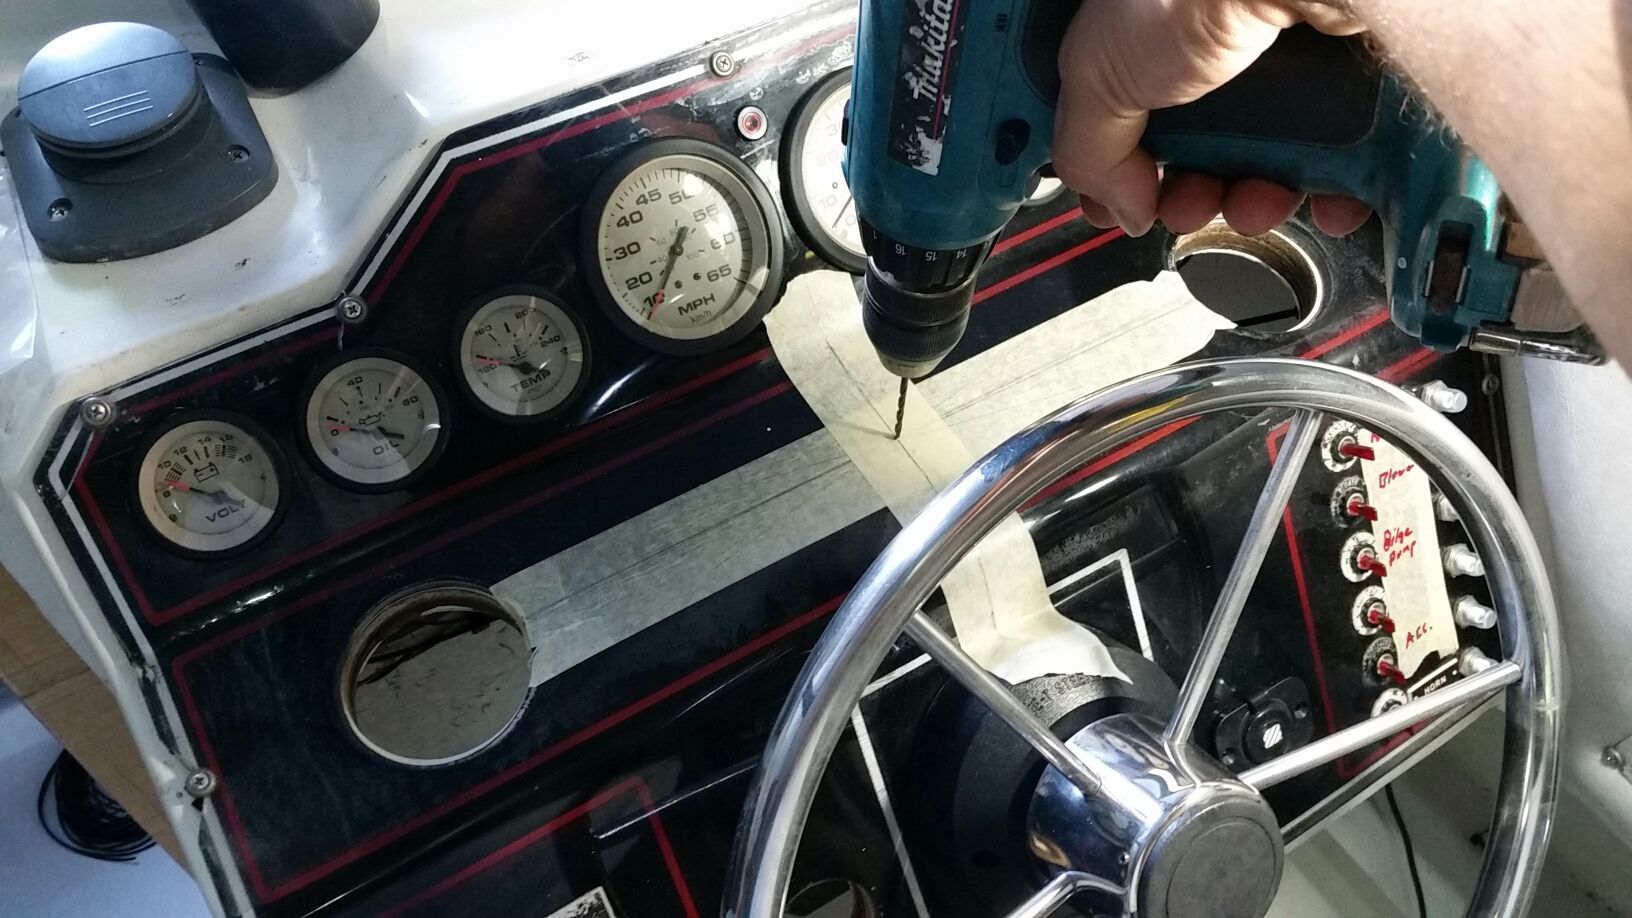
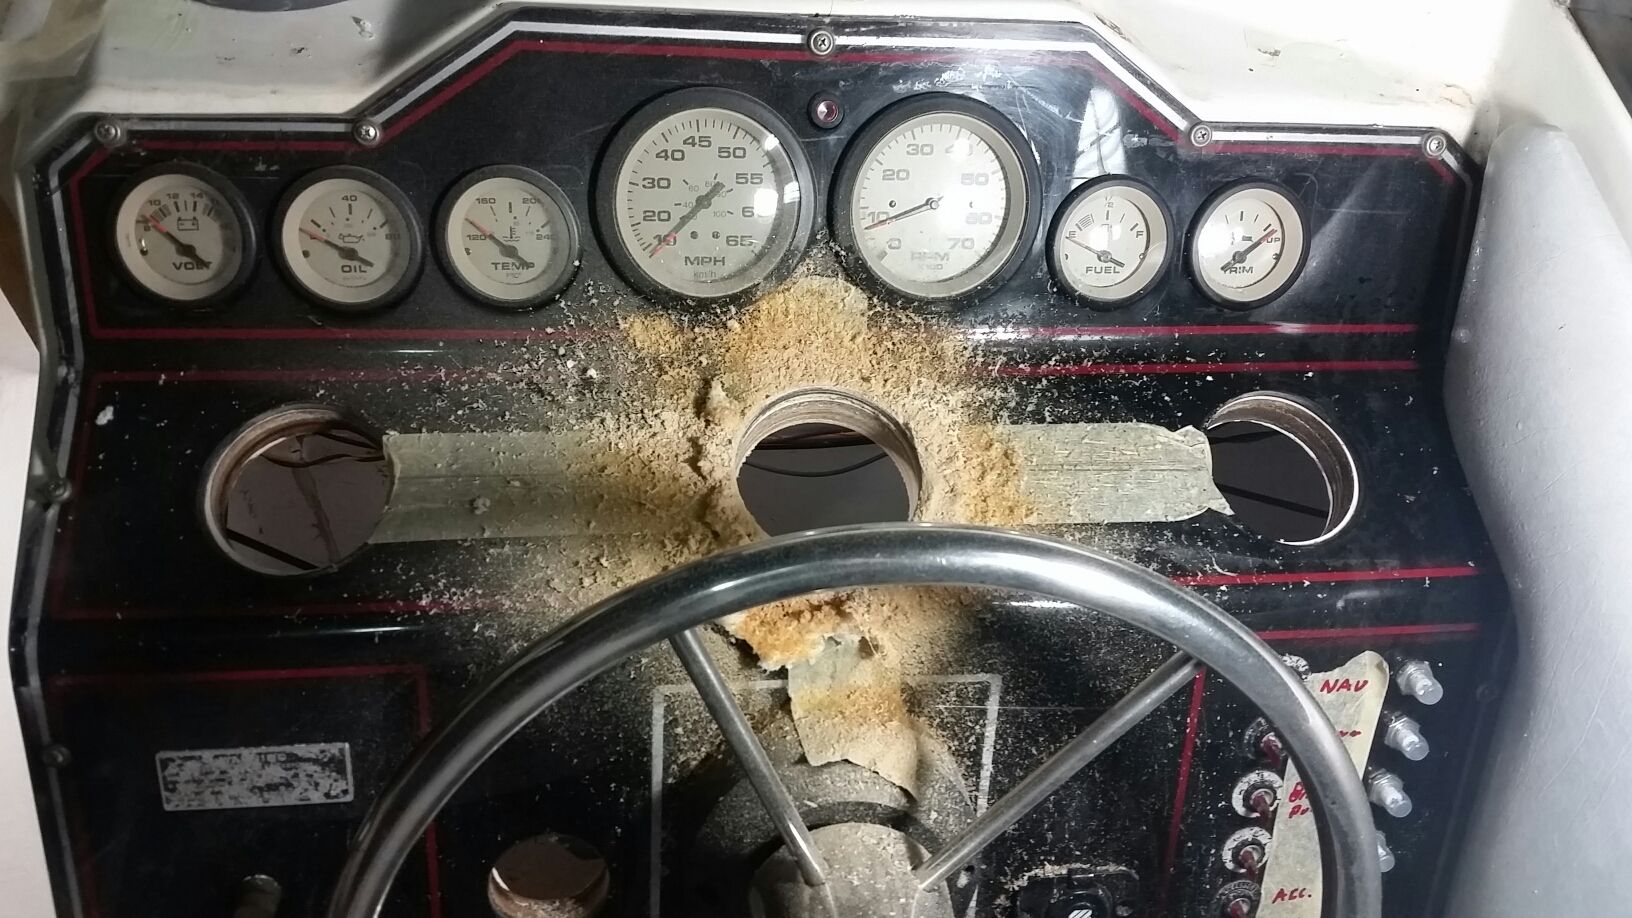
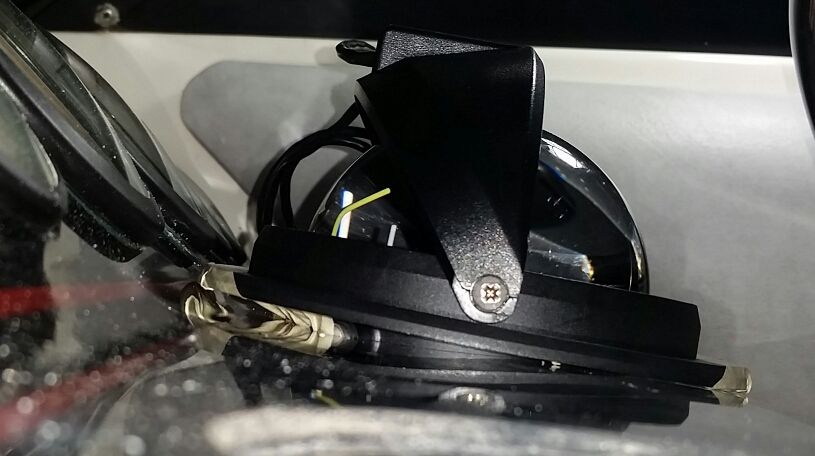
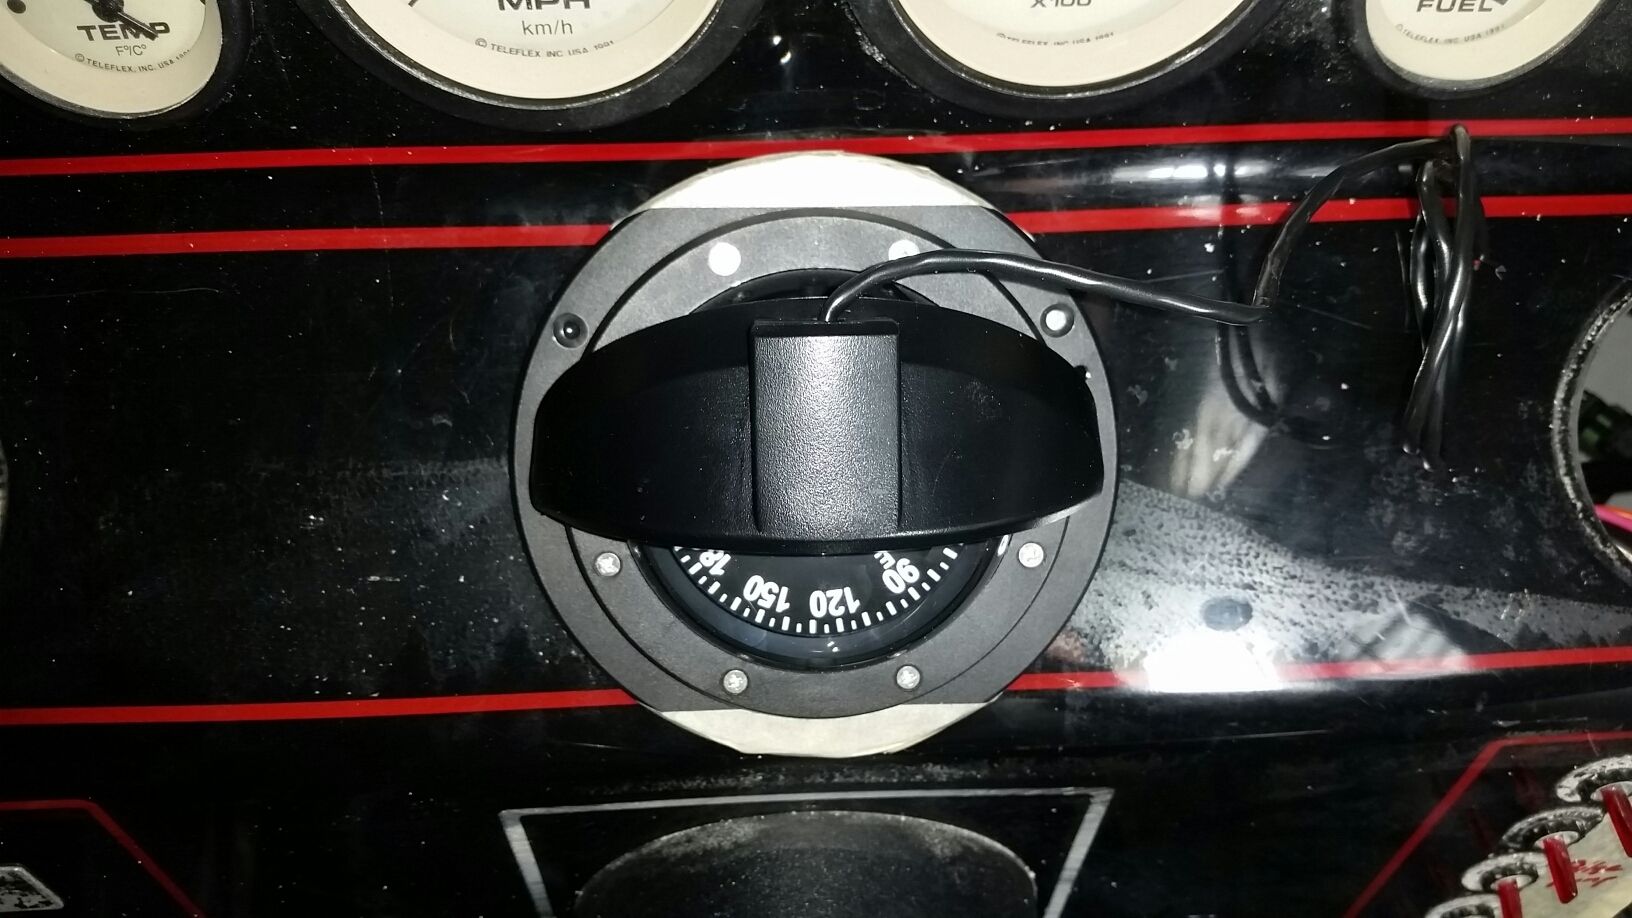
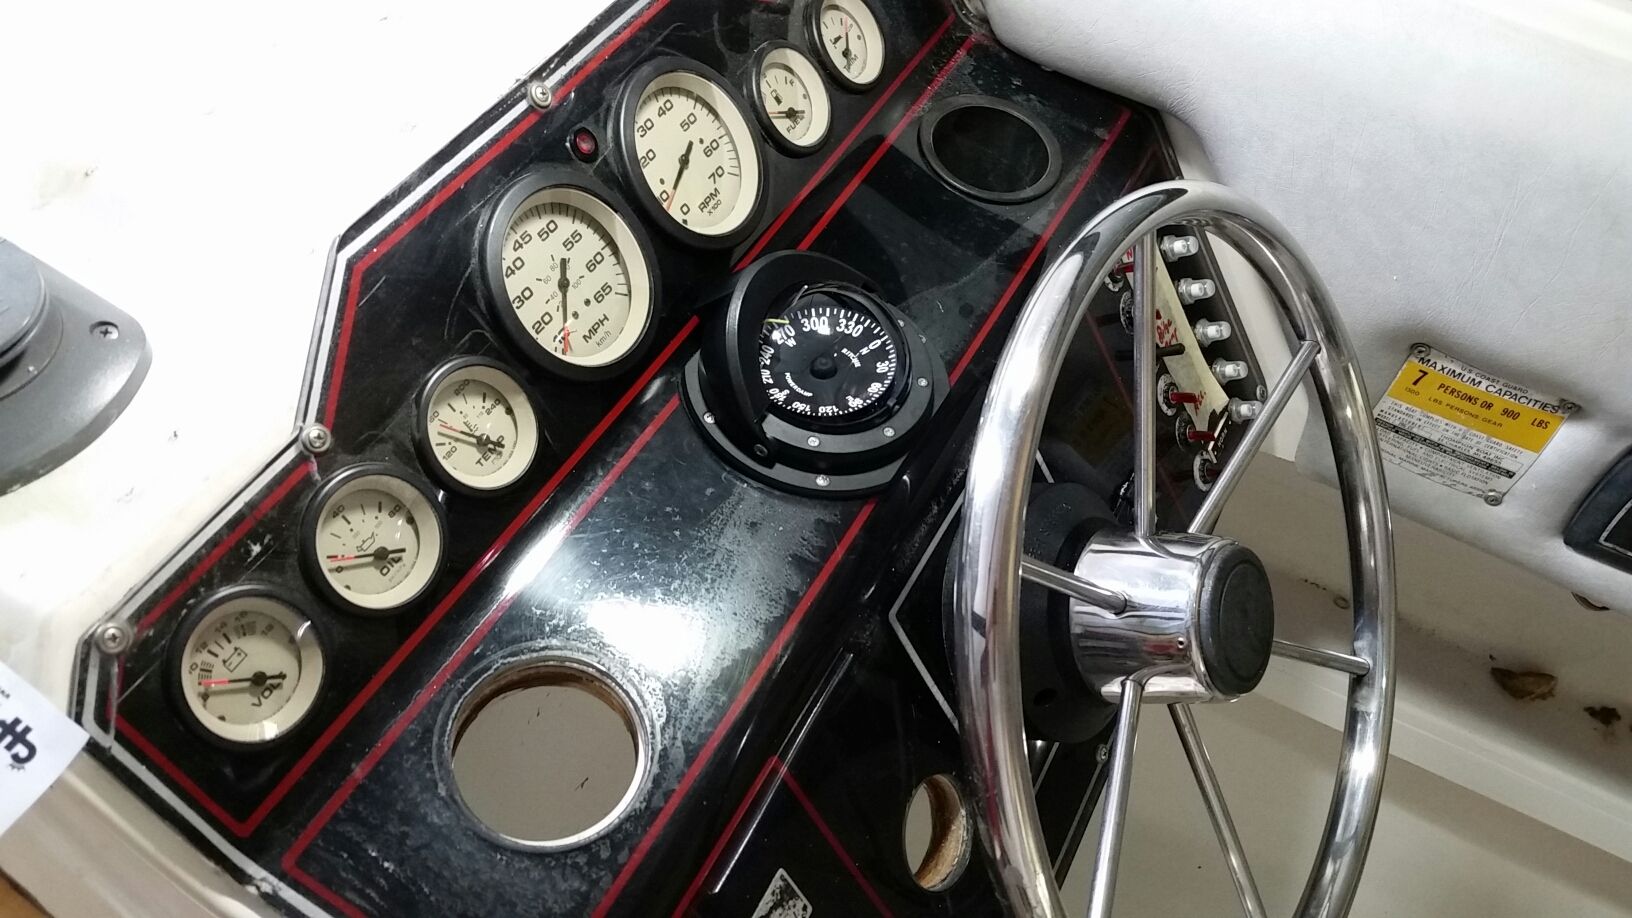
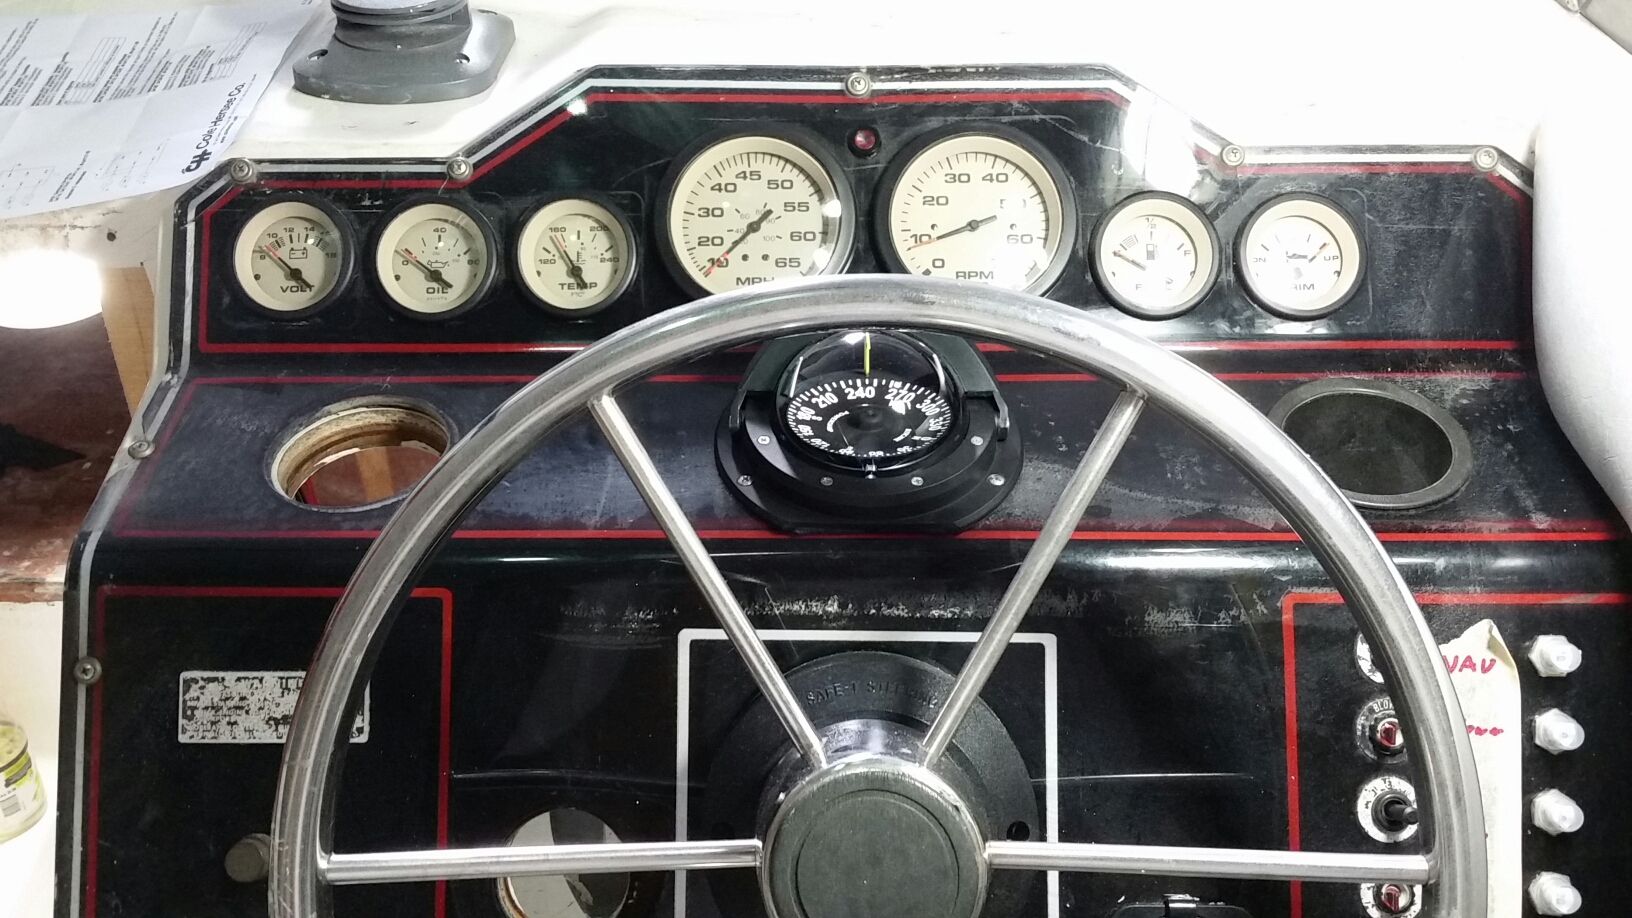
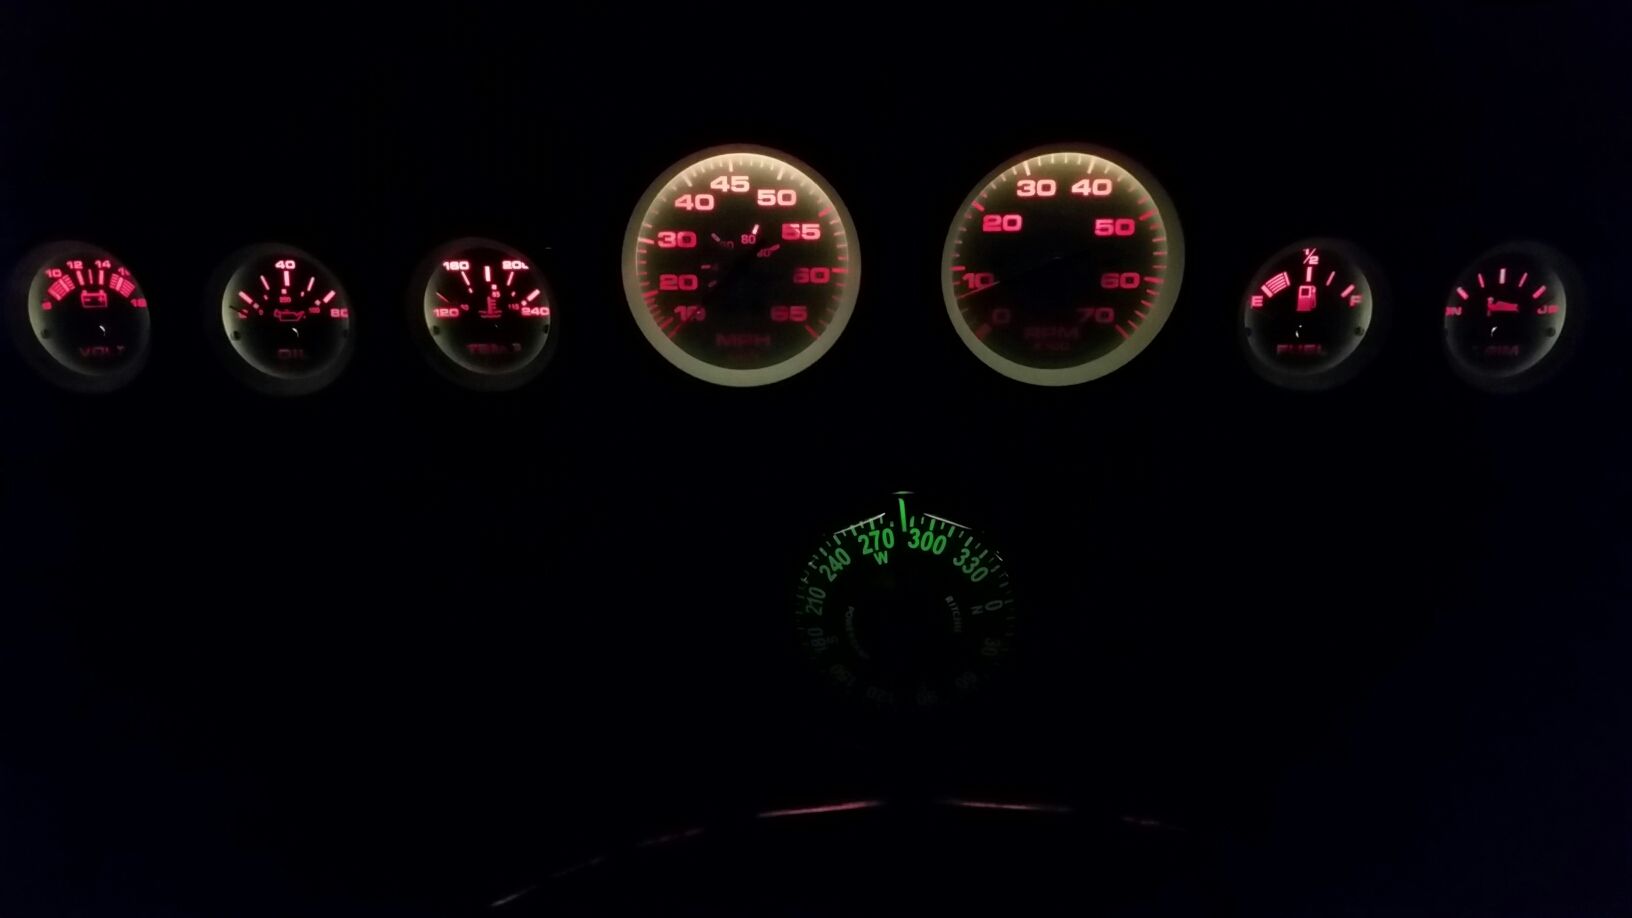
Almost done wiring the entire boat. Here's pics of mounting the new richie! Needed some modifications to squeeze it in the dash where I wanted it! Really like how it turned out...

2016-09-18%2015.29.22_zpsfpodeyjk.jpg


2016-09-18%2015.29.49_zpswyk9u87a.jpg


2016-09-18%2015.31.19_zps15lbkh2k.jpg


2016-09-18%2015.30.16_zpsqsso2h7j.jpg


2016-09-18%2015.43.15_zps1tlpl9h7.jpg


2016-09-18%2015.47.12_zpslrtcghgd.jpg


2016-09-18%2015.33.20_zpshmzwiygr.jpg
 

WOEISMEIGOTTA470

Petty Officer 1st Class
Joined
Aug 31, 2012
Messages
375
Thanks Rick, Micky.. I can't convey in words how good it feels to be working full time on this thing for once!
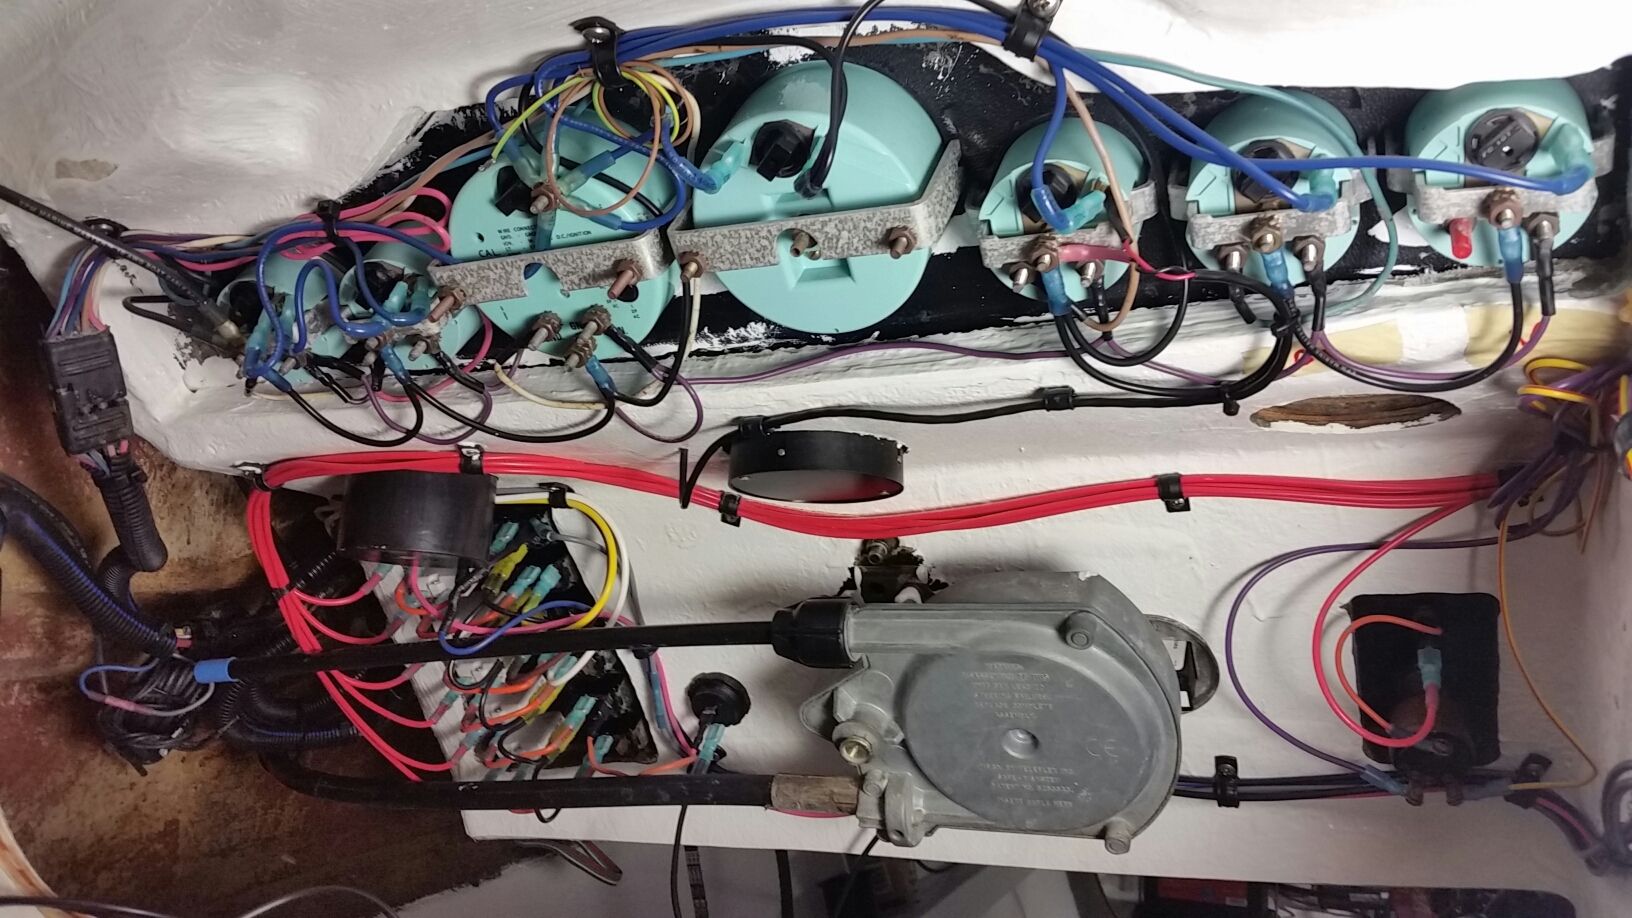
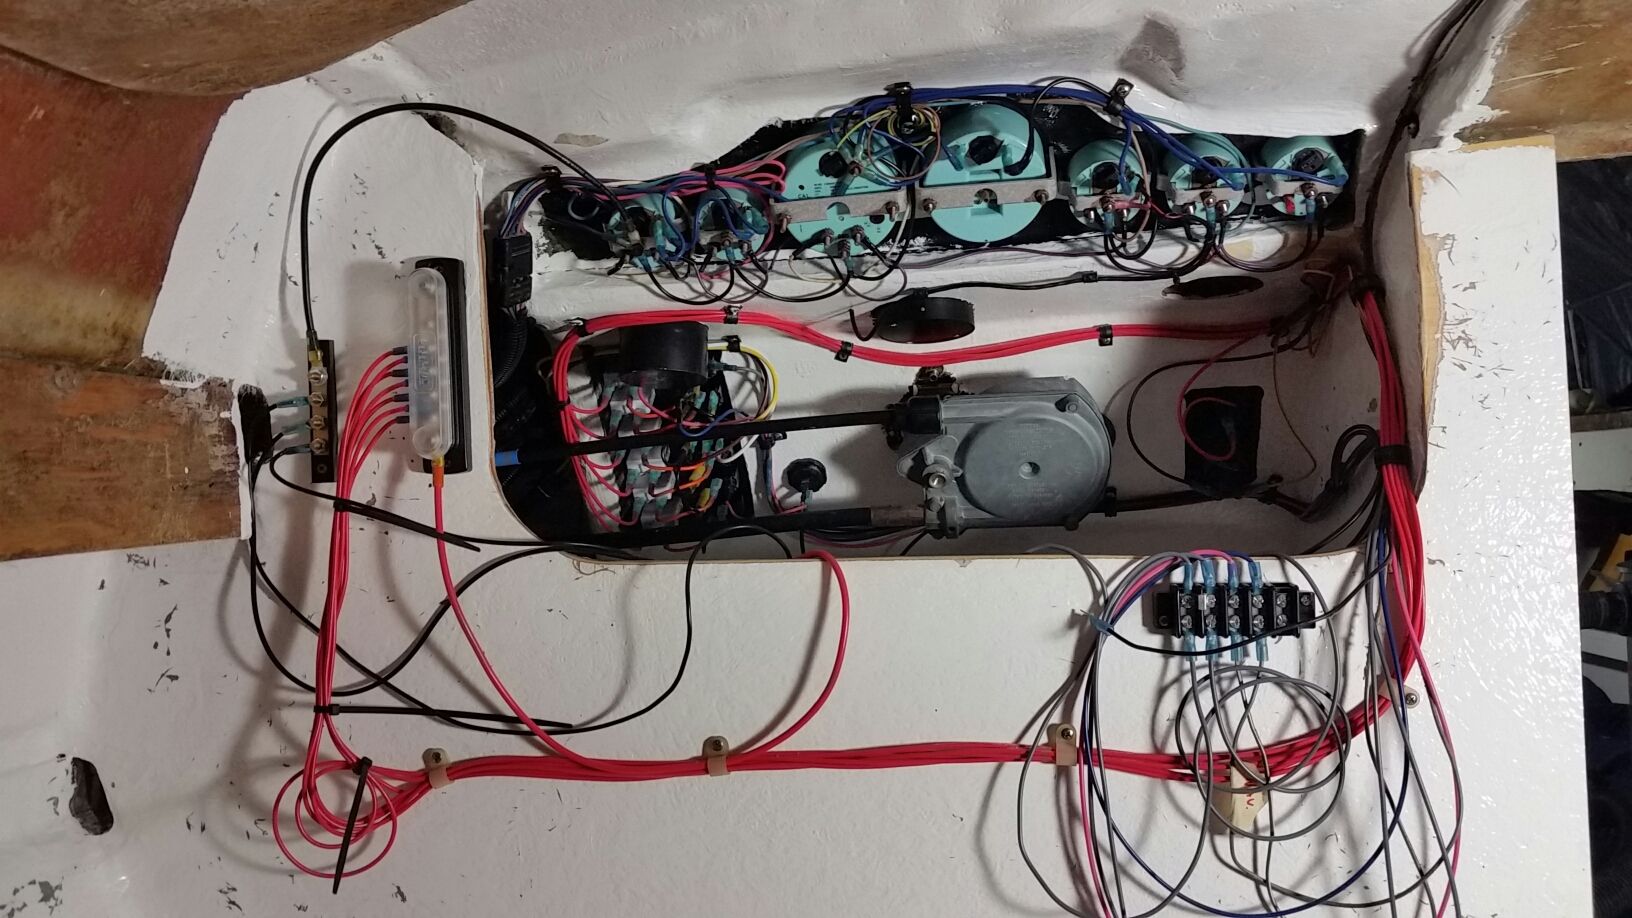
Things are progressing nice too, got the trim pump mounted and hooked up. Filled it up with 10W-30 and tested out purging some oil through the new lines.
Also worked on throttle cable hookup and testing my bracket. I'd say that the console is 90% complete, just need to wire up the hour meter. I have an oil pressure switch I need to install first which I'm going to use as a warning system in conjunction with a temp switch. The warning system will light up a red light in the dash and sound a buzzer if the engine reaches 190*F, or oil pressure drops below 11psi.
As of right now the engine will turn over and gauges are fully functional. Tomorrow I plan on getting the outdrive installed and filling the cooling system up. I'm going to shoot for getting the engine running on the muffs if all goes well tomorrow.
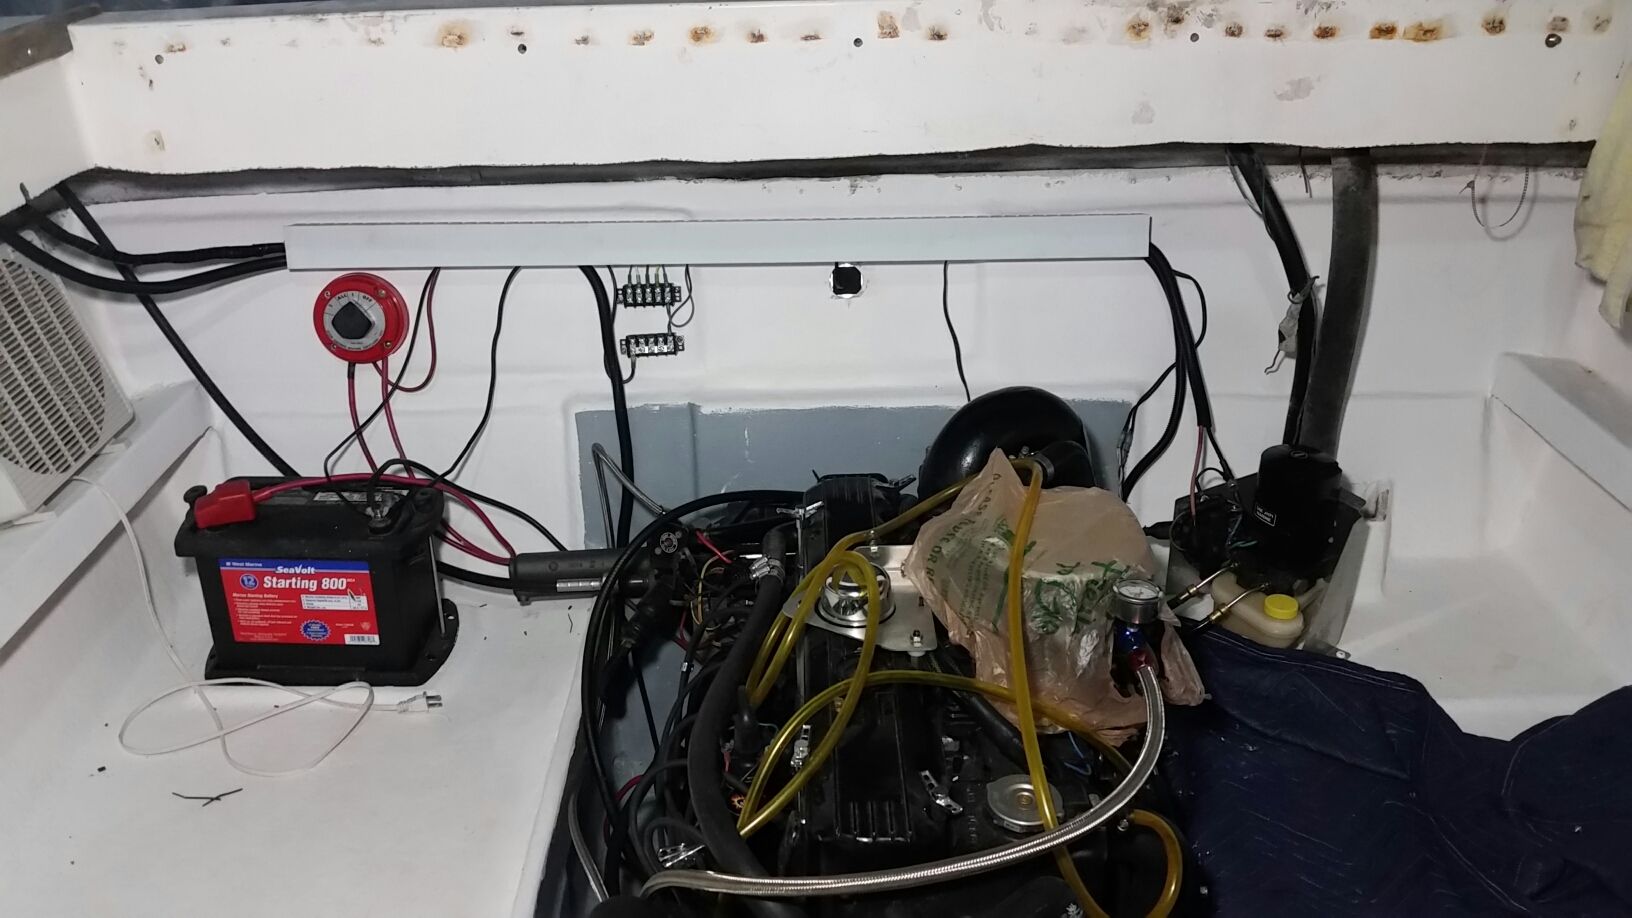
Some more progress photos...

2016-09-21%2001.19.37_zpsk0rf1smx.jpg


Looks kinda messy I know, but I'm going to at some point move all the terminal blocks to a hinged panel that will fold down for access.
2016-09-21%2001.20.14_zpsh5ojyl96.jpg


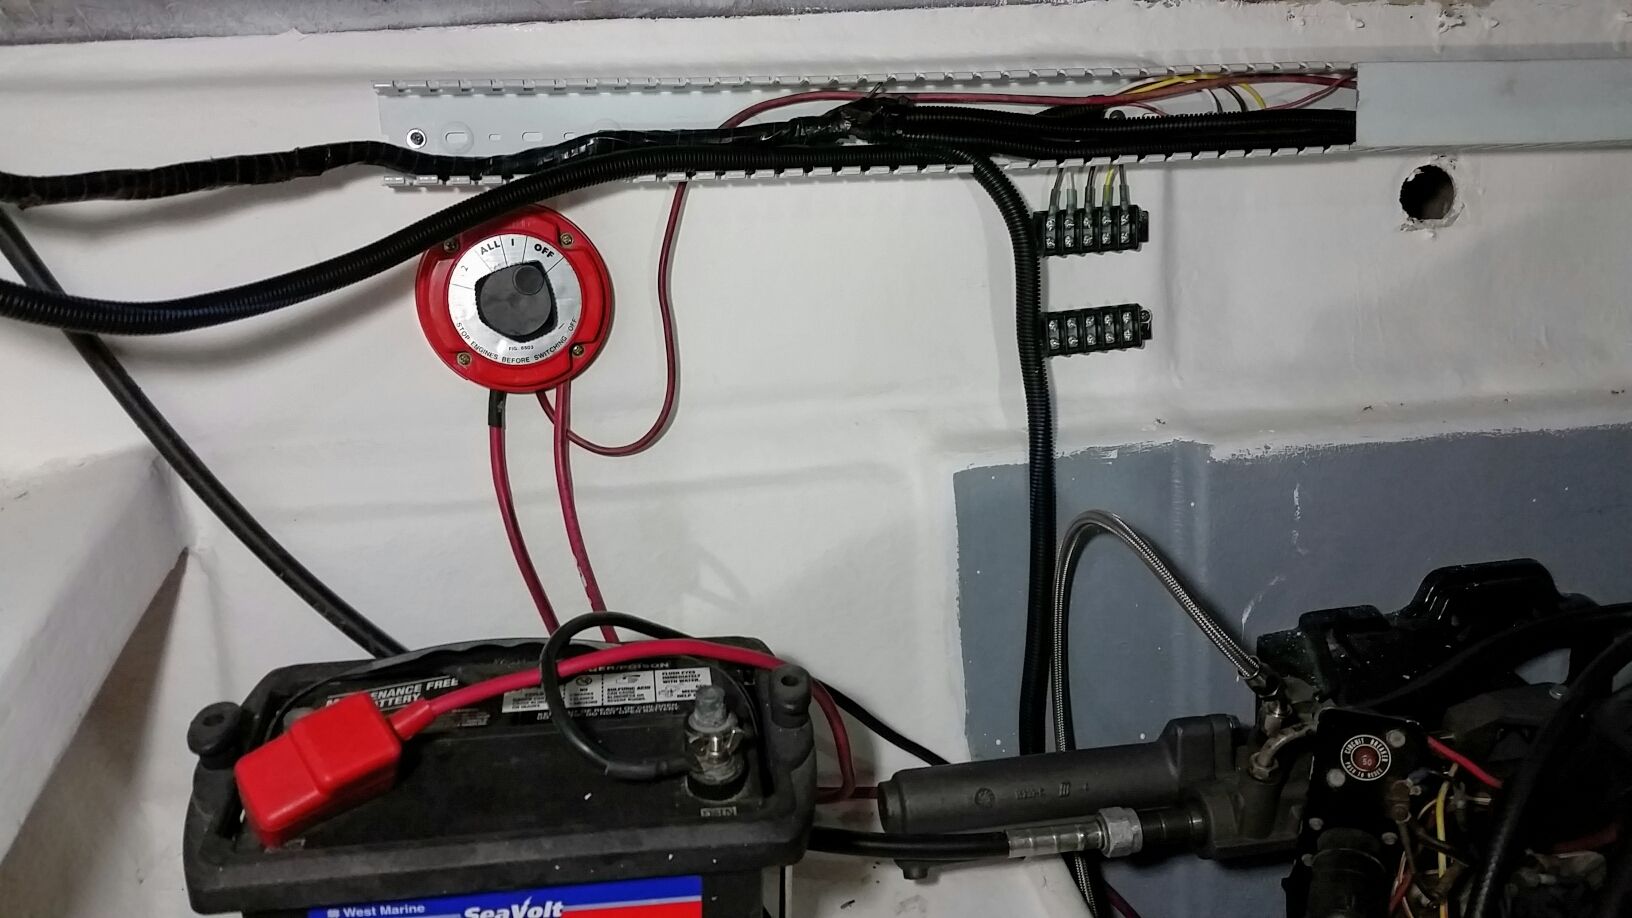
On the transom, the cable raceway works really nicely keeps things tidy.
2016-09-20%2022.33.09_zps6szftiib.jpg


2016-09-20%2022.34.51_zpsu2psqxns.jpg


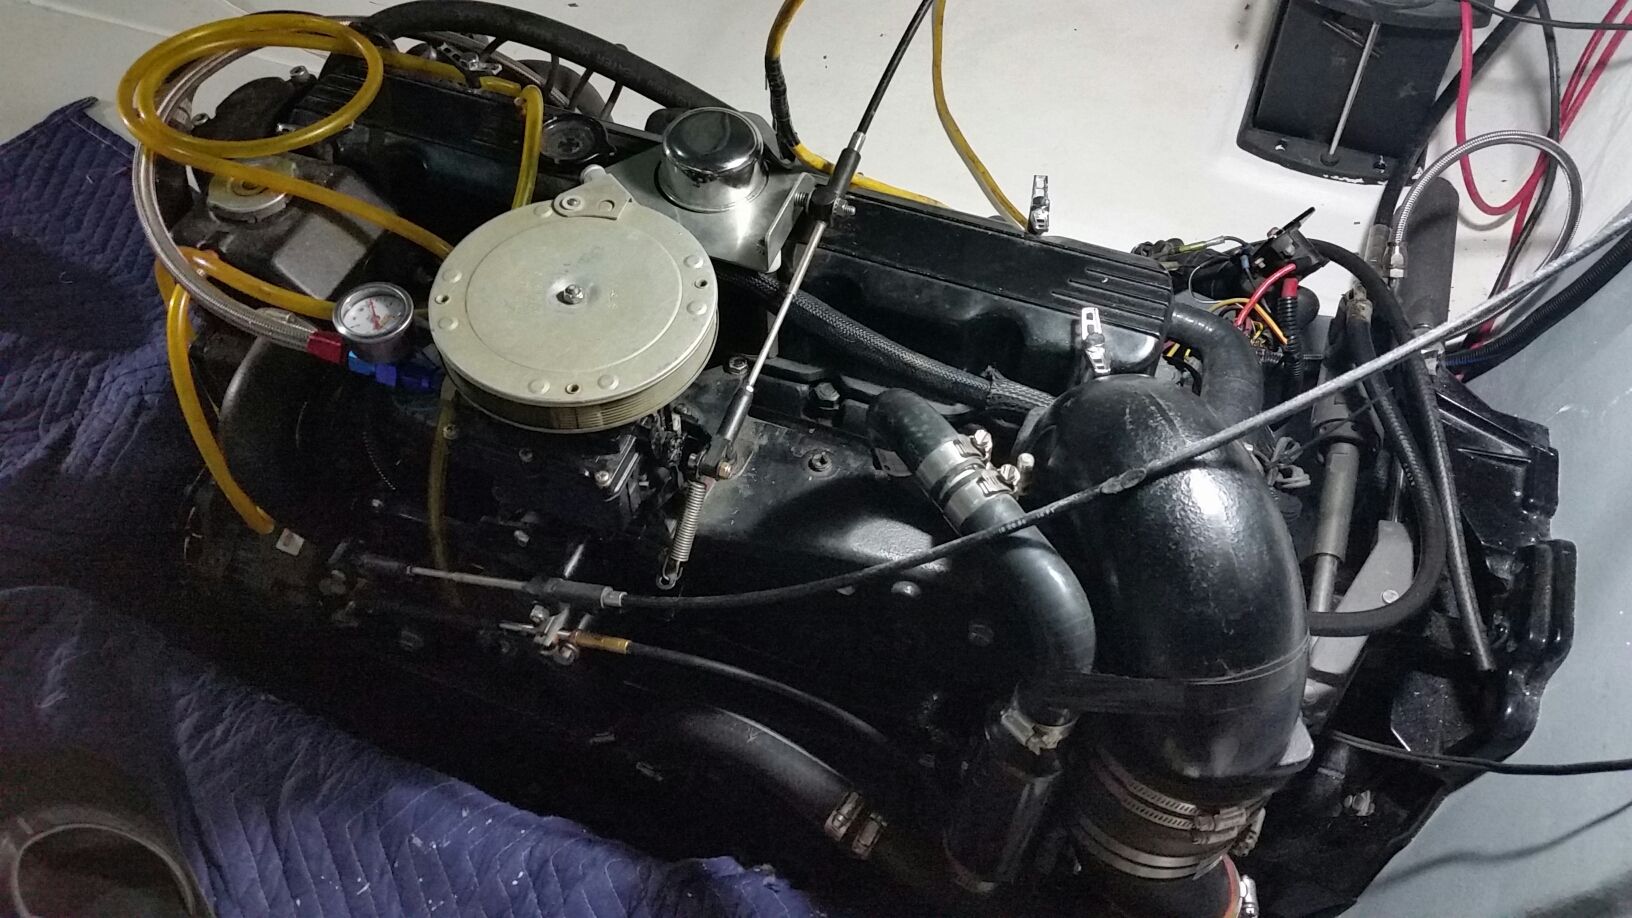
Engine with control cables hooked up
2016-09-21%2001.18.34_zpssllcfc76.jpg
 

mickyryan

Rear Admiral
Joined
Apr 18, 2016
Messages
4,214
Messy? Lol the more that you hook old stuff back up to the clean install it just seems to start lookin like a rats nest , dont think much a way around it since everything comes from different directions there will be cross overs somewhere

Grats and gl looks like uts movin along
 

WOEISMEIGOTTA470

Petty Officer 1st Class
Joined
Aug 31, 2012
Messages
375
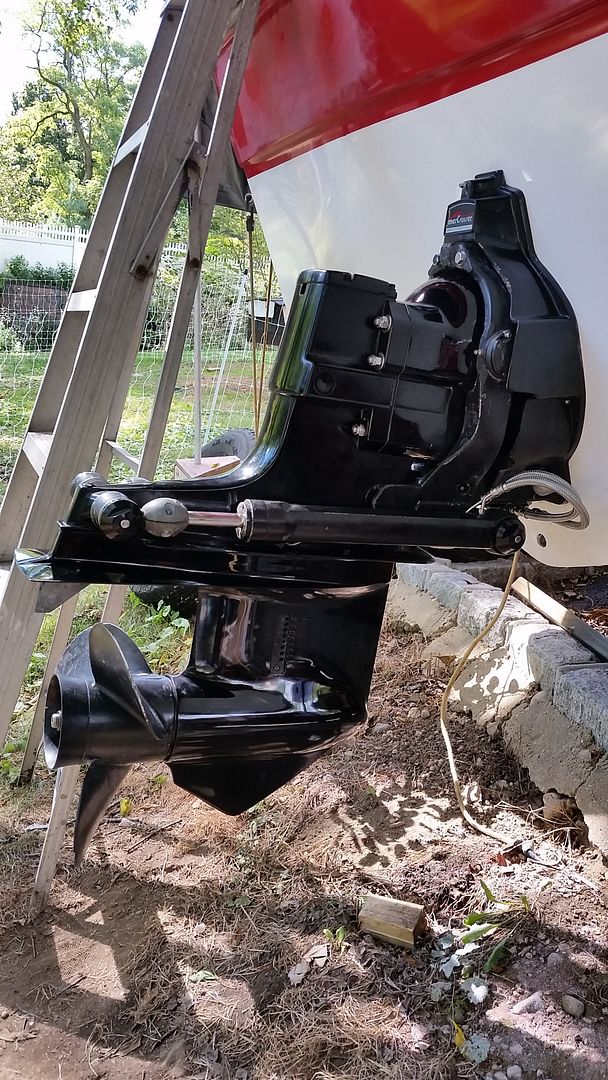
True, not much space behind the console, but it's totally fine. I'll neaten things up a bit better over the winter lol. So still haven't run the engine yet, but I managed to install the outdrive!

20160923_112641_zpsv4c9dfnf.jpg


Got it all adjusted with the trim limit switch, works but pump is very noisy trimming down. Might be air in the system?
Also, separately had an issue with sporadic operation of the trim switch. Turns out the trim switches I rebuilt on the throttle stick were the culprit. They were reading something like 15-30ohms when closed, I had used synthetic grease which supposedly was a good dielectric. Cleaned it all the grease out, got it reading within 1 ohm, now the trim pump works like it should! Go figure I caused a problem trying to prevent future problems lolol.
 

mickyryan

Rear Admiral
Joined
Apr 18, 2016
Messages
4,214
looking good man and yeah if you look at my latest pic you can see my wiring it started out so nice thgen the runs just mucked it up and I will do same at some point try to tidy it up but its far down on the list as long as everything turns on when I hit the switches :)
 

WOEISMEIGOTTA470

Petty Officer 1st Class
Joined
Aug 31, 2012
Messages
375
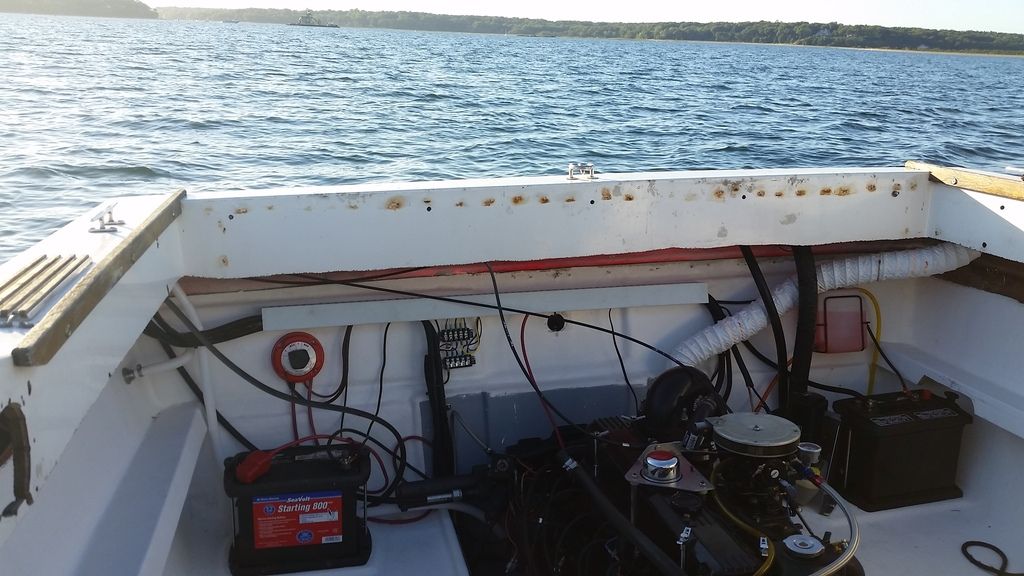
Got it running!!! First time engine has been run in 2 years, since it was on the stand in the garage!! :D :D :D
No triumph comes easily however, I had a bit of a disaster the first time I had the engine started, it blew the power steering return hose apart and spewed ATF all over :fml: I had thrown in a clear inline filter for temporary use to catch any dirt in any of the lines or actuator. Well, the cheap plastic blew up in spectacular fashion lol. Lasted like 10 seconds, should of known better.
Anyhow, took all day to get it running good and to clean up the mess. Added a second battery cause the main battery was dying too quick from all the cranking. Good to have dual batteries anyways and the new one was a great deal @$65 from home depot!

Here's the video, enjoy!!

https://youtu.be/_m7KMDxFWBE
 

nurseman

Lieutenant Junior Grade
Joined
Jun 2, 2013
Messages
1,045
Excellent!!! Will you be able to get her in the water yet this year? Looking forward to seeing splash videos!
 

sprintst

Commander
Joined
Apr 18, 2009
Messages
2,066
Sweet. So close now. The boat is looking great...soon it will be time to actually enjoy it on the water. I dragged my restore out forever so you slammed yours in comparison.
 

WOEISMEIGOTTA470

Petty Officer 1st Class
Joined
Aug 31, 2012
Messages
375
Excellent!!! Will you be able to get her in the water yet this year? Looking forward to seeing splash videos!
Definitely getting a dip or two in for sure. I'm determined, come hell or high water.

Sweet. So close now. The boat is looking great...soon it will be time to actually enjoy it on the water. I dragged my restore out forever so you slammed yours in comparison.
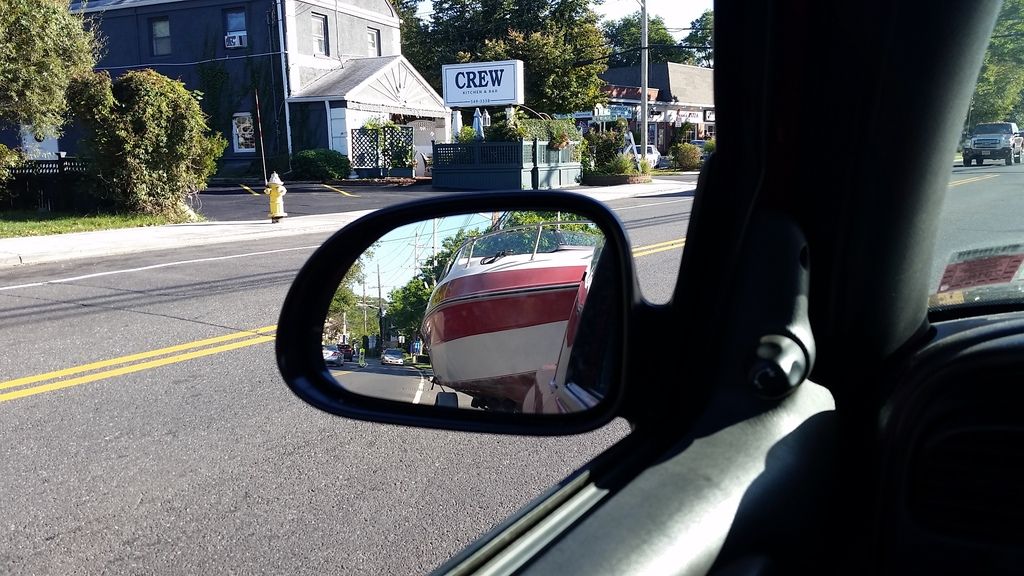
Thanks sprintst, your hunk of tin looks fantastic though. I still have very much more to do, (upholstery, ahem) among other things. Truth is I've dragged out this project much longer than I ever anticipated. Started the conversion 3 years ago, but I've owned the boat since 2005! 2008 was the last time the boat saw water when the 2nd 470 died. Unreal how time flies by. No more, I quit my job 6 wks ago and am finally getting it done!
 

WOEISMEIGOTTA470

Petty Officer 1st Class
Joined
Aug 31, 2012
Messages
375
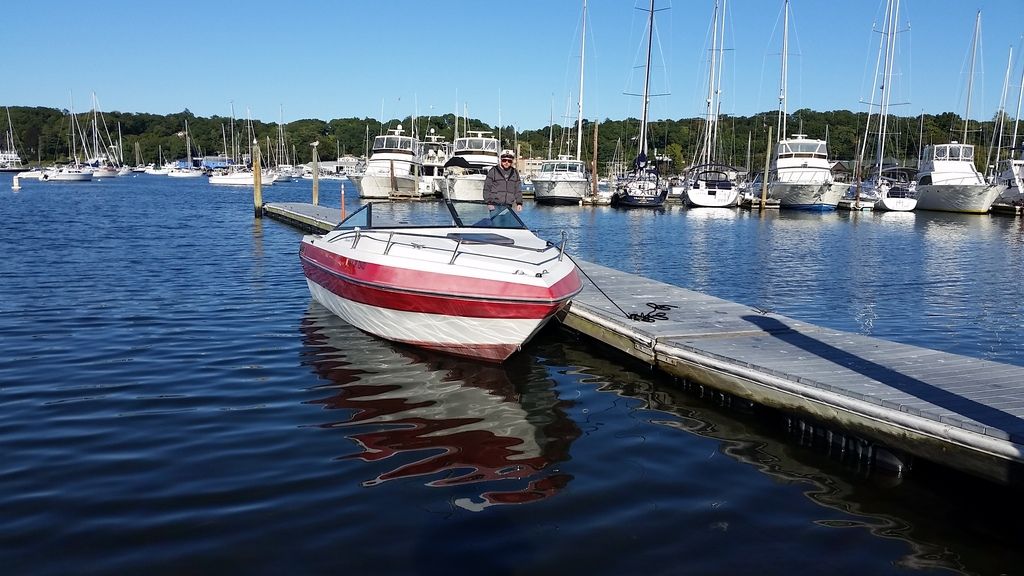
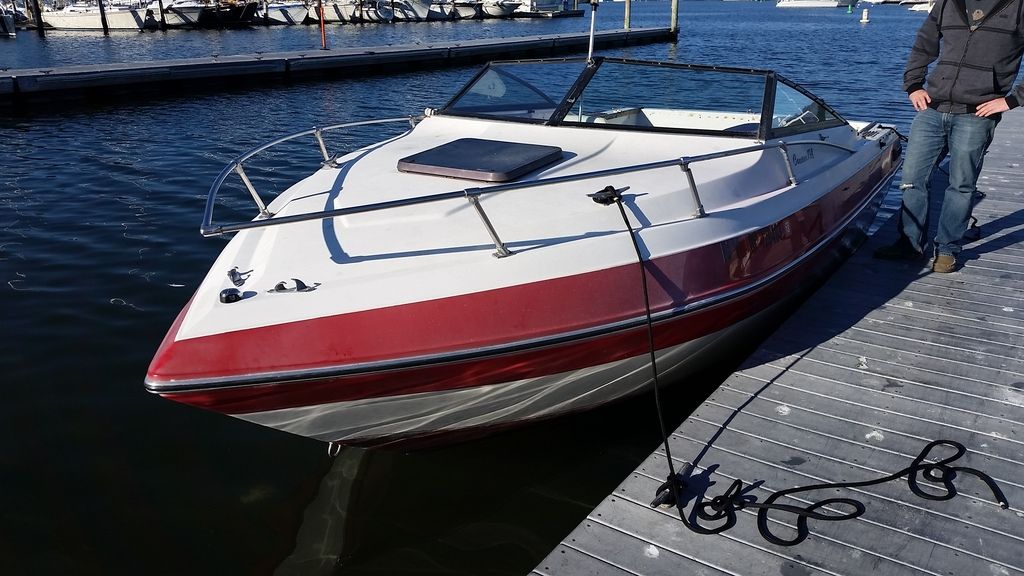
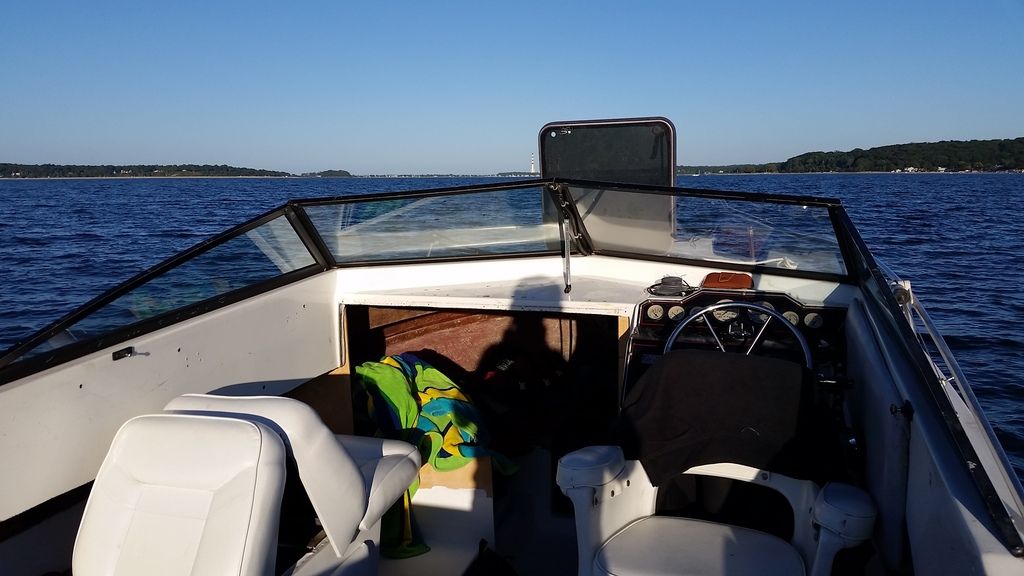
Well....wouldn't ya know, I got the freaking thing splashed yesterday!!!

20161004_185439_zpsoun3g7vu.jpg


20161005_161259_zpscvmab18r.jpg


20161005_162601_zpsn71mcs9d.jpg


20161005_162609_zpsjaq4x32w.jpg


20161005_172212_zpspkamezgu.jpg


20161005_172829_zpsemfs1z1g.jpg


20161005_181714_zpsqcv7tghk.jpg


20161005_182221_zps4efzpjch.jpg


20161005_182240_zps5h9ksapk.jpg


Enjoyed a really nice afternoon and sunset in the bay. Nice and calm just anchored out for a bit. Had a bit of a concerning noise from the engine at higher speed / load. I'll have to upload a video soon, otherwise engine runs smooth and everything is functional!

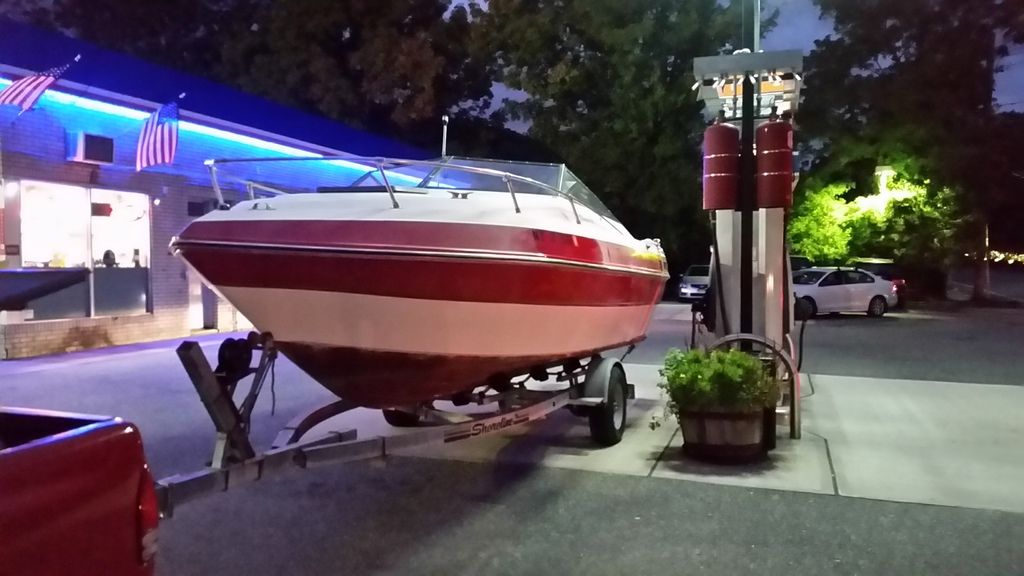
I performed a valve adjustment today, a leak down test, and a compression test. Also broke my winch strap loading the boat back on the trailer last night. Luckily I only had maybe 3 more inches to go. Put a new winch on today, and fixed up the lights which also were giving me issues. Stay tuned for a video.
 
Top