hull extension in progress with pics

Status
Not open for further replies.

drewmitch44

Lieutenant Commander
Joined
Jun 26, 2005
Messages
1,749
Re: hull extension in progress with picks

Re: hull extension in progress with picks

I think that might work if he is patient enough. Might take some more time than just regular stringer job but will be watertight and strong enough. I am going to be useing 1 X 10 X 12's for my stringers as i dont want to have to laminate the ply for the stringers. But i think that that is the way im going to wrap my 24oz roving around the stringers.
 

erikgreen

Captain
Joined
Jan 8, 2007
Messages
3,105
Re: hull extension in progress with picks

Re: hull extension in progress with picks

I've made numerous suggustions to oops. He seems not to address or acknowledge any of them. But then, who am I that he should pay attention to.

In my description of glass applied to tacked resin, what I did not include is that you want to make sure that you wet the whole area and after tack, you firmly press your glass throughout the whole area. If you do not do this, the resin creeps out into the glass, that is flying in the wind, and can never more be pressed into contact with the surface you want it to adhere to.

Good info. If I know oops, he's been reading your suggestions all along and considering them... he's just too busy to acknowledge everyone :)
 

oops!

Supreme Mariner
Joined
Oct 18, 2007
Messages
12,932
Re: hull extension in progress with picks

Re: hull extension in progress with picks

im not ignoring you at all wize.....your help is greatly appreaceated....

i was concernd about letting it set......in other cases when ive done this ...it has created a hard edge, in the cloth.(where the cloth has been saturated, and then not at all) that hard edge is what i was worried about because the resin rich cloth expands next to the dry area, and that harder, expanded area would be impossible to adhere to the stringer.....

how long did you leave it before you wetted out the string?....

i havent finished the strings yet (as youll see in the next posting.....coming up). and if you say your way works....did you fully wet out the top?....or just tacked and harden with out wet out?

cheers
oops
 

oops!

Supreme Mariner
Joined
Oct 18, 2007
Messages
12,932
Re: hull extension in progress with picks

Re: hull extension in progress with picks

up date comin in about an hour...lots of picks
 

oops!

Supreme Mariner
Joined
Oct 18, 2007
Messages
12,932
Re: hull extension in progress with picks

Re: hull extension in progress with picks

the day was another that didnt go as planned....i just thought id finish rough and scuff the gull...clean it and start cutting and glassing.....

its gonna be a lot of glassing to get the stringers done so ive got to get it done soon.

just got the hull rough and scuffed....then the boyz dropped in for a visit.....they wanted to help in between beer......

as i was glassing....(i wouldnt make them do that, as its smelly and dirty,(resin type dirty))

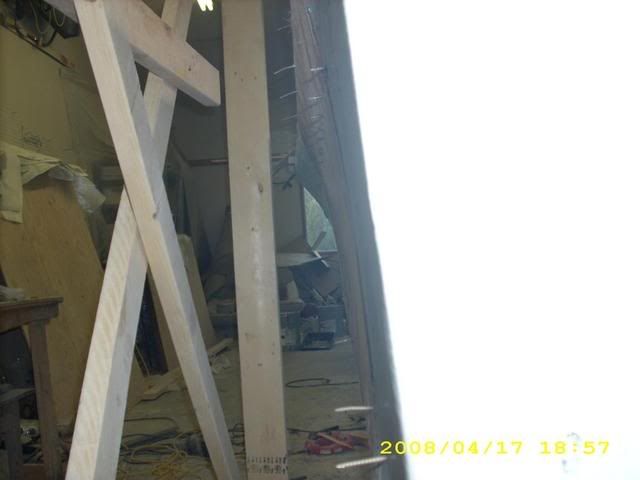
so....i decided they could pull the outer cradle.......as the stringers are partially glassed in place, it was strong enough to remove some of the cradles..including the 2x4s that were bracing the extension section

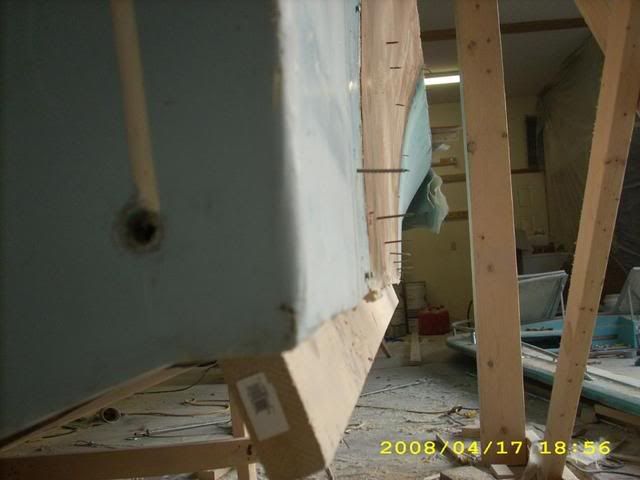
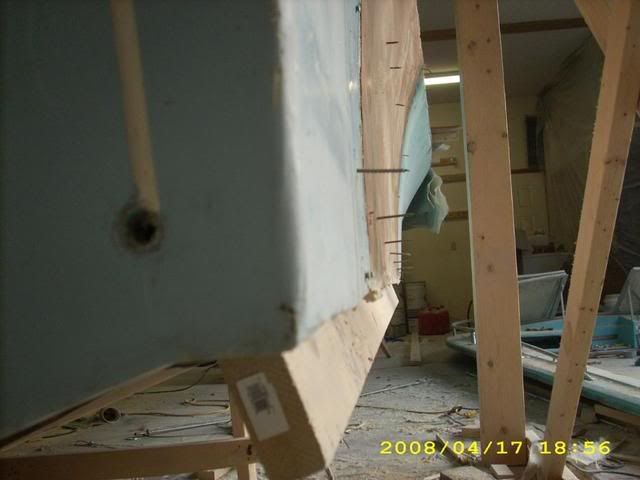
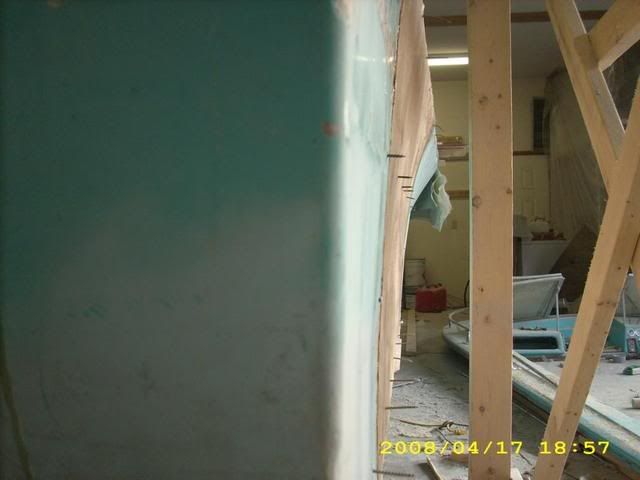
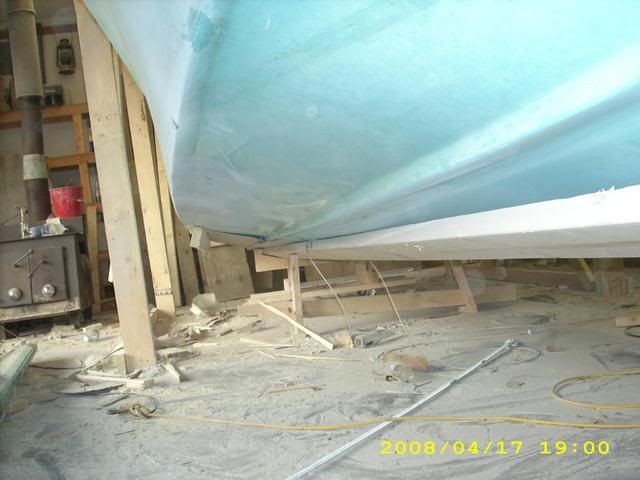
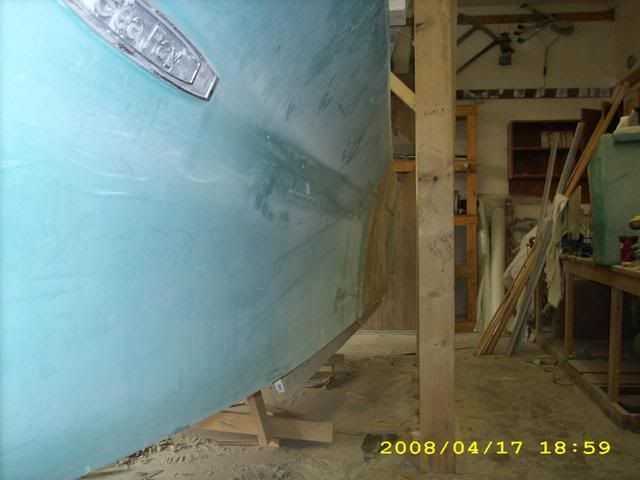
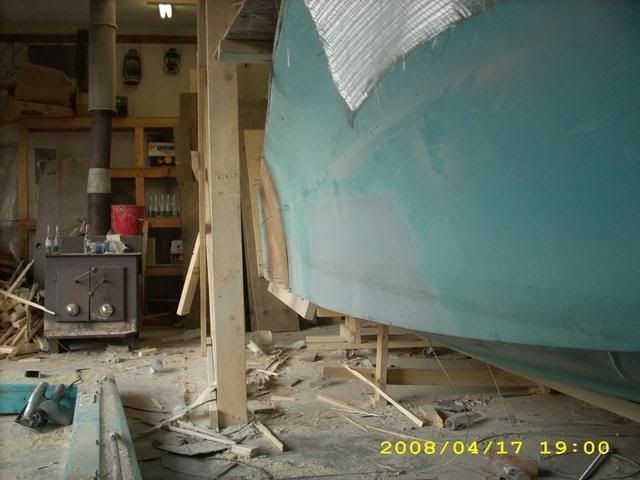
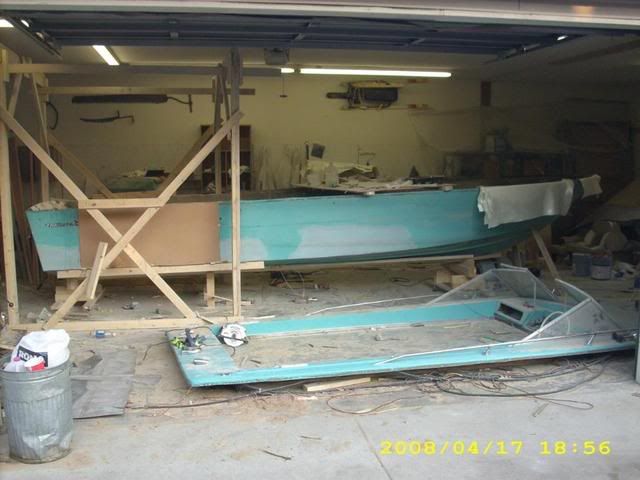
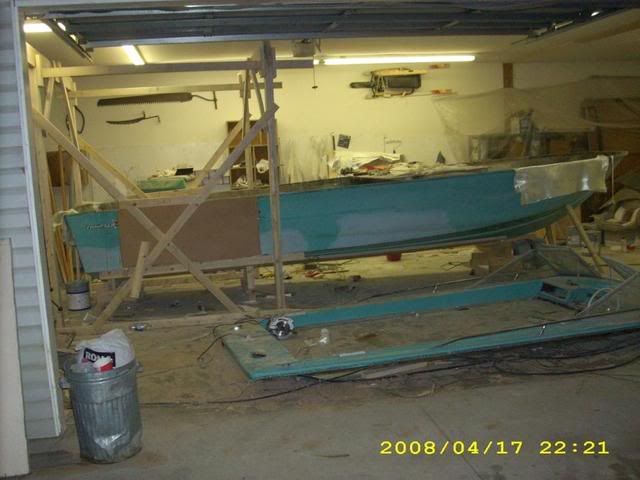
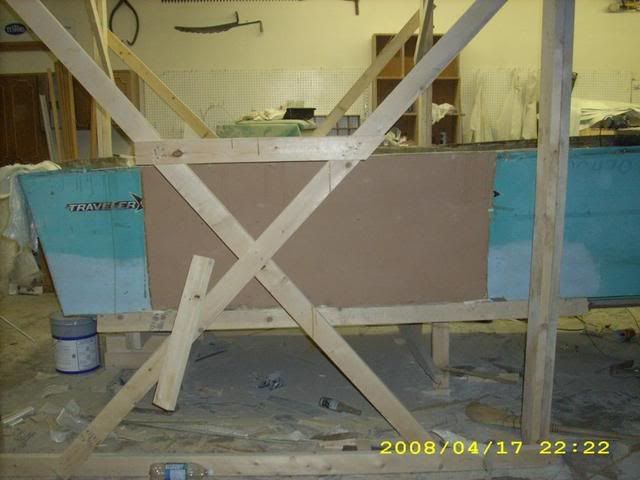
for the first time i pulled the molds and saw the new hull from the out side

oops1.jpg

the brown part is the sxtension section...that was the color of the gellcoat i first layed......the chines still need to be farred....but you can see the straightness of the hull

oops1.jpg

the screws still need to be ground out

oops2.jpg

i was really happy with the way it came out.

oops3.jpg

oops4.jpg

oops5.jpg

this was a real mile stone for me
 
Last edited by a moderator:

WizeOne

Commander
Joined
Mar 23, 2008
Messages
2,097
Re: hull extension in progress with picks

Re: hull extension in progress with picks

....i was concernd about letting it set......in other cases when ive done this ...it has created a hard edge, in the cloth.(where the cloth has been saturated, and then not at all) that hard edge is what i was worried about because the resin rich cloth expands next to the dry area, and that harder, expanded area would be impossible to adhere to the stringer.....

I alluded to that condition in my post above. That is why you want to wet out the whole area that you intend on covering then lay all your glass into that area. As you mentioned if you try to leave any unattached, the resin flows out into the suspended glass and makes it impossible to do anything with it, once cured.

Once I apply the glass over the tacked and sticky resin, I virtually let it cure before I go back and wet it out. You can test this on a relatively small and straight area.

You need to be somewhat carefull in that, unlike wetted glasss, once you lay the dry glass onto the tacked resin, you do not smoosh it around into place. It's a bit like contact cement. Once you lay it down, it's pretty much where it will stay. But it will stick to those difficult parts.

Any compound curves could be a little more difficult because dry glass does not contract and expand like it would (somewhat) if it was wetted.

Sometimes two sets of hands make it easier to anchor the glass on one end while the other set begins to lay it down and push it into the corners or holding while you somewhat draw the glass up, over and down the other side of the stringer.
 

oops!

Supreme Mariner
Joined
Oct 18, 2007
Messages
12,932
Re: hull extension in progress with picks

Re: hull extension in progress with picks

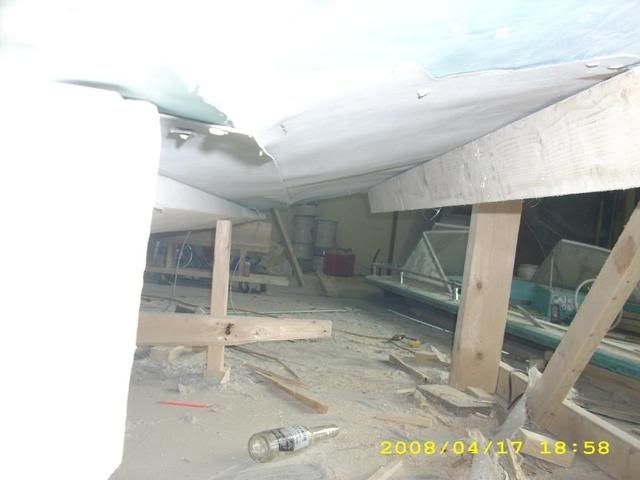
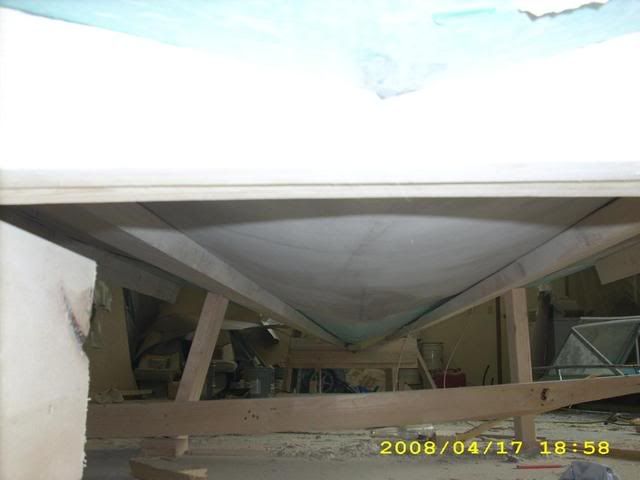
we didnt take the braces off the plaining surface as i still wanted to fully glass the stringers first....(and no-one wanted to lay on the floor)

this is the chine to strake area
the mold is still on the bottom....here you can see the mold waver.....i wont know how this area is for a little while...but i suspect, most can be evened out with the farring

oops12.jpg

but you can see its relitivly straight.....

oops13.jpg

oops14.jpg


oops15.jpg

it was a really big boat before.......but i cant imagine it any other way than it is now !

you can see the cap here...the cap is more or less even with the bow

oops11-1.jpg

well after a bunch of yee haa'a high fives, and a 24 pak of corona...the guys left ....

and i started glassing........

cheers
oops
 
Last edited by a moderator:

oops!

Supreme Mariner
Joined
Oct 18, 2007
Messages
12,932
Re: hull extension in progress with picks

Re: hull extension in progress with picks

thanks wize....i read that one 4 times.....

ill give it a test tonight.....i appreceate the spped of the reply

cheers
oops
 

oops!

Supreme Mariner
Joined
Oct 18, 2007
Messages
12,932
Re: hull extension in progress with picks

Re: hull extension in progress with picks

one more


picgroup30030.jpg
 

erikgreen

Captain
Joined
Jan 8, 2007
Messages
3,105
Re: hull extension in progress with picks

Re: hull extension in progress with picks

Hey, oops, I just realized someting.

To restore the proper proportions to the boat, you're gonna have to cut it in half lengthwise next, and install about a foot more beam space. Best get working :) :) :)
 

oops!

Supreme Mariner
Joined
Oct 18, 2007
Messages
12,932
Re: hull extension in progress with picks

Re: hull extension in progress with picks

Hey, oops, I just realized someting.

To restore the proper proportions to the boat, you're gonna have to cut it in half lengthwise next, and install about a foot more beam space. Best get working :)

dont kid your self :D :D :D i thought about it :eek:

but that would be just silly........

next time :D
 

WizeOne

Commander
Joined
Mar 23, 2008
Messages
2,097
Re: hull extension in progress with picks

Re: hull extension in progress with picks

First off, I gotta say, you got more energy than anyone I've ever witnessed. I remember when I did my boat, the merest shadow of your project, I was worn out from just getting in and out of the boat. I'm not even counting the work, once in the boat. I get worn out again just thinking about it.

On the serious side, you gonna be able to flip that thang to do the bottom? Sure seems like it would make it easier to straigten it up and do a good job of it.

Seems to me that if you get the cap anchored back on and remove the windshield, with enough man power and creativeness it would be real doable.
 

oops!

Supreme Mariner
Joined
Oct 18, 2007
Messages
12,932
Re: hull extension in progress with picks

Re: hull extension in progress with picks

actually getting in and out is now a real pain !!!:D

id like to flip it...but the sheer size wont let that happen....im not good at making somthing straight over a distance so i wanna try to find someone local from the boat shops that will take the farring part.....

the guy from svarah (dale) that was helping from time to time seems to have dissapeared.

it looks like its gonna be a lay on the back job....

any tips on farring a large distance?
 

redfury

Commander
Joined
Jul 16, 2006
Messages
2,655
Re: hull extension in progress with picks

Re: hull extension in progress with picks

I didn't even think about resin creep on the dry glass in my second suggestion. This guinea pig thing seems to be working out pretty good on my end :D

Okay, since this is a learning experience for everyone, would you lose stringer integrity by just laying a few layers of cloth over the top of the stringer and over the sides slightly and then laying your sides up to the top of the stringer?

What about dimensional glass? I thought I read in a boat building book that you could get straight strand glass so you didn't have to worry about bends...just lay it laterally along the length of the stringer and down the sides, or is there a strength issue I'm not foreseeing in this?

At any rate, the extension looks freakin' awesome! Not the hack job we were all expecting :p

So, with the cap, do you plan to cut it right off at the back and tie in there? I would think depending on the shape it draws down to, you could almost make a form and build the extension in a form and then tie it into the cap. Scary stuff man!

The first thought I had when I saw the length of the boat next to the cap was ' he didn't make this so long he can't get it out of the garage now, did he?! :D '
 

WizeOne

Commander
Joined
Mar 23, 2008
Messages
2,097
Re: hull extension in progress with picks

Re: hull extension in progress with picks

...any tips on farring a large distance?

Shame on the flipping deal, but ya gotta do what you can do.

On the fairing! Are you going to do any additional layers of glass on the outside? I assume that the area of the extension is fairly flat? (longitudinally)

For starters, I would be sure to mix up a very sandable fairing compound. Then I would hop over to your local autobody repair supply shop and pick up a few rolls of various grit adhesive 3 1/2 sand paper.

Then make a long sanding block ??? 24"-36" out of a very straight piece of 2 x 4. Roll out your 3 1/2 adhesive paper onto the block and have at your fairing job. Of course you will want to have applied the fairing as flat and smooth as you can, but the Long Block will insure that you can work the whole thing into one smooth surface.

You will not be able to accomplish that with anything other than a long block for sanding.
 

oops!

Supreme Mariner
Joined
Oct 18, 2007
Messages
12,932
Re: hull extension in progress with picks

Re: hull extension in progress with picks

I didn't even think about resin creep on the dry glass in my second suggestion. This guinea pig thing seems to be working out pretty good on my end :D

Okay, since this is a learning experience for everyone, would you lose stringer integrity by just laying a few layers of cloth over the top of the stringer and over the sides slightly and then laying your sides up to the top of the stringer?

this is one of the things i was worried about.......stringers get o lot of there integrity from the glass on top....think i beam......(thats why foam stringers are getting popular...its the glass not the stringer......)

if i just capped the top of the stringer with glass.....this would give me a resin rich area between the side glass and the top glass....it would be very weak....well not super weak...but not as strong as i want.....[/QUOTE]


What about dimensional glass? I thought I read in a boat building book that you could get straight strand glass so you didn't have to worry about bends...just lay it laterally along the length of the stringer and down the sides, or is there a strength issue I'm not foreseeing in this?.....

i think dimentional glass is "s" class...a specialty glass....so it is a special order...that means too many days away....


So, with the cap, do you plan to cut it right off at the back and tie in there? I would think depending on the shape it draws down to, you could almost make a form and build the extension in a form and then tie it into the cap. Scary stuff man!....

i will be cutting the cap just before the solid part around the transom.....ill just build a mold for the sides....and extend them...and tie into the cap....there will be a bulkhead (from the deck up) just in front of the motor...ill be adding a sun pad...so this bulkhead will be the support structure of the sun pad/motor cover. thats the next phase...just after the deck goes in...

it all sounds soooooo simple....:eek: but after this crazy idea who knows...it might take another three months! :eek:


and as far as the door...and getting the boat out?....heh heh heh.....im uncle that built a gyrocopter in his garage...had to cut the garage apart to get the copter out....:eek:....so that was one of my first requirements in selecting a work shop......ROOM TO GET IT OUT...!:D
 

oops!

Supreme Mariner
Joined
Oct 18, 2007
Messages
12,932
Re: hull extension in progress with picks

Re: hull extension in progress with picks

Shame on the flipping deal, but ya gotta do what you can do.

You will not be able to accomplish that with anything other than a long block for sanding.

a very...very long block....even with 36 ins id mess it up...(and i used to finish concrete)

as far as the additional layers of glass......wont know till the mold comes off. if theres a hook....short of making a step in it...thats the only way i could fix it.....if it has a hook.....(shouldnt, i put rock in it)...and a big one....3/4 inch...i dont know what im going to do....an epoxy based farring compound with strands in it is the only thing that would be strong enough....but a killer to sand....

several glass layers and poly resin filler w/strand would be really easy to sand but heavy....even thick matt would require lots of layers to build 3/4 inch thickness.......

not that there is a hook.....but ive got to be prepaired......i wonder about other light weight thick fillers...allmost like a core type product.

i guess one step at a time.....
 
Last edited:

WizeOne

Commander
Joined
Mar 23, 2008
Messages
2,097
Re: hull extension in progress with picks

Re: hull extension in progress with picks

...another thought comes to mind. You will want to provide ample underfloor support for any thing that applies a lot of leverage to fastening points, especially seats.

1/2" glass covered plywood makes a verrrrrrrrry marginal attaching surface for such things.

On my resto, I letted 2 x 8's across the stringers where the front seat attachments would occur. In other areas, where various brackets would be attached, I either added an additional treated ply of 1/2" or 3/4" to the underside of the floor so that any screws would have maximum purchase and never work loose.

I also applied CPES to every hole in the sole (yuk yuk) then shot in some 4200 before I ran any screws or lags in.
 

oops!

Supreme Mariner
Joined
Oct 18, 2007
Messages
12,932
Re: hull extension in progress with picks

Re: hull extension in progress with picks

wize i agree about the 1/2 inch sole.....

im going to be putting 3/4 pt ply scraps....1'x1' under the area where the pedistal seats will be.....

as far as the side benches....i dont think they are going to get much stress but i still might run a "strip of 3/4 down the bolt area.
 

ondarvr

Supreme Mariner
Joined
Apr 6, 2005
Messages
11,527
Re: hull extension in progress with picks

Re: hull extension in progress with picks

Flipping the hull won't be as difficult as you might think and will cut weeks or months off the work compared to doing it upside down. I can come up and give you hand when it gets to that point.

Once it gets turned over we can see how much work the hull needs, maybe you'll get that stepped hull you wanted. I was at a customer recently and I asked them about how they decided where to put the step. The answer was, "we just put it where it looked the best and was easy to do, as they're of little or no help on hulls 24' or less and you need to go faster than these boats will go for it to help any how". They had a stepped hull because everyone (customers) asked for one and it was too difficult to explain why it really wasn't needed. With this method we can put it where ever it's needed to make the job easier and then just tell everybody it adds 10MPH.

If the hull has deep areas that need to be filled, light weight fillers can be used as long as you put a layer of glass (1708) over it.
 
Status
Not open for further replies.
Top