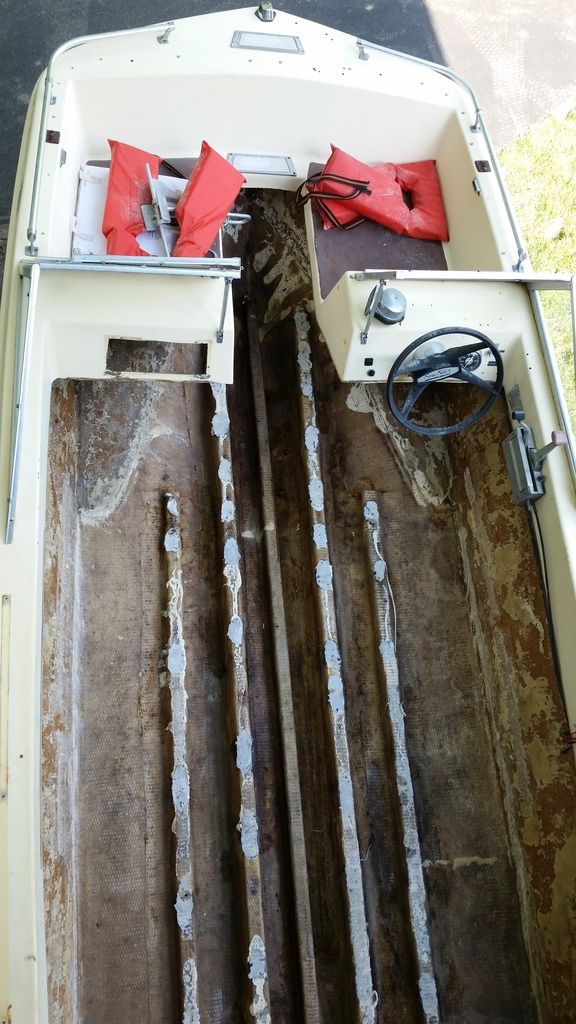
Glastex Seastar - Rebuild

Davis04

Seaman Apprentice
Joined
Feb 20, 2017
Messages
36
Woodonglass or anyone else versed in fiberglass.. why is 170 recommended? I tried to do research but didn't turn anything up. Why wouldn't I use something thicker like what's on there? What's the advantages/disadvantages?
 

jbcurt00

Moderator
Staff member
Joined
Oct 25, 2011
Messages
25,034
Woodonglass or anyone else versed in fiberglass.. why is 170 recommended? I tried to do research but didn't turn anything up. Why wouldn't I use something thicker like what's on there? What's the advantages/disadvantages?

170?

Do you mean 1708?

Its biaxial 1700 wt cloth w a 0.75oz CSM backer.

Heavier, thicker cloth is going to be harder to work with and get into a cove at the bottom of a stringer or over the top of a stringer. And will require more resin bulk to fully wet out.

The CSM backer acts as a bonding aid (as a resin rich layer) between the 1700 and the existing hull glass thats why its recommended to lay the 1708 w the CSM side down.

Easier to work w and the CSM layer are both great advantages.
 

Davis04

Seaman Apprentice
Joined
Feb 20, 2017
Messages
36
170?

Do you mean 1708?

Its biaxial 1700 wt cloth w a 0.75oz CSM backer.

Heavier, thicker cloth is going to be harder to work with and get into a cove at the bottom of a stringer or over the top of a stringer. And will require more resin bulk to fully wet out.

The CSM backer acts as a bonding aid (as a resin rich layer) between the 1700 and the existing hull glass thats why its recommended to lay the 1708 w the CSM side down.

Easier to work w and the CSM layer are both great advantages.

Yes 1708 cell must have changed it to 170 but yet. And thank you! That answer was perfect! You guys are all awesome!
 

sphelps

Supreme Mariner
Joined
Nov 16, 2011
Messages
11,462
You can use the heavy woven cloth but you would need to lay csm down first before the woven wet on wet ... The 1708 is just as strong and as jbc said easier to work with ...
 

Davis04

Seaman Apprentice
Joined
Feb 20, 2017
Messages
36
So I wanted to remove the cap this previous weekend.... and a few things. First I realized its not as long as originally thought. Its barely 15 feet... so now I feel better about the hollow core stringers. Then I realized there is a strip of fiberglass cloth holding the cap onto the hull. I was going to just take my dremel and a cutoff wheel and cut a nice clean seam. Any recommendations on how to do this?? Any other suggestions?? Also while drilling out the rivets, some where so close to the edge that basically I drilled into the edge. So instead of just having a nice clean circle I have a half circle with no edge anymore. I guess I just have to repair those spots as well... Any other suggestions with taking the cap off? Such as the cradle? Is this 100% necessary? Woodonglass thought?
 

Baylinerchuck

Commander
Joined
Jul 29, 2016
Messages
2,726
Just make sure when decapping you brace everything well. The cap adds a lot of rigidity to the hull. The hull becomes flimsy without it and can easily deform causing the cap to no longer fit when you put her back together. I was fortunate to not have to decap on both my restorations.
 

Davis04

Seaman Apprentice
Joined
Feb 20, 2017
Messages
36
I wish I didn't have to but I have to replace the transom which makes it a requirement......wish I didnt....what are your thoughts on the fiberglass strip connecting the cap to the hull?
 

Baylinerchuck

Commander
Joined
Jul 29, 2016
Messages
2,726
The dremel may be a little slow and you will go through those mini discs pretty quick. It will work, just take your time and don't push too hard. The little abrasive discs don't like the heat the fiberglass holds while cutting. An abrasive metal cutting wheel on a 4-1/2" grinder works better.
 

Davis04

Seaman Apprentice
Joined
Feb 20, 2017
Messages
36
Thanks Guys! Ill pass on the dremel then. Woodonglass thanks for the links I see that tool all the time! I have so many new free flashlights from shopping there its unreal! LOL
 

Davis04

Seaman Apprentice
Joined
Feb 20, 2017
Messages
36
A lot of progress has been made. Pictures to follow. The transom was extremely rotten. So that had been removed and sanded down to glass. Same with the hull sides. I am going to be building my transom this week. ANY and ALL Advice is WELCOME! Also, do I "have" to build a new bilge box? Or can I mount it just in the same rear location? I was always under the impression the "box" is just a box for accessability. But please send me any links...videos etc on building my transom! I will post pics tomorrow of what I've done so far. The cap removal is highly unorthodox and probably not recommended. So stay tuned for that too!
 

Baylinerchuck

Commander
Joined
Jul 29, 2016
Messages
2,726
No advice without pictures!! Lol. State law.

Check out the link in my signature for how i built my transom.
 

Davis04

Seaman Apprentice
Joined
Feb 20, 2017
Messages
36
Is there a sticky where someone rebuilt a transom and went through it step by step? What fiberglass cloth should I use? Any certain type of resin? What is PB? I just want to do it right....I don't want to waste money doing it wrong...
 

Davis04

Seaman Apprentice
Joined
Feb 20, 2017
Messages
36
Process48_zpsgvmyk24c.jpg


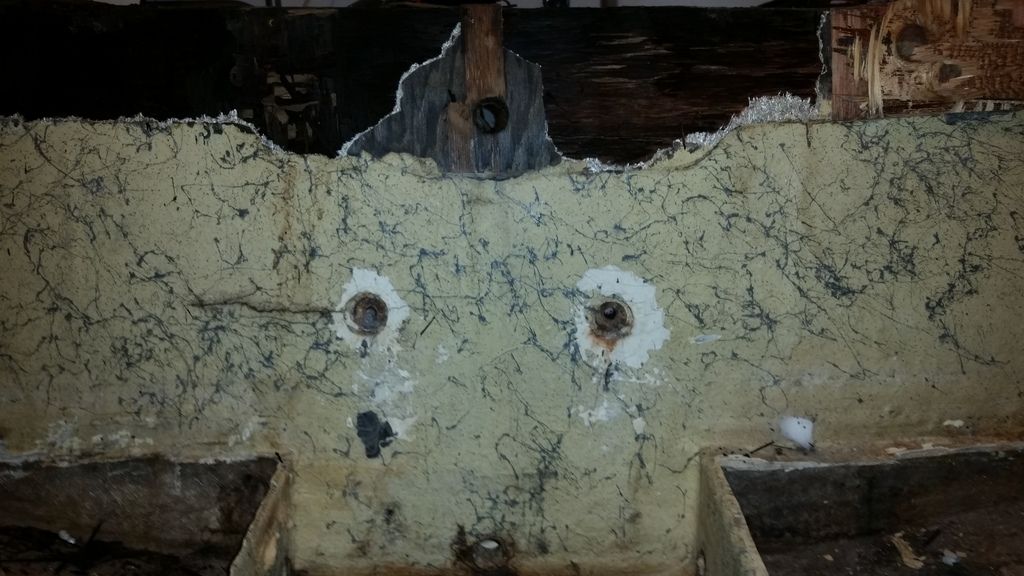
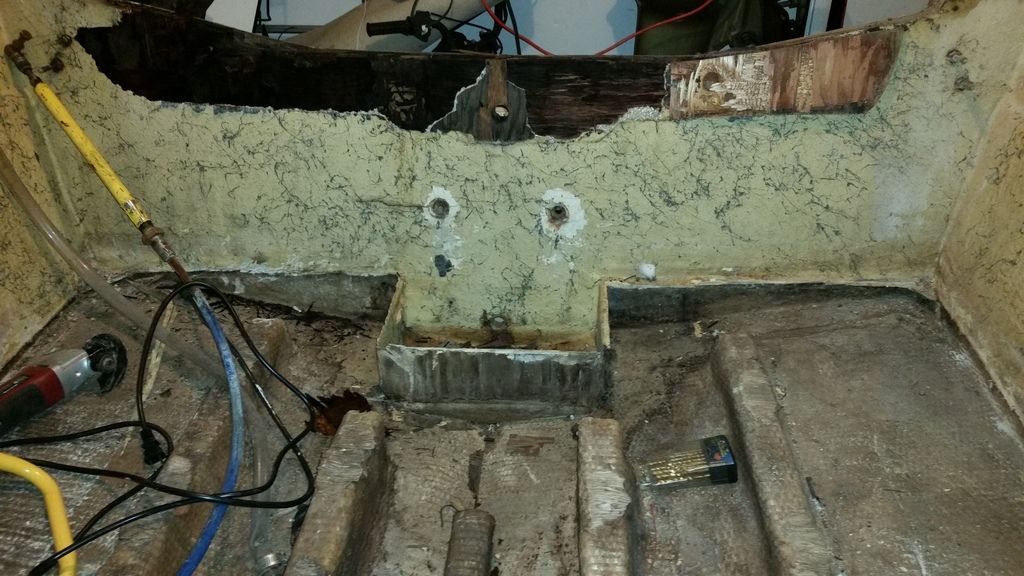
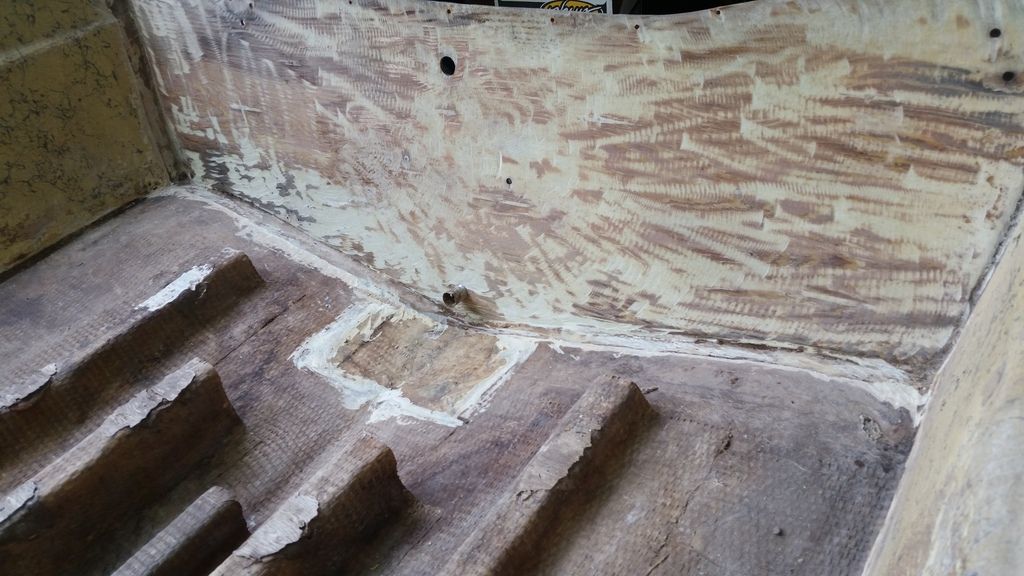
This was what the transom looked like when I finally broke the cap off of it. It was fiberglass to the transom.

Process49_zpsqyilre3a.jpg


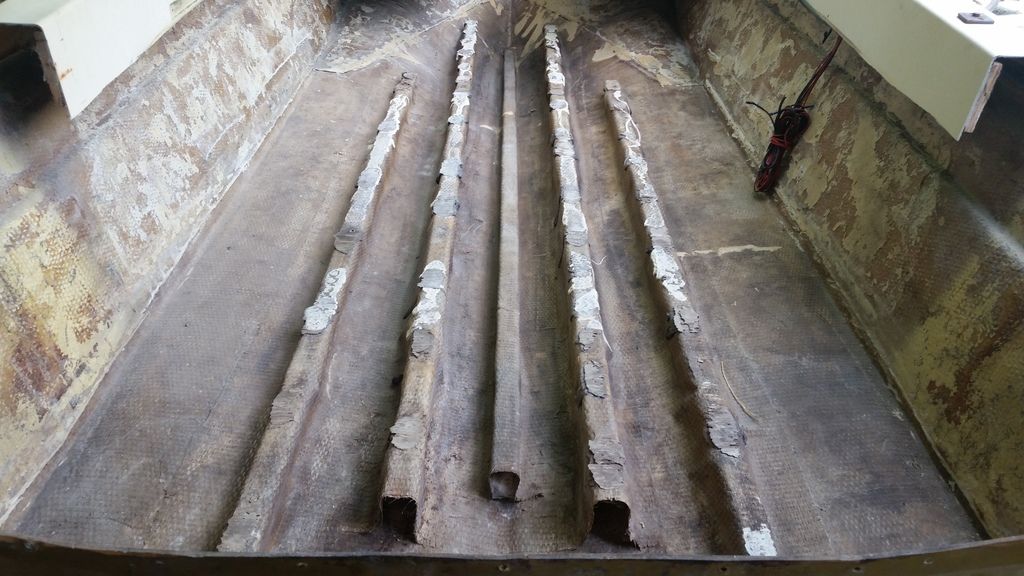
That is NOT a hole at the end of that stringer that is old rotten transom wood! This wood was like mud!!!

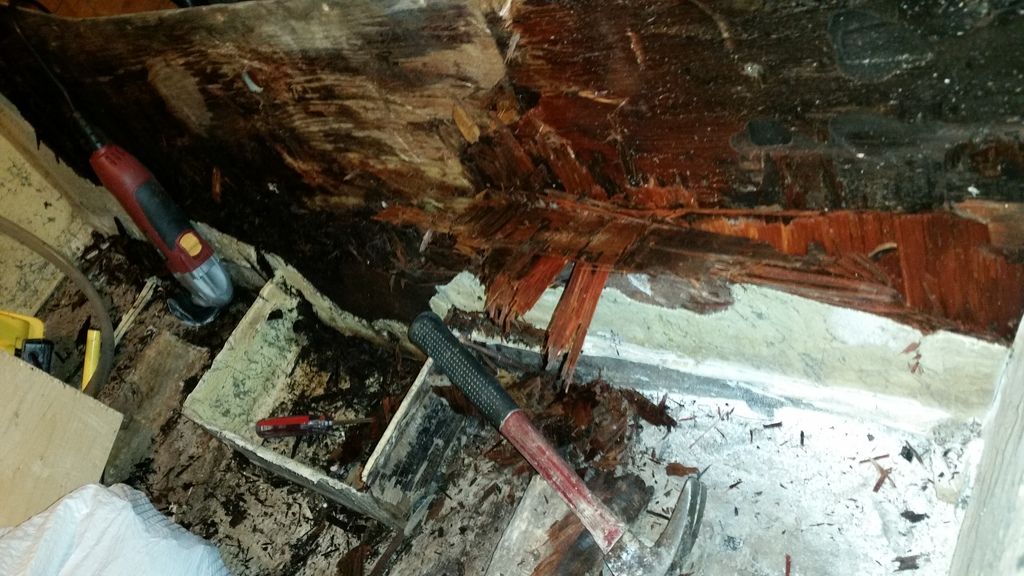
Process50_zps5yytrbjw.jpg


Got the layer of Fiberglass off and ripping away at the wet old transom... not fun
 

Davis04

Seaman Apprentice
Joined
Feb 20, 2017
Messages
36
Process52_zpsfkt1hrys.jpg


I forgot to snap a pic of the majority removed before the end of the night, so this is what I got...


Process60_zpsybgeth3d.jpg


Pulled her out to start Grinding Down.

Process62_zps2baai8um.jpg


Still has pieces of Old Carpet that needs removed and glue ground off etc..

Process63_zpslzyqtqky.jpg


Just more pics of the hull...

Process64_zpsxkz3lb1o.jpg


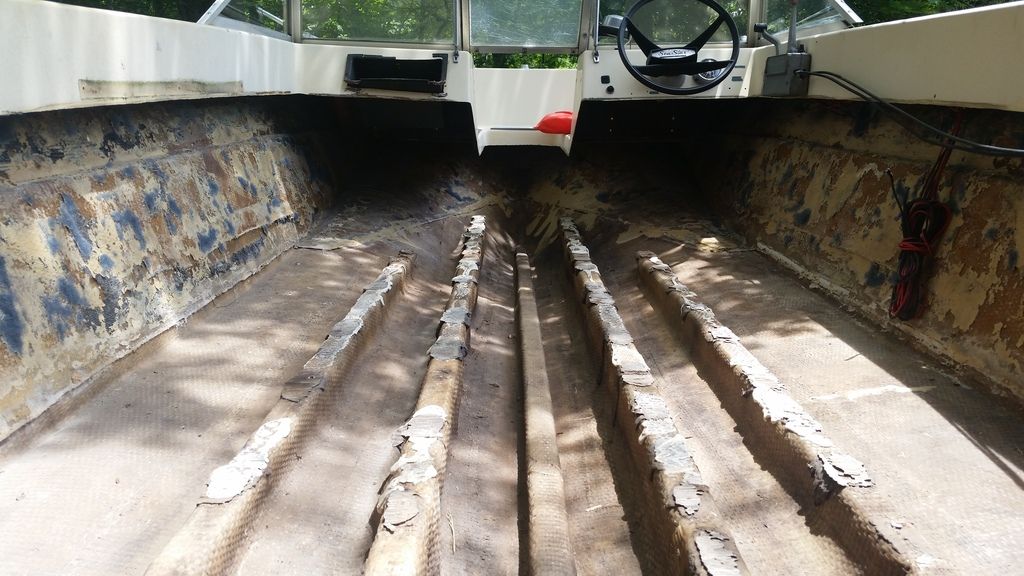
Got all of the carpet removed and sanded down. But Still needs some grinding done!

Process65_zpswmicyhfi.jpg


Looking Clean!

Process66_zpstmiz2tfp.jpg


Getting CLOSER!

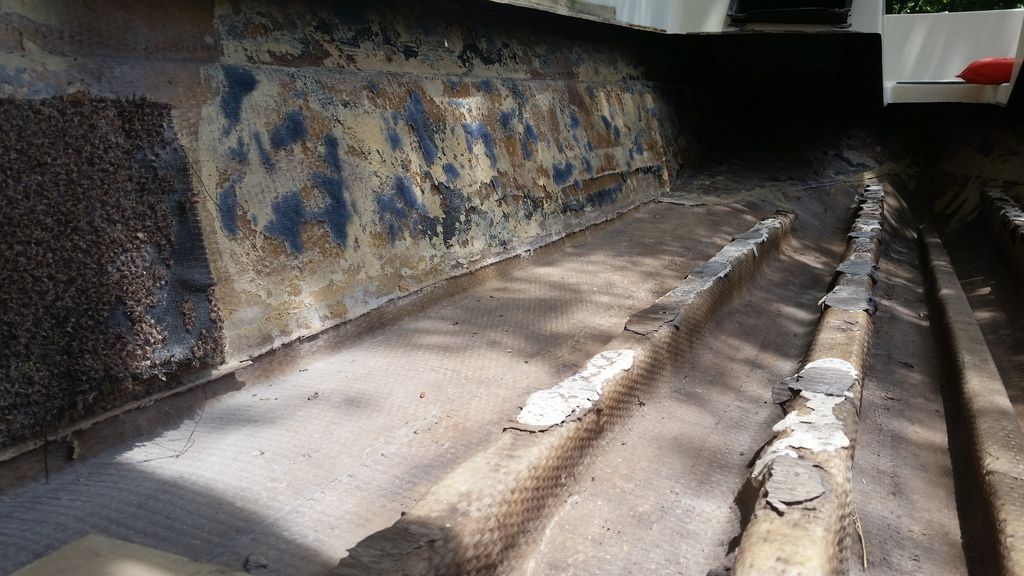
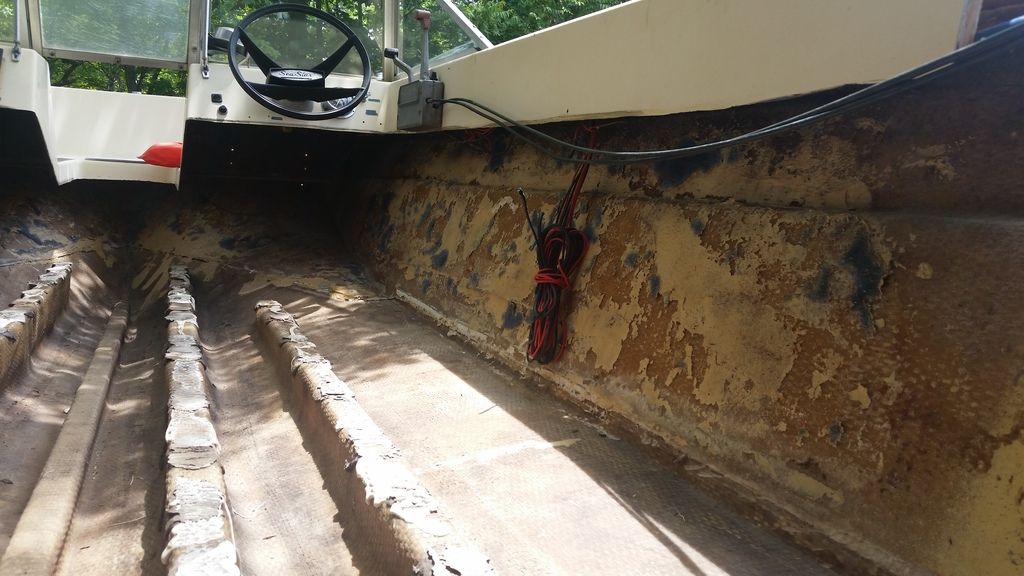
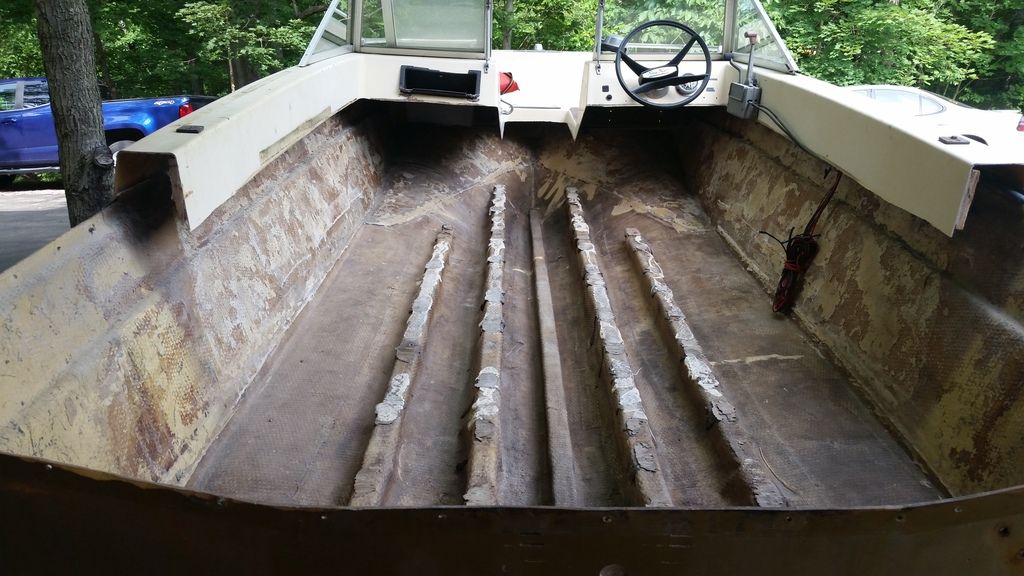
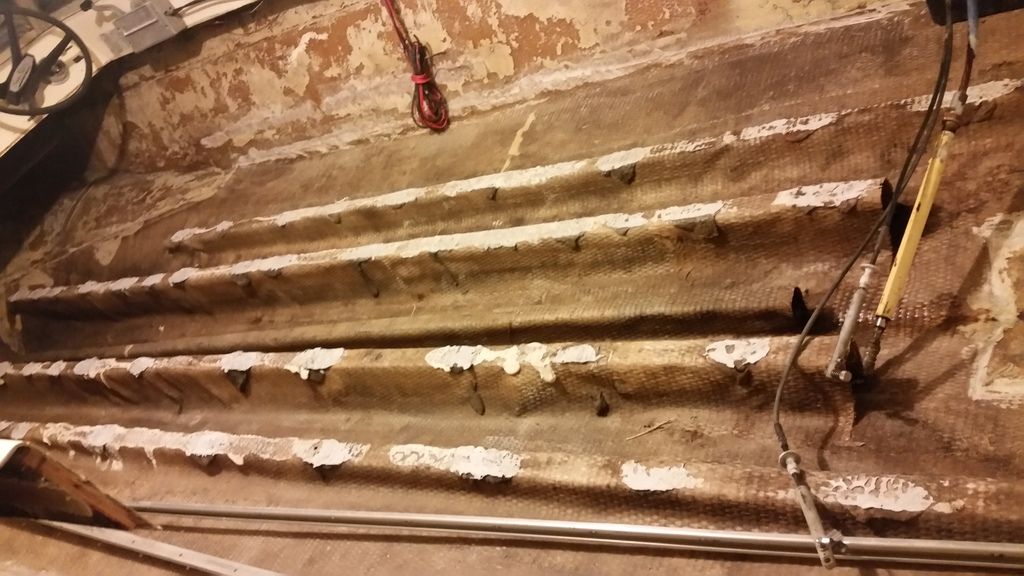
I Did some more grinding to make that transom piece of fiberglass totally CLEAN. Also Ground down the lip from the old floors and the lip that was about a foot up from the floor. Still more Work to do!! I have pictures of the transom clean and so forth just have to upload them to share! Bought some 3/4 Arauco 7 Ply Plywood for the transom. I think I am going to start cutting that and let it bond together while I finish grinding the 8" lip around where the floor will be so I can tab in the floor as well as around the transom area. The only stringer that is wood is the center. But it too is rotten. I am going to wait to put the transom in before I replace that one to keep strength in the boat. The other 4 stringers are top hat stringers only (hollow with a piece of wood at the top, primarily used for somewhere to screw things down like seats etc.)
 

Davis04

Seaman Apprentice
Joined
Feb 20, 2017
Messages
36
Process71_zpshwih1jyq.jpg


You can see I have ground the lip around where the floor was in this photo.

Process70_zpsrbqugzul.jpg


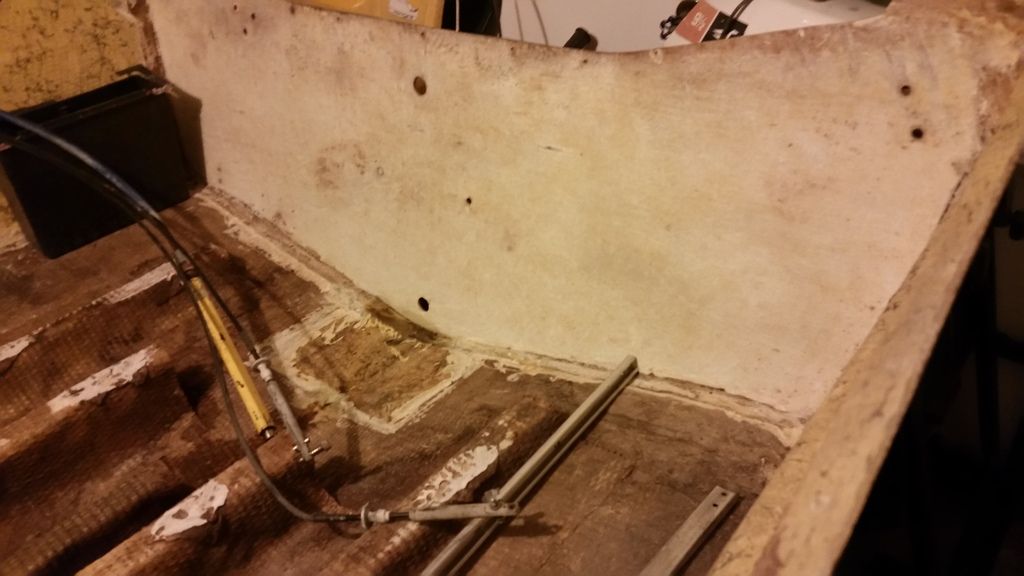
The Transom Section is all clean and ready for a New Transom! I just need to grind out where I am going to tab in.

Process69_zps40piieq2.jpg


Nice Shot from My Deck above the boat.
 

Davis04

Seaman Apprentice
Joined
Feb 20, 2017
Messages
36
Does anybody recommend any certain brand of resin or type? If you have a link to what you like post it! Same with fiberglass !
 
Top