Glastex Seastar - Rebuild

Baylinerchuck

Commander
Joined
Jul 29, 2016
Messages
2,726
I had a 16' Bayliner Capri and the max hp was a 90. It was a pretty quick little boat with that 90.
 

Davis04

Seaman Apprentice
Joined
Feb 20, 2017
Messages
36
Thanks guys! I'm going to see whats out there. But I got a lot of things I need to get working on first.
 

Davis04

Seaman Apprentice
Joined
Feb 20, 2017
Messages
36
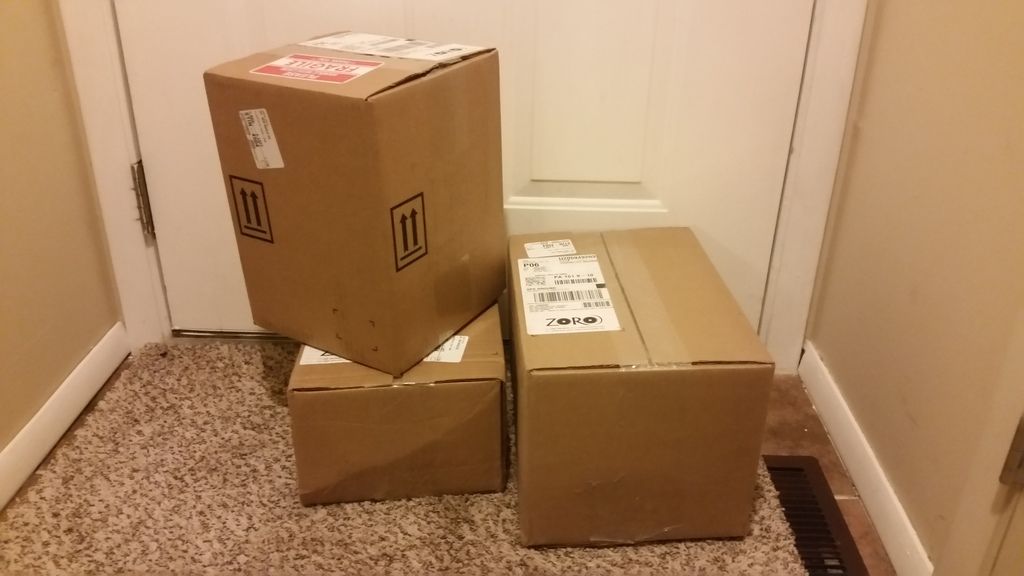
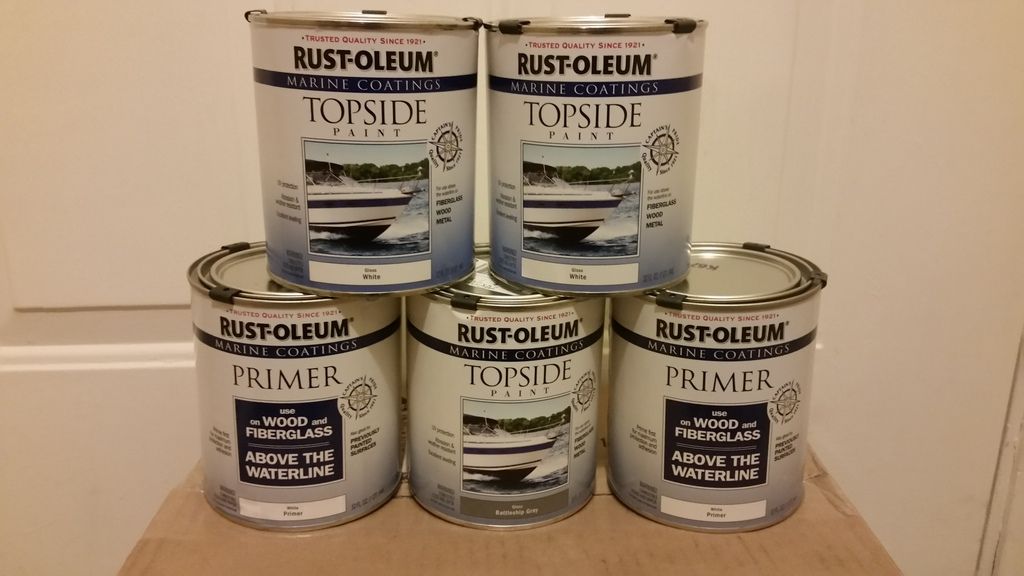
So before I really started tearing the boat apart my wife and I got excited and ambitious and bought the primer and paint. I made a lot of phone calls and compared all the information I had with my budget and also the fact that she will primarily be a trailer/garage queen... I went with Rustoleum Primer and Rustoleum Topside white for the Cap and the Hull. We are also adding a band of Rustoleum Battle Ship gray around the top edge of the hull where there is already one by the physical shape of the boat.

Special Delivery!

I was told one Quart will paint my whole 16' boat!? I don't think this is possible!? Any estimates on what I SHOULD have for when the time comes?
 

ezmobee

Supreme Mariner
Joined
Mar 26, 2007
Messages
23,767
It's been a while but I pretty sure I did the white on mine with <2 quarts and the blue with <1. http://i176.photobucket.com/albums/w200/ezmobee/New Boat/DSCF2279.jpg

I applied it with a foam roller. Laid it on firmly with the roller spreading the paint out in a small section then rolling very lightly over top of that area to knock the bubbles down. Worked well and came out looking showroom. Perhaps Woodonglass will comment on whether he'd recommend adding the hardener to that marine Rustoleum.
 

Davis04

Seaman Apprentice
Joined
Feb 20, 2017
Messages
36
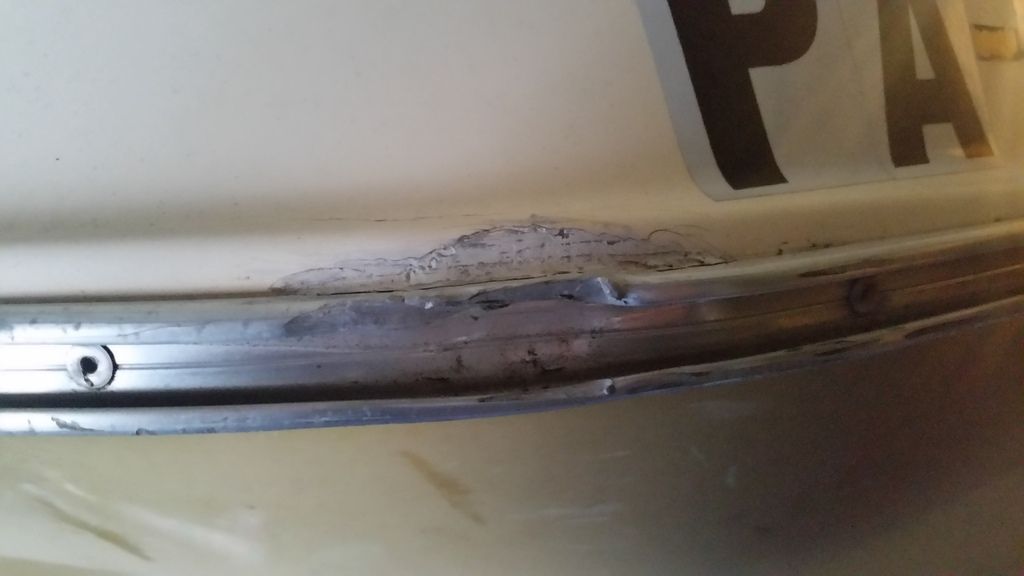
This past weekend I started removing the rub rail and drilling out the rivets. Due the the age the rubber was either extremely easy to remove are extremely hard! Great part was that the hard parts were seldom. Most of the hard parts were actually due to a rivet being slightly out and the rubber being caught on it. I started on the Port side in the back at the transom and worked my way around. I have taken pics along the way. Most of the metal railing is in reusable condition. There is on point that the boat had to have hit something good where it not only shows some fiberglass repair but also damaged a small section of the rub rail. I have also included some pictures of cracks and even holes for everyone to see what I am working with.

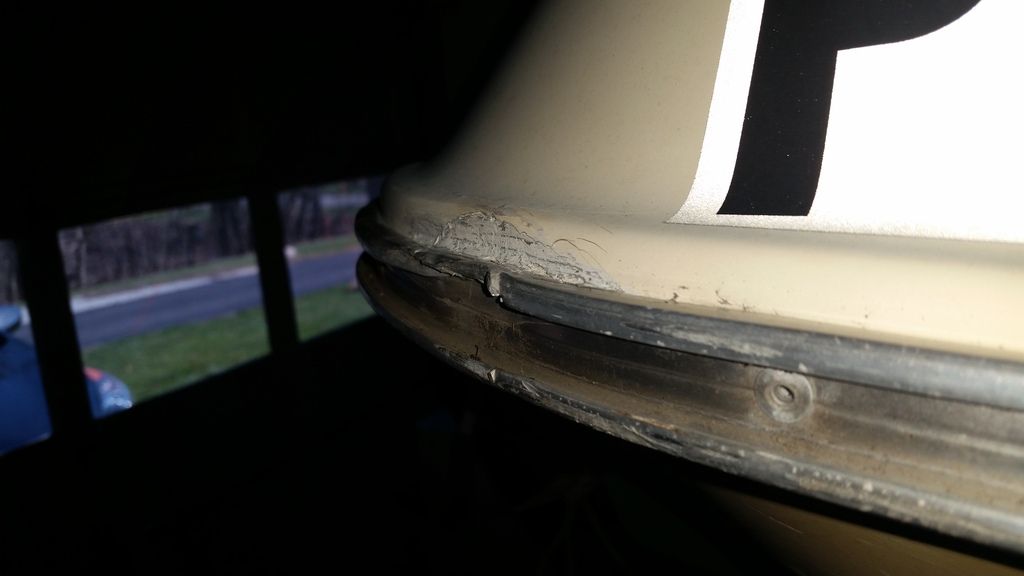
Here is the front Port Side Corner of the bow that had some damage and repair done. I bought Marine tex to repair the chips and cracks but I might have to do some research on fixing larger things like this! Any help is welcome!
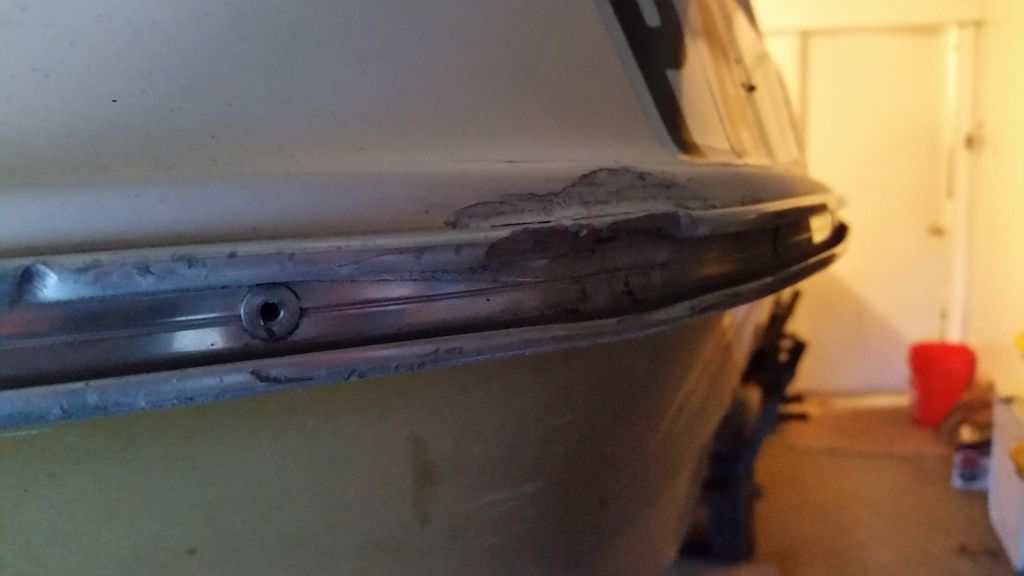
Another Picture of the damaged area.

And One More.

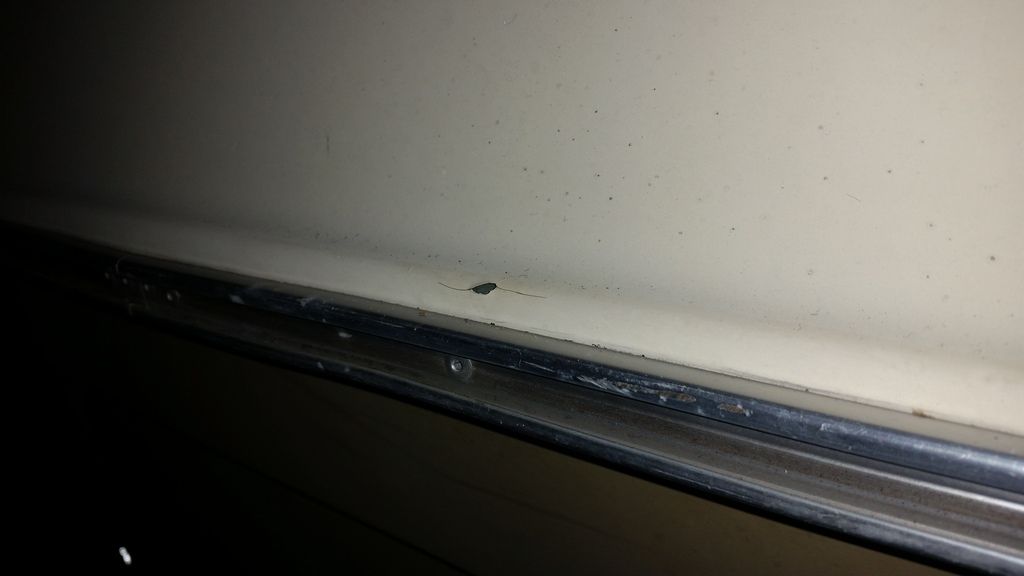
Pencil Eraser Size hole Port Side as well, what would be considered behind the windshield.
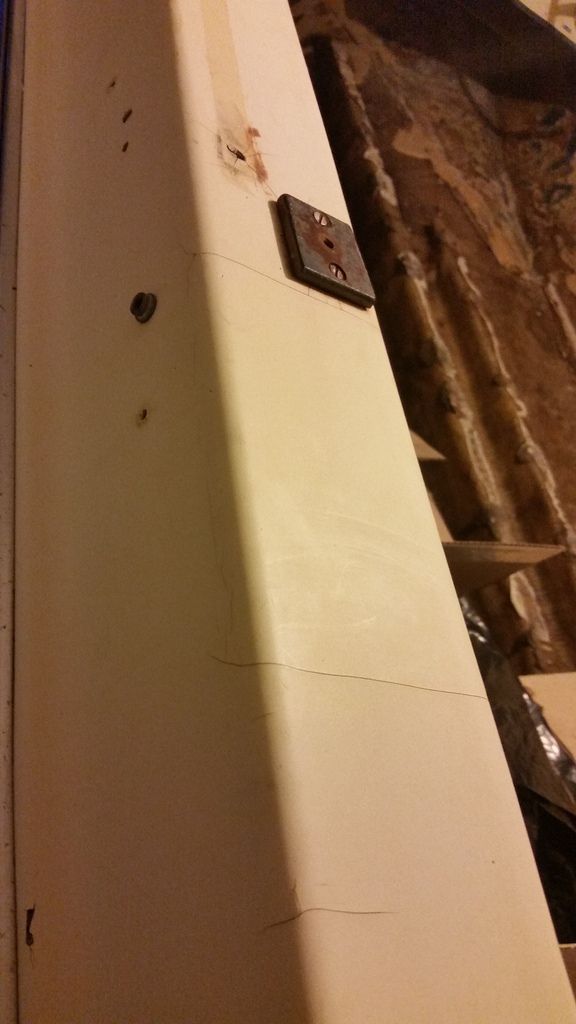
Also Some cracks along the top of the cap Port side as well. Looks like cracking from being old and dried out? I will dremel out all the cracks/chips and holes, then fill them back in as well.
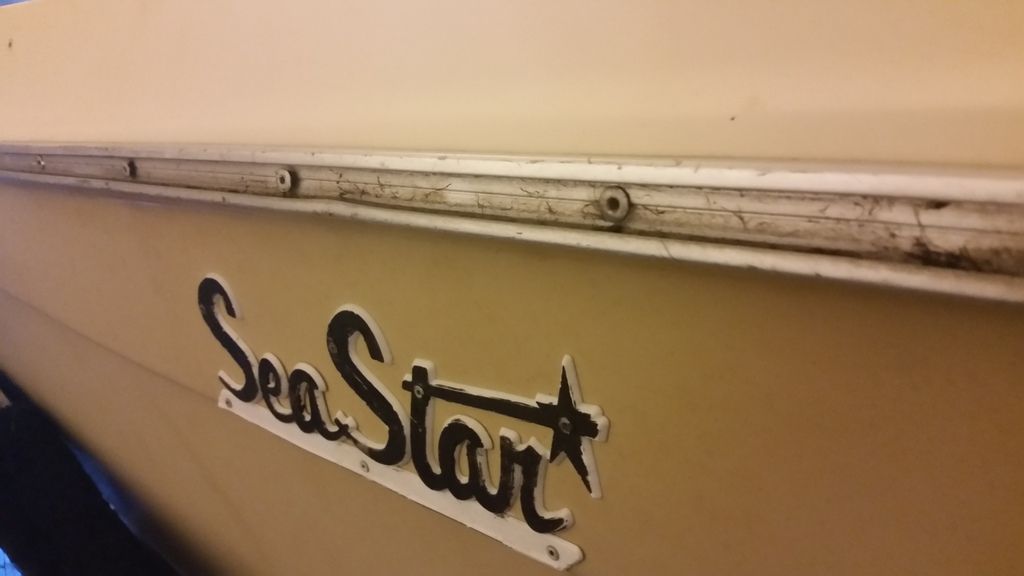
Rear Port Side with the rubber removed out of the rub rail.
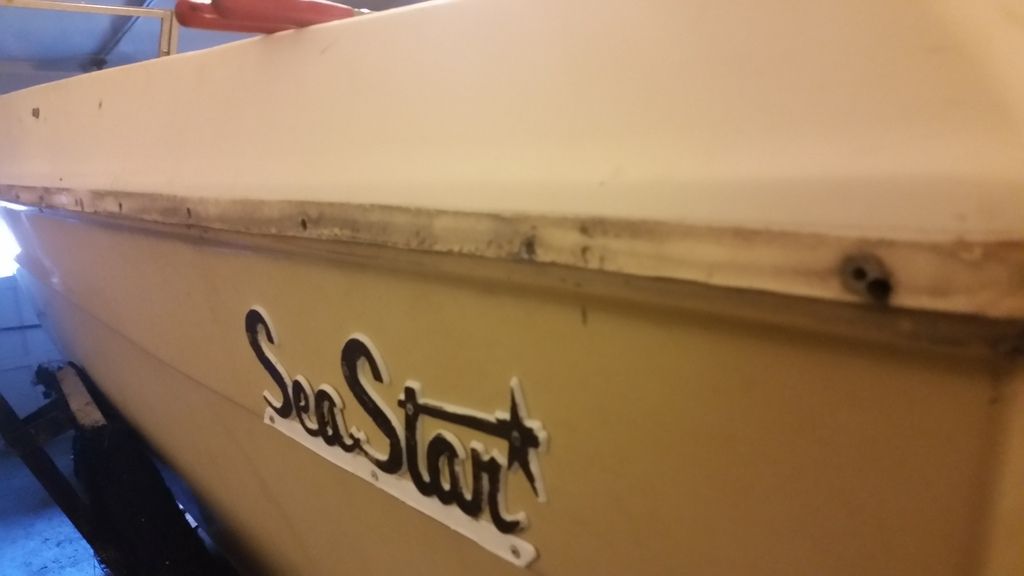
Port Side with the metal portion of the rub rail removed and rivets drilled out.
 

Davis04

Seaman Apprentice
Joined
Feb 20, 2017
Messages
36
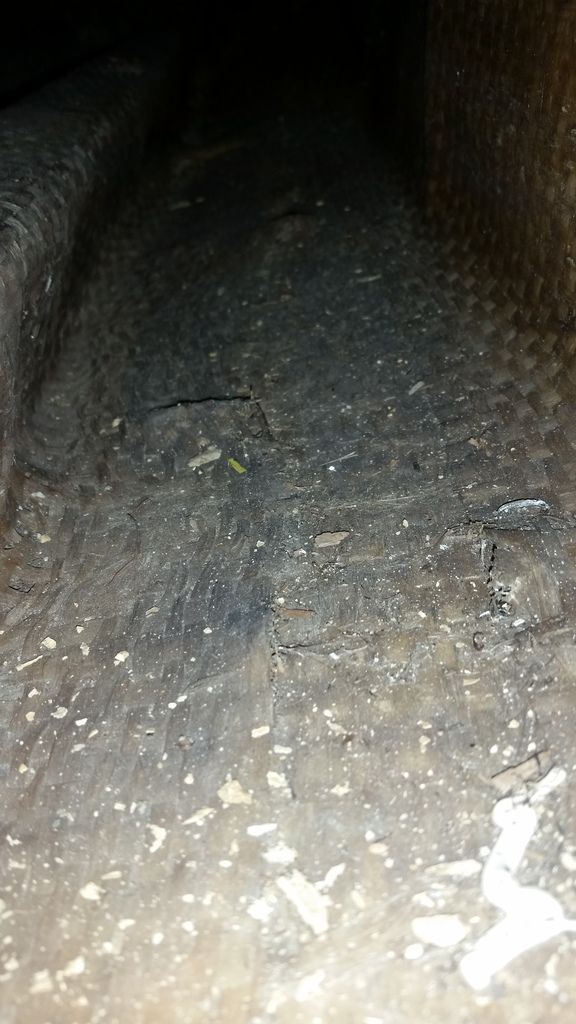
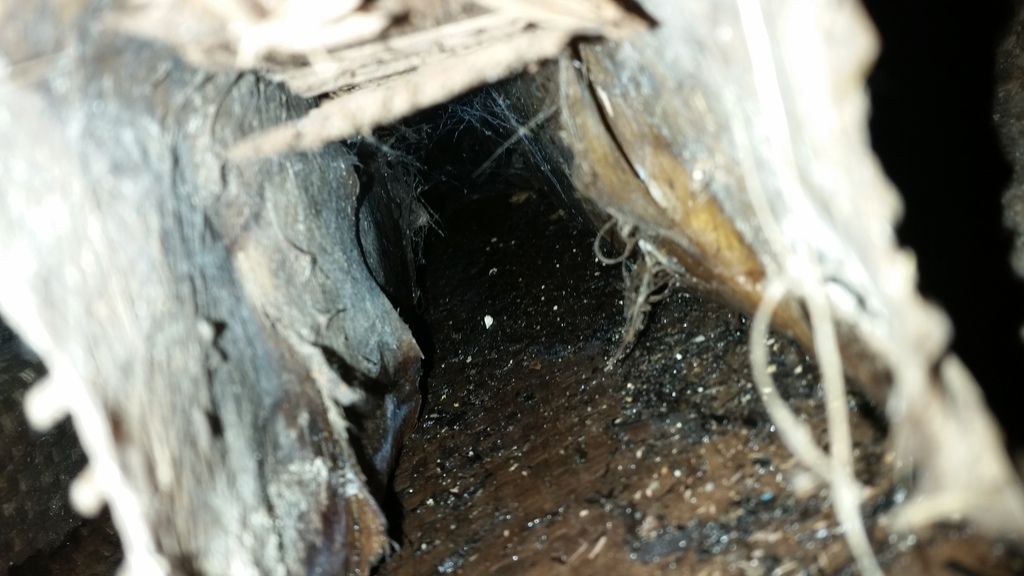
After I removed the rub rails I decided to look back into the possibility of the Hollow Stringers. So I wanted to check. So here's the physical nature of what I found.
There is Wood in them... However, Its ONLY along the TOP of the Form....and up in the front where the seats would be... and in the back where the seats are as well. It looks like these were either used for forming the stringers and/or to have something more solid under the seats. There is a lot of soft wood IN the stringers.... BUT there is soft wood everywhere from when the previous owner ripped out the floor... Overall the stringers seems solid. The Center stringer. I believe has wood in it.
My question to everyone is.... would you

A.) Open all of them up just cutting off the tops, clean out the channels and add wood... or
B.) Cut out sand down and repair any weak or cracked spots and keep the integrity of the original parts.

I posted a picture where I put a flashlight in one of the stringer and took a picture from the other end to light it up to see if I saw chunks of wood etc ... and nothing...Also The stringers are all OPEN at both ends. They are just upside down U shape molds... thats it...

Ive been told its stronger than what I can do...but I don't know if that's true either. If ANYONE has any advice on the Stringer situation PLEASE post your reply!

Straight up the Stringer that would be under the captains seat.
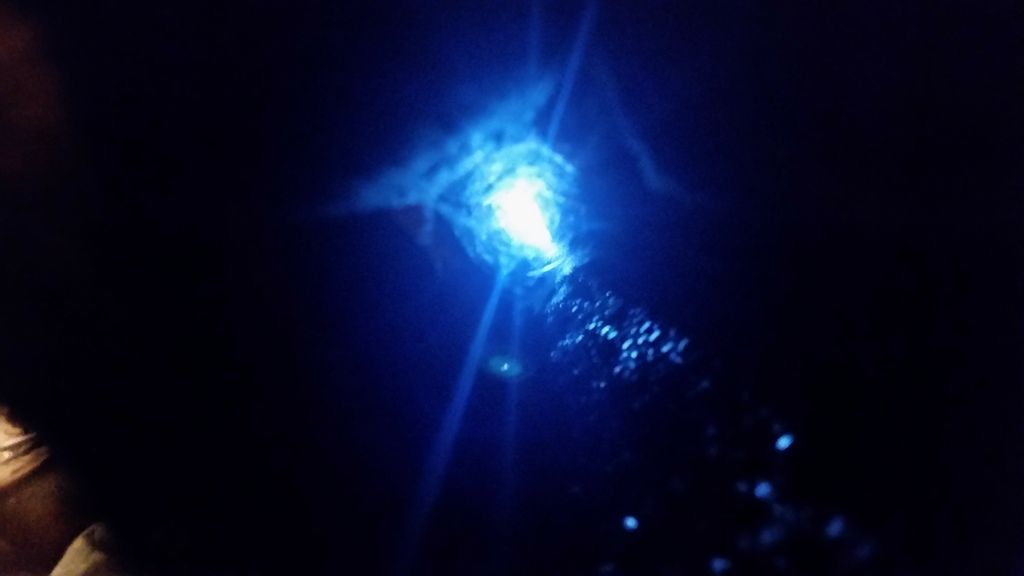
I put a flash light at the other end to see if there were large chunks of wood or anything, but nothing...
 

Davis04

Seaman Apprentice
Joined
Feb 20, 2017
Messages
36
It's been a while but I pretty sure I did the white on mine with <2 quarts and the blue with <1. http://i176.photobucket.com/albums/w200/ezmobee/New Boat/DSCF2279.jpg

I applied it with a foam roller. Laid it on firmly with the roller spreading the paint out in a small section then rolling very lightly over top of that area to knock the bubbles down. Worked well and came out looking showroom. Perhaps Woodonglass will comment on whether he'd recommend adding the hardener to that marine Rustoleum.

Your boat looks sweet! Nice rebuild man! Ya I'm going to test and see how good with the roll and tip method. There is also a 20 sprayer at harbor frieght. I was going to try that out as well and see if I can get a better layup. I'll try both and see which one works best. You have any thoughts on the stringers??
 

ezmobee

Supreme Mariner
Joined
Mar 26, 2007
Messages
23,767
You have any thoughts on the stringers??

I'm a tin boat guy so my advice is always going to be drag that boat to the dump and get yourself an aluminum hull LOL!

That being said, I have seen boats restored on here that had hollow stringers. In the 60's and 70's builders seem to have experimented with a number of different things for stringers. I've seen round ones where it looks like they glassed over cardboard tubes, hollow ones, foam filled ones and ones like yours where there's just like a wood strip to give screws something meaty-er to go into. The glass guys will tell you to grind them the whole way out and replace them with plywood and bed and glass those in. Honestly for that size boat anything that isn't going to rot further, adds rigidity to the hull holds the deck up sounds good to me.
 

Woodonglass

Supreme Mariner
Joined
Dec 29, 2009
Messages
25,927
First off, the TopSide paint is not needed. You're paying a premium price when the Rustoleum Pro will do just as well. If you can send it back I would! Rustoleum is NOT that good of paint unless you add the Acrylic Enamel Hardener. If you don't plan on using it, you WILL be dissappointed. Check the last link in my signature line below for painting info.


Hollow stringers need NO wood. The wood tops were added to aid with attaching the deck etc... IF they are still attached well to the hull and no delamination has occured I'd prolly just throw an layer of 1708 over em and call it good. You'll need to scuff sand em and clean well with acetone prior to laying the new glass.
 

Davis04

Seaman Apprentice
Joined
Feb 20, 2017
Messages
36
I'm a tin boat guy so my advice is always going to be drag that boat to the dump and get yourself an aluminum hull LOL!

That being said, I have seen boats restored on here that had hollow stringers. In the 60's and 70's builders seem to have experimented with a number of different things for stringers. I've seen round ones where it looks like they glassed over cardboard tubes, hollow ones, foam filled ones and ones like yours where there's just like a wood strip to give screws something meaty-er to go into. The glass guys will tell you to grind them the whole way out and replace them with plywood and bed and glass those in. Honestly for that size boat anything that isn't going to rot further, adds rigidity to the hull holds the deck up sounds good to me.

Ya it seems like there are ALOT of different types of stringers out there! Thanks for the input!
 

Davis04

Seaman Apprentice
Joined
Feb 20, 2017
Messages
36
First off, the TopSide paint is not needed. You're paying a premium price when the Rustoleum Pro will do just as well. If you can send it back I would! Rustoleum is NOT that good of paint unless you add the Acrylic Enamel Hardener. If you don't plan on using it, you WILL be dissappointed. Check the last link in my signature line below for painting info.


Hollow stringers need NO wood. The wood tops were added to aid with attaching the deck etc... IF they are still attached well to the hull and no delamination has occured I'd prolly just throw an layer of 1708 over em and call it good. You'll need to scuff sand em and clean well with acetone prior to laying the new glass.

I can't send the paint back and I've read alot of good reviews on the paint because it's so easy to use... since I can't send it back I guess I'll just keep moving forward with it...

As far as the atringers.. there's small spots or sections of cracking/broken and delaminiation. I was thinking to cut the sections off/out and fiberglass over to repair it like a patch....and the few sections of delaminiation are where the stringer meets the boat. I don't know if to consider it delaminiation or if it was a wave in the fiberglass that was never fixed because that's more so what it looks like. I will take a few pica and share to get a better opinion.
 

Baylinerchuck

Commander
Joined
Jul 29, 2016
Messages
2,726
Just make sure that the crack and delamination isn't due to swelling wood, a result of failed stringers.
 

Woodonglass

Supreme Mariner
Joined
Dec 29, 2009
Messages
25,927
I'd highly recommend you use the hardener and follow the instructions on how to mix and apply.;)
 

Davis04

Seaman Apprentice
Joined
Feb 20, 2017
Messages
36
Just make sure that the crack and delamination isn't due to swelling wood, a result of failed stringers.

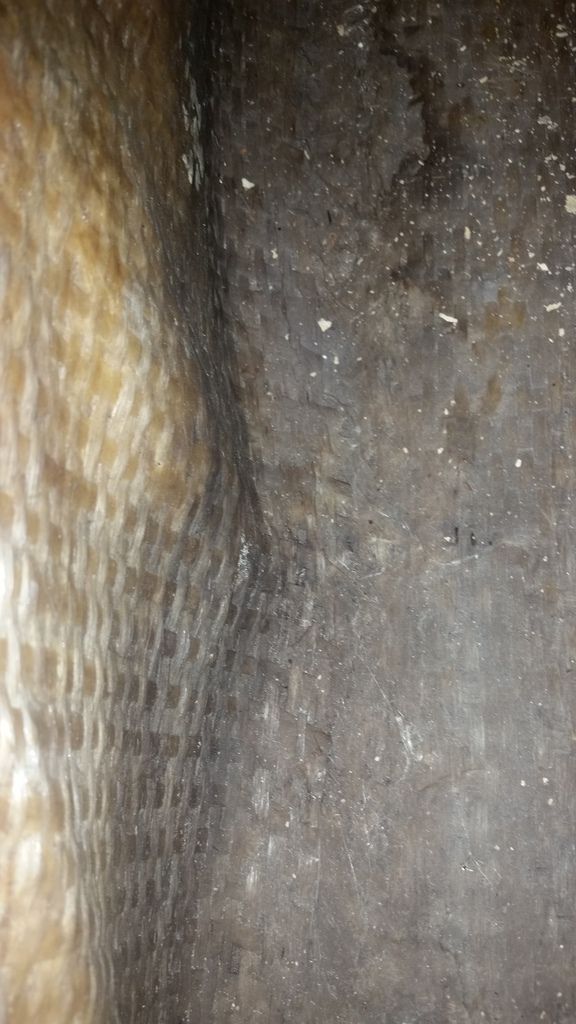
Here are some pictures... I hope you could tell me what you think? Woodonglass please provide your input as well? And anyone else!

This is the stringer to the left (Port Side) of the main that runs down the keel (the bubble is closest to the keel)
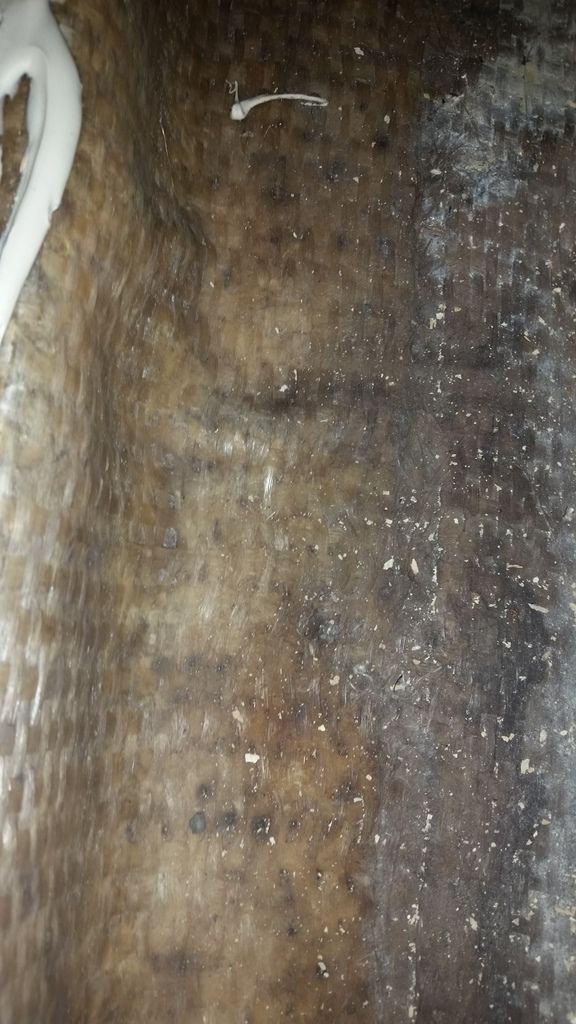
Same Stringer

Starboard Side of the main keel Stringer.
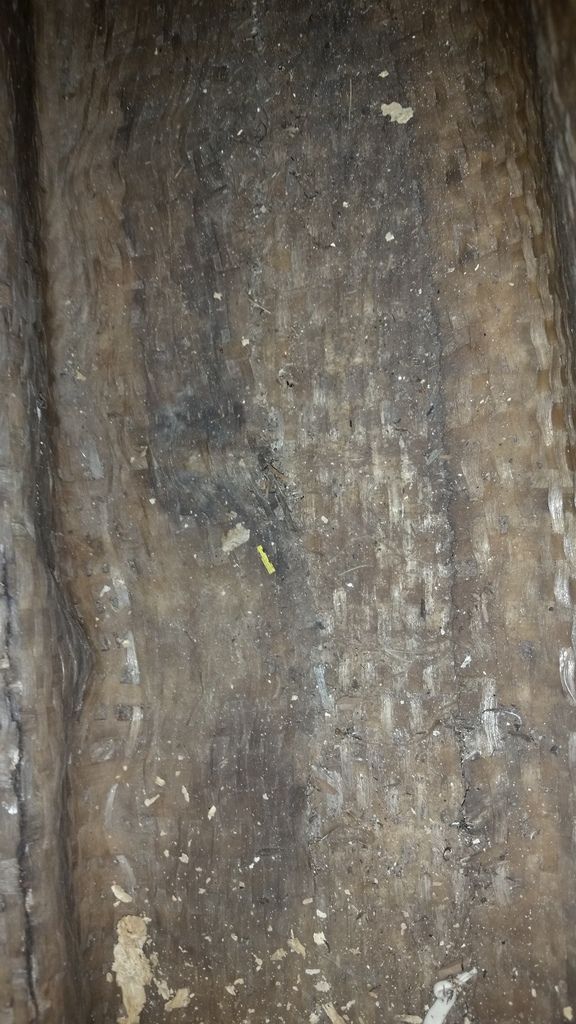
Birds eye of the previous picture location
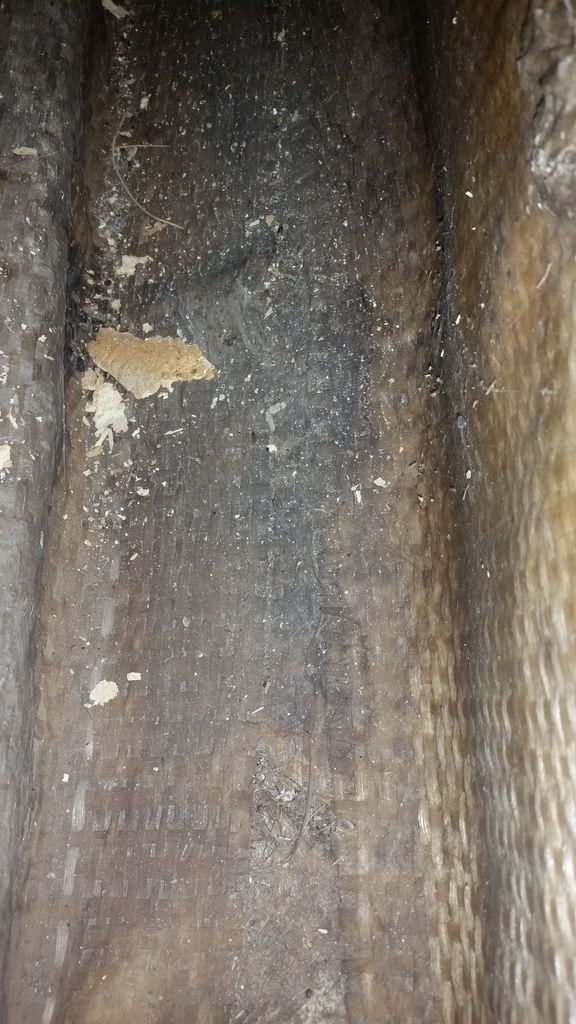
Same just a little different perspective
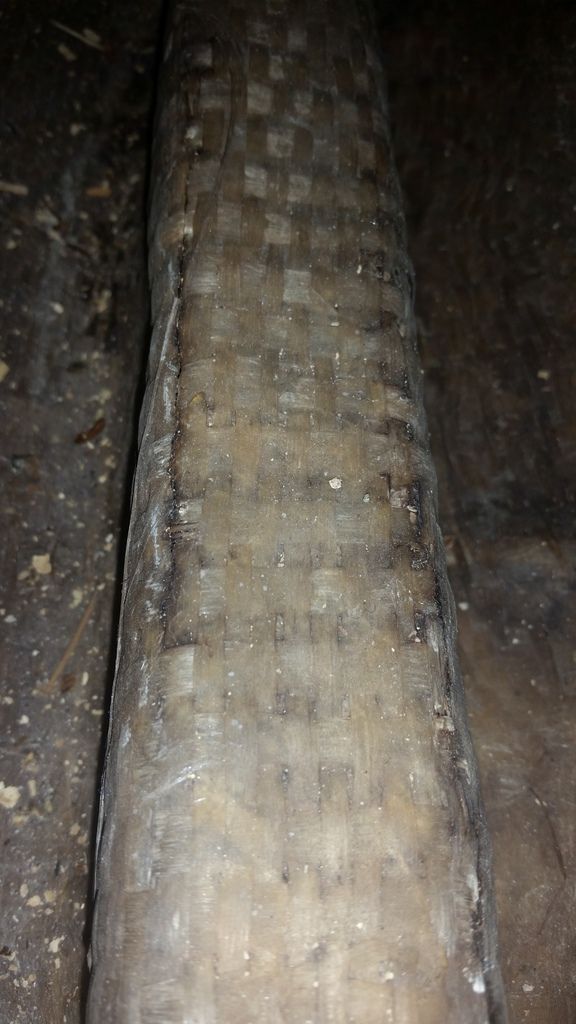
Main Keel Stinger....... Notice Crack Along Left Top Corner and Top Right corner slight behind.
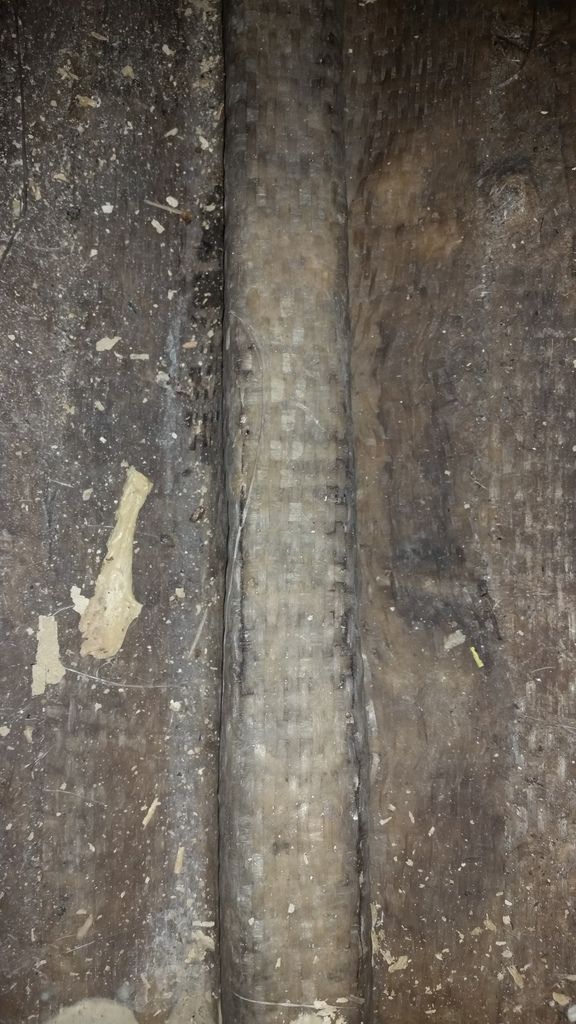
Birds eye view of that section. Its location would be directly between the captains chair and the chair on the port side. Is almost dead center there.
 

Davis04

Seaman Apprentice
Joined
Feb 20, 2017
Messages
36
Same Stringer with the sections that show linear cracks in the top left and right corners.

Had to include this gem. This is what happened to my drill bit when drilling out the rivets. One in particular in the bow destroyed my bit!
 

sphelps

Supreme Mariner
Joined
Nov 16, 2011
Messages
11,462
With the hollow stringers I would do as WOG stated earlier .... A good grinder cleanup acetone bath with a layer of 1708 mat side down ... Maybe 2 layers at the bad spots and call it good .
You may want to make sure you have good wood at the location of anything you want to fasten down to the deck like seats or something ...
 

Davis04

Seaman Apprentice
Joined
Feb 20, 2017
Messages
36
With the hollow stringers I would do as WOG stated earlier .... A good grinder cleanup acetone bath with a layer of 1708 mat side down ... Maybe 2 layers at the bad spots and call it good .
You may want to make sure you have good wood at the location of anything you want to fasten down to the deck like seats or something ...

Sounds like a plan! I think that is exactly what I am going to do.
 

Baylinerchuck

Commander
Joined
Jul 29, 2016
Messages
2,726
Yep I agree. Forgot you stated they were hollow. They actually look really good!! That drill bit is something else. Must have been a cheap drill bit. Doesn't look like it was hardened at all!!
 

Davis04

Seaman Apprentice
Joined
Feb 20, 2017
Messages
36
Yep I agree. Forgot you stated they were hollow. They actually look really good!! That drill bit is something else. Must have been a cheap drill bit. Doesn't look like it was hardened at all!!

Ya I probably shouldnt have used it...but still cool as a momento of the build lol
 

sphelps

Supreme Mariner
Joined
Nov 16, 2011
Messages
11,462
I've never seen one twist like that . They usually just snap ...
 
Top