'94 Crownline 182 Restore transom/stringers/deck

tpenfield

Moderator
Staff member
Joined
Jul 18, 2011
Messages
18,083
Wow, you are really setting up shop. That looks like a lot of fiberglass cloth. Looking forward to the glassing pictures.

Just remember . . . wetter is better.
 

Rickmerrill

Senior Chief Petty Officer
Joined
Mar 13, 2014
Messages
686
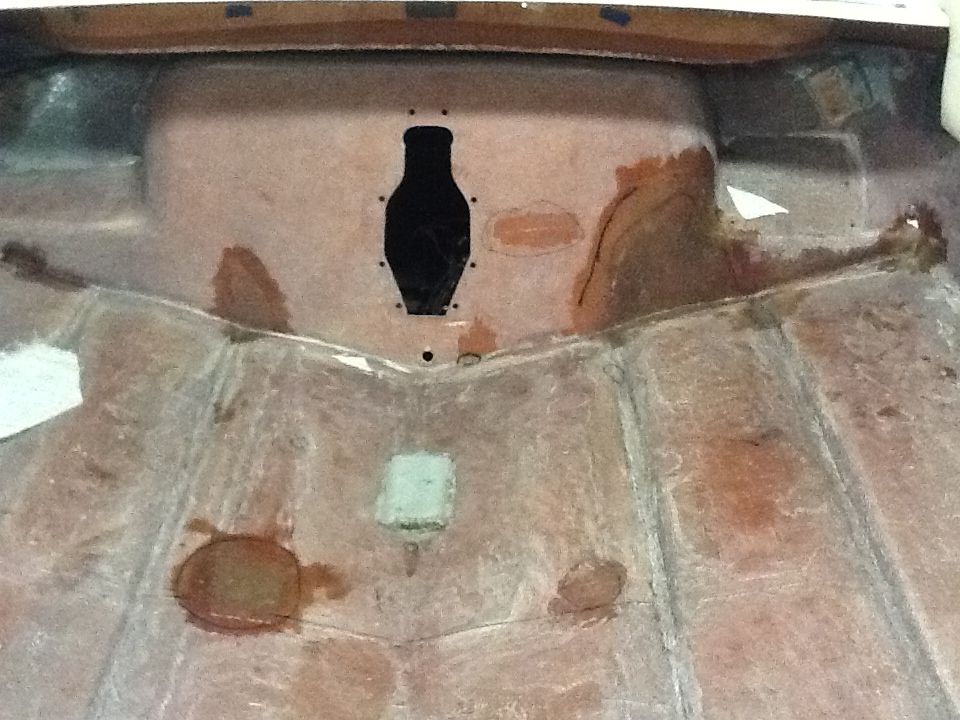
Thanks guys. Took some baby steps today and mixed several small (2-4oz) batches. The working/gel/setup times worked like they're suppose to. Humid/rainy today but I was working in temps between 70 and 80. Managed to mix a small batch of PB and fill all the gouges and experimented with laying the CSM and 1708 to fix the grind thru on the transom and cut thru at the front of the engine support. Two layers of CSM and two of 1708 on the inside really stiffened the hull and I think will give some thickness when I do the repairs on the outside later. I had a little bit of trouble wetting out the 1708. I was only using a brush, no roller yet, but I did wet out the area and the CSM side of the 1708 before it went on. I dabbed the dry areas for a long time but they didn't get perfectly clear. After it tacked up they mostly went away. I don't think they are air bubbles, just a few areas where the resin was slow to soak in. I'll be experimenting with soaking the 1708 to see how that works. Here is how it looks now.

 
Last edited:

Rickmerrill

Senior Chief Petty Officer
Joined
Mar 13, 2014
Messages
686
Help!

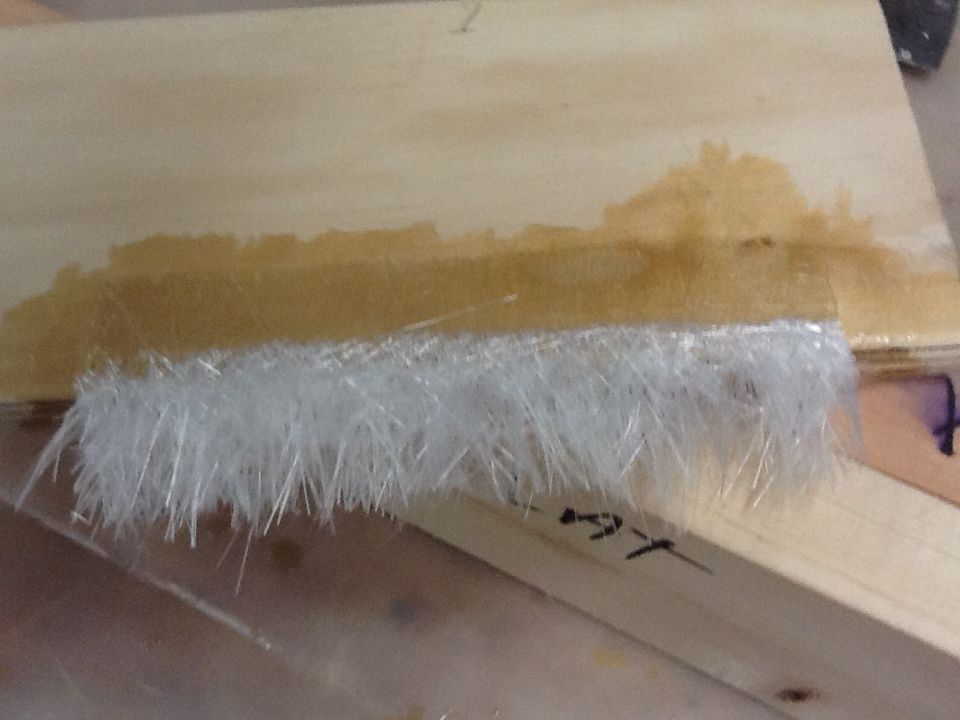
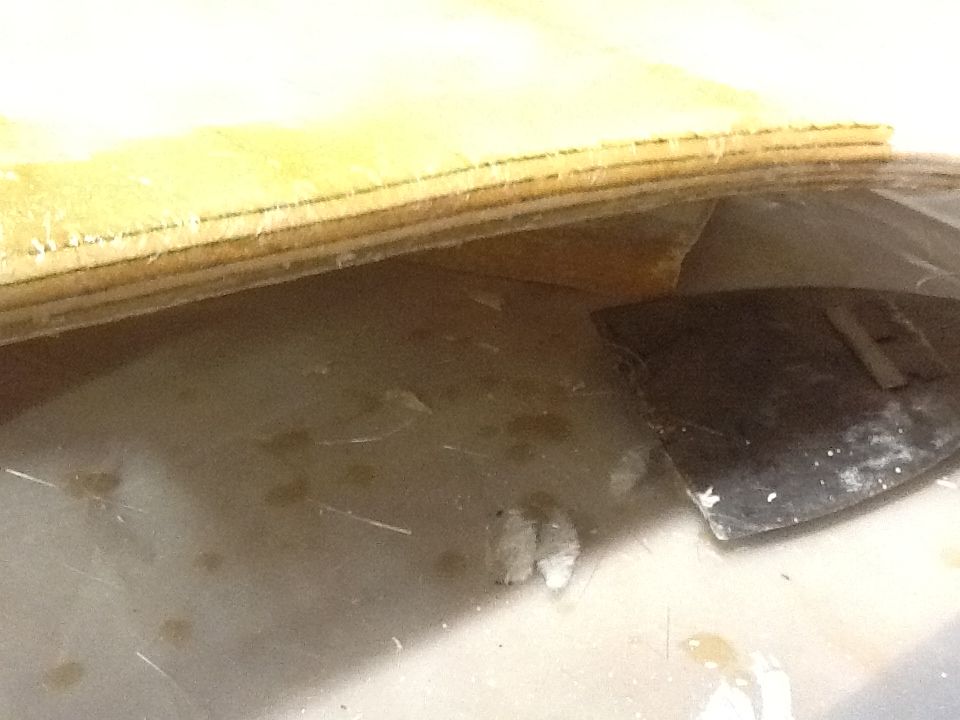
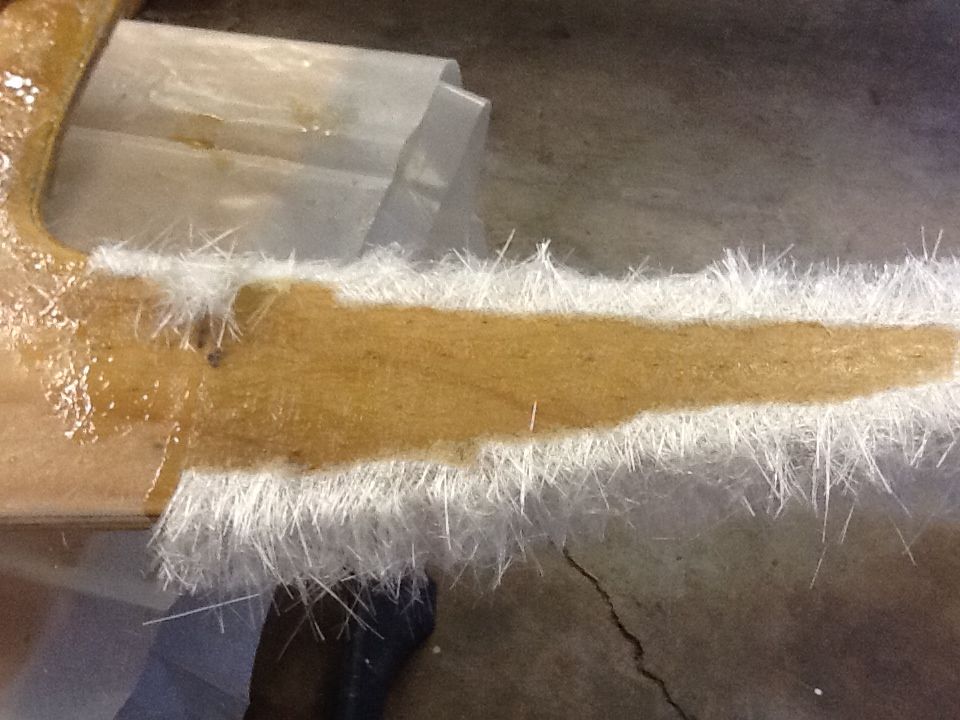
I put a layer of CSM on the backside of the transom. First time doing a big layup and using a roller. The flat part went great, where I ran into problems was the edges. I didn't stop and tear the edges and no amount of dabbing with a brush would stop it from popping back up. So I took a scrap piece and started experimenting because sanding new glass on the transom is not fun. One thing that seemed to help a lot was putting a bigger radius on the edge. It also helped to tear the CSM where it goes over the edge like WOG suggests. I tried, just to prove to myself it can't be done, laying it over a sharp edge without tearing and it really didn't work. So, I have a lot of edges to do ahead of me how do you do this correctly and efficiently? Here is a sample of how the CSM edge looks after tearing. Should I tear a little more?


Here is a piece I did on the transom that worked where I glued a strip with about 2" over the edge and waited for it to tack up before tearing. On thing I found out was not to wet out too close to the edge because you'll get a tacky piece that sticks out over the edge that won't lay down. I had to put a heck of a radius on the edge, do a lot of tearing and dab on a fair amount of resin. I've been using my belt sander and DA sander to radius the edges. Would a router be better/faster? I'm not much good with a router but I do have one.


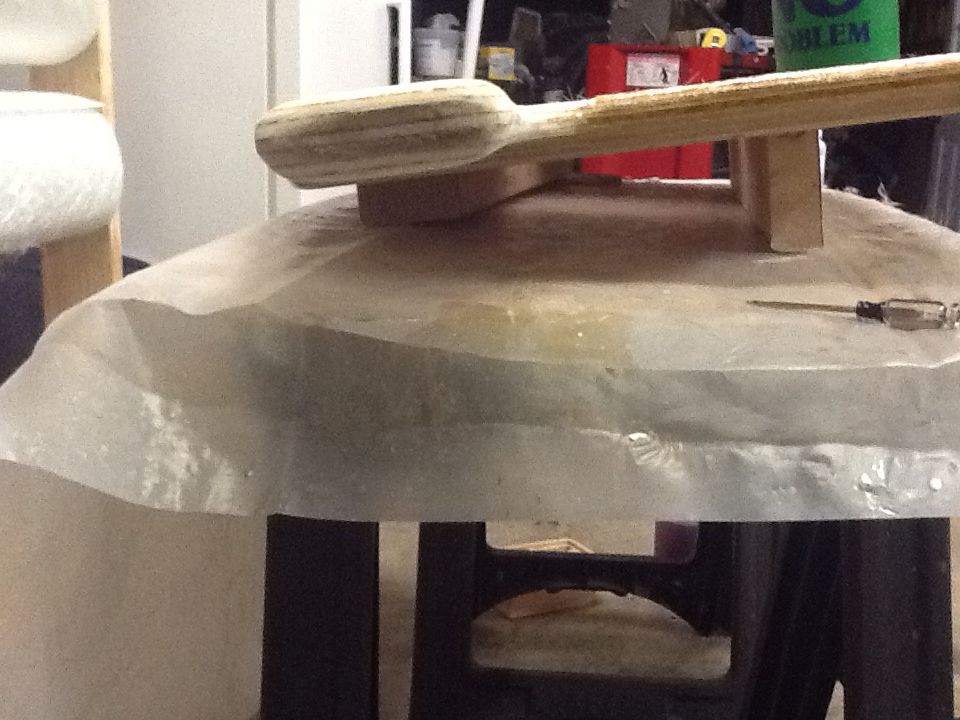
Here is a profile to show the radius I've made. It looks cleaner on the straight edges but on the end of the wing not so much. I have no idea what is the best way to approach laying up this or the inside curve you see where the transom goes up or the outside curves at the top of the transom. At this point I'm thinking I'll stick to smaller pieces and let them overlay about 2".

 
Last edited:

Rickmerrill

Senior Chief Petty Officer
Joined
Mar 13, 2014
Messages
686
Another question. I know in WOG's revised stringers/deck/transom he says to cover both sides of the transom with CSM for waterproofing. But I would swear I saw a post where he said you only need to cover the back side because you are going to be putting 1708 on the front. I can't find the post again - has anyone seen it, is it ok to leave the front side until after the transom is glued in?
 

Rickmerrill

Senior Chief Petty Officer
Joined
Mar 13, 2014
Messages
686
I just found the discussion mentioned above, see link below starting with post 56.

atjohnson asked "Do I need to lay CSM on both sides of the transom?"
jbcurt00 answered "Yep, BEFORE you install it" (that's what I thought too)
woodonglass replied "No, only the back side."

That was a surprise to me. So basically when you put your 1708 on the front of the transom, after you install it, it will be waterproof. The CSM on the back of the biaxial is sufficient to hold the 1708 onto bare wood or fiberglass.
 

tpenfield

Moderator
Staff member
Joined
Jul 18, 2011
Messages
18,083
Do you mean the transom wood core? If I am understanding the question correctly . . . I would glass the wood on both sides, or at least adhere the wood to the hull, otherwise it is not fully laminated and could lead to structural issues.
 

Rickmerrill

Senior Chief Petty Officer
Joined
Mar 13, 2014
Messages
686
Yes Ted, the transom wood core. I left out the part about tabbing it in with 1708 to the hull and then using two layers of 1708 across the inner face of the transom, which adds strength and the waterproofing is provided for free. WOG's last revision to the transom section of his "deck, stringers, transom, which I should have mentioned I was referring to, was last updated on 7-18-2012. The only change to it is that the front side of the transom no longer needs to be covered with CSM. He used to recommend a layer of CSM between all wood and the first layer of 1708 before he discovered that the CSM on the 1708 is sufficient by itself. So, since the 1708 will bond to wood by itself and you're going to be putting it on the front side of the transom anyway the extra layer of CSM is no longer needed.
 

Rickmerrill

Senior Chief Petty Officer
Joined
Mar 13, 2014
Messages
686
Left the scrap wood for the real thing. Progressing slowly getting the CSM over-the-edge on the back side of the transom, always some little flaw on every layup. Common problem area is right where I stop the resin on the flat side - a little bit out from the edge in a few places mounds up but there have been a few places where the CSM just won't lay down over the edge. I don't see or do anything different, it's like the fibers just won't bend sometimes. Here is a shot of the torn edges just before laying resin on it.


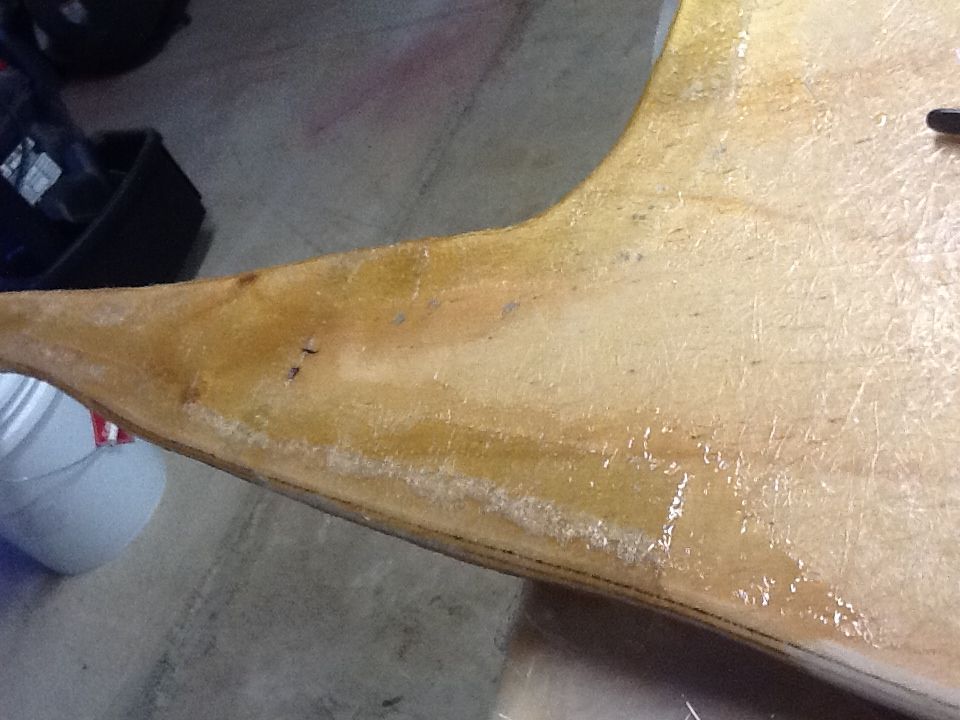
Here is an edge I just did, it looks like a line of bubbles but I don't think it is but maybe.


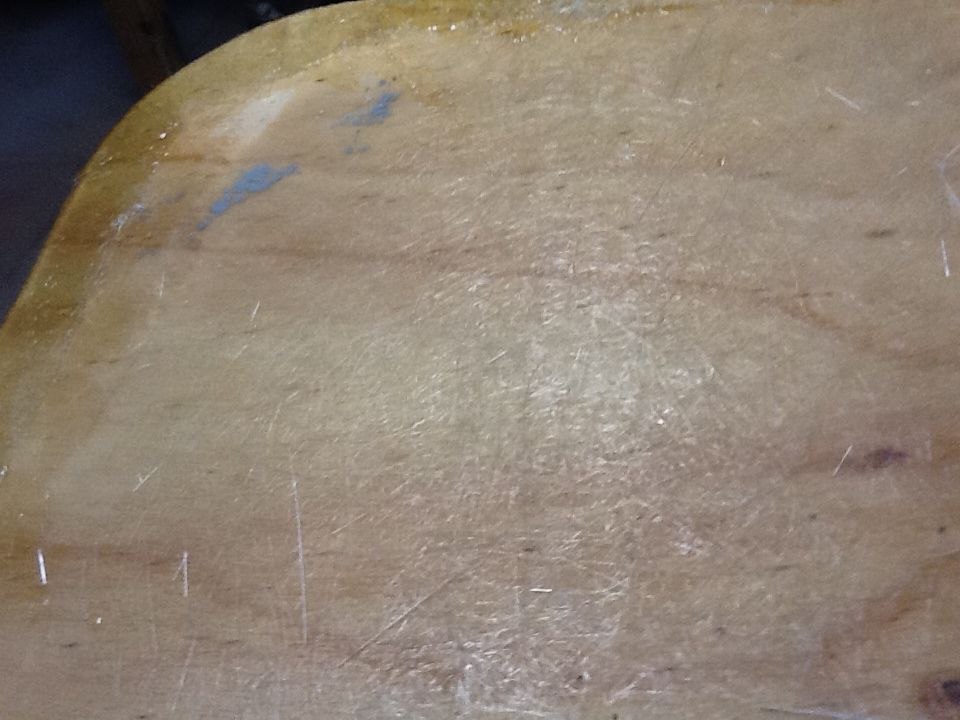
And here is a finished area. I am adding about a three inch piece to the edge, applying resin to near the edge, waiting for it to tack and then tearing the CSM to go over the edge and applying resin. Definitely resin rich but it's mostly working. The grey spots are where I mixed some surfacing wax to dry things before sanding and test creating a grey gelcoat. You can see the original layup on the flat area went pretty well. There is a small light area above and to the left of the grey spots that is bare wood from my sanding that needs to be re-covered.

 
Last edited:

Rickmerrill

Senior Chief Petty Officer
Joined
Mar 13, 2014
Messages
686
Just finished the transom waterproofing on the back side. I noticed there are two or three layers to the CSM, I'd guess bound together with a binder. I peeled off a layer and worked with that; tearing around the edges and pulling out any thick spots in the middle. That layed down perfectly over the edge. I think there is enough fiberglass in the resin to strengthen it enough. I guess I could even add another layer to get even more glass in there. This was a lot quicker than pulling the ends of a full thickness. I will show a picture of this when I do the engine support waterproofing tomorrow.
 
Last edited:

atjohnson

Petty Officer 2nd Class
Joined
Feb 3, 2014
Messages
106
It looks like you are getting the hang of the glass work. I know what you are referring to with getting the hairs to wrap over corners. I never did have alot of success with this and in many cases, just had to improvise and by improvise I mean not always using the "proper" technique. Definitely glad to see you are moving along though.
 

Rickmerrill

Senior Chief Petty Officer
Joined
Mar 13, 2014
Messages
686
Yeah, I see that Goldie had similar problems and wanted to get it perfect. Woodonglass told him not to fret over it and that PB and 1708 will be going over it anyway. My "perfect" technique wasn't so perfect after it dried, better but not there yet! I'm going to be improvising more. I was looking at cutting the relief holes for the steering tonight, I was beat and could't think of a safe way to get rid of some of the wood before I start with the drum sander - good tip BTW. I'm thinking that the two course sleeves probably won't last long enough if that's all I use. Decided I better sleep on it.
 

Woodonglass

Supreme Mariner
Joined
Dec 29, 2009
Messages
25,928
OK little help here. With CSM going over edges of large panels. Lay it out and cut it 2" over sized. The While it's still Dry hold it in place with one hand and use the other hand to tear the edge. Work your way all around the panel tearing the edges to make em hairy. DON'T wait till it tacks to tear the edges. Do it First.
Then pick up the CSM and Roll out some fresh resin onto the panel and lay the CSM back down onto the fresh resin. Pour a little more resin into the center portion of the panel and use your roller to begin rolling out from the center towards the edges as the resin gets to edges and flow over the edge use a Chip Brush to DAB the Hairy edge down and over the edge and then use the roller to finish rolling it over the edge. DON'T over roll it. Once it's down, move on. You might need to come back and check to see if it's moved or lifted and if it has DAB it back down and possibly add a bit more resin. A bubble roller is good for this. Try it this way and see if it doesn't work a bit better.;)
 

Rickmerrill

Senior Chief Petty Officer
Joined
Mar 13, 2014
Messages
686
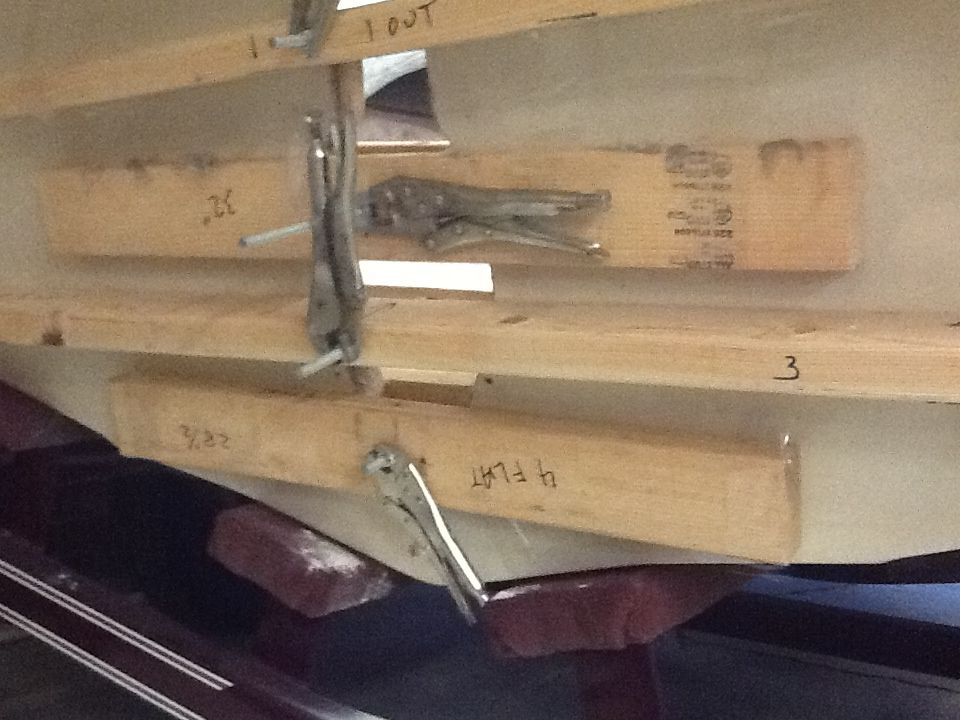
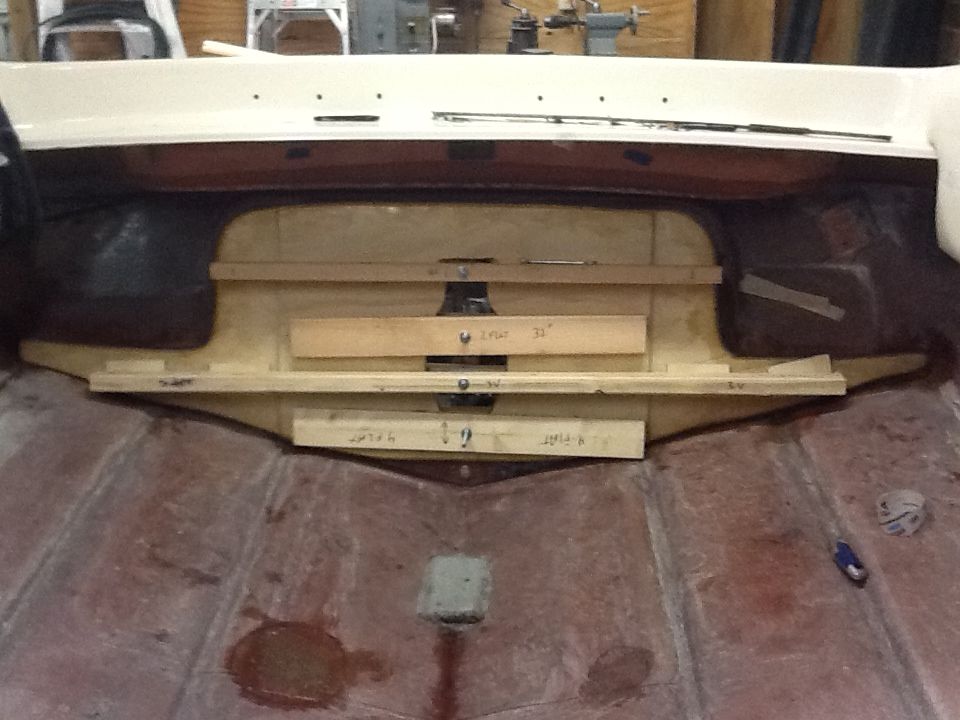
Just got the new transom in! I ended up doing it single handed, just taped the outside clamps to the hull with the all-thread stuck thru them. I used 3 quarts of resin (with an extra quart all mixed except hardener) 3 quarts of cabosil and 3/4 cups of the 1/4" chopped strand. My USC resin says you can reduce or increase the hardener by 50% so I reduced by about 30% just to have a little more working time if things went South. The only real issue I ran into was as I got in the boat to start I noticed I had left the clamping boards on! Time to celebrate with a beer and a shower...

Stern, just happened to have four pairs of vice grips
.


Inside view.

 
Last edited:

Rickmerrill

Senior Chief Petty Officer
Joined
Mar 13, 2014
Messages
686
Thanks Jim, it certainly does! The thought of that much resin tacking up before you want it to sure gets the adrenalin going.
 
Last edited:

Woodonglass

Supreme Mariner
Joined
Dec 29, 2009
Messages
25,928
I'd say a job well done. I like to drill a few 1" holes in the transom to allow the PB to ooze all the way thru which does 2 things. It ensures there are no air pockets trapped between the wood and the outer skin and it creates a mechanical bond since the 1" holes with PB in em act kinda like Large Fiberglass rivets. It's just something I like to do but it's not a necessary thing. Your installation looks good. How thick of a layer of PB did you put down?
 

Rickmerrill

Senior Chief Petty Officer
Joined
Mar 13, 2014
Messages
686
Thanks. I was aware of your idea to drill the holes, planned to do it and just never followed thru. On the PB thickness I wish I'd mixed four quarts instead of three. I'd say the average was 3/16 but there were some areas where it was probably only 1/8 and I knew I had some areas on the hull that tapered away where I added more so those were at least 1/4. I did get some squeeze out but not as much as wanted or expected. Going in I was shooting for an average of 1/4 thickness but I know I didn't get it.
 

Rickmerrill

Senior Chief Petty Officer
Joined
Mar 13, 2014
Messages
686
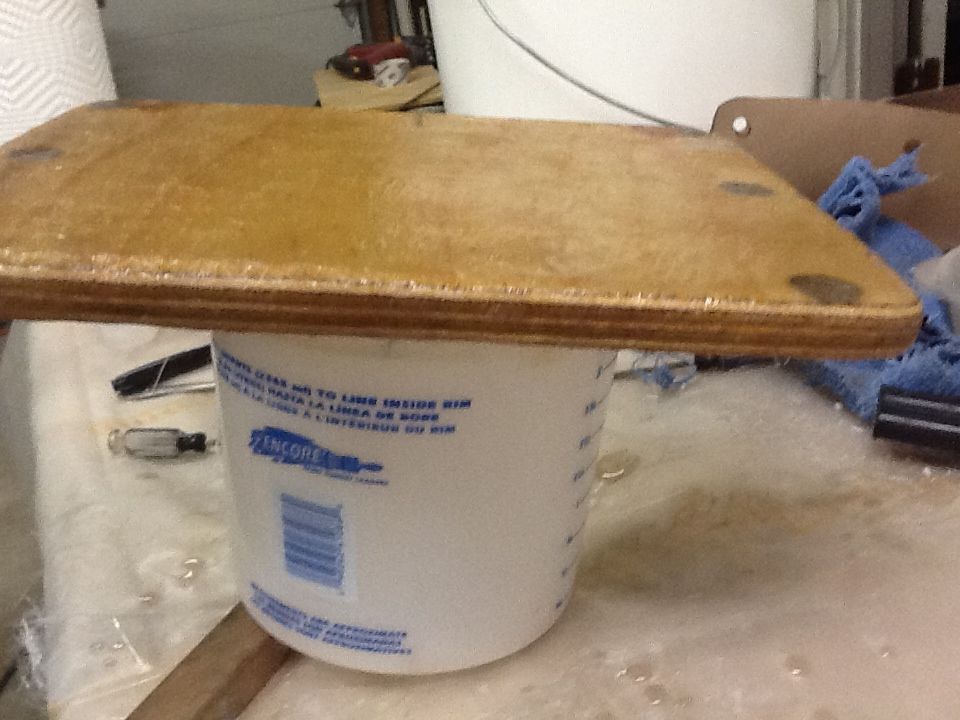
Tee hee, I had a 1'x1' piece of ply for the boarding ladder to waterproof before glueing it in. I followed Woodonglass's advice (post 93) and what a difference it made. Since this was a small piece I just used a brush to apply the resin, I did a little dabbing with the brush on the edges but using the bubble roller to push the resin over the edge really did the trick. Thank you Woodonglass. I'll check again once it tacks up but here is how it looked just as I finished. BTW, most of the bolts for the ladder are underwater and there was almost total rot here, I think the 4200 gave up over the last 20 years. I drilled oversized holes and filled them with PB, I'll drill them out for the bolts and then there will be glass all the way thru.
 
Top