'94 Crownline 182 Restore transom/stringers/deck

Woodonglass

Supreme Mariner
Joined
Dec 29, 2009
Messages
25,928
Re: '94 Crownline 182 Restore transom/stringers/deck

Stringers, mounts, bulkheads anything that's wet and rotten.
 

Rickmerrill

Senior Chief Petty Officer
Joined
Mar 13, 2014
Messages
686
Re: '94 Crownline 182 Restore transom/stringers/deck

Stringers, mounts, bulkheads anything that's wet and rotten.

Ok Wood, I definitely trust ya! The mounts will be out in a day or two. I' m looking for posts about putting them back in. Not sure if I need to use woven roving like was used before or can use 1708. Like to keep my cloth order as simple as possible. I'm thinking I can use a couple of pieces of 2 by with 3/4" ply in between and titebond. Just not sure how to fiberglass em in yet but I'll do the research if you just kick the tires in the right direction every once in a while.
 

bvetter

Petty Officer 1st Class
Joined
Jun 2, 2013
Messages
263
Re: '94 Crownline 182 Restore transom/stringers/deck

I think most people on the forum use 1708 for the engine mounts. I've never worked with woven roving, but from what I understand it's a little more of a pain in the butt to work with around corners, and you have to use layers of CSM in between each WR layer for proper bonding. Also, I think I've heard the strength to weight ratio of 1708 is better than WR all said and done. In WOG's guide, he mentions using 4 layers of 1708 on the engine mounts, rather than the standard 2 layers for stringers and bulkheads. If you follow his suggestions you should be just fine.

In this link, starting at post #213, I begin fabricating my engine mounts and doing the install. They are a slightly different configuration than yours, but may still give you some ideas on how to proceed.

http://forums.iboats.com/boat-restoration-building-hull-repair/1999-celebrity-190-engine-mount-stringer-repair-636552-9.html

I also did a sister joint on my stingers up near the bow. Take a look at post #111.

http://forums.iboats.com/boat-restoration-building-hull-repair/1999-celebrity-190-engine-mount-stringer-repair-636552-5.html

One thing I may suggest, if you haven't already, take many many many many many many measurements of your engine mount dimensions and heights, and from various reference points. I didn't see in your thread which engine/outdrive combo you have, but if it's an Alpha One paired with a 5.0L, it will be identical to mine. The forward engine isolators (between the engine block and your fiberglass mounts) that lag into your glassed in mounts have about 1/2" of adjustment up and down, so you'll want to get the final height of your engine mounts as close to possible to spec.

Here's a couple of installation manuals with dimension specs, right from Mercury's website. They only go back to 1996 for some of the drawings, but they should be close.

http://www.mercurymarine.com/media/mercury/drawings/alpha1.pdf

http://www.mercurymarine.com/media/mercury/drawings/50l57l.pdf

And here's a link to the page to search for documents, it's kind of hard to find from the their homepage.

Installation Drawings | Mercury Marine

Looks like you're well on your way, good luck sir!
 

Mikeopsycho

Senior Chief Petty Officer
Joined
Feb 6, 2014
Messages
738
Re: '94 Crownline 182 Restore transom/stringers/deck

I'd like to jump on board too. Looks like you're getting some good feedback that will help me with my project.

Good luck to you.
 

Rickmerrill

Senior Chief Petty Officer
Joined
Mar 13, 2014
Messages
686
Re: '94 Crownline 182 Restore transom/stringers/deck

I think most people on the forum use 1708 for the engine mounts. I've never worked with woven roving, but from what I understand it's a little more of a pain in the butt to work with around corners, and you have to use layers of CSM in between each WR layer for proper bonding. Also, I think I've heard the strength to weight ratio of 1708 is better than WR all said and done. In WOG's guide, he mentions using 4 layers of 1708 on the engine mounts, rather than the standard 2 layers for stringers and bulkheads. If you follow his suggestions you should be just fine.

In this link, starting at post #213, I begin fabricating my engine mounts and doing the install. They are a slightly different configuration than yours, but may still give you some ideas on how to proceed.

http://forums.iboats.com/boat-resto...90-engine-mount-stringer-repair-636552-9.html

I also did a sister joint on my stingers up near the bow. Take a look at post #111.

http://forums.iboats.com/boat-resto...90-engine-mount-stringer-repair-636552-5.html

One thing I may suggest, if you haven't already, take many many many many many many measurements of your engine mount dimensions and heights, and from various reference points. I didn't see in your thread which engine/outdrive combo you have, but if it's an Alpha One paired with a 5.0L, it will be identical to mine. The forward engine isolators (between the engine block and your fiberglass mounts) that lag into your glassed in mounts have about 1/2" of adjustment up and down, so you'll want to get the final height of your engine mounts as close to possible to spec.

Here's a couple of installation manuals with dimension specs, right from Mercury's website. They only go back to 1996 for some of the drawings, but they should be close.

http://www.mercurymarine.com/media/mercury/drawings/alpha1.pdf

http://www.mercurymarine.com/media/mercury/drawings/50l57l.pdf

And here's a link to the page to search for documents, it's kind of hard to find from the their homepage.

Installation Drawings | Mercury Marine

Looks like you're well on your way, good luck sir!

bvetter,

Thanks for all of the good info and the good luck wishes. You've given me a lot of reading material. I just started reading your engine mounts posts and already it answered my question about how to do the jut-outs! Yes, I have the 5L with alpha I Gen II and our hull and engine box area is very similar. Just wondering, did you end up setting the height to the Mercury numbers or did you keep it the way it was originally?
 

Rickmerrill

Senior Chief Petty Officer
Joined
Mar 13, 2014
Messages
686
Re: '94 Crownline 182 Restore transom/stringers/deck

I'd like to jump on board too. Looks like you're getting some good feedback that will help me with my project.

Good luck to you.
mikeopsycho,

Welcome aboard and thanks for the good luck! Hope I add more good than bad. Definitely wouldn't have tackled a project like this without the help of the iboats folks.
 

Rickmerrill

Senior Chief Petty Officer
Joined
Mar 13, 2014
Messages
686
Re: '94 Crownline 182 Restore transom/stringers/deck

Just a quick update. The engine mount replacement through me for a bit of a loop - man I was hoping Wood was going to tell me it was ok to just patch it up. I will be in research mode for a few and reading the links bvetter supplied.

i did manage to toss all the old wood out of the boat and do some cleanup inside but just couldn't bear to get back into that Tyveck suit with the temps at 89 today (yeah, I'm a woose). That's what's motivating me right now - be finished grinding before Memphis summer heat and humidity hits. We'll see who wins soon enough.

I started organizing my photobucket pictures so now some of my links are broken. I'll see if I can fix that.
 

bvetter

Petty Officer 1st Class
Joined
Jun 2, 2013
Messages
263
Re: '94 Crownline 182 Restore transom/stringers/deck

When I took my measurements, I hadn't planned on replacing everything else in the boat. So when I ripped everything out to do the complete resto, I lost some of my reference points. Long story short, I've rebuilt everything to how it was to the best of my ability. I found it extremely difficult to get proper measurements to align with Mercruisers specs, too much variability in trying to hold a straight edge outwards from the transom to take measurements, while trying to keep it level and plumb.
 

Rickmerrill

Senior Chief Petty Officer
Joined
Mar 13, 2014
Messages
686
Re: '94 Crownline 182 Restore transom/stringers/deck

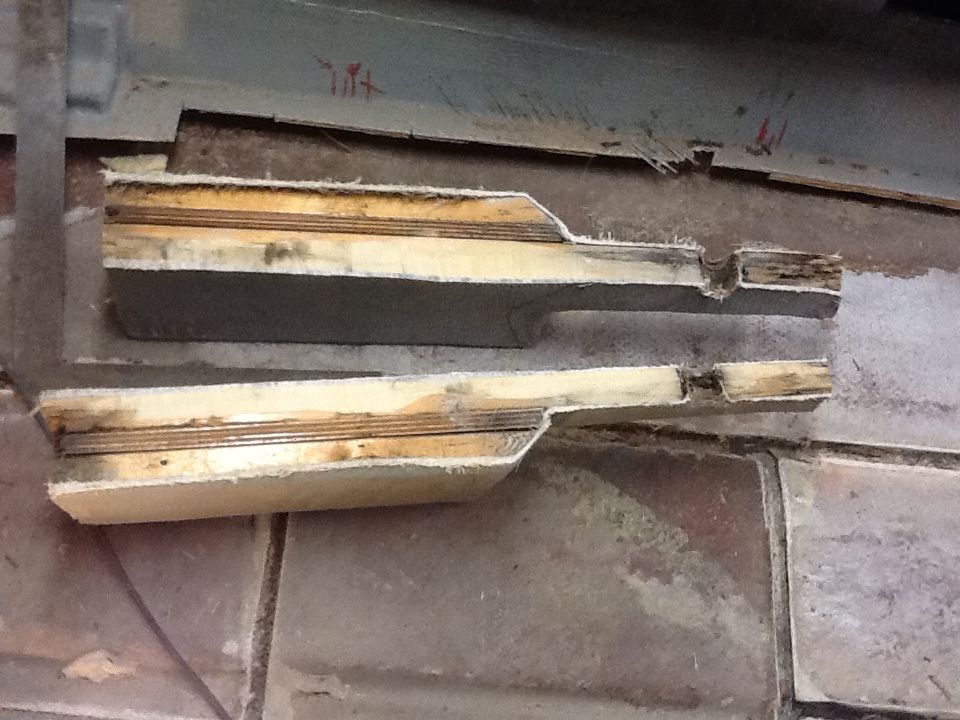
Finished cutting the engine supports out and the rest of the stringer that was left. Spent about 5 hours making sure I could get the new engine supports back where they belong! Basically, I used the back of the drain plug as a reference and measured to the center of the engine mounts. I also scribed a line on the block that is inline with the mounts and centered between the supports. As a third reference I measured from the front of where the transom was forward. Thanks to bvetter for the tips on doing this!

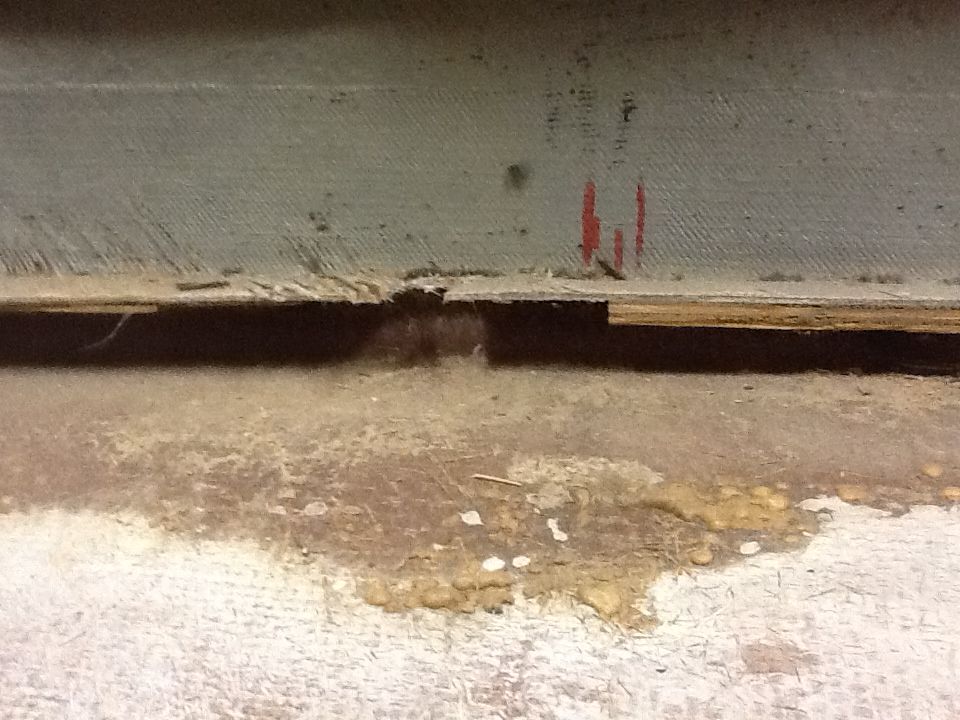
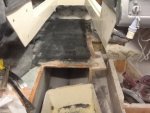
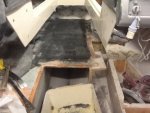
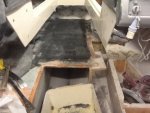
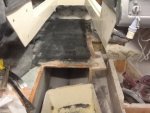
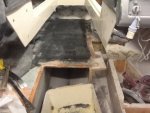
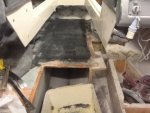
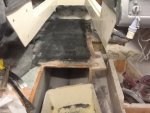
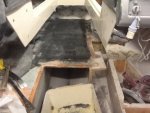
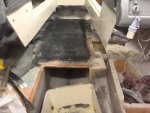
Here is the stern hull area now.

http://

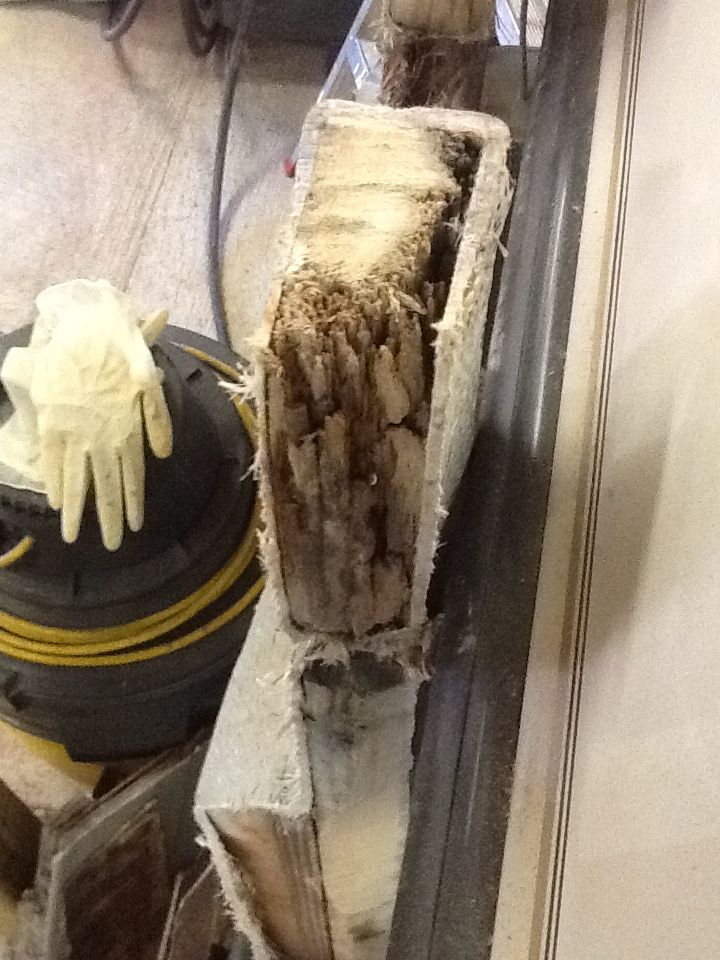
Here is the bottom of the engine supports after removal. Now I'm glad I listened to Wood! You can see some rot towards the narrow end that I had no idea was there. It may have come from the unprotected drain hole but I think it weeped up from the transom.

http://

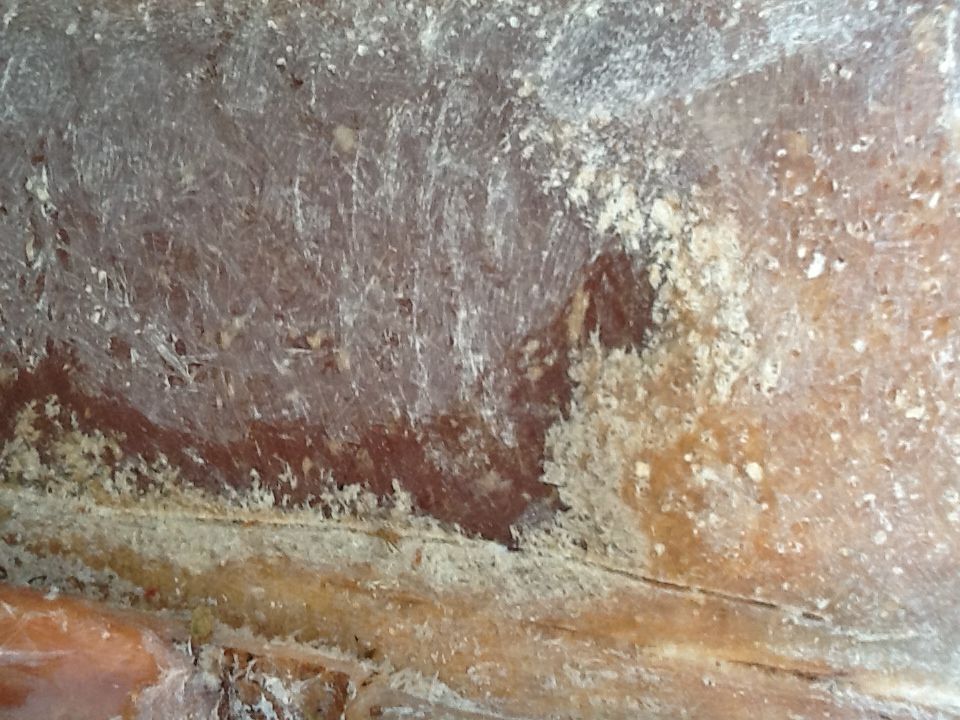
A close up of the transom end of the engine support rot.

http://

Next there is a little more foam to remove so I can get to the stringers up front than the grind-a-thon begins.
 

Rickmerrill

Senior Chief Petty Officer
Joined
Mar 13, 2014
Messages
686
Re: '94 Crownline 182 Restore transom/stringers/deck

Question. Below is a picture of the deck lip. Is there a way I can mark the deck height (or stringer height) so that the lip can be cut off now? Just thinking it would be nice to get the lip ground off while the rest of the grinding is happening. Maybe glue some wood strips underneath the deck (or use a sharpie?). That would give the stringer height and avoid having to cleanup the dust in between compartments if I wait until after the stringer are in. Just thinking.

http://
 
Last edited:

Rickmerrill

Senior Chief Petty Officer
Joined
Mar 13, 2014
Messages
686
Re: '94 Crownline 182 Restore transom/stringers/deck

Tried grinding for first time today. Yep, had my full face respirator, noise protection, full Tyvek suit with hood, baby powder, gloves with packaging tape wrapped around wrists (duct tape tears up the suit when you try to unwrap it). After 2 1/2 hours my impression is slow and no fun! But hardly any itch at least!

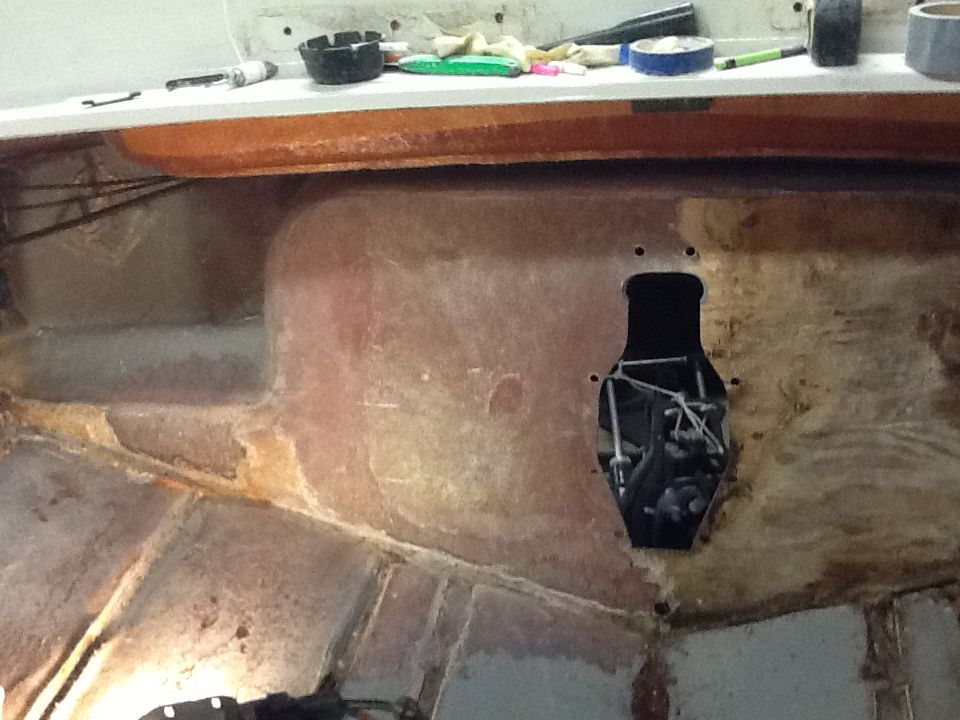
I ran into a problem. Looks like a lot of dry glass over much of the transom. I started taking it down to pink glass but I'm having to take 1/8 to 3/16 off so the surface isn't going to be flat. How should I handle this?

This is the stbd side of the transom near the outside corner.


http:
//


This is the lower stud side of transom, the drain is just to the right.


http:
//
 

JASinIL2006

Vice Admiral
Joined
Feb 10, 2012
Messages
5,680
Re: '94 Crownline 182 Restore transom/stringers/deck

Getting the transom perfectly flat isn't really that necessary; you'll be attaching your new transom with PB, yes? If so, you can use PB to equalize things out, putting on more where you need to.

When I ground my transom, I took not only the dry glass (light colored) but also the dark pink stuff down to almost where the original hull was. (I took it down to where the fiberglass fabric was visible, just like on the rest of the interior hull.)

I don't know if that was really necessary (it entailed a lot of grinding, which isn't much fun, as you're learning). Probably the most important thing you'll want to be mindful about is the thickness of the transom after you're done. If you leave a lot of the dark pink stuff intact (that was probably the thickened resin used to attach the original transom), you will need to make sure your new transom core, plus any thickness contributed by PB or glass laid on top, don't exceed the specs for your drivetrain.

I know lots of other people who have done restorations have left the dark pink stuff on, so there's certainly not a problem with it. You just need to keep that in mind when figuring out how thick to make your transom core.

Good luck with the grinding!
 
Last edited:

Rickmerrill

Senior Chief Petty Officer
Joined
Mar 13, 2014
Messages
686
Re: '94 Crownline 182 Restore transom/stringers/deck

Getting the transom perfectly flat isn't really that necessary; you'll be attaching your new transom with PB, yes? If so, you can use PB to equalize things out, putting on more where you need to.

When I ground my transom, I took not only the dry glass (light colored) but also the dark pink stuff down to almost where the original hull was. (I took it down to where the fiberglass fabric was visible, just like on the rest of the interior hull.)

I don't know if that was really necessary (it entailed a lot of grinding, which isn't much fun, as you're learning). Probably the most important thing you'll want to be mindful about is the thickness of the transom after you're done. If you leave a lot of the dark pink stuff intact (that was probably the thickened resin used to attach the original transom), you will need to make sure your new transom core, plus any thickness contributed by PB or glass laid on top, don't exceed the specs for your drivetrain.

I know lots of other people who have done restorations have left the dark pink stuff on, so there's certainly not a problem with it. You just need to keep that in mind when figuring out how thick to make your transom core.

Good luck with the grinding!
Thanks for answering JAS,

Yes planning to use PB. I guess I was worried that the areas on the "wings" might be thinner, maybe just on one side causing the housing not to bite all around. I also wondered if PB was going to fill the gaps ok.

I'm not positive what the dark pink means but I would be happy to just scuff it up and quit there. It's obvious when you get past the dry glass but the closer it gets to the key hole the layup gets better. It's hard for me to tell when I've hit the original hull so far. I'd imagine that as long as the center part of the transom is right the wings could be a little off.

I had an excuse to get a 7" grinder at HF and 36 grit plus they had 24 grit for the 4 1/2" - all they had before was 36 - so that might speed things up a little.

Understand what you said about the transom thickness. It's a mercruiser so I'm shooting for 2-2 1/8 - the old was only 1 7/8 and looked to be just over 1/16 out verticle on one side but I measured after the housing was removed and hope it pulls enough to bring it within spec.

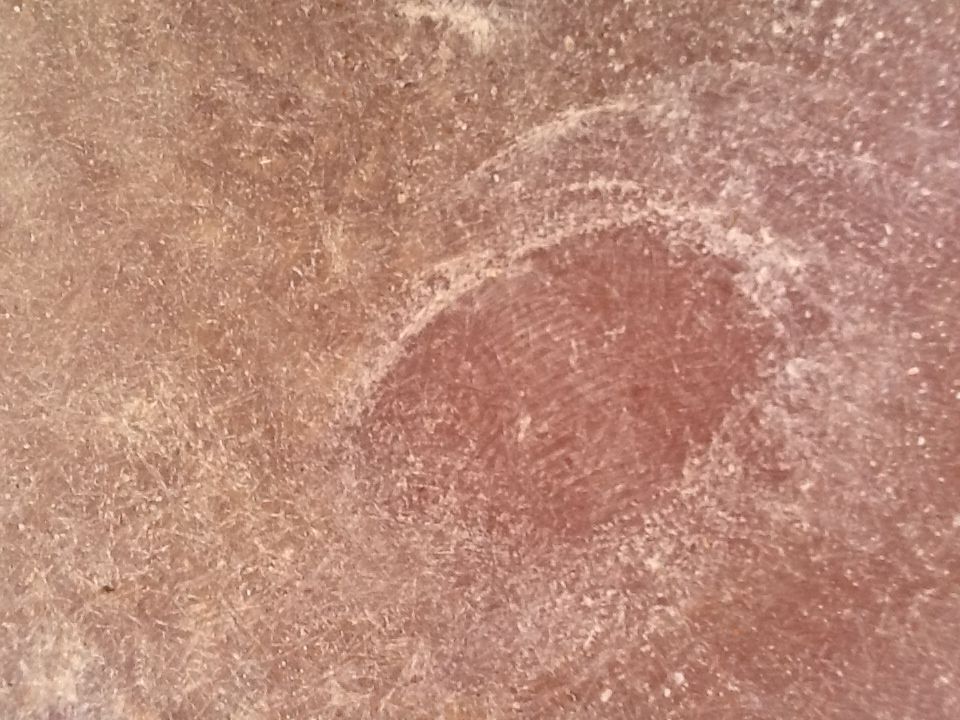
Added a few more pics that might give a better view. Here is a wider view of the rascal. Note the dry glass areas above and below the test spot I ground out; it's the small about 6" to the left of the keyhole.

http://

Here is the test spot I ground that is in better glass, I think I'm into good glass.
http://


Here is an idea of how much dry glass had to go at the worst spot so far. A good 3/16 at the bottom stbd side.

http://
 

JASinIL2006

Vice Admiral
Joined
Feb 10, 2012
Messages
5,680
Re: '94 Crownline 182 Restore transom/stringers/deck

How thick is your hull just left of the keyhole where you've ground down to good glass?
 

Rickmerrill

Senior Chief Petty Officer
Joined
Mar 13, 2014
Messages
686
Re: '94 Crownline 182 Restore transom/stringers/deck

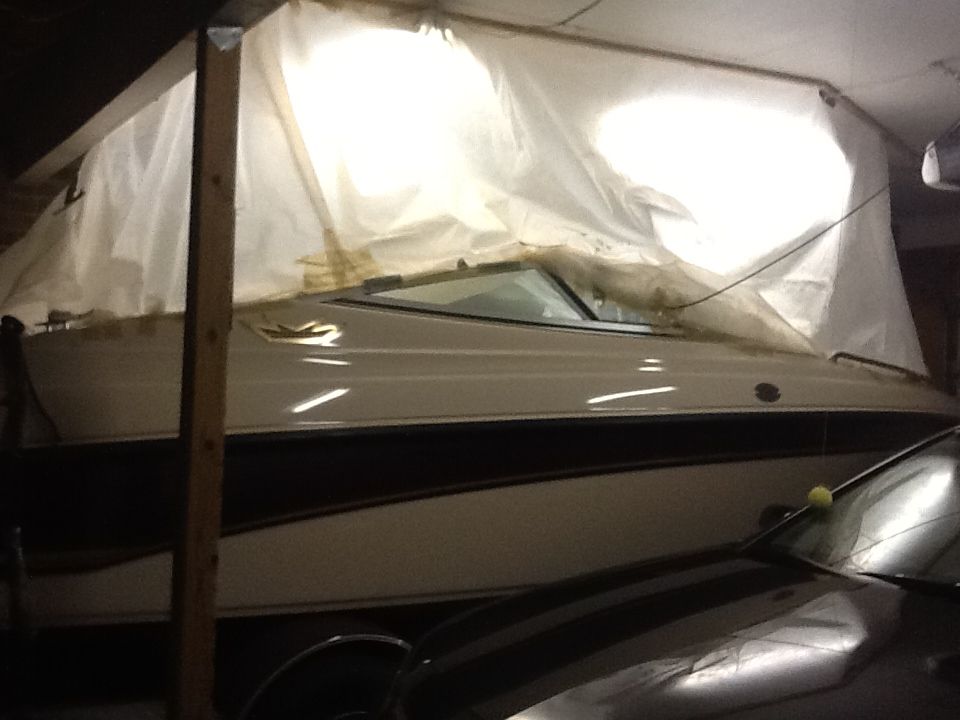
Decided to tent the boat and work in the garage - a little cooler in the morning, neighbor has house up for sale.

First attempt had lots of leaks, it's a lot of work getting this thing air tight and you get a lot more dust through the respirator filter this way - a sea of dust in there and it floats through anywhere that's not sealed.

Burned up my trusty 20 year old shop-vac on day one and I had just bought 15 drywall bags that don't seam to fit new vacs.
HF 7" grinder gave up the ghost on day two. Replaced. Like it, faster and not that hard to control.
Finding more dry glass, means more grinding, mostly in the stringer fillets.
About 20% there and should have a few cooler days for the next few.

Here's the tent.

http://
 

Rickmerrill

Senior Chief Petty Officer
Joined
Mar 13, 2014
Messages
686
A lot has happened, both good and bad since my last post. Posted about it but lost them in the upgrade so I'm a little gun shy for the moment. In the mean time I found a guy that runs a fiberglass repair shop in Wisconsin who has put out some very good videos about structural and cosmetic repairs, gelcoat application and color matching, stress crack repairs. I know he's good because he pretty much repeats everything you read on the forums! Here it is:
 

Rickmerrill

Senior Chief Petty Officer
Joined
Mar 13, 2014
Messages
686
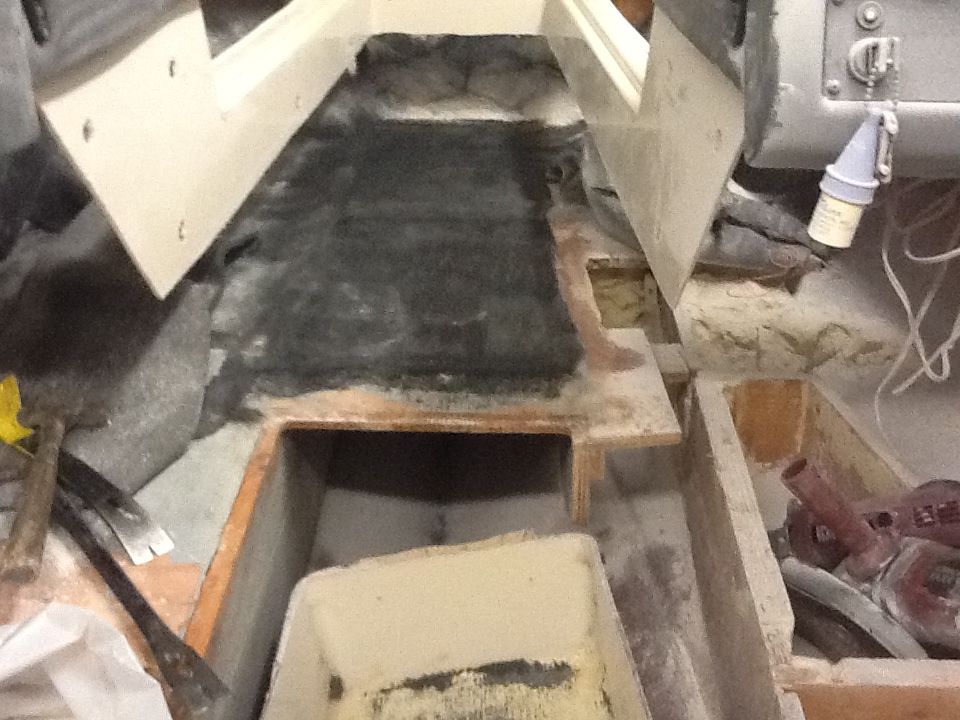
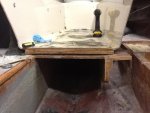
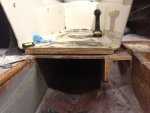
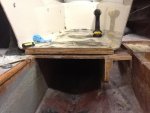
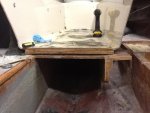
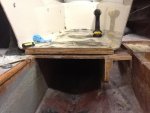
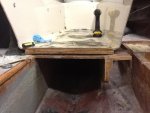
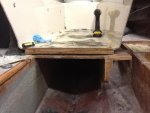
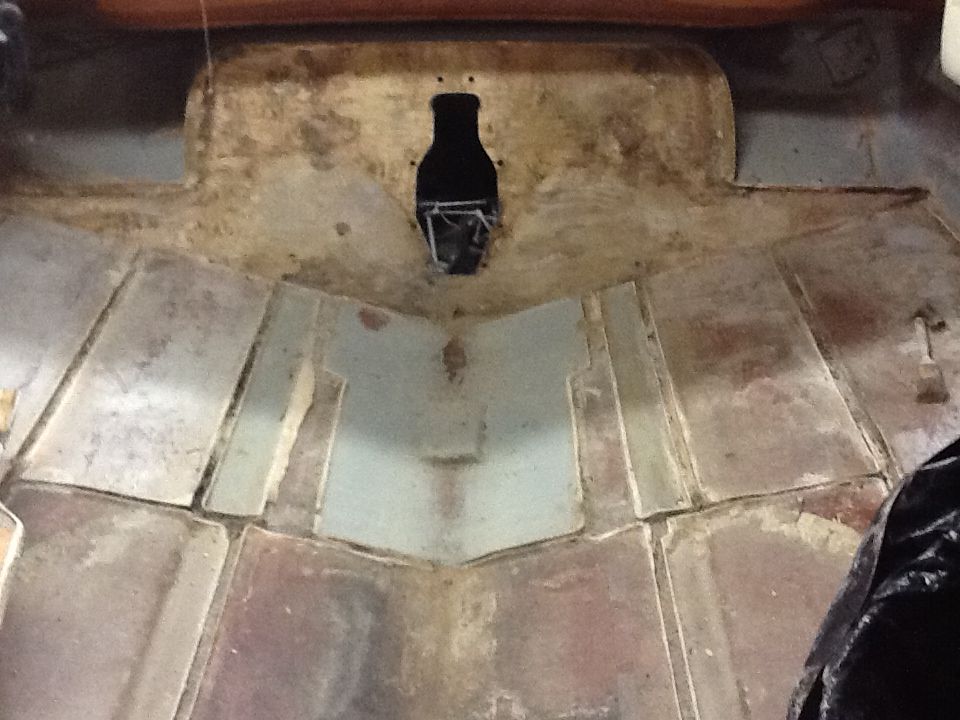
Found out the carpet was laid across the bow deck before the cap was installed. The forward walkway is part of the cap and they tucked the carpet for the walkway in there too, about 6". So when the walkway gets wet water runs down hill, around the end and it soaks the deck carpet. I didn't know how well they sealed the deck or the piece of ply that's attached to the bottom of the walkway. So, decided to it better come out. I had already cut the carpet on the right side but it went all the way across the bow.


64F6490A-8054-45ED-A825-AEE5E17D64D1_zpsggmlq80d.jpg
 

Attachments

  • 2EC5549B-F235-4B43-A303-8AB8E046A99A_zpsdrohoxbj.jpg
    2EC5549B-F235-4B43-A303-8AB8E046A99A_zpsdrohoxbj.jpg
    48.3 KB · Views: 1
  • 2EC5549B-F235-4B43-A303-8AB8E046A99A_zpsdrohoxbj.jpg
    2EC5549B-F235-4B43-A303-8AB8E046A99A_zpsdrohoxbj.jpg
    48.3 KB · Views: 2
  • 2EC5549B-F235-4B43-A303-8AB8E046A99A_zpsdrohoxbj.jpg
    2EC5549B-F235-4B43-A303-8AB8E046A99A_zpsdrohoxbj.jpg
    48.3 KB · Views: 2
  • 2EC5549B-F235-4B43-A303-8AB8E046A99A_zpsdrohoxbj.jpg
    2EC5549B-F235-4B43-A303-8AB8E046A99A_zpsdrohoxbj.jpg
    48.3 KB · Views: 2
  • 2EC5549B-F235-4B43-A303-8AB8E046A99A_zpsdrohoxbj.jpg
    2EC5549B-F235-4B43-A303-8AB8E046A99A_zpsdrohoxbj.jpg
    48.3 KB · Views: 2
  • 2EC5549B-F235-4B43-A303-8AB8E046A99A_zpsdrohoxbj.jpg
    2EC5549B-F235-4B43-A303-8AB8E046A99A_zpsdrohoxbj.jpg
    48.3 KB · Views: 2
  • 2EC5549B-F235-4B43-A303-8AB8E046A99A_zpsdrohoxbj.jpg
    2EC5549B-F235-4B43-A303-8AB8E046A99A_zpsdrohoxbj.jpg
    48.3 KB · Views: 2
  • 2EC5549B-F235-4B43-A303-8AB8E046A99A_zpsdrohoxbj.jpg
    2EC5549B-F235-4B43-A303-8AB8E046A99A_zpsdrohoxbj.jpg
    48.3 KB · Views: 3
  • 2EC5549B-F235-4B43-A303-8AB8E046A99A_zpsdrohoxbj.jpg
    2EC5549B-F235-4B43-A303-8AB8E046A99A_zpsdrohoxbj.jpg
    48.3 KB · Views: 3
  • 2EC5549B-F235-4B43-A303-8AB8E046A99A_zpsdrohoxbj.jpg
    2EC5549B-F235-4B43-A303-8AB8E046A99A_zpsdrohoxbj.jpg
    48.3 KB · Views: 3
  • 64F6490A-8054-45ED-A825-AEE5E17D64D1_zpsggmlq80d.jpg
    64F6490A-8054-45ED-A825-AEE5E17D64D1_zpsggmlq80d.jpg
    46.6 KB · Views: 2
  • 64F6490A-8054-45ED-A825-AEE5E17D64D1_zpsggmlq80d.jpg
    64F6490A-8054-45ED-A825-AEE5E17D64D1_zpsggmlq80d.jpg
    46.6 KB · Views: 2
  • 64F6490A-8054-45ED-A825-AEE5E17D64D1_zpsggmlq80d.jpg
    64F6490A-8054-45ED-A825-AEE5E17D64D1_zpsggmlq80d.jpg
    46.6 KB · Views: 2
  • 64F6490A-8054-45ED-A825-AEE5E17D64D1_zpsggmlq80d.jpg
    64F6490A-8054-45ED-A825-AEE5E17D64D1_zpsggmlq80d.jpg
    46.6 KB · Views: 2
  • 64F6490A-8054-45ED-A825-AEE5E17D64D1_zpsggmlq80d.jpg
    64F6490A-8054-45ED-A825-AEE5E17D64D1_zpsggmlq80d.jpg
    46.6 KB · Views: 2
  • 64F6490A-8054-45ED-A825-AEE5E17D64D1_zpsggmlq80d.jpg
    64F6490A-8054-45ED-A825-AEE5E17D64D1_zpsggmlq80d.jpg
    46.6 KB · Views: 2
  • 64F6490A-8054-45ED-A825-AEE5E17D64D1_zpsggmlq80d.jpg
    64F6490A-8054-45ED-A825-AEE5E17D64D1_zpsggmlq80d.jpg
    46.6 KB · Views: 2
  • 64F6490A-8054-45ED-A825-AEE5E17D64D1_zpsggmlq80d.jpg
    64F6490A-8054-45ED-A825-AEE5E17D64D1_zpsggmlq80d.jpg
    46.6 KB · Views: 2
  • 64F6490A-8054-45ED-A825-AEE5E17D64D1_zpsggmlq80d.jpg
    64F6490A-8054-45ED-A825-AEE5E17D64D1_zpsggmlq80d.jpg
    46.6 KB · Views: 3
  • 64F6490A-8054-45ED-A825-AEE5E17D64D1_zpsggmlq80d.jpg
    64F6490A-8054-45ED-A825-AEE5E17D64D1_zpsggmlq80d.jpg
    46.6 KB · Views: 3
  • 64F6490A-8054-45ED-A825-AEE5E17D64D1_zpsggmlq80d.jpg
    64F6490A-8054-45ED-A825-AEE5E17D64D1_zpsggmlq80d.jpg
    46.6 KB · Views: 3
  • 64F6490A-8054-45ED-A825-AEE5E17D64D1_zpsggmlq80d.jpg
    64F6490A-8054-45ED-A825-AEE5E17D64D1_zpsggmlq80d.jpg
    46.6 KB · Views: 1
Last edited:
Top