'79 Starcraft SS 16 restoration

Status
Not open for further replies.

Triton II

Commander
Joined
Nov 23, 2004
Messages
2,479
Re: '79 Starcraft SS 16 restoration

Progress! Nice dude!

Great to see you getting ahead with it HA! Regarding cabin speakers, I found them too be a bit overpowering in the cuddy of our previous boat, so the current boat has box type speakers on pivoting mounts so we can listen in the helm area or in the cabin. Just a thought...

TII
 

Huron Angler

Admiral
Joined
Apr 7, 2009
Messages
6,025
Re: '79 Starcraft SS 16 restoration

Not much progress on the SS, I have been working with my little boat trailer lately.

I finally went ahead and bought a 1" Forstner bit to drill out the splashwell drains. I made this difficult by drilling a 3/4" hole with a paddle bit, to make sure the location was correct while test fitting.

Now it's gonna be easy to miss dead center(since there is no wood in the center:rolleyes:), so I am going to wait until it is back in the boat to drill.:facepalm:

Another example of poor planning on my part resulting in more confusion and wasted time. Good thing this project is just for fun or that would have me down:D

My budget for a new motor is going to be supplemented soon, so I am hoping to have new power for the rig by the end of the month. I have my eye on one 70hp Evinrude in particular that is listed for $800.:)

I am hoping to be all done with the epoxy by the end of the week, we'll see how that goes. It's still taking forever to cure, possibly due to changes in temp and humidity?
 

jasoutside

Supreme Mariner
Joined
Dec 20, 2009
Messages
13,269
Re: '79 Starcraft SS 16 restoration

I finally went ahead and bought a 1" Forstner bit to drill out the splashwell drains. I made this difficult by drilling a 3/4" hole with a paddle bit, to make sure the location was correct while test fitting.

Now it's gonna be easy to miss dead center(since there is no wood in the center:rolleyes:), so I am going to wait until it is back in the boat to drill.:facepalm:

Another example of poor planning on my part resulting in more confusion and wasted time. Good thing this project is just for fun or that would have me down:D

Dood! Easier/faster way!

Let's see how my communication skills are, ugh. Ready?

1. Take a scrap piece of ply (3/4" would be nice) and screw it to one side of the transom, covering the hole.

2. Flip the transom over.

3. Take your paddle bit and push it into the hole making a mark into the ply. The point should give you the center of that hole.

4. Take the paddle bit off and replace it with a really small drill bit.

5. Drill through the ply using your reference mark. Flip over the transom and you'll see the center point of your hole.

6. Swap out that little bit for your 1" Forstner bit and drill through. The plywood will keep your bit centered.

Don't ask me how I know such things.:facepalm:

If you simply slide the transom into place and try to drill through you may be in trouble as the center point still doesn't have anything to bite into and your bit may want to jump.

You should have those holes drilled out in a jif:)
 

Huron Angler

Admiral
Joined
Apr 7, 2009
Messages
6,025
Re: '79 Starcraft SS 16 restoration

Well the explanation makes sense, probably because you are well-versed in teaching wood shop to folks at the high-school level:D

I had a conversation with the guy over at Ace hardware about that technique, your description is a better one. My only concern with this tactic is getting the slight angle correct, but I should be able to get it right.

I figured somebody might be able to help me out, appreciated:)
 

jasoutside

Supreme Mariner
Joined
Dec 20, 2009
Messages
13,269
Re: '79 Starcraft SS 16 restoration

Oooo, angle, forgot about that, sorry. Yah, that might make it a just little tricky but I still think you can pull it off.

If all goes to pot just go fishin man, I am 100% confident you can swing that!:D
 

KellyC

Senior Chief Petty Officer
Joined
Aug 24, 2010
Messages
733
Re: '79 Starcraft SS 16 restoration

I am not an expert here, but could not just fill the hole back in with say epoxy and scrap wood of some sort. That way it would be a solid bite all the way through the transom, just an idea. But like I said I don't know for sure.
 

Huron Angler

Admiral
Joined
Apr 7, 2009
Messages
6,025
Re: '79 Starcraft SS 16 restoration

I am not an expert here, but could not just fill the hole back in with say epoxy and scrap wood of some sort. That way it would be a solid bite all the way through the transom, just an idea. But like I said I don't know for sure.

Yeah that would work and I've been considering it as a good, but more time-consuming option. Of course if I'd filled it right away last week it would be set and cured by now. It wouldn't even take much epoxy, and some sawdust would make a good wood filler.:D

Thanks for dropping in Kelly, good ideas all around.
 

Huron Angler

Admiral
Joined
Apr 7, 2009
Messages
6,025
Re: '79 Starcraft SS 16 restoration

So I took Jason's advice and went fishing the other day after work. We caught a mess of Perch and Bluegill from a secret spot I know in the middle of Lansing.

Fishing from shore is ok, I prefer the SS so back to work it is:)

My Fastenal order is gonna be ready on friday, so drilling out the splashwell drains and getting it epoxied is top priority. SS bolts and everything to finish up should be good motivation for me.

My budget for the new Johnnyrude is looking good. I have both a Johnson and an Evinrude 70hp to check out, both priced around $700 with controls. Maybe if I go ahead and get the motor it will serve as a constant motivation to wrap up the project:D

My little boat is near completion so I will be able to bring the SS home and focus on it for a good month or so. The weather has been perfect, good for painting:)
 

MichaelP

Lieutenant Junior Grade
Joined
Apr 26, 2010
Messages
1,190
Re: '79 Starcraft SS 16 restoration

Your good weather is supposed to be making its way here soon. Hope to get something actually finnished this weekend.

Another thought for your transom holes....Jig saw some plugs from plywood scraps. Lay transom flat with a small piece of wax paper covering the hole from the bottom. Held in with duct tape. Soak the plug with resin and drop it in the hole and top off with more resin. The reason I like this plug method is it gives the drill a bite in consistant density materials. Otherwise the drill could 'walk'.
 

Huron Angler

Admiral
Joined
Apr 7, 2009
Messages
6,025
Re: '79 Starcraft SS 16 restoration

They've been predicting rain every day for a week now and they've been wrong more than they've been right:)

The rivers have probably peaked here, so the fishing will be getting better by the day from here on out. I should be able to get those holes drilled out finally tonight.

Can't wait to get past this curveball I created for myself.:facepalm:
 

Huron Angler

Admiral
Joined
Apr 7, 2009
Messages
6,025
Re: '79 Starcraft SS 16 restoration

3/4" backing plate in place to mark the center of the drain hole.

Thanks for the tips fellas.:)

Boat%20resto%20winter%202010%20150.jpg


Drilled it to 1" with my new Forstner bit. It went very slowly and smoothly.

Boat%20resto%20winter%202010%20154.jpg


Boat%20resto%20winter%202010%20155.jpg


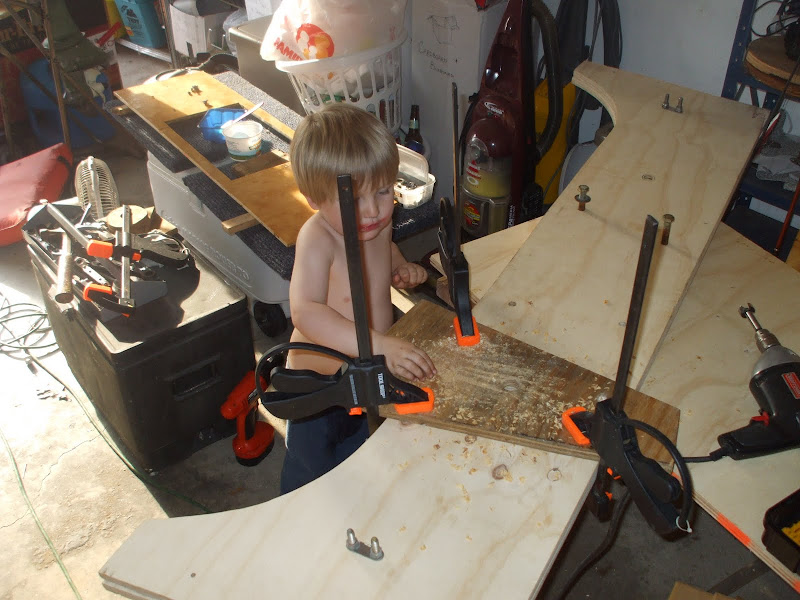
Braden was quick to help spread the wood shavings all over the yard.

Boat%20resto%20winter%202010%20153.jpg


And here you can see exactly how much I'm off my lines drawn while it was dry fitted in the boat. Good enough(hopefully).

Boat%20resto%20winter%202010%20156.jpg
 

jasoutside

Supreme Mariner
Joined
Dec 20, 2009
Messages
13,269
Re: '79 Starcraft SS 16 restoration

Beauty! I know that was bugging you, glad that's done eh! Time for epoxy now?
 

Huron Angler

Admiral
Joined
Apr 7, 2009
Messages
6,025
Re: '79 Starcraft SS 16 restoration

Beauty! I know that was bugging you, glad that's done eh! Time for epoxy now?

Well...there are two of these, so still one more to go yet.

I'm taking a break for dinner. Then epoxy!:D
(after some more sanding and a few other things)
 

yooperangler

Senior Chief Petty Officer
Joined
Sep 17, 2010
Messages
721
Re: '79 Starcraft SS 16 restoration

As I recall you had some wiggle room with the transom anyway so those lines probably won't hurt you much Idk why I ever mark anything as I never manage to cut or drill on my marks anyway:D You gotta love those forstner bits I have to get a bigger one as well for those drain tubes also for future reference I have a set of plug cutters that are handy to have for situations like that I also use em to make plugs to cover countersunk screws. I bet it feels good to be wrapping up that transom great progress keep it up:)
 

Huron Angler

Admiral
Joined
Apr 7, 2009
Messages
6,025
Re: '79 Starcraft SS 16 restoration

Well I'm glad to report that the second splashwell drain hole is right on the money:D

Now that we have that behind us I can get back on track with this transom replacement that some folks do over a weekend.:)

Yooper, thanks for the encouragement, I think it will be fine. Countersinking plugs eh?, sounds like a real woodworker talking:D
 

Triton II

Commander
Joined
Nov 23, 2004
Messages
2,479
Re: '79 Starcraft SS 16 restoration

Good to see you getting things done HA. Nice to salvage that hole drilling, great job mate! :)

TII
 

ezmobee

Supreme Mariner
Joined
Mar 26, 2007
Messages
23,767
Re: '79 Starcraft SS 16 restoration

That's not a '73 Evinrude. It's a '78.

Mike, you do realize you have to move quickly on these things right?
 

jasoutside

Supreme Mariner
Joined
Dec 20, 2009
Messages
13,269
Re: '79 Starcraft SS 16 restoration

Mike, you do realize you have to move quickly on these things right?

Something I have noticed about Mike here is that he takes his time and his mode of operation is rather "purposeful". I do appreciate that about him.:)


Now, Mike, go buy that Rude pronto!

We'll talk through what to do with the glasser later:D
 

Huron Angler

Admiral
Joined
Apr 7, 2009
Messages
6,025
Re: '79 Starcraft SS 16 restoration

That's not a '73 Evinrude. It's a '78.

Mike, you do realize you have to move quickly on these things right?

I thought it looked newer than '73, the cowling is the same as the 85 and 115hp another guy is selling.

I'm still cobbling my budget together at this point, but it is looking better as of late. I have some funds coming in tomorrow that will help out big time. Gotta love bonus checks:D
 
Status
Not open for further replies.
Top