77 Skeeter Restoration

fishbone77

Petty Officer 1st Class
Joined
Apr 12, 2011
Messages
304
Re: 77 Skeeter Restoration

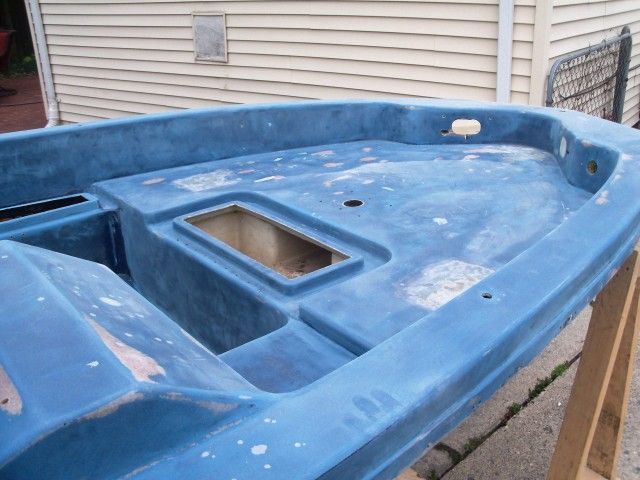
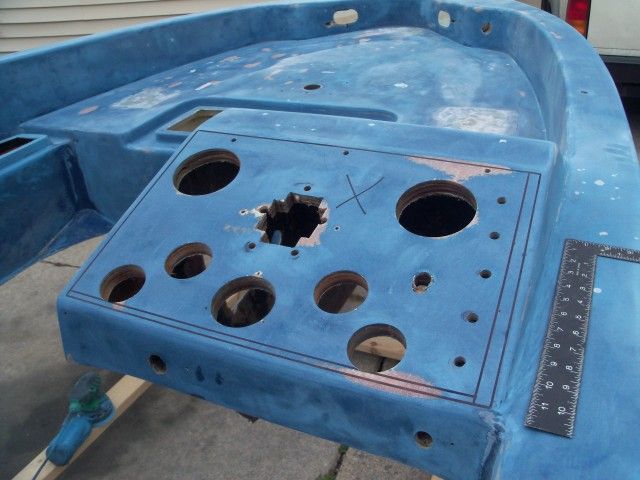
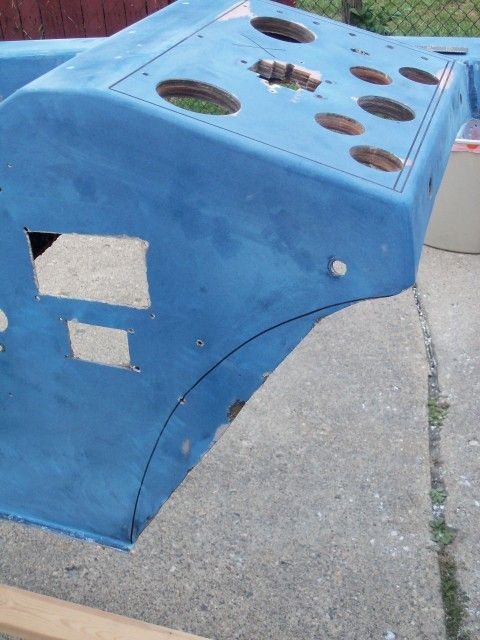
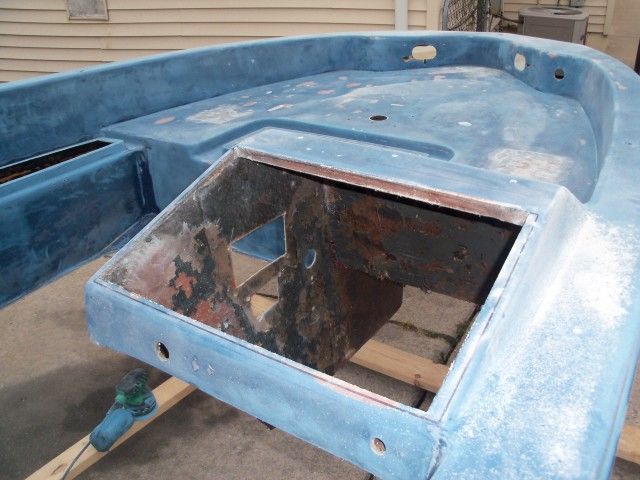
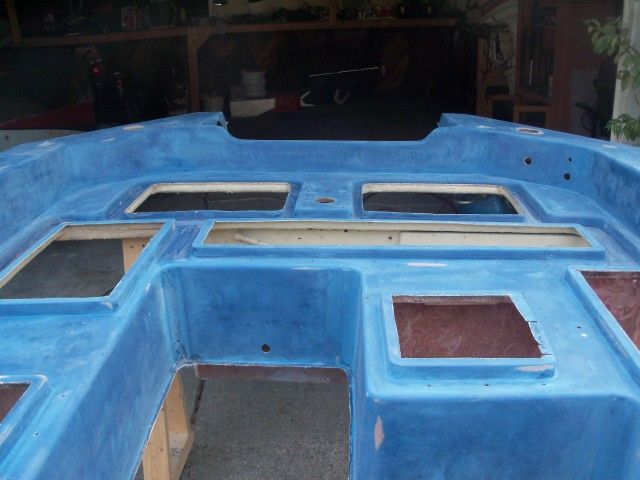
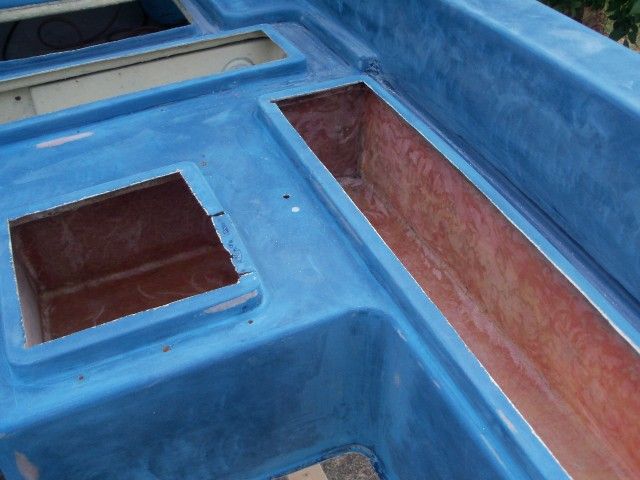
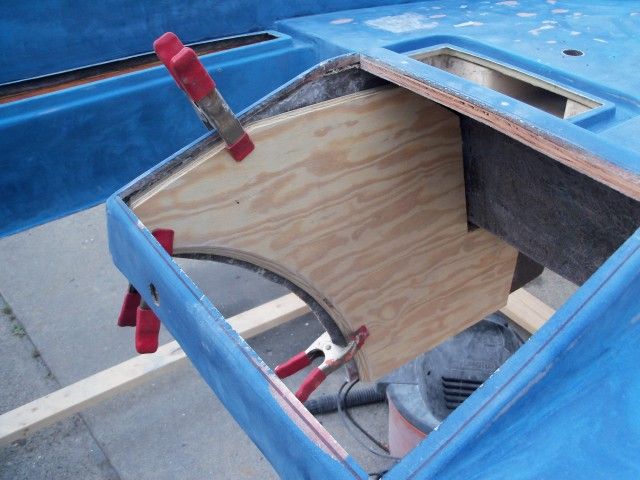
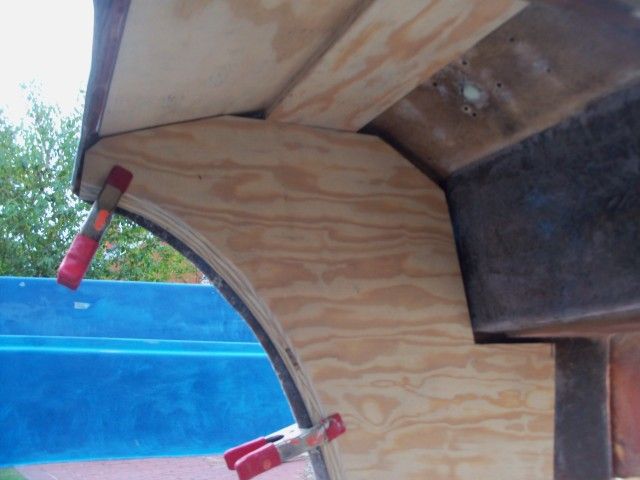
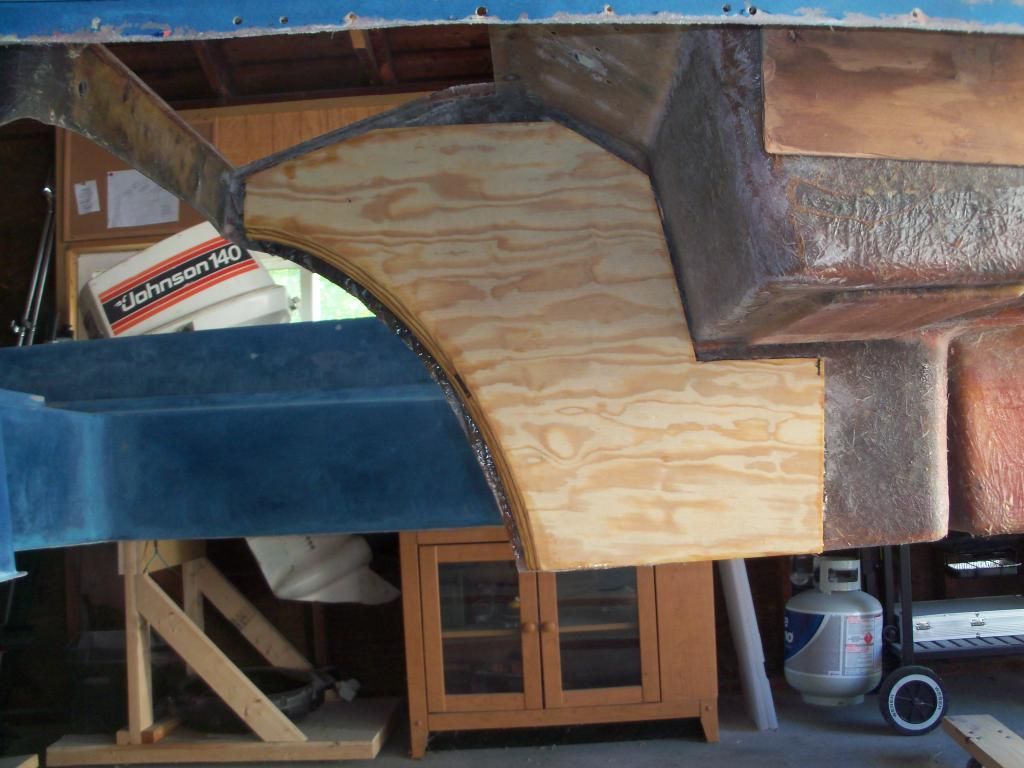
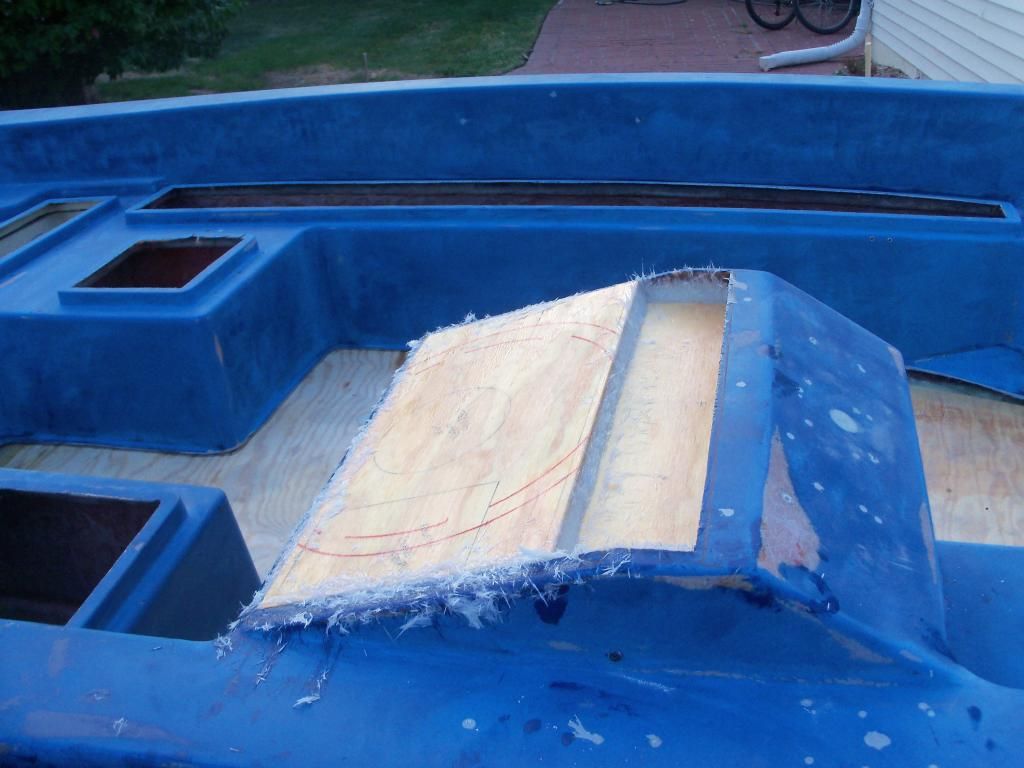
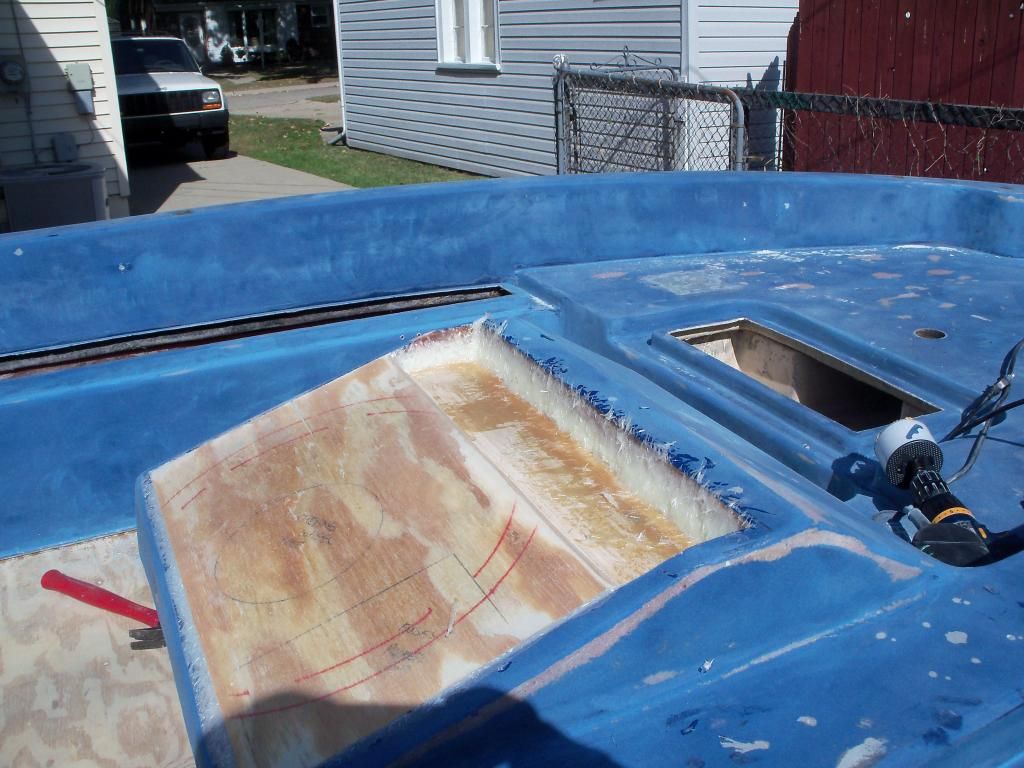
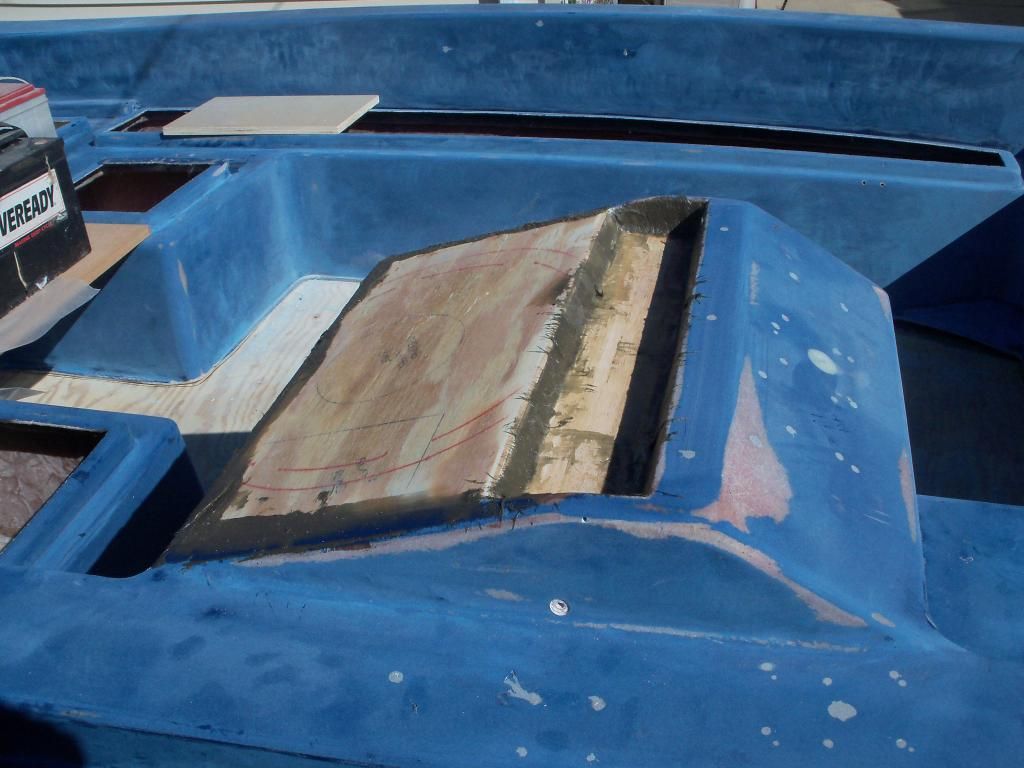
Worked on the boat this afternoon -

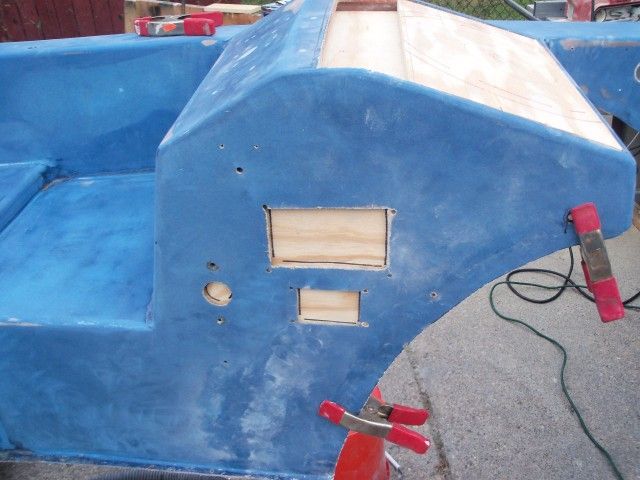
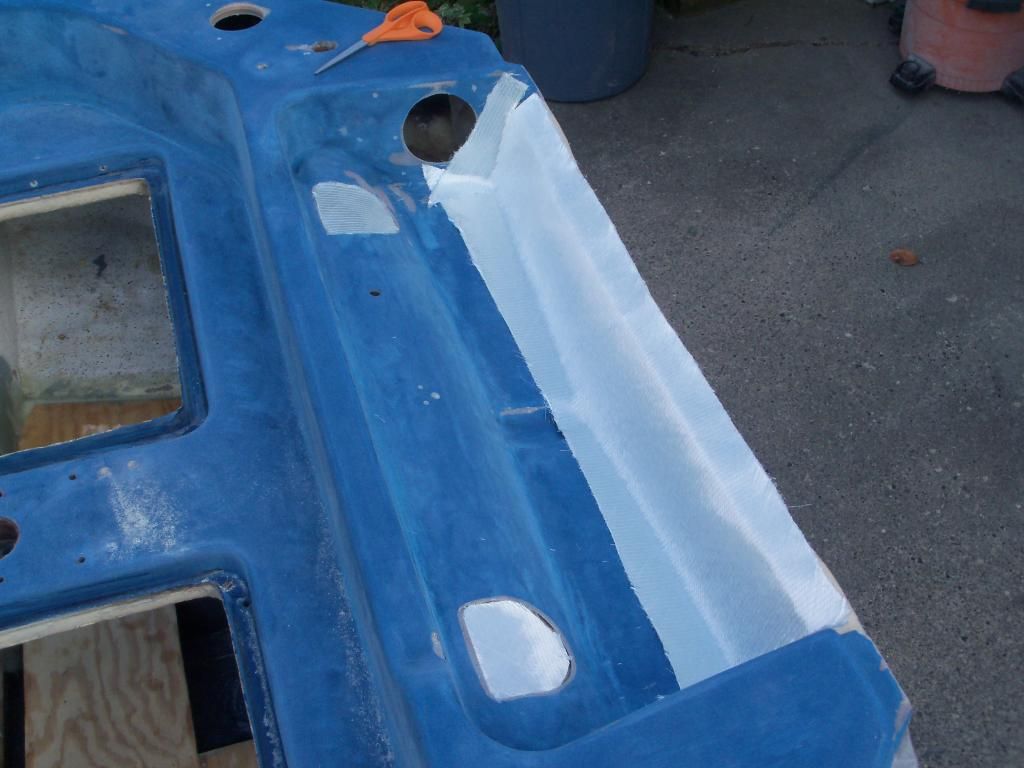
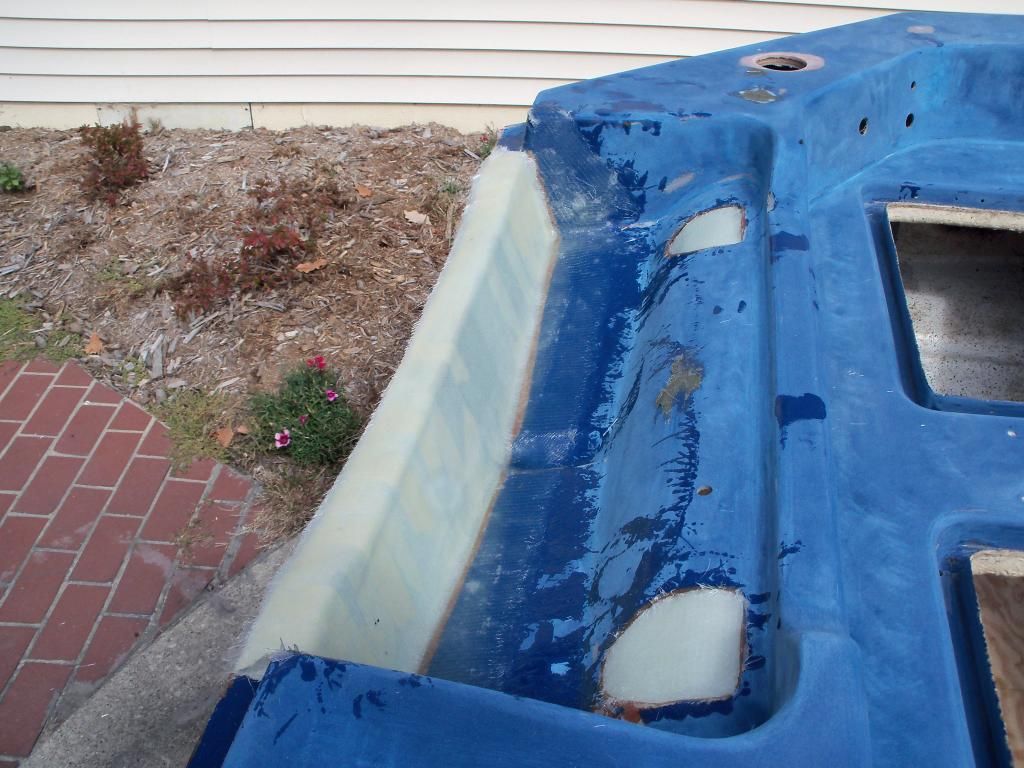
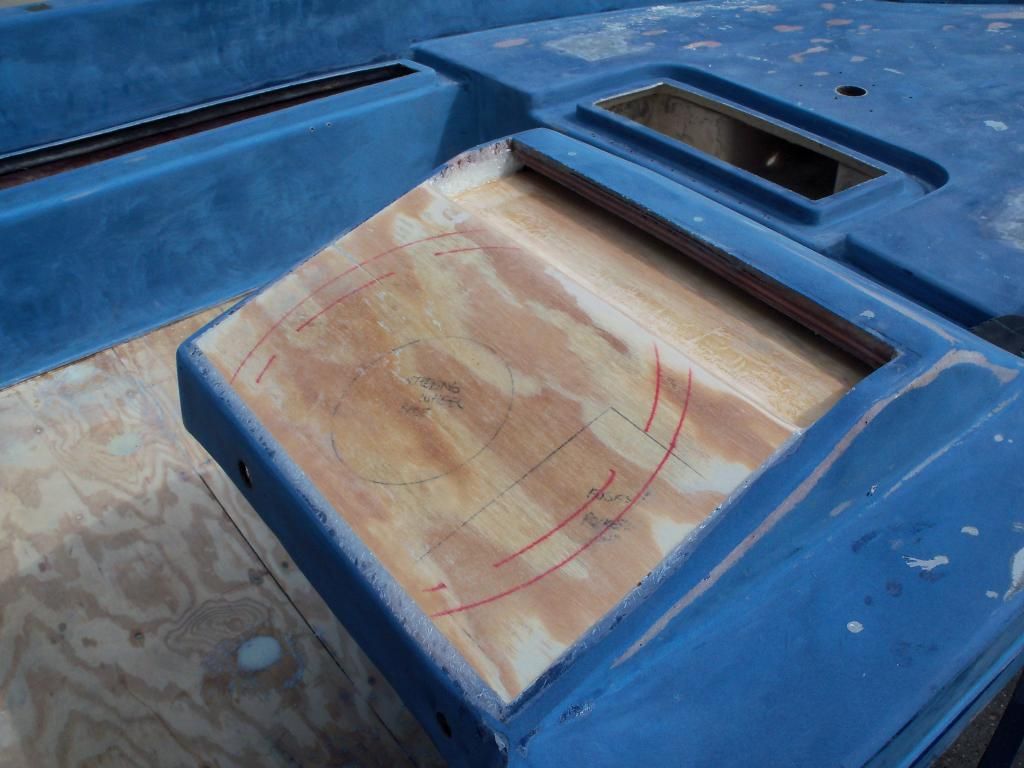
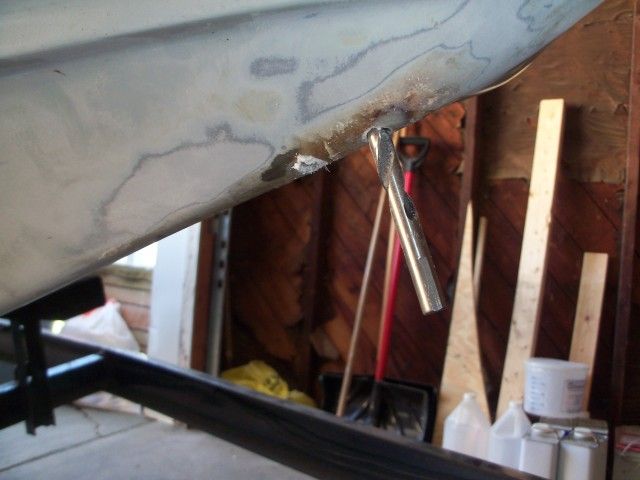
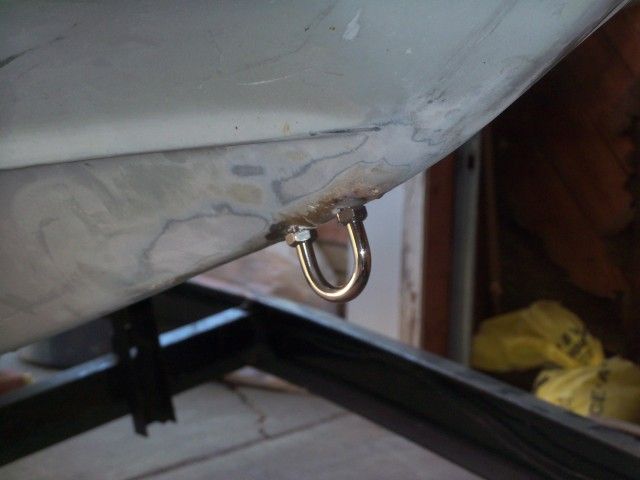
Started off by drilling the finish-size holes for the bow-eye and dry-fitting the bow-eye...I was able to use a drill bridge for the transom (flat surface) but for the bow-eye I needed to square the eye to the exterior of the hull. I couldn't really come up with a fool-proof way to do it, but here's what I did and it worked pretty well:

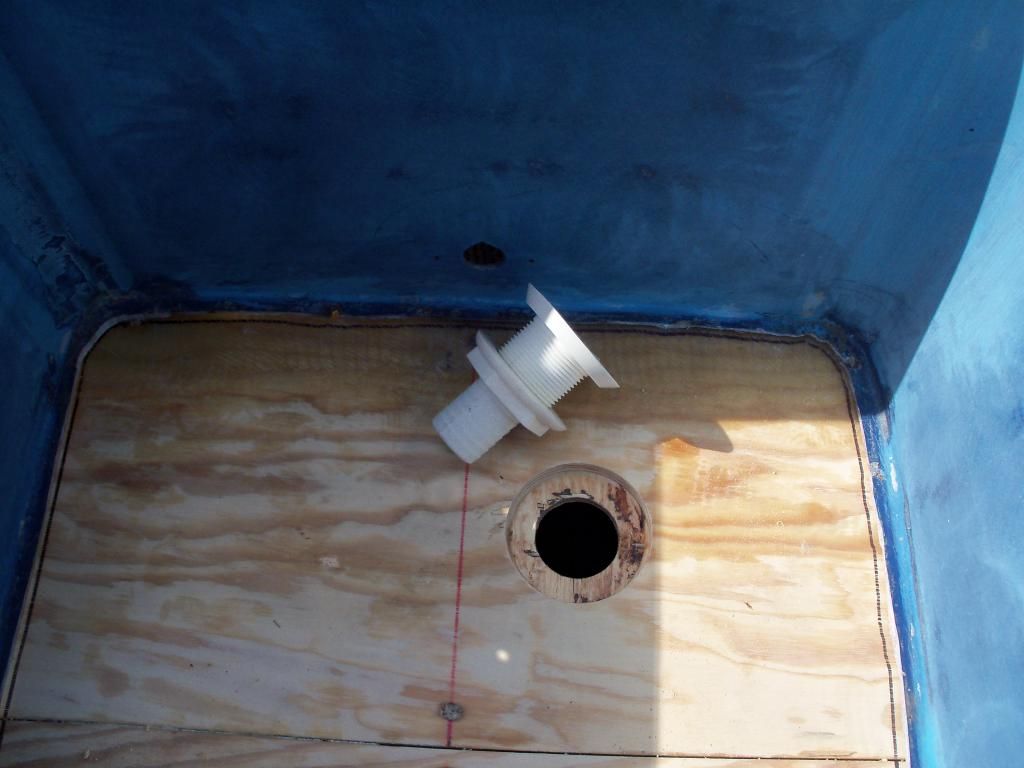
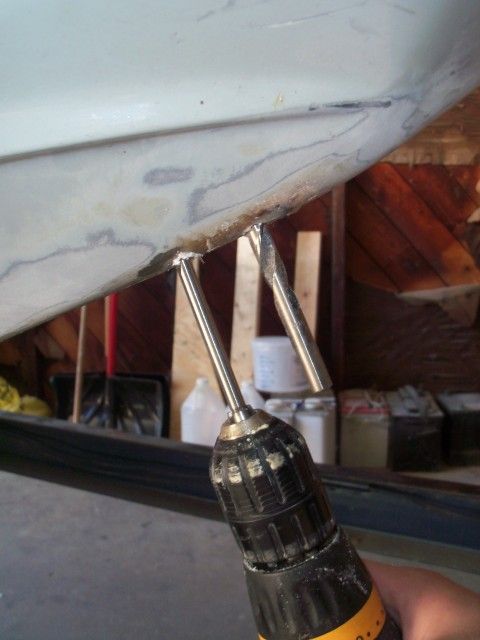
I first piloted and then drilled one of the holes - I had to square this one by eye only...Then I placed another drill bit in that hole so I could match the angle of the 2nd hole to it while I was drilling...
100_2008_zpsdf3a1d99.jpg


I just tried to keep the drill bit parallel to the marker bit...
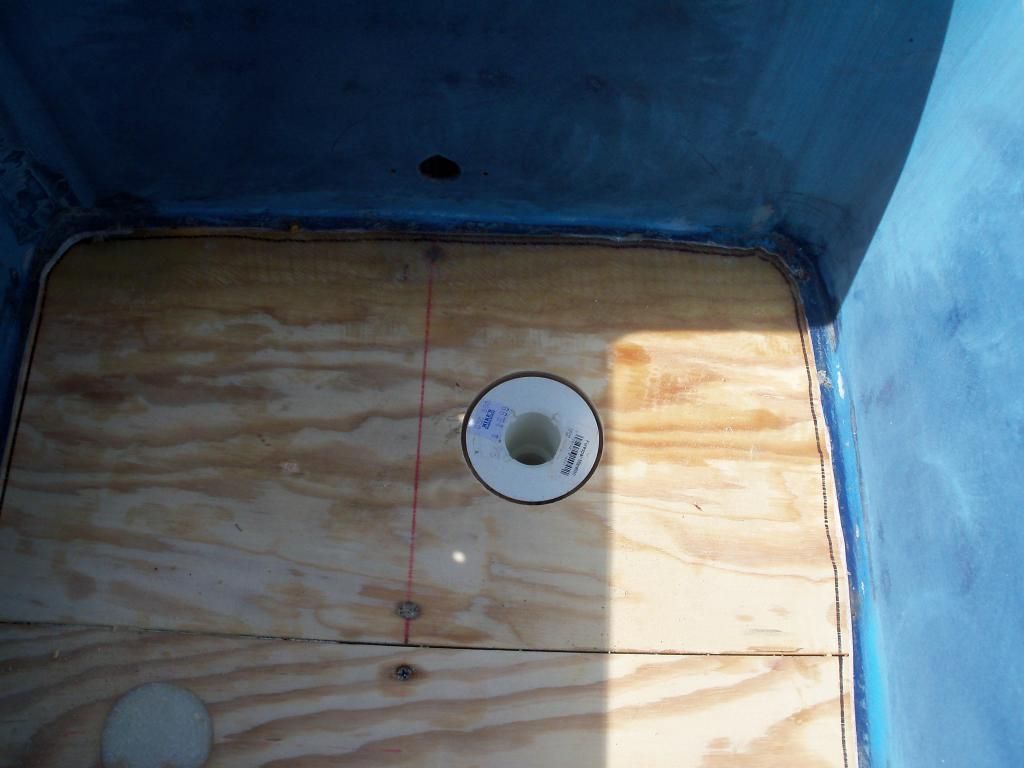
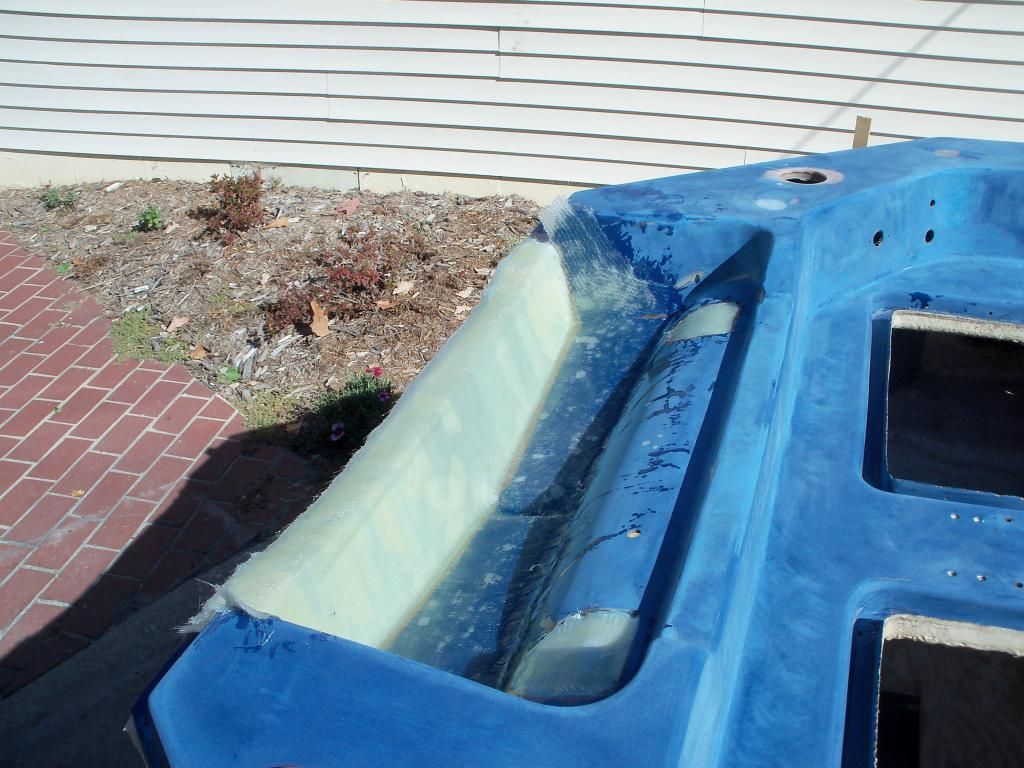
100_2009_zps8489e0ea.jpg


Bow-eye dry fit...
100_2010_zps0c7e654e.jpg


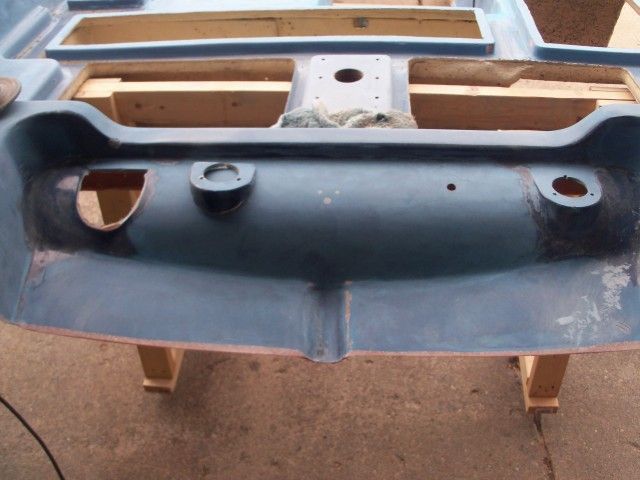
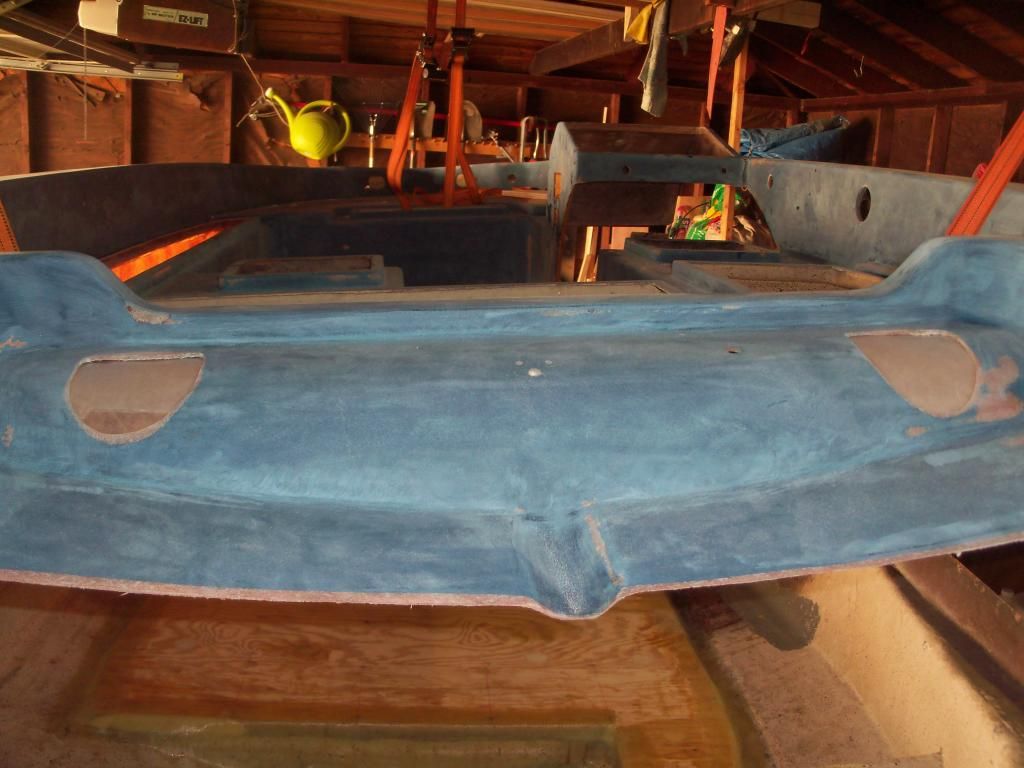
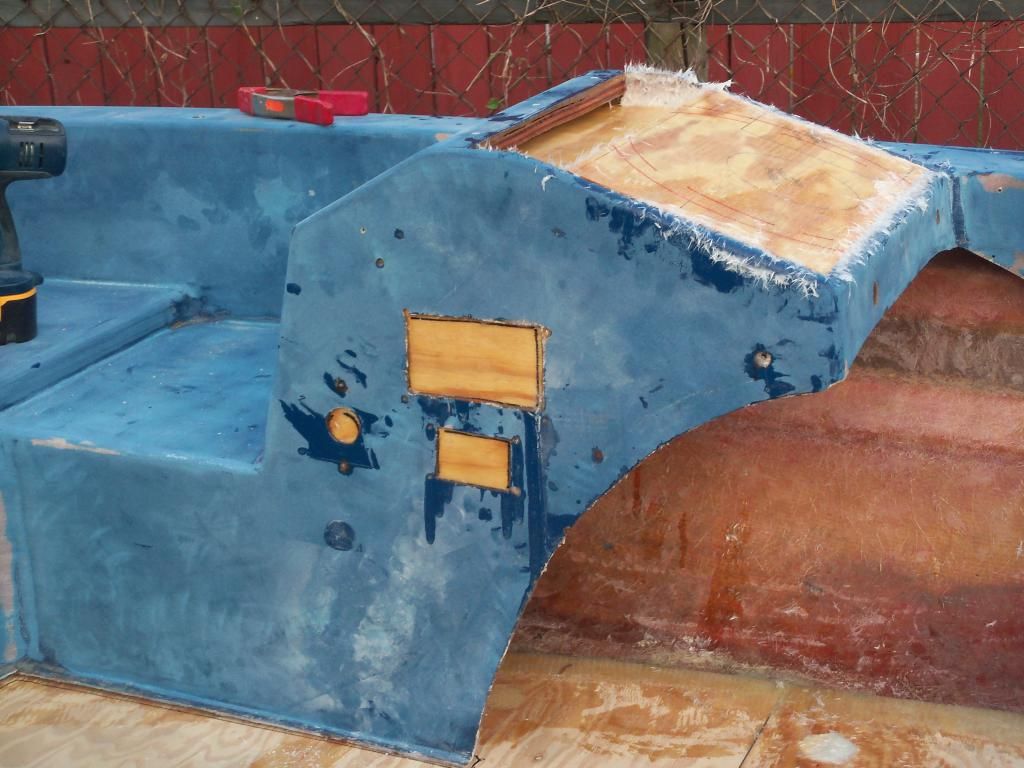
I also drilled the finish-size holes in the transom. I wanted to get these done before flipping the hull and painting. I'm not going to be able to paint it here - so I'm going to tow the boat to my in-laws' to use the compressor there - thus the need for the tie-down eyes and bow-eyes a bit early...
 

fishbone77

Petty Officer 1st Class
Joined
Apr 12, 2011
Messages
304
Re: 77 Skeeter Restoration

Next, I went back to work on the cap - I started by sanding down all of the patches I had done with Bondo-glass...
100_2011_zps949405bd.jpg


Then I started working on a new console...I figured it would be easier just to cut the main panel out than patch and fill all the excess holes...
100_2012_zps5b3a4d4e.jpg


The center-facing side of the console is also going to need some patching, and the edge is all beat up, so I'm going to trim it back - should help make the driver-seat more accessible too, as I'm a taller guy...
100_2013_zpsfb247f2f.jpg


Console-panel cut out...
100_2014_zps8a86a149.jpg


This small piece of plywood I was hoping to keep, but it ended up basically falling out on its own - so I'll replace it...
100_2015_zps062e230c.jpg
 

fishbone77

Petty Officer 1st Class
Joined
Apr 12, 2011
Messages
304
Re: 77 Skeeter Restoration

Then I cut a new panel to repair the console...
100_2016_zpsf67d66f0.jpg


Then I had an interesting idea...I wanted to put some sort of recession into this panel that would be a place for a fishfinder, etc. - then I thought that it might just be cool to have a small shelf that runs the width of the console - a place to throw loose stuff, but still leaving room for the windshield. So I got a piece cut for for the shelf...
100_2017_zpsa0d64944.jpg


I'll be ready to install when my next batch of epoxy gets here...
 

fishbone77

Petty Officer 1st Class
Joined
Apr 12, 2011
Messages
304
Re: 77 Skeeter Restoration

Here's a couple of pics that show what I'm thinking for the console a little better - still a little rough, but it'll get better!

100_2018_zps9551c5f7.jpg


100_2019_zps6006694b.jpg
 

fishbone77

Petty Officer 1st Class
Joined
Apr 12, 2011
Messages
304
Re: 77 Skeeter Restoration

Got out today for a while - worked for a bit sanding on the cap, and then wire-brushing some carpet glue residue from inside the compartments... nothing picture-worthy. More to come tomorrow!
 

Seasonally.boating.jon

Petty Officer 1st Class
Joined
Jul 10, 2011
Messages
283
Re: 77 Skeeter Restoration

Hey fishbone,

Nice work man.
I was wondering if you have to replace any wood in the "fishing deck area" on the cap?
I have to, I just haven't decided how I'm going to approach it yet.
 

fishbone77

Petty Officer 1st Class
Joined
Apr 12, 2011
Messages
304
Re: 77 Skeeter Restoration

I was wondering if you have to replace any wood in the "fishing deck area" on the cap?
I have to, I just haven't decided how I'm going to approach it yet.

Thanks Jitterbug - glad to have you on board! The wood for my bow fishing platform is dry, so at this point, I'm not planning to replace all of it...however, I am planning on replacing the anchoring block that the bow pedestal seat was bolted to, and my bow livewell for some reason extends under this block, so I'm going to reduce the size of that livewell to reduce water access to the underside of the new block.

That being said, I ran across a public photobucket library with some nice pics (no commentary unfortunately, and he did replace his bow fishing platform. Here's the link:

http://s478.photobucket.com/albums/rr148/apd855/1984 Skeeter SF175/

I thought this guy did a nice job - he actually flips his cap over and works from the bottom - he smooths out the undersurface of the original glass from the bow fishing platform, then pays new plywood from the bottom and encases it completely with glass...here's a couple of pics from his site:

86.jpg


88.jpg


91.jpg


92.jpg


If you look further into his photo album, you'll notice that he blocked up his bow compartment, but he actually extended his bow deck in the end, and added a new compartment in the addition.

113.jpg


He does add another piece of plywood on the top of his new fishing platform, but I don't think this would be especially necessary - I'm guessing he did it more to level it to his addition.

118.jpg
 

fishbone77

Petty Officer 1st Class
Joined
Apr 12, 2011
Messages
304
Re: 77 Skeeter Restoration

Nice!

Thank you for posting that, Fishbone.

No problem Jitterbug - good luck! I double checked my fishing platform - I actually don't think that my platform has plywood, it looks like Skeeter used foam inside fiberglass in rows for structure - kind of like a reverse of what some people here on Iboats have shown for their stringers...Given that, I may actually go ahead and tear it out and place a plywood structure underneath instead. Fortunately, my latest order of epoxy is due to arrive tomorrow - haha, I'm kind of stuck doing prep for a bunch of different stuff right now...
 

fishbone77

Petty Officer 1st Class
Joined
Apr 12, 2011
Messages
304
Re: 77 Skeeter Restoration

So, I got out and worked on the boat this afternoon - it was a lot of prep work because I'm currently waiting to get my latest order of epoxy...

First I worked on finishing up sanding the cap - I've finally made it over the entire cap once - It's really difficult to sand in the crevasses between the hatches near the stern. In these areas, I ended up only roughing it up enough to get a good bond with epoxy, because I need to re-enforce some of the edges around the hatch openings...

100_2024.jpg


I had to do a little extra work in the splashwell - originally there were 2 gas tanks, with separate fill caps. I'm replacing them with a single tank so I only need one fill cap - I'm thinking that I'm going to move the fill out of the splashwell, so I cut out the old mount sites. When I get more epoxy (hopefully tomorrow) I'll patch the holes to match the existing contour.

100_2021.jpg


Then I took a wire-brush on an angle-grinder to clear away all the carpet glue and residue that was in the hatches and under the console...

100_2022.jpg
 

fishbone77

Petty Officer 1st Class
Joined
Apr 12, 2011
Messages
304
Re: 77 Skeeter Restoration

Finally, I did some work on the console - I cut the new margin for the center console support...

100_2013_zpsfb247f2f.jpg


100_2028.jpg


I decided to back this support with plywood (didn't have any before) - this should make it easier to patch the holes, and also will give me a little more than just fiberglass for when I eventually mount some rod holders or a boat glove-box (haven't decided) there...

100_2026.jpg


Got it shaped to match the new dash pieces...

100_2027.jpg
 

fishbone77

Petty Officer 1st Class
Joined
Apr 12, 2011
Messages
304
Re: 77 Skeeter Restoration

Got the epoxy today! Only got out to mix up one batch, but I got the side panel re-enforcement piece epoxied to the old fiberglass, and then I filled some of the deck pour holes where the foam hadn't completely expanded above the deck...I initially put a water-proofing coat of epoxy on the plywood and on it's edges, then I thickened up the remaining epoxy to a mayonnaise-consistency to spread between the plywood and the old fiberglass, then thickened the extra epoxy further to fill the deck pour-holes.

100_2029.jpg


100_2030.jpg


More to come tomorrow - I want to place the cap back on the hull to do some of the fiberglass repairs to it - make sure it still fits the hull when I'm done. I also want to mark where the deck will be exposed so i can plan for drains, etc.
 

fishbone77

Petty Officer 1st Class
Joined
Apr 12, 2011
Messages
304
Re: 77 Skeeter Restoration

Spent the afternoon working on the boat -

Started out by breaking off the clamps from the new side-panel of the console...

100_2031_zpsca902a12.jpg


Then I prepped both the splashwell and the transom with wax paper so I can patch the holes I cut in the fiberglass near the gas fill-caps and where the splashwell abuts against the transom...

100_2035_zpsbb8e2983.jpg


100_2034_zpsc9d58a43.jpg


Then I dropped the cap back on the hull - after doing this a few times, I really wouldn't recommend my method of using the rachet-straps to lift and lower the cap - I've been doing it just because I really don't have any better equipment - but I realized some of the risks first-hand today - I almost dropped the cap today:facepalm: - just got lucky that I didn't break it...

The good news - the cap and the hull still fit after putting in the deck!

100_2036_zps56e84b3b.jpg
 

fishbone77

Petty Officer 1st Class
Joined
Apr 12, 2011
Messages
304
Re: 77 Skeeter Restoration

Once the cap was on the hull, I cut the first layer of cloth for patching the spashwell holes and building up the transom...

100_2038_zpsea3bdceb.jpg


Got the cloth wetted down with epoxy and got the first layer in to cure - I'll have to do a couple of layers to match thickness - it'll be good to have some strength on the transom part too... I also wrapped a piece of wood in wax paper and lightly clamped it against the glass that was laid against the transom to help keep it flat...

100_2040_zps45177ae5.jpg


Then back to work on the console: I waterproofed the dash panels I cut a few days ago, and then used epoxy PB to bed them into the old console opening...

100_2039_zpsc4d38699.jpg


100_2041_zps7bc73c21.jpg


More to come tomorrow!
 

fishbone77

Petty Officer 1st Class
Joined
Apr 12, 2011
Messages
304
Re: 77 Skeeter Restoration

So got out and worked on the boat some more today - put a second layer of glass on the transom and in the splashwell... everything went well - I was happy with how that board I clamped on the first piece of glass smoothed it out - would have been even better if I had taken the time to make a plywood cutout of the shape of the splashwell to flatten the entire piece of cloth... I also sanded down the excess PB on the console, and filled more... - will post pics later tonight
 

fishbone77

Petty Officer 1st Class
Joined
Apr 12, 2011
Messages
304
Re: 77 Skeeter Restoration

Okay - here's pics from earlier today...

Started off by putting a 2nd layer of glass over the transom and splashwell...

100_2043_zps39987c6d.jpg


Then back to work on the console - sanded down the PB excess from yesterday...

100_2042_zpsc90f7b38.jpg


Then filled the gap to the front of the console shelf...

100_2044_zps9ac341f7.jpg


While that was curing, I started work on putting in the deck drain - I didn't want water running just through a hole in the deck with a plate over it, even with epoxy-sealed edge grain, so I got a plastic fitting to go through the deck that I'll bed into the deck with PB. The piece had to be countersunk into the deck, so I used a 3" saw bit to cut 1/2 way through the deck, then drilled the rest with a 1.25" saw bit, using a chisel to remove the extra wood for the countersink...

100_2045_zps347d738d.jpg


Piece dry-fit...

100_2046_zps7c7ce65e.jpg


After I have the boat back together and the deck carpeted, I'll eventually put this stainless cap over it...

100_2047_zps1245204c.jpg
 

fishbone77

Petty Officer 1st Class
Joined
Apr 12, 2011
Messages
304
Re: 77 Skeeter Restoration

Started off today with filling any uneven surfaces on the console with the Bondo-glass - I wanted to smooth all the contours, then I'll put some 10oz glass over it - a little heavier than necessary for that area, but it's what I've got, so it won't hurt anything!

100_2049_zpsfc0e3ca5.jpg


I also put my third layer of glass over the transom from the splashwell - I'm thinking that this should be enough for this area, it's good and flush to the transom and I did a good job of not leaving any air bubbles between layers - if anybody thinks I should be adding more or has any tips - suggestions welcome!

100_2050_zps64f1fef6.jpg
 

fishbone77

Petty Officer 1st Class
Joined
Apr 12, 2011
Messages
304
Re: 77 Skeeter Restoration

Also started a new aspect of the project today - over the last few days, I've been thinking of any adjustments/modifications I want to make to the boat - some of my ideas are:

1) inboard rod storage (I'll use the long compartment to port - it'll fit 6' rods as is, but I'll extend it to accomodate 7')
2) the console (what I've been working on)
3) inboard tackle storage

I finally decided on a spot for the tackle storage - originally this compartment was a bow live-well or bait-well, but for such a small boat (16') I really don't need 2 livewells, so I decided to redo the bow like Jitterbug was asking about - and in the process I'm going to change out this bow livewell for inboard tackle storage...

The bow livewell:

100_2051_zps3880ab94.jpg


So I started by building the box that will take the live-well's place...

100_2053_zps276b25d6.jpg


The box dry-assembled with a plano box inside... I designed it to accomodate (12) 7"x11" boxes...

100_2052_zps4ad01a4d.jpg


Then I used a dado to make slide tracks for dividers within the box...I had some acrylic from my dad's shop so I cut that up for the dividers that you see in the pic...

100_2054_zps354307ad.jpg


Took it all apart then and put a water-proofing coat on all the edge grain with epoxy, so now waiting for it to cure!
 
Top