Re: 77 Skeeter Restoration
Finished my "honey-do" list for the day, so I got to go out and do a little more demo...
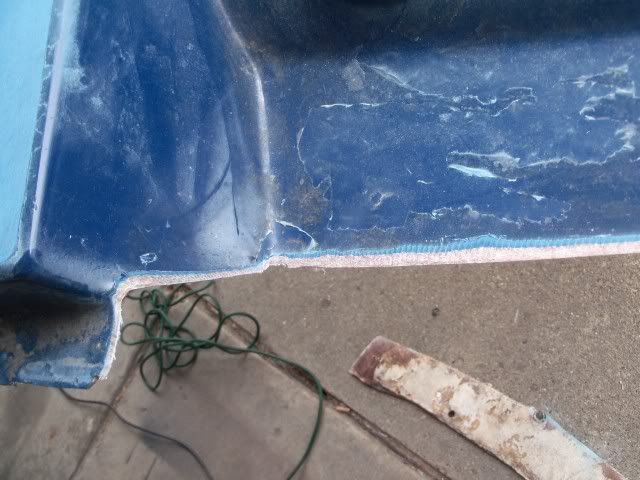
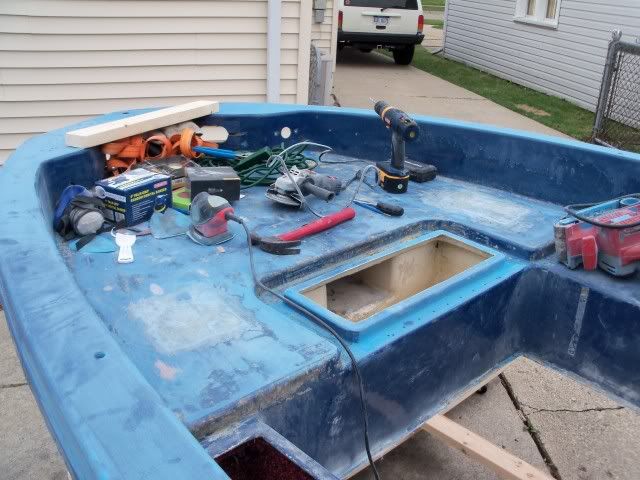
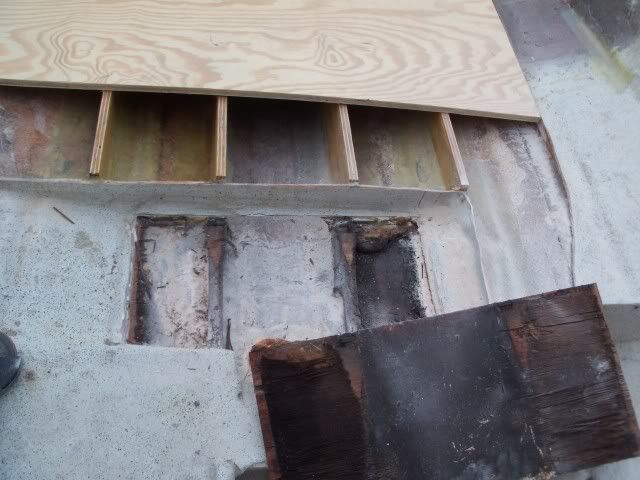
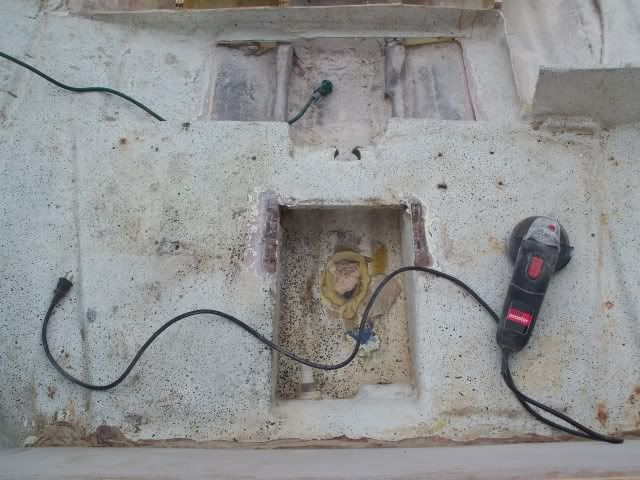
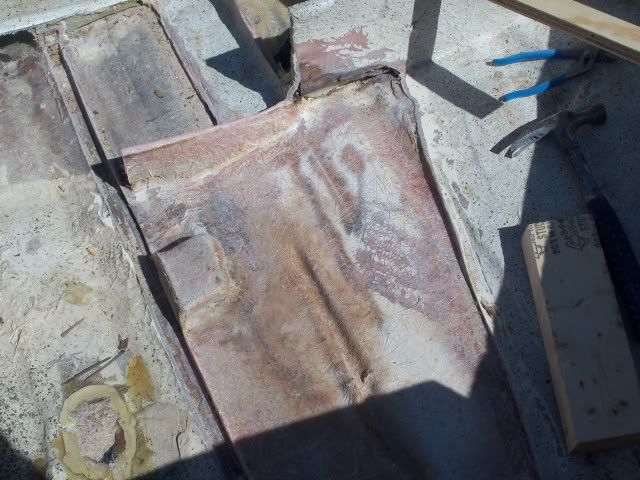
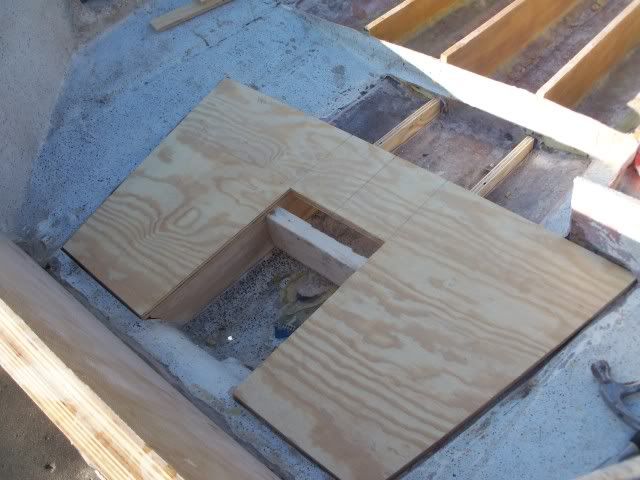
This spot has been bothering me since I closed the boat up for the winter - this panel is lowered because when the cap is on, the livewell sits on top of it - but being lower, I couldn't see or feel what was underneath it - was worried I might find more wet wood or foam. The glass around the edges had a couple of cracks as well, so I decided "out with it".
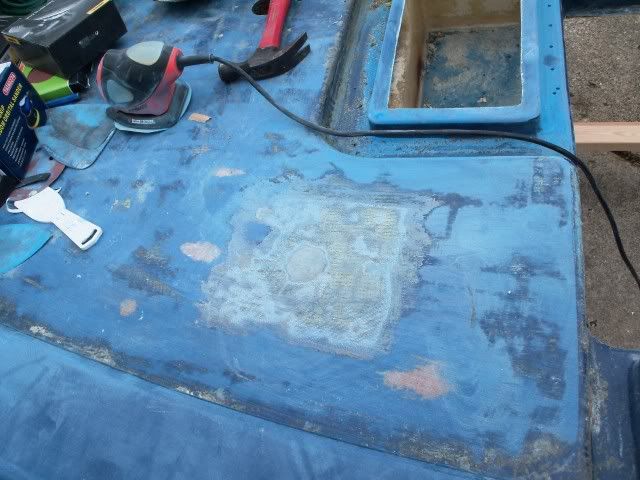
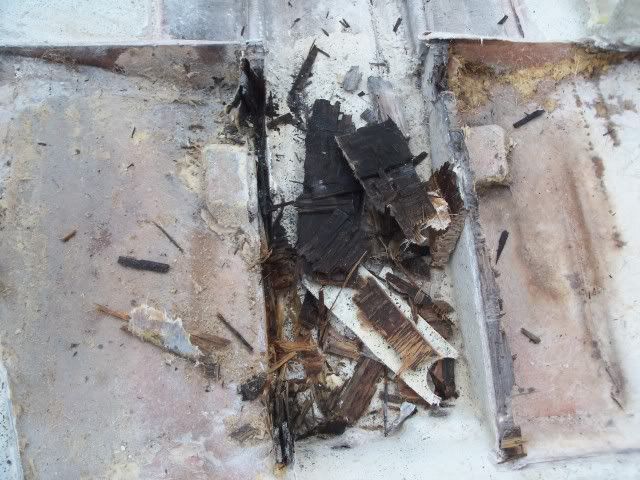
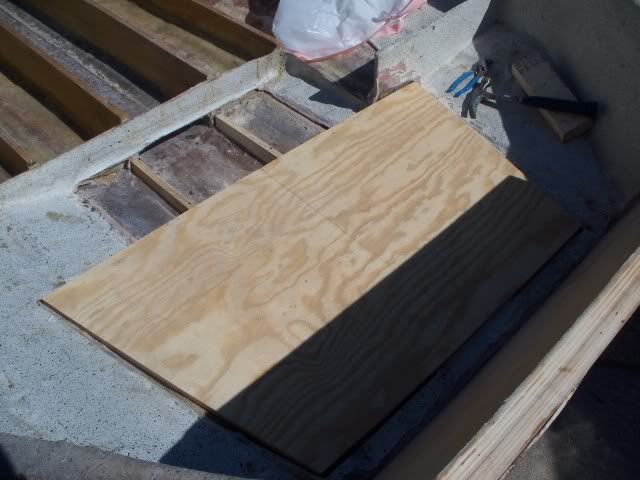
Before cutting it out...
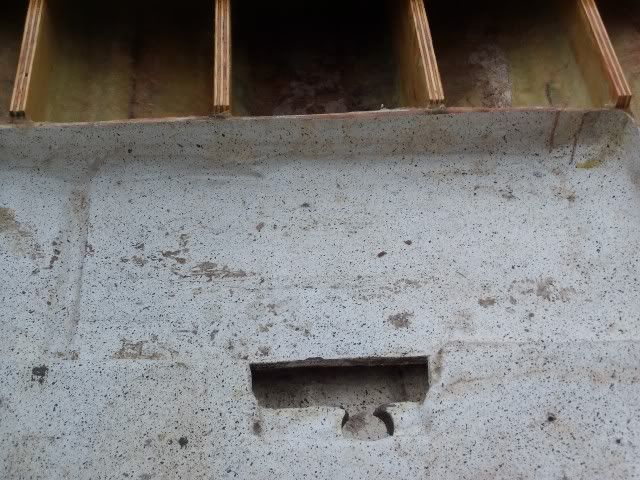
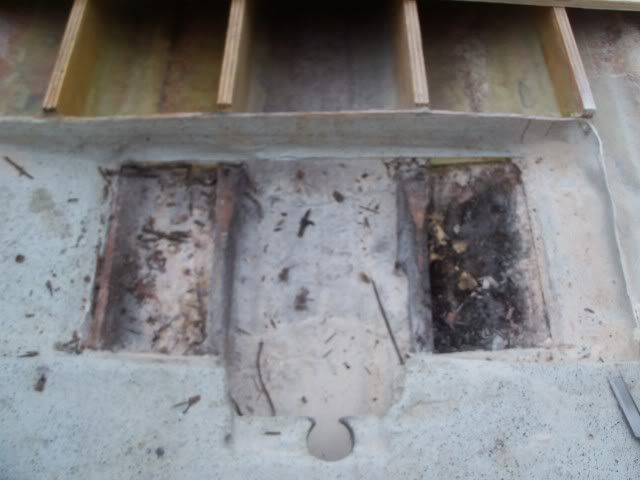
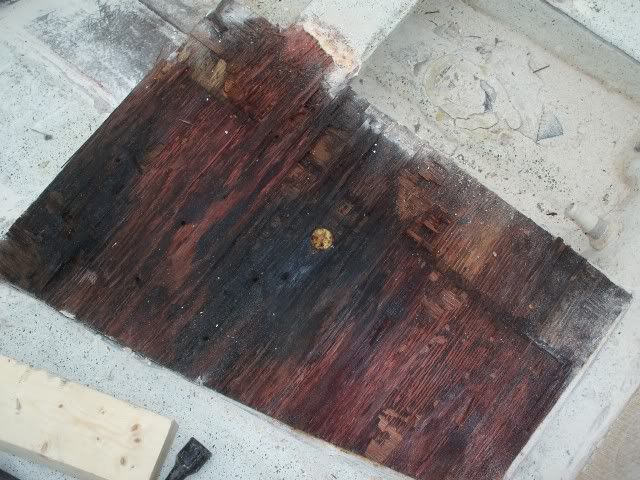
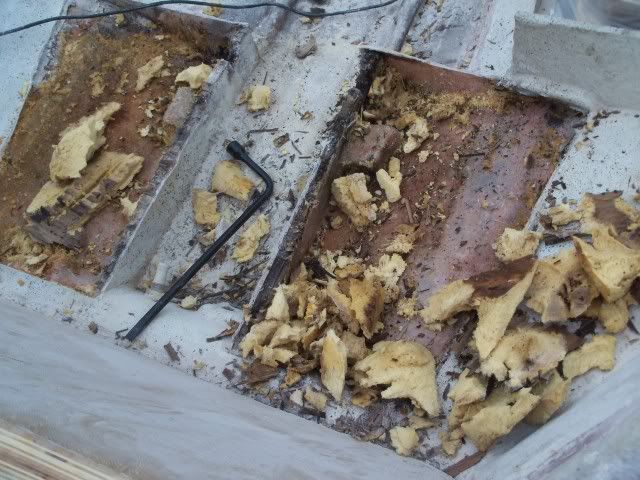
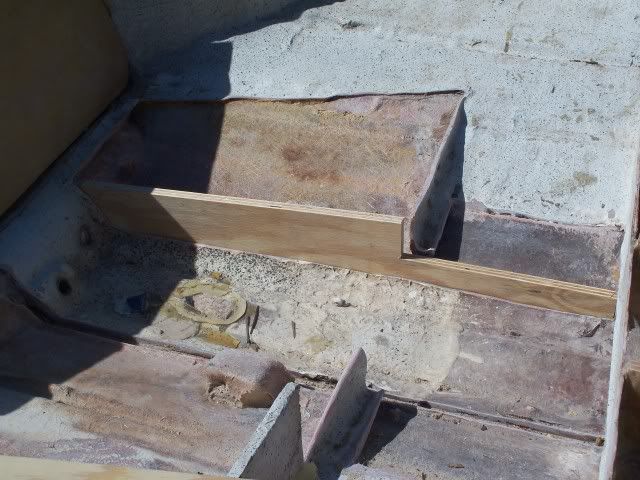
Turned out to be a good thing that I cut it out - the plywood wasn't as bad as the deck had been, but definitely had gotten wet and was starting to delaminate...some wet foam too...
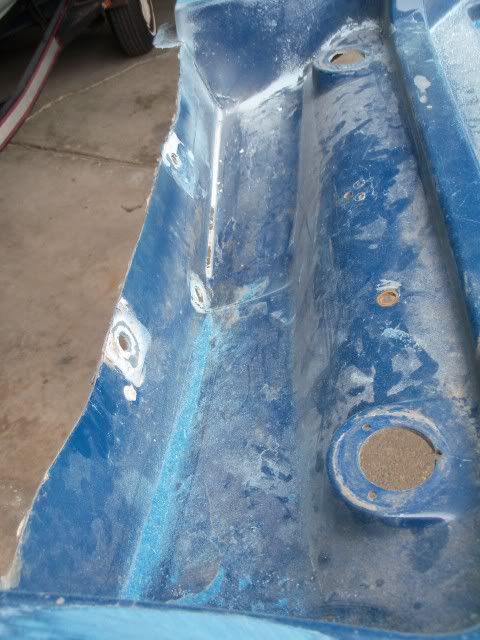
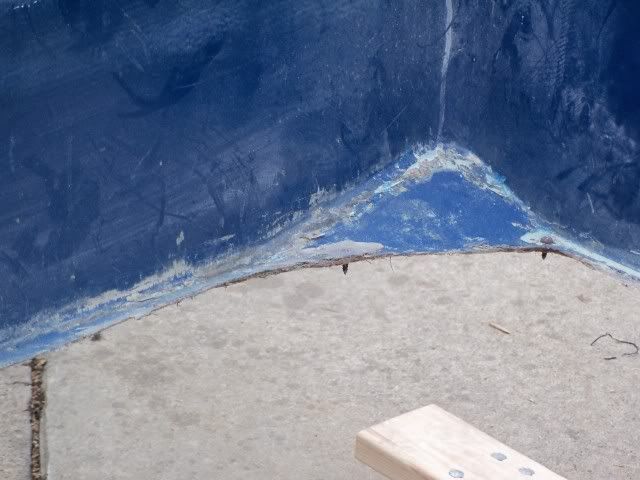
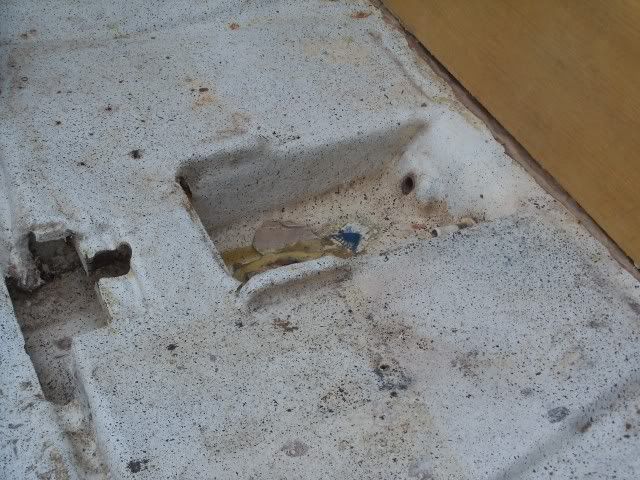
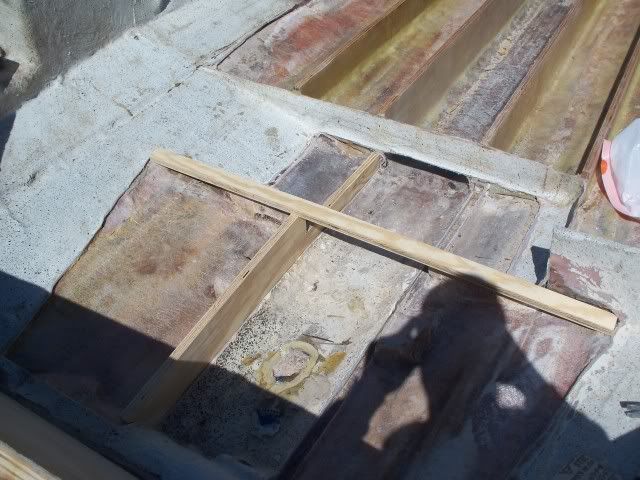
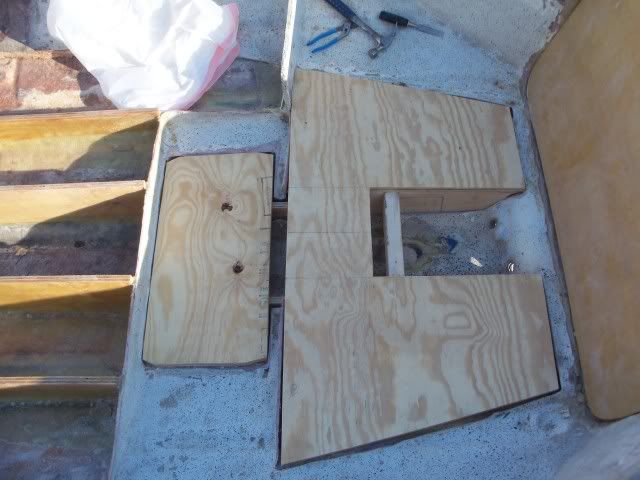
I also wanted to grind down these two nubs - there used to be 2 gas tanks in the back which sat against the nubs, but I'm replacing the tanks with a single plastic moeller tank that is big enough that it will have to sit across where the nubs are...
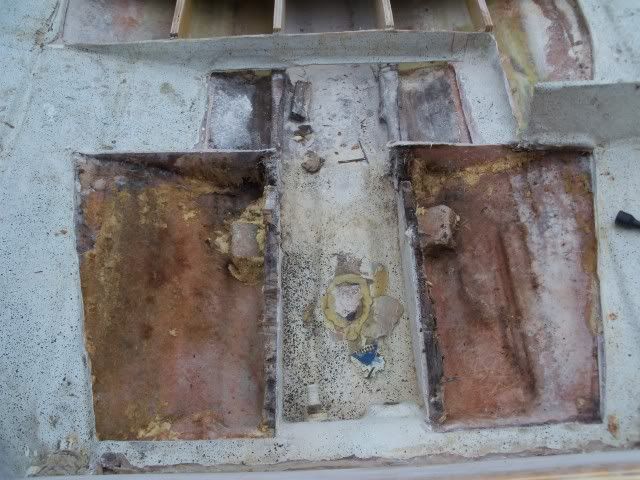
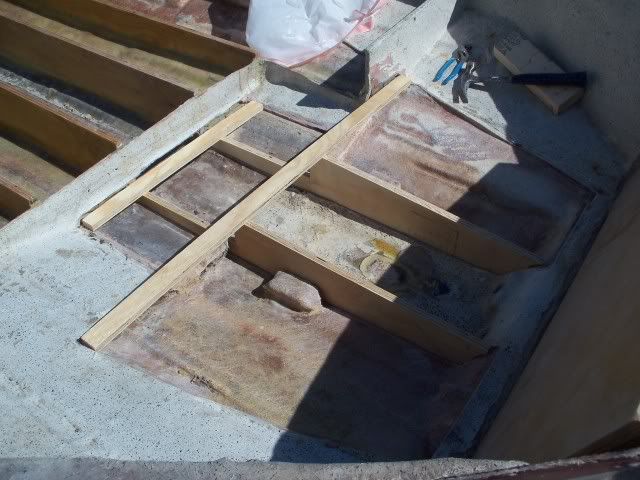
Before:
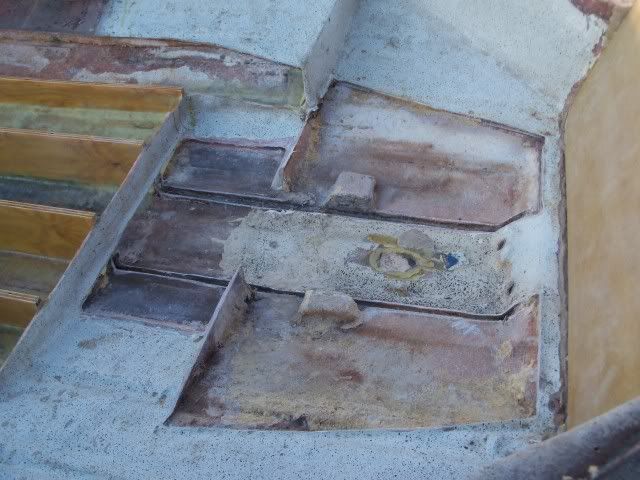
After:
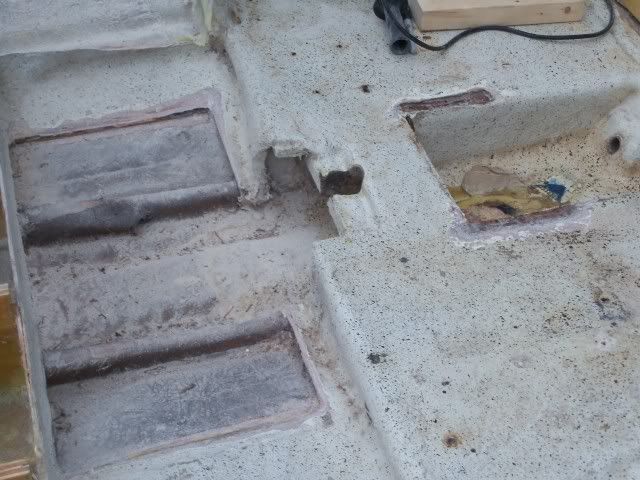
Unfortunately (or fortunately), it looks like I'm going to have to tear out these rear surfaces too - the plywood again wasn't as bad as the deck had been, but still wasn't perfectly dry. Better to find it now than later - plus, it gives me something to do tomorrow!