fishbone77
Petty Officer 1st Class
- Joined
- Apr 12, 2011
- Messages
- 304
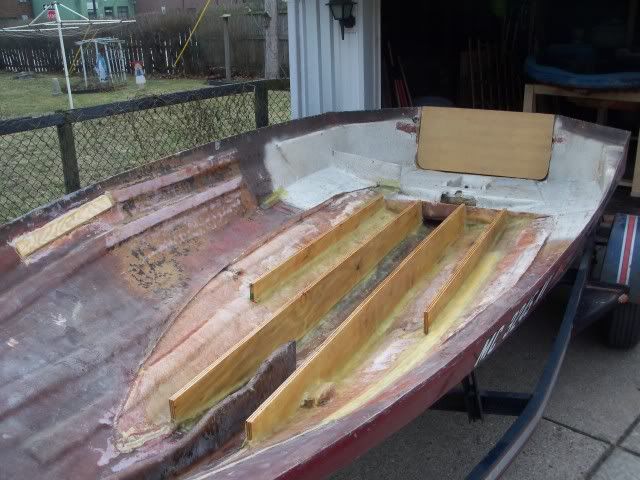
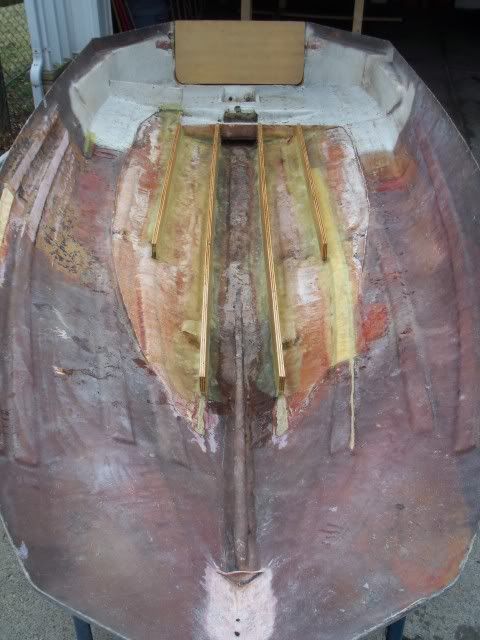
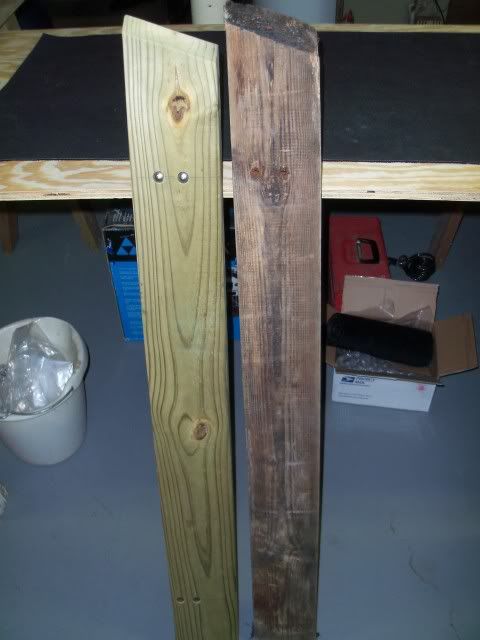
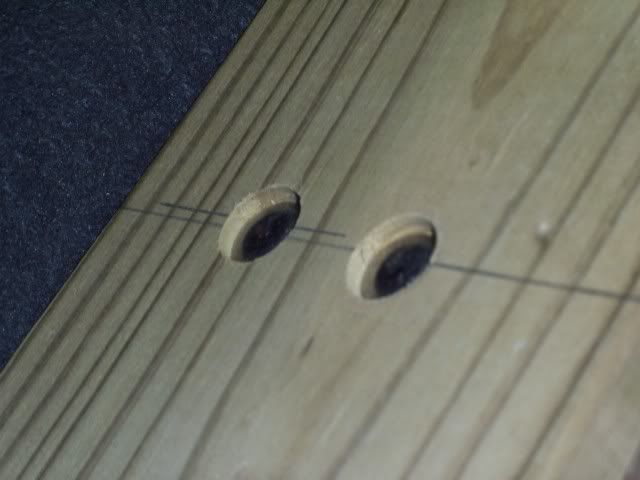
Re: 77 Skeeter Restoration
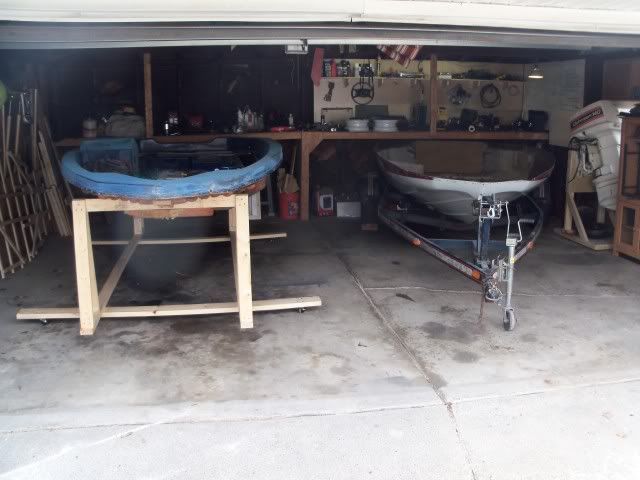
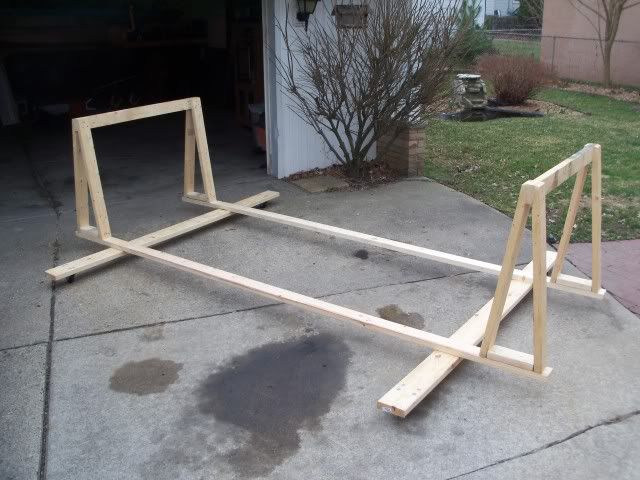
Got back out to the garage today to finish building the frame and actually popped the cap off again! Nothing fancy, but strong enough to hold the cap and stand up to moving it in/out of the garage. I used 2x6's (7 feet long) for the cross beams, bolted 2inch casters on them, and used 2x4's (12 feet long) to run the length of the frame. I had built the saw-horses last year as an extra set mostly for this purpose. When I'm done, I'm planning on keeping them, so I built them to be stackable.
Here's some pics of how the frame went together:
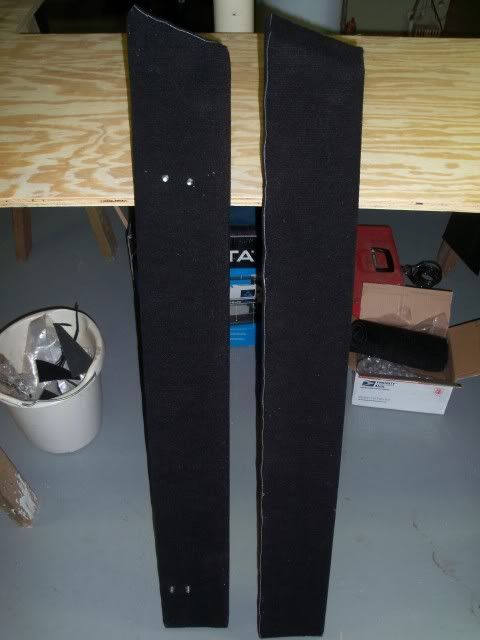
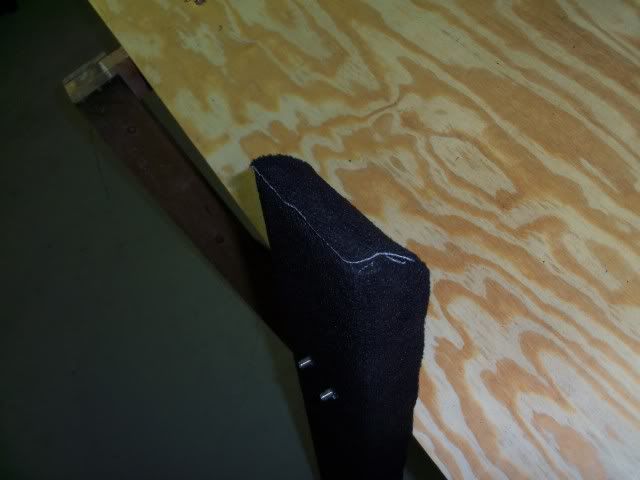
Materials set out:
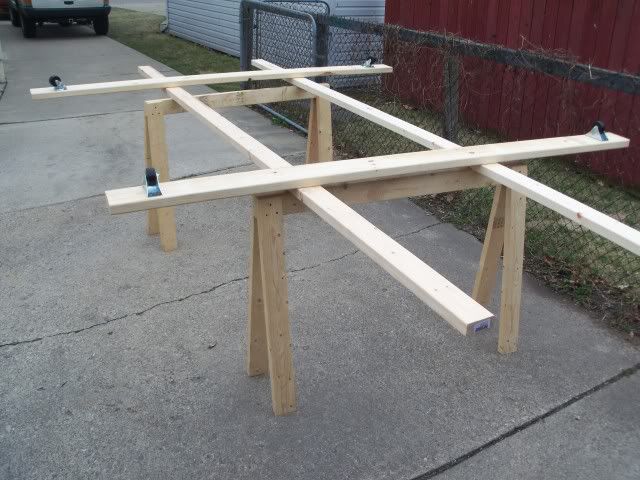
The Cart portion assembled:
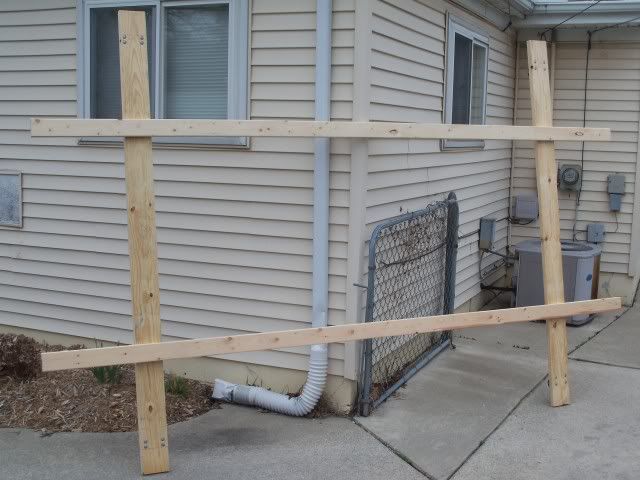
And the Frame completely assembled:
Then I backed the trailer in the garage to ratchet the cap up:
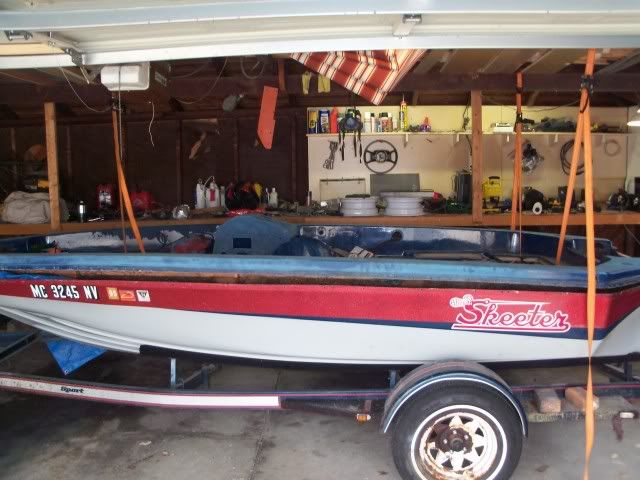
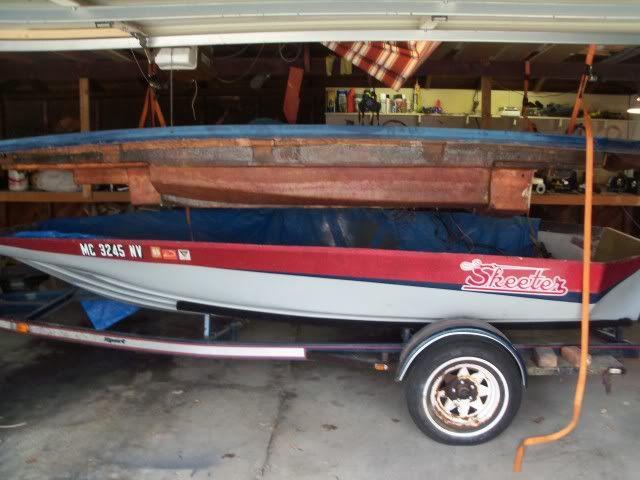
Every time I do this, its just an eerie feeling having that thing hanging in the middle of my garage...haha
Got back out to the garage today to finish building the frame and actually popped the cap off again! Nothing fancy, but strong enough to hold the cap and stand up to moving it in/out of the garage. I used 2x6's (7 feet long) for the cross beams, bolted 2inch casters on them, and used 2x4's (12 feet long) to run the length of the frame. I had built the saw-horses last year as an extra set mostly for this purpose. When I'm done, I'm planning on keeping them, so I built them to be stackable.
Here's some pics of how the frame went together:
Materials set out:
The Cart portion assembled:
And the Frame completely assembled:
Then I backed the trailer in the garage to ratchet the cap up:
Every time I do this, its just an eerie feeling having that thing hanging in the middle of my garage...haha