72 Thunderbird Formula w/twin 165hp Mercs

Mark72233

Ensign
Joined
Jul 11, 2014
Messages
926
Wood & Nurse I never really left. I am always out here keeping up with everyone's project quietly cheering everyone on and learning new and better ways but I have been missing the smell of that resin 😜😝😋
 

WOEISMEIGOTTA470

Petty Officer 1st Class
Joined
Aug 31, 2012
Messages
375
Mark, good to hear you'll be back in action! Did you get my PM?
We just got a bunch of snow dumped on us on Long Island, but I hope to soon be back working on my tub again also. I had to construct a new tarp system with pvc, and it held up fine during the storm so that's good. Hope the holidays were good to you. Spring is right around the corner!
 

Mark72233

Ensign
Joined
Jul 11, 2014
Messages
926
Woe I did get your PM. I will get with you on it once I pry some more cash out of the admirals safe 😏
 

Mark72233

Ensign
Joined
Jul 11, 2014
Messages
926
The last time I posted pics I had just gotten the gigantic over built engine mount PB onto the hull. So lets start catching up to where I am now.

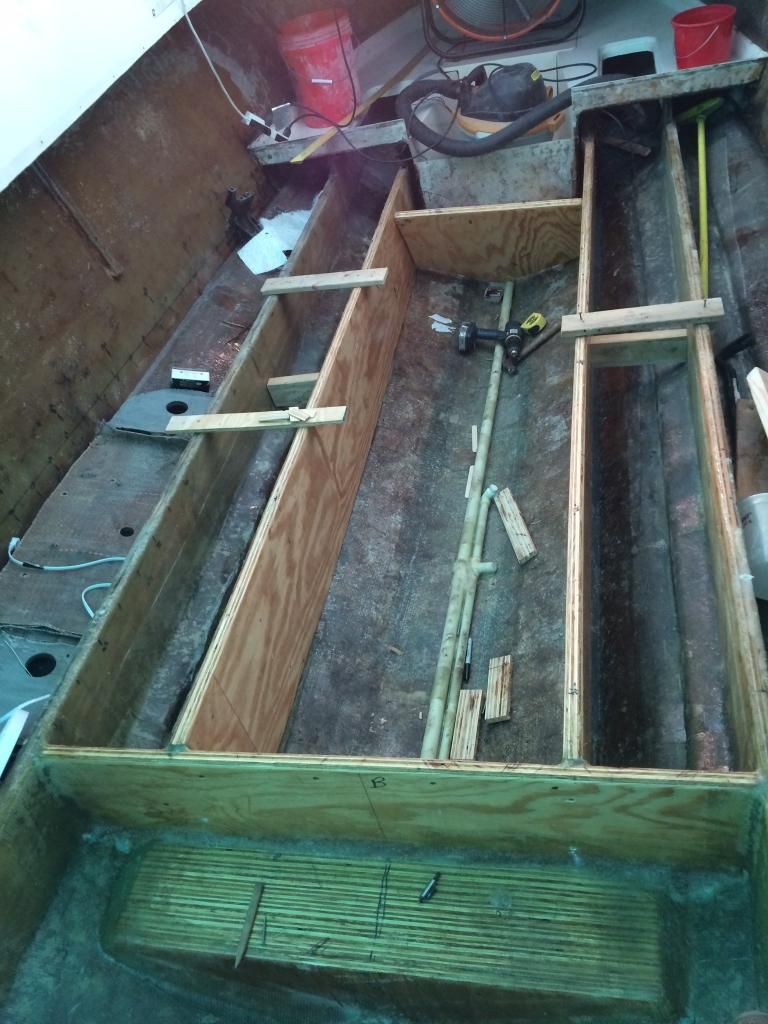
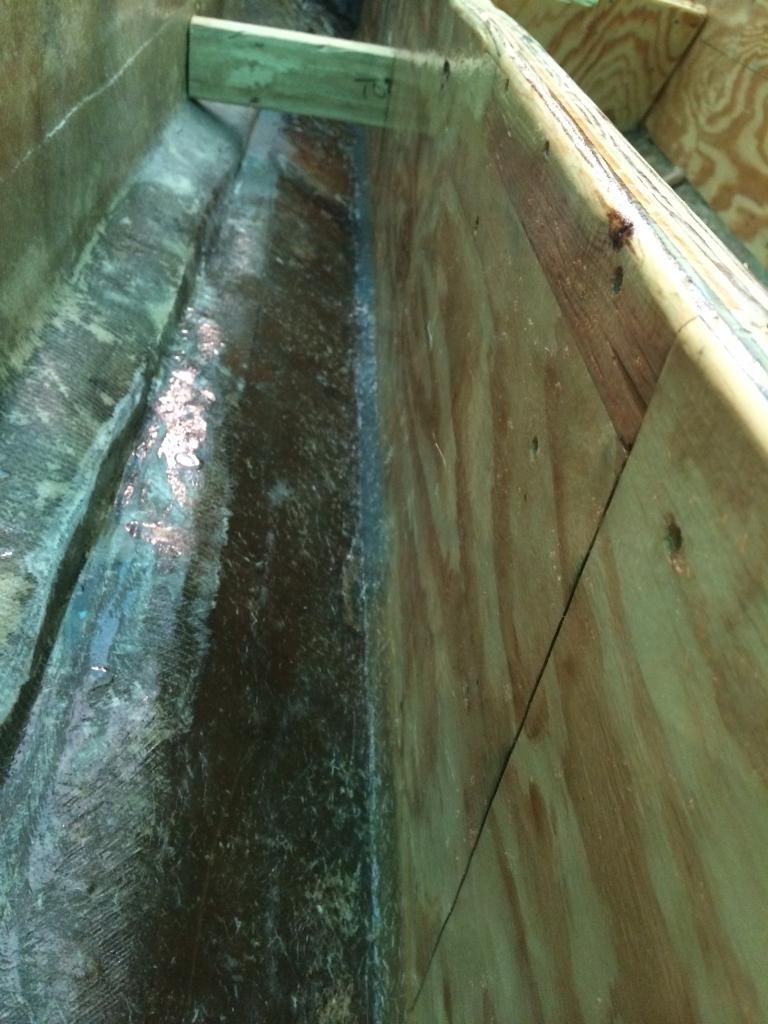
I made the inner stringers the same as the outer. 1/2 & 3/4 ply glued together with Titebond 3. PB to the hull and sistered onto the old stringers under the cabin floor that are still in great condition. I used SS screws to attached the overlap and then CSM & 2 overlapping layers of 1708 everywhere. This boat was always built like a tank. Even with all the stringers out of the back the hull would not give when I walked on it (I am 235lbs). Now that the stringer are back in it really feels solid. Next is bulkheads.
 

Mark72233

Ensign
Joined
Jul 11, 2014
Messages
926
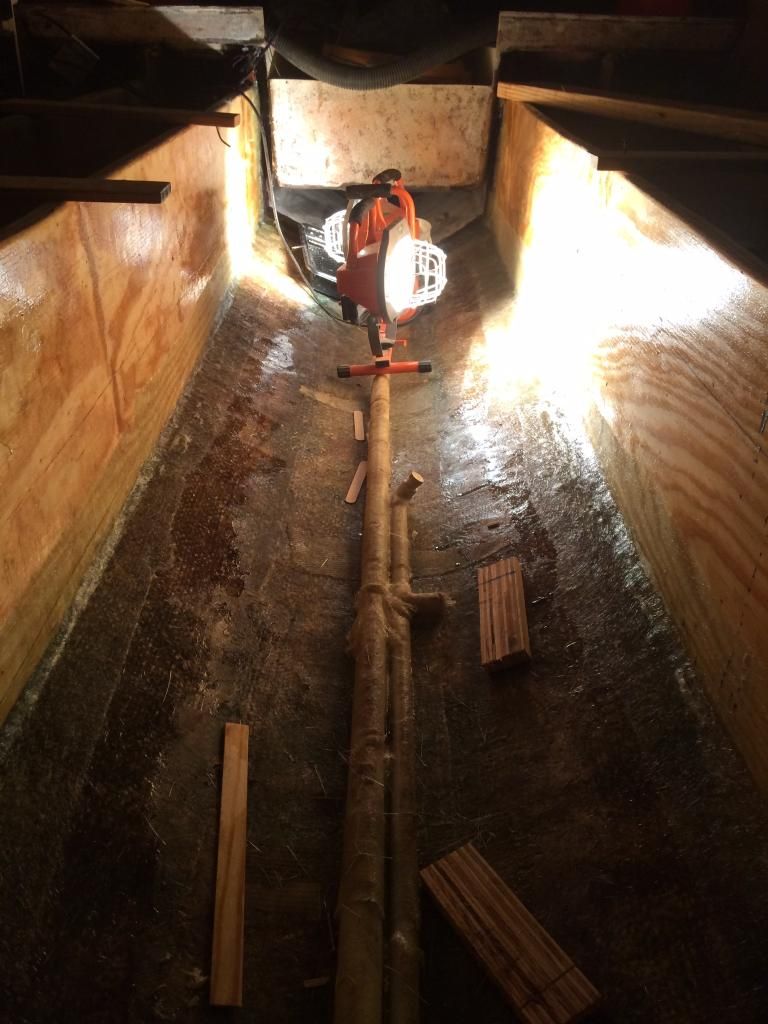
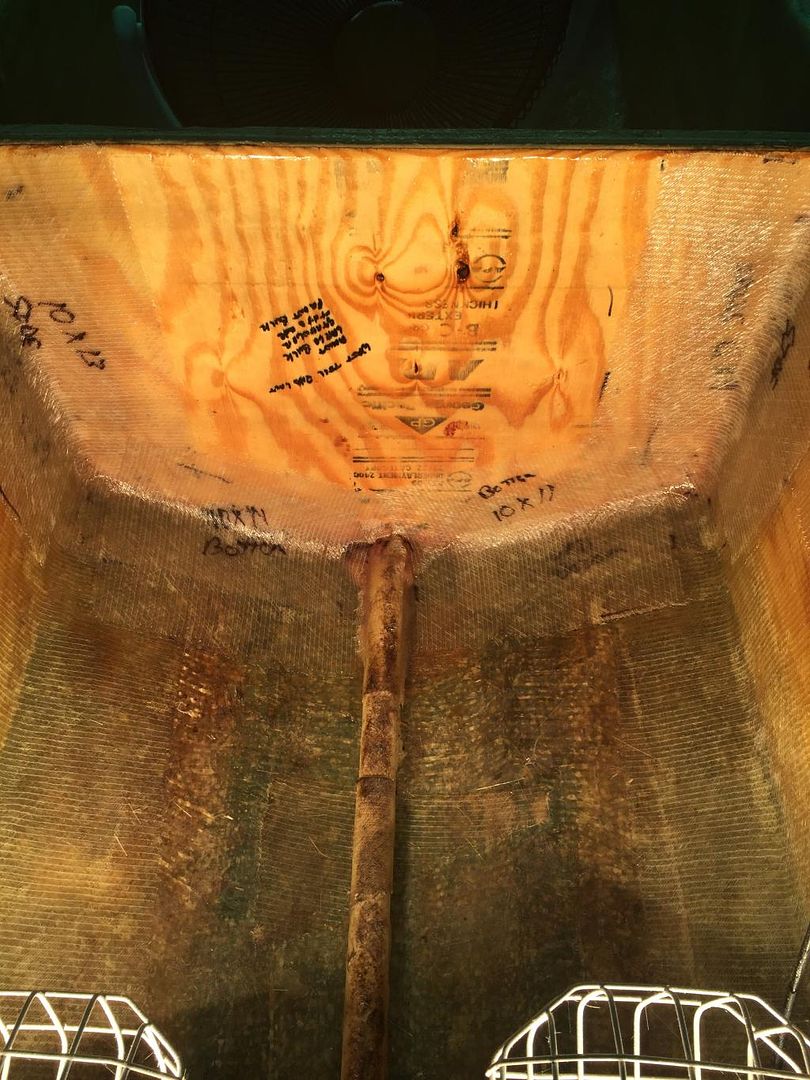
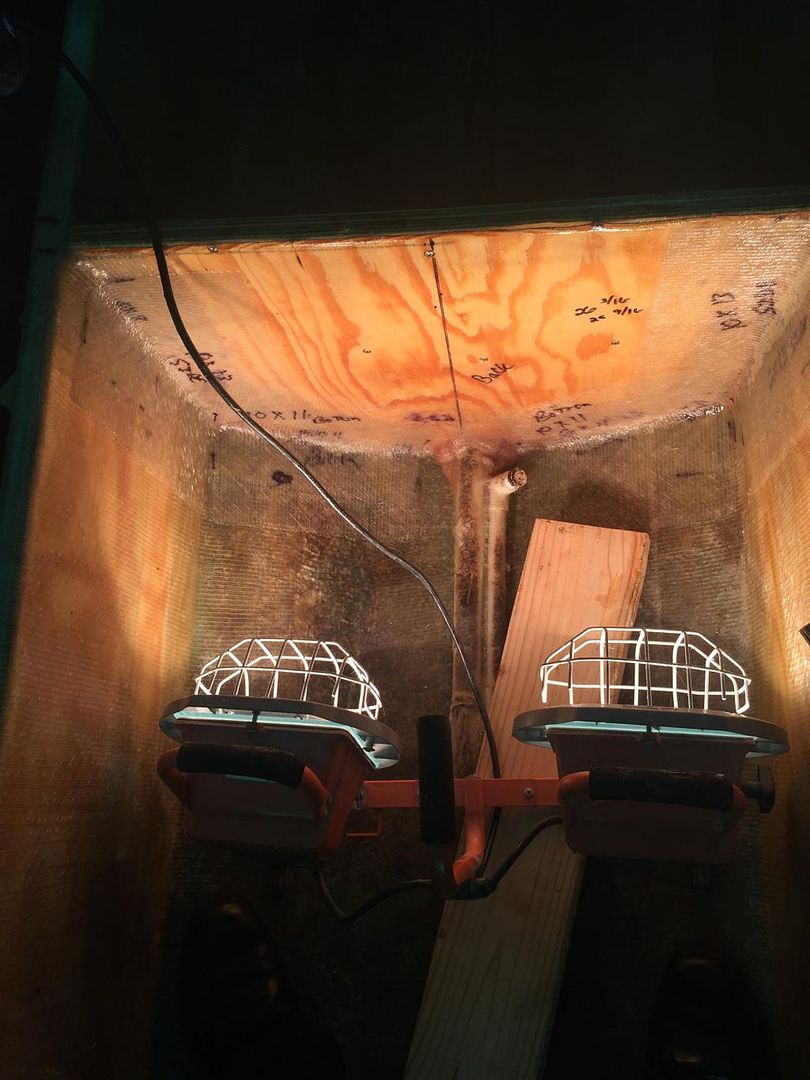
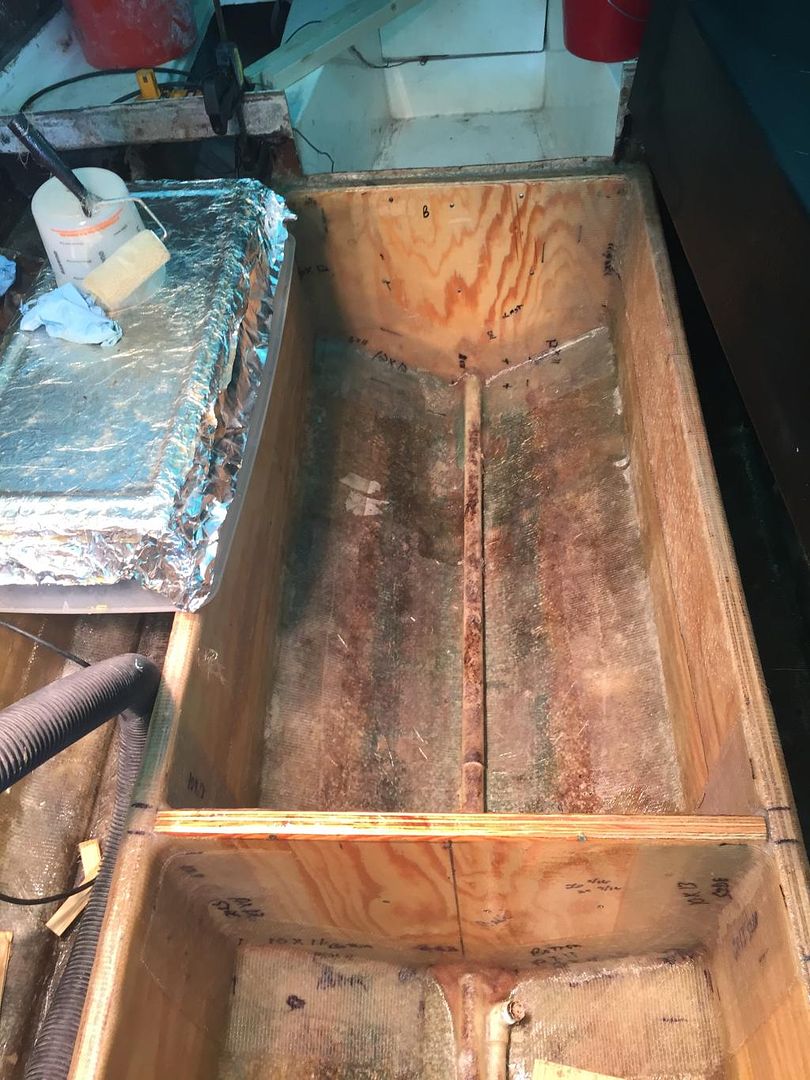
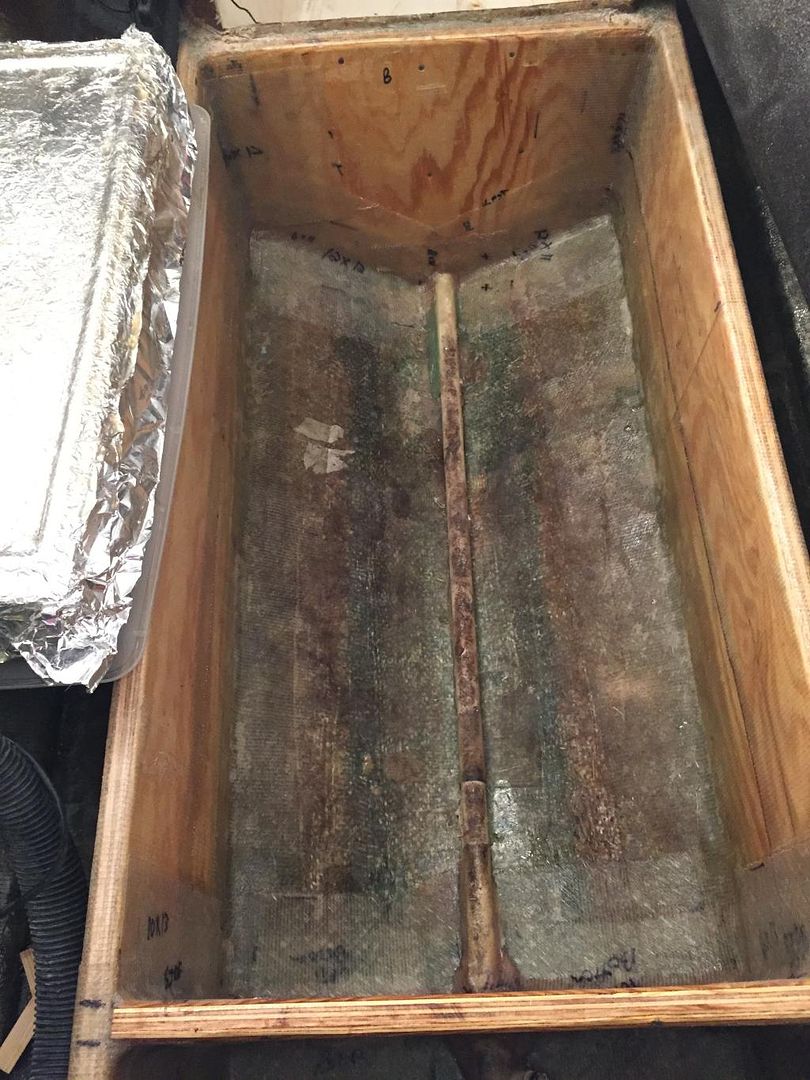
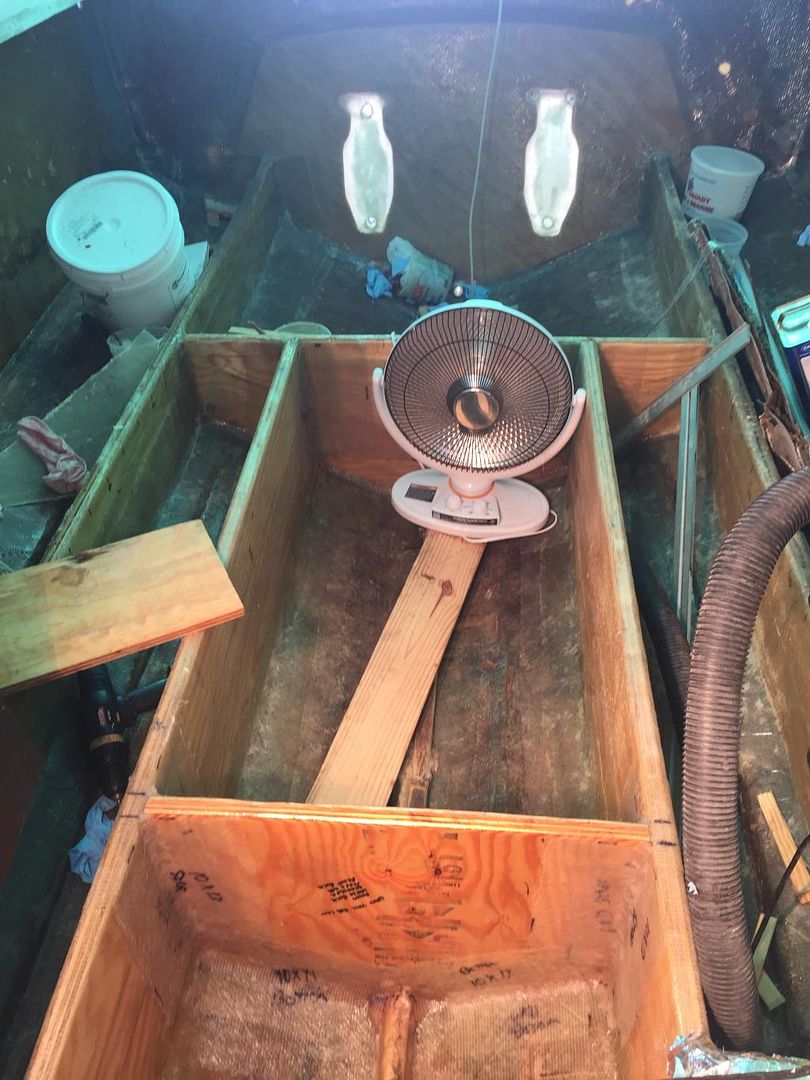
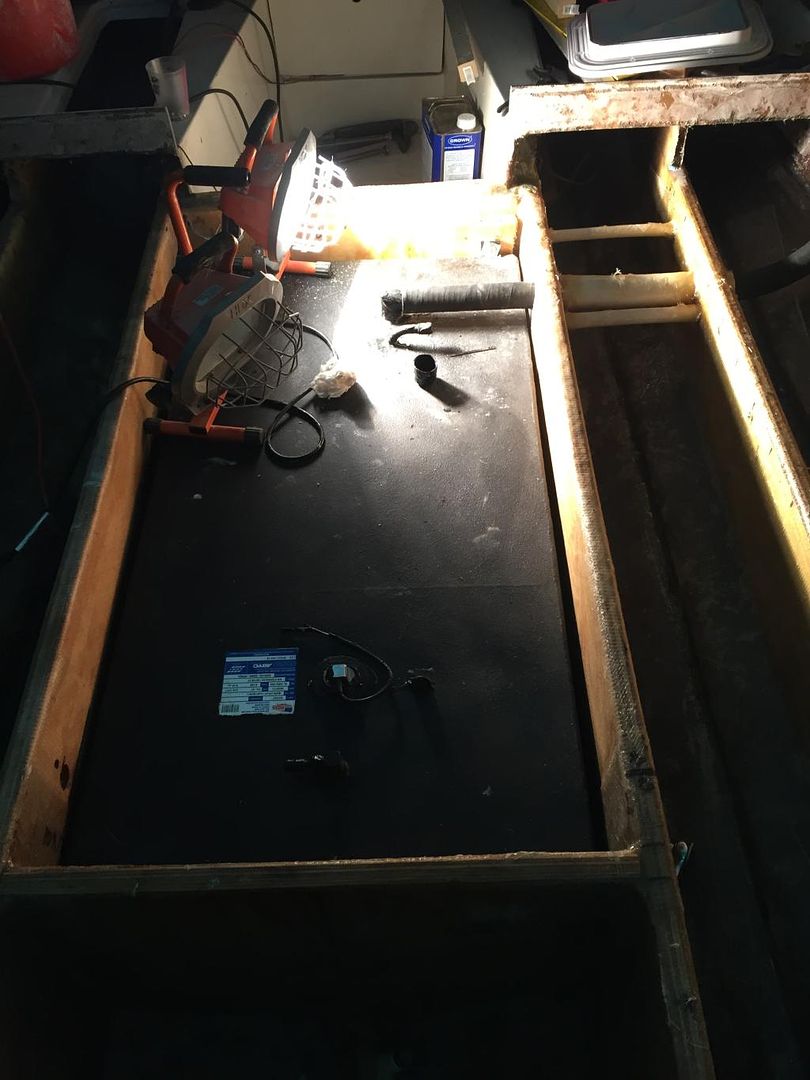
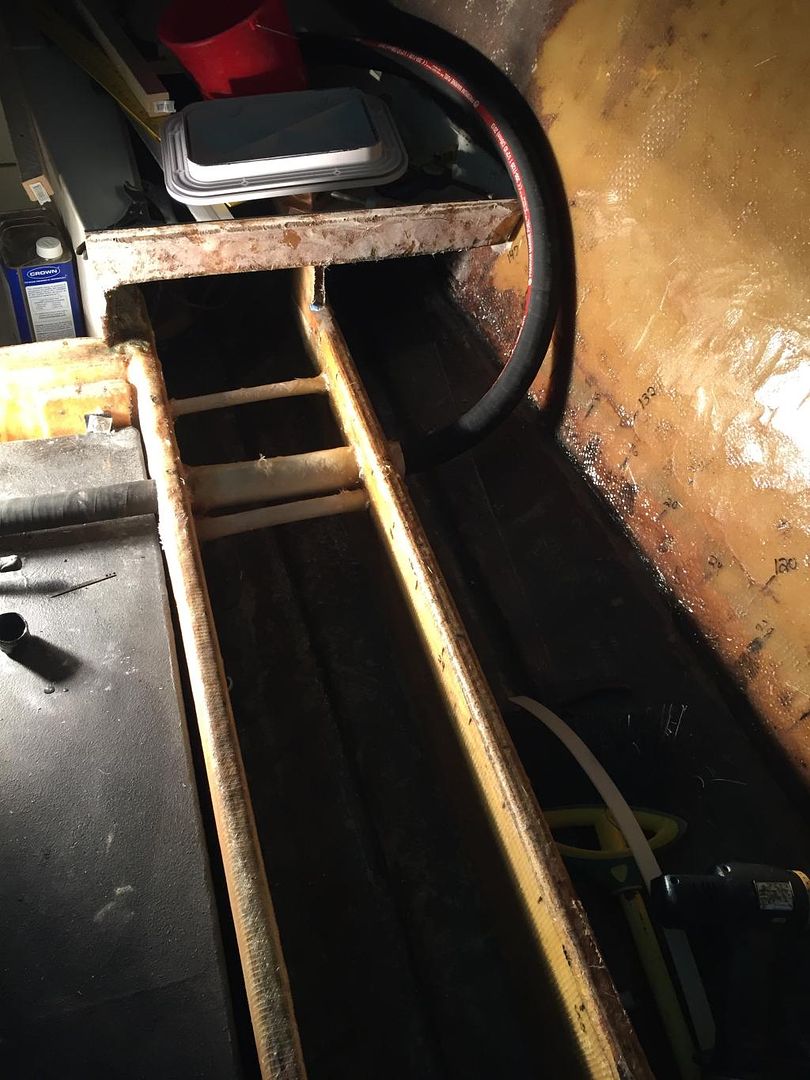
I forgot in the last post I also PB and tabbed in the main bulk head to the front of the motor mount and fiber glassed 2 bilge drain lines onto the hull. The 1" pipe runs from the very front bilge through the engine mount and into the rear bilge. The 2nd pipe is 3/4" and will provide drainage for my below deck fish box and extra anchor storage box. I cut out over sized holes in the bulk heads and engine mount so there would be PB all around the pipes. This will seal the wood and not allow water any where near it. The two long areas between the stringers is going to be under deck fishing pole storage they are over 10' long going under the cabin floor. The large center bilge is 8' long, 25" wide and in the center about 15" deep. The front 4' is the under deck fuel tank coffin. The fuel tank I had fabricated new reducing the original 110 gallon tank down to 64 gallons. The rear 4' will be 2/3 fish cooler and 1/3 anchor locker.
 

Mark72233

Ensign
Joined
Jul 11, 2014
Messages
926
Once I am done with each piece I put into the boat it will be PB to the hull, tabbed in with CSM, 2 overlapping layers of 1708 and a final layer of CSM covering the entire piece of wood so it is not exposed to water. Some pieces even have a layer of 1708 over the entire piece.
 

Mark72233

Ensign
Joined
Jul 11, 2014
Messages
926
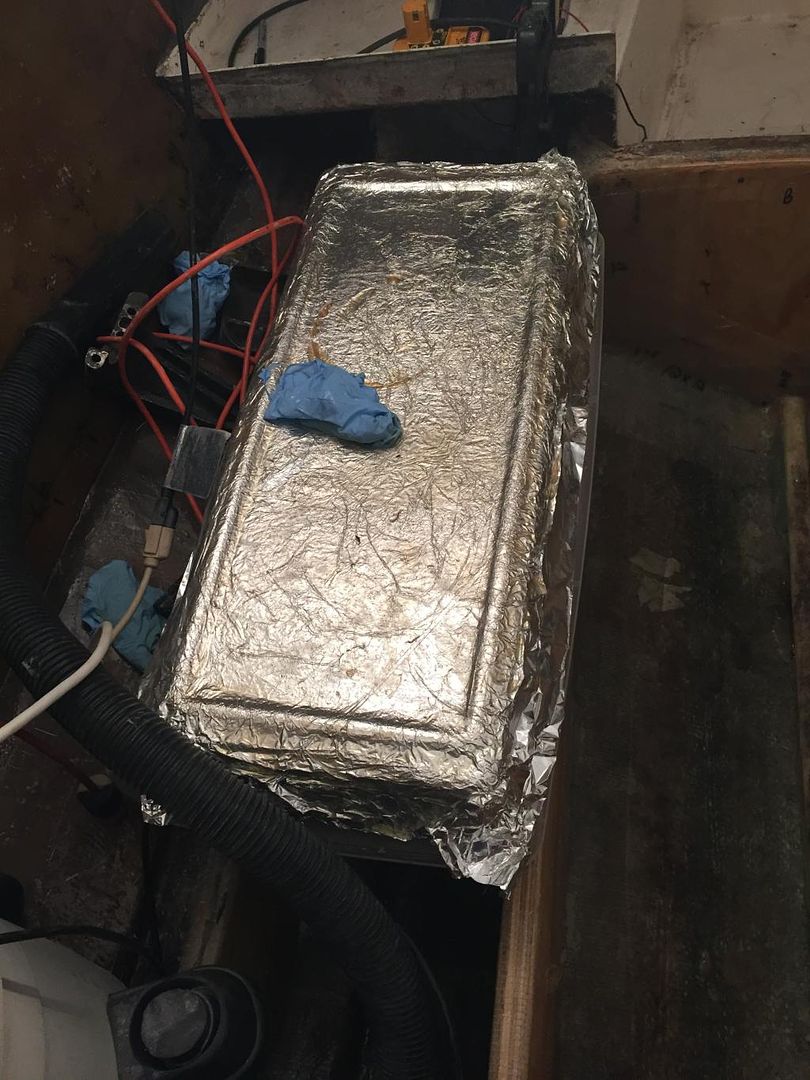
I have been using this plastic container flipped upside down as a wetting out table. The edges have a slight rise so resin doesn't drip over the side to bad. If I need a dry clean surface I put another piece of tin foil off a big roll I get at Sam's.


Mark72233

Ensign
Joined
Jul 11, 2014
Messages
926
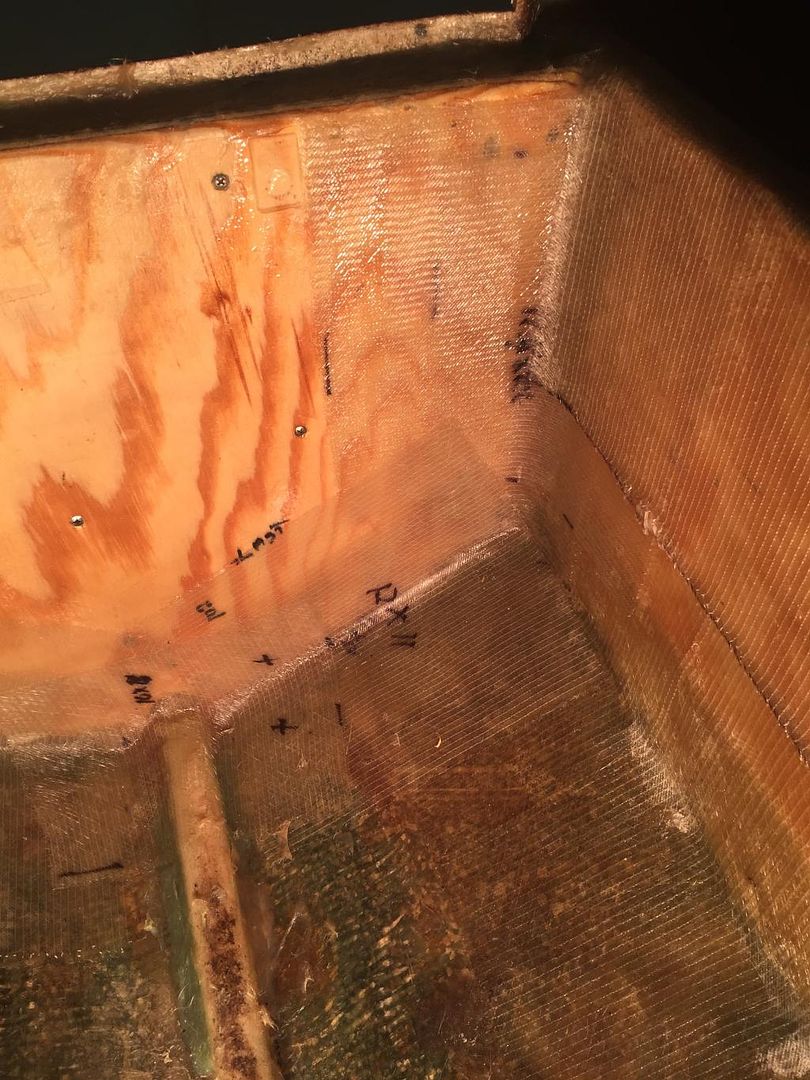
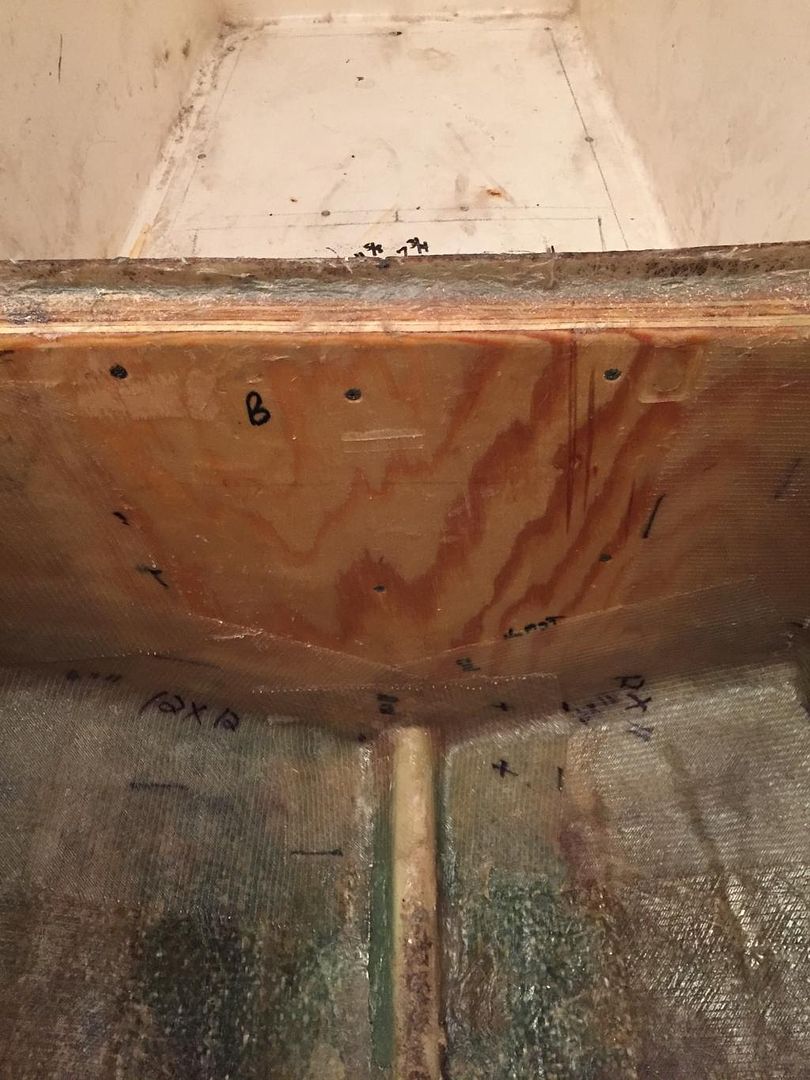
Close up of the front bulk head being tabbed down. I joined it with the cabin fiberglass using PB.


Mark72233

Ensign
Joined
Jul 11, 2014
Messages
926
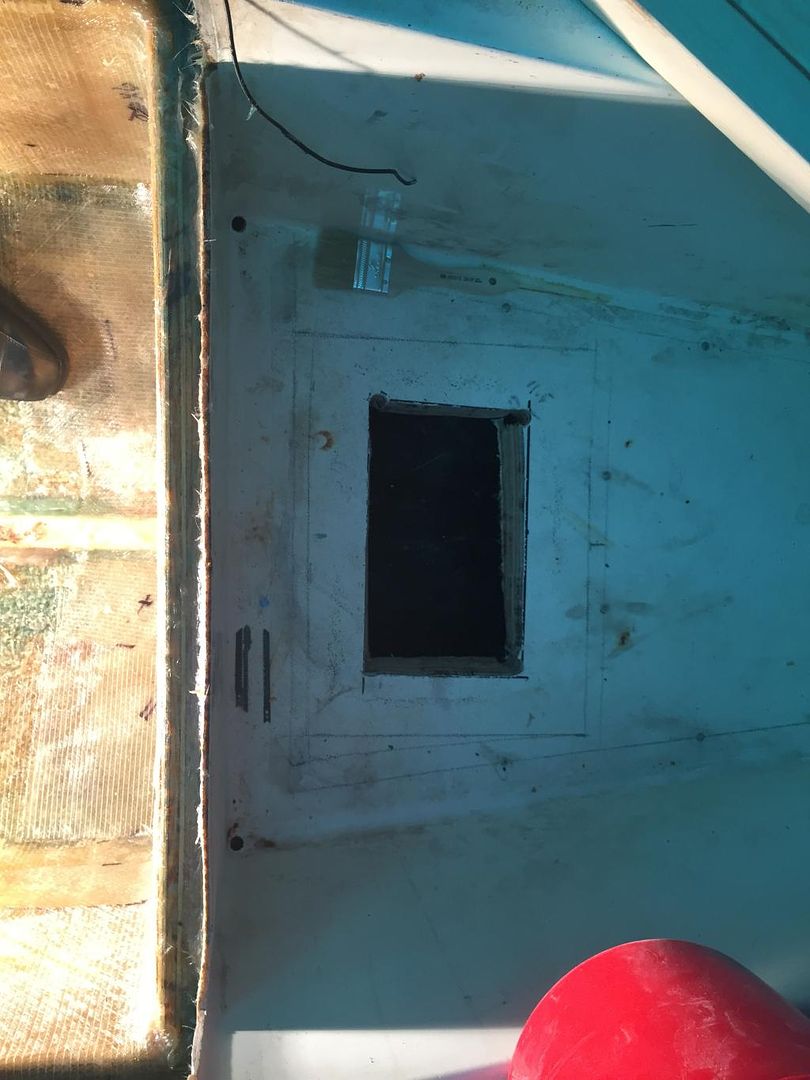
I cut a hole in the floor of the cabin so I could tab in the rear of the front bulk head to the hull. I attached a layer of 3/4" ply under the floor before I installed the bulkhead to strengthen the floor not that it needed it because once I cut the hole I realized it already had a piece of 3/4" ply in place from the factory. Now it has
1 1/2". I have a new hatch to place in the hole that measure 10" by 14". Gives me an inspection port as well as another small storage area.


kcassells

Fleet Admiral
Joined
Oct 16, 2012
Messages
8,715
Mark,
Good to see you back. Man you have "Been At IT" that's for sure. Work looks really great. I was wondering whats you been up to. Nice!
Looks like a Fishing Machine getting built there!
 

Mark72233

Ensign
Joined
Jul 11, 2014
Messages
926
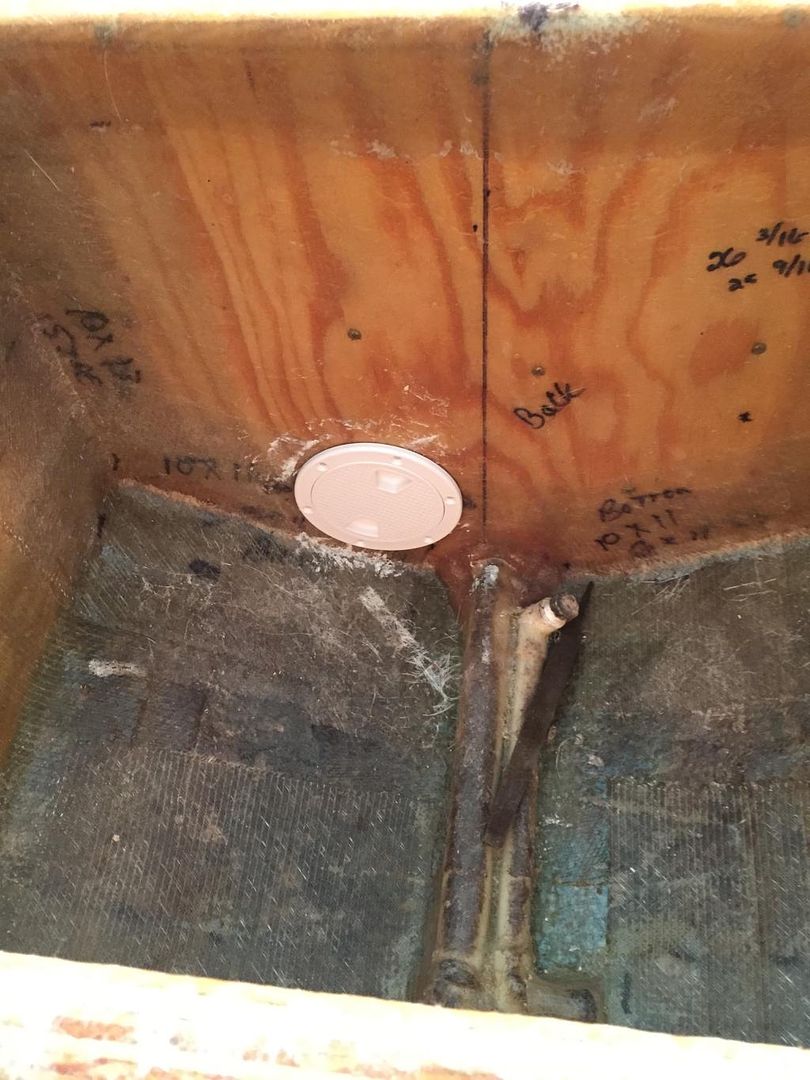
Still playing catch up on here. I got the tank installed. I should have taken pictures of it as I installed it. The tank was originally a 110 gallon. I had a new one built that is about 64 gallons I think. I had them coat it in cold tar and I sprayed another coat on it myself. The tank rested on two 2x2's running fore to aft so I installed this one the same way except I bedded them a lot better in PB and covered them with CSM and 1708. I then matted Nylon strips the length of the 2x2's so the tank was resting on the nylon not the wood. The strips are about a 1/4" thick and 1" wide and held down with 5200. I then put a think coat of 5200 on top of the nylon so the tank would be bedded down onto the nylon and hopefully no air or water gets between the tank and the strips. The original tank was encapsulated in foam. That was the only foam that Formula put into this boat and after reading everything about foam and aluminum tanks and seeing what it did to the old tank I decided not to use foam on this one. The tank sits in the coffin only touching on the bottom and front and rear brackets. On the front and rear brackets I used SS lag screws into 2" of plywood that is covered in CSM and 1708. I used more of the nylon strips as washers again keeping the tank from actually touch wood. When the factory installed the original fuel fill, vent and supply hoses they just cut out oversized holes or notches in the bulkheads and stringers. They didn't even seal the wood. This time I cut clean holes through the stringers and used PVC pipe to run the hoses through. I sealed the PVC pipes in PB between the wood and PVC. I used a flexible permatex where the hose goes through the pipe sealing it up on both side so water cant intrude through those areas. Once the deck is in place the only way water can get in is through the 4" screw in deck inspection plates I will install over the Fill & vent hose on one side and the supply hose on the other side. I also installed another 4" inspection plate low down on the rear bulk head so I could occasionally look under the tank at the aft side where water would collect if it was to get into this area.

 
Top