72 Thunderbird Formula w/twin 165hp Mercs

Woodonglass

Supreme Mariner
Joined
Dec 29, 2009
Messages
25,928
Merry Christmas Mark
images
 

Mark72233

Ensign
Joined
Jul 11, 2014
Messages
926
Merry Christmas Mike and a Happy New Year. May 2016 bring us joy, happiness and a completed boat projectšŸ˜„
 

Mark72233

Ensign
Joined
Jul 11, 2014
Messages
926
I have made a little progress over the last couple of weeks and I finally got a weekend where it was warm and not raining.

First the trailer. I got the second set of springs and installed the second axle. I also got the bunk carpet installed as well. I used carpet glue to attach it to the bunk boards and then stainless steel staples to secure it on the bottom. Now I just need to get the boat back on the trailer (After it gets painted) and adjust the bunks to their final positions. I also got a dust cover for the front bar and the bearing buddies.
 

Mark72233

Ensign
Joined
Jul 11, 2014
Messages
926
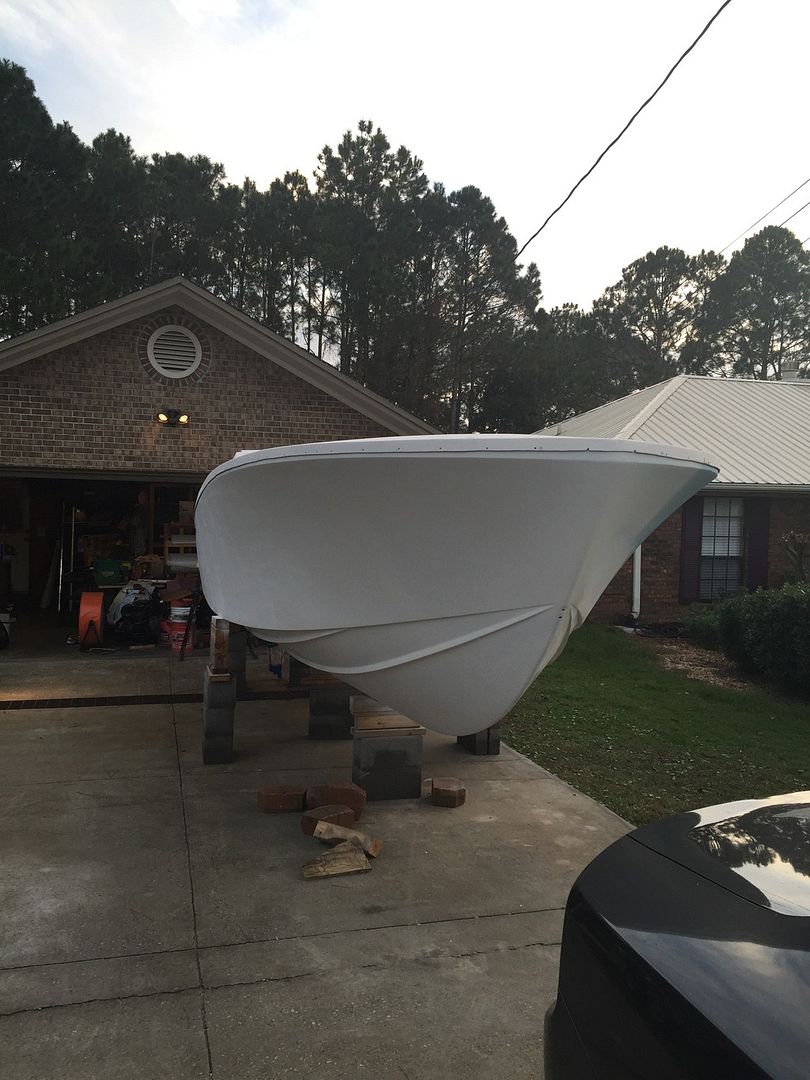
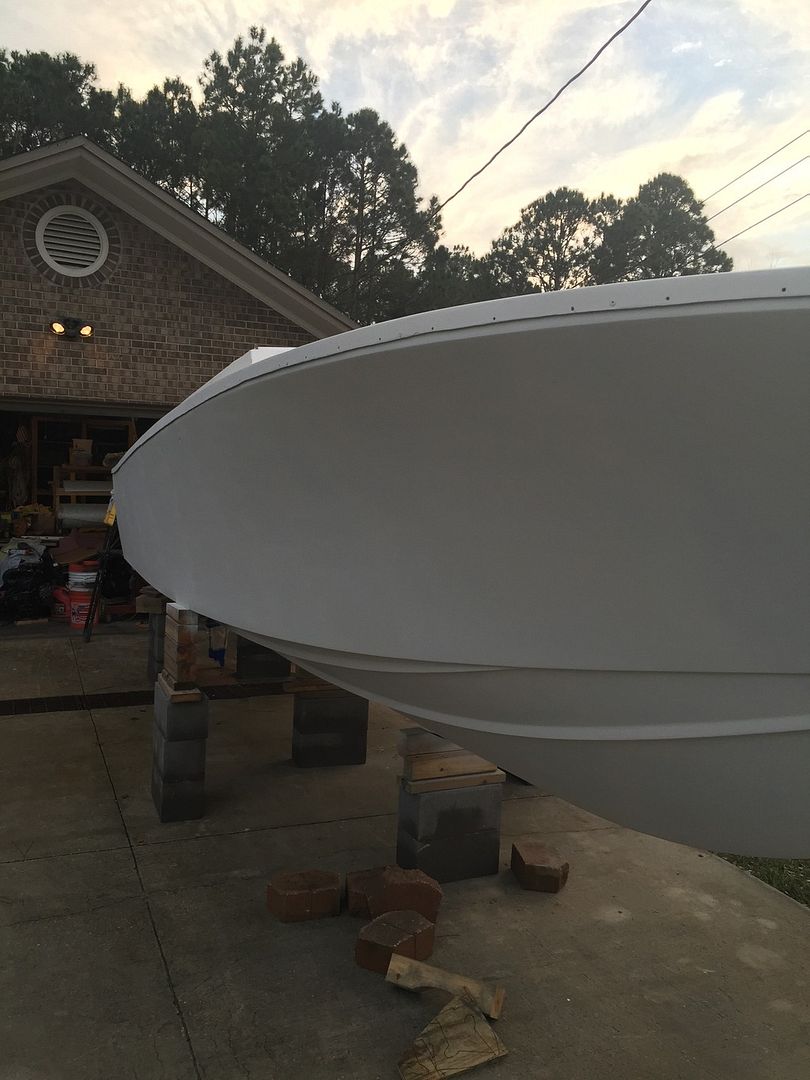
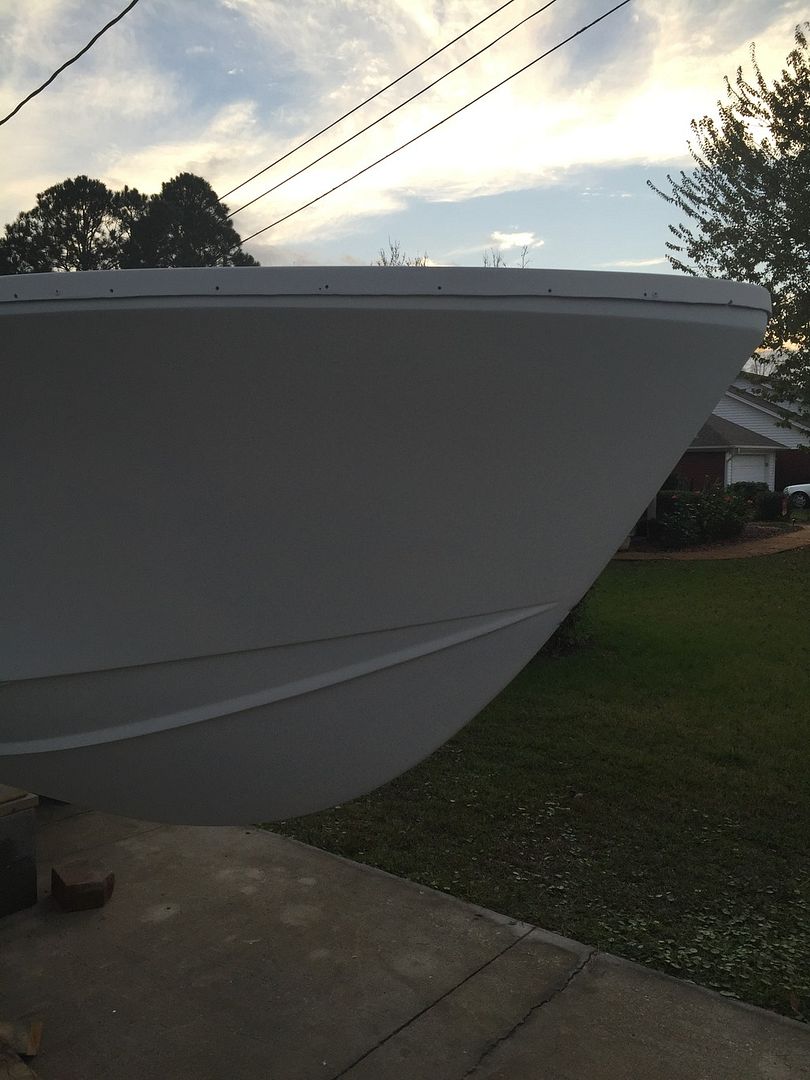
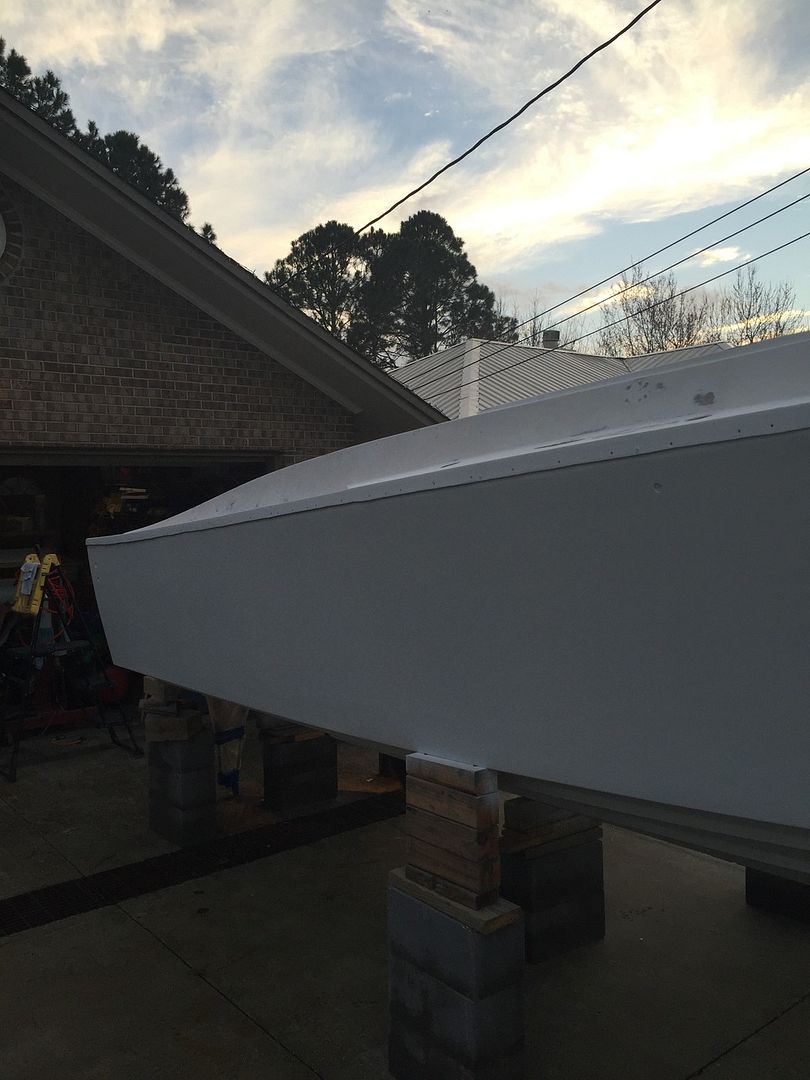
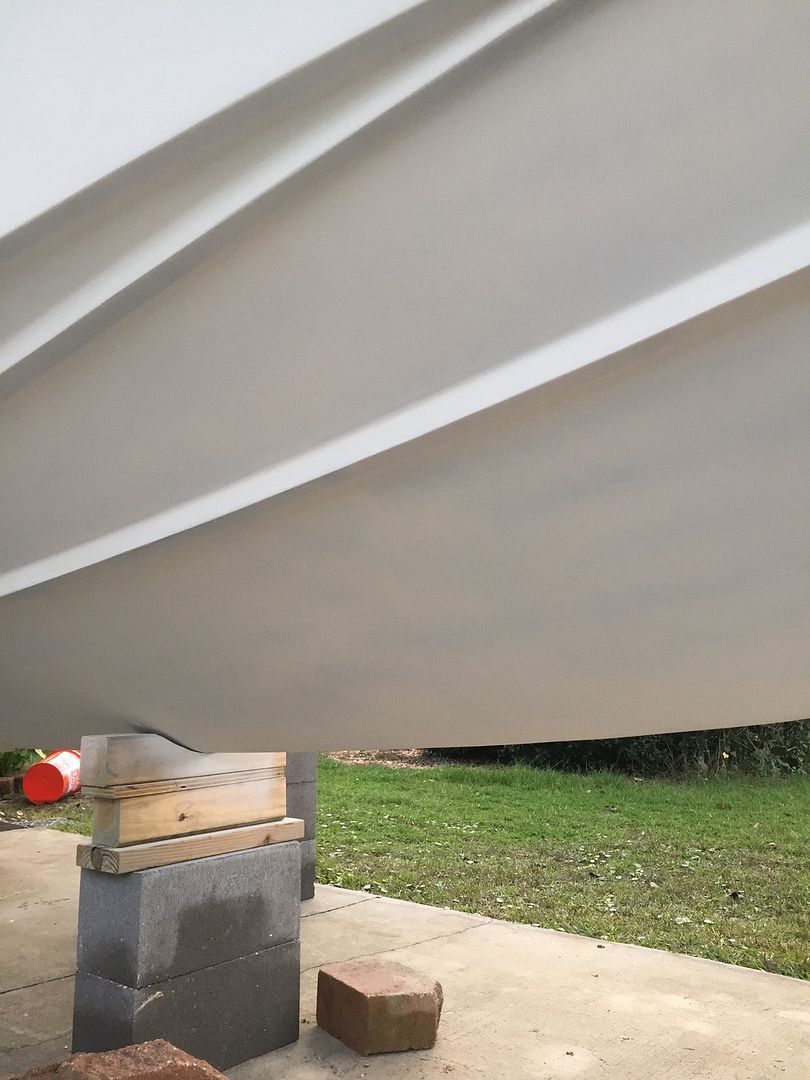
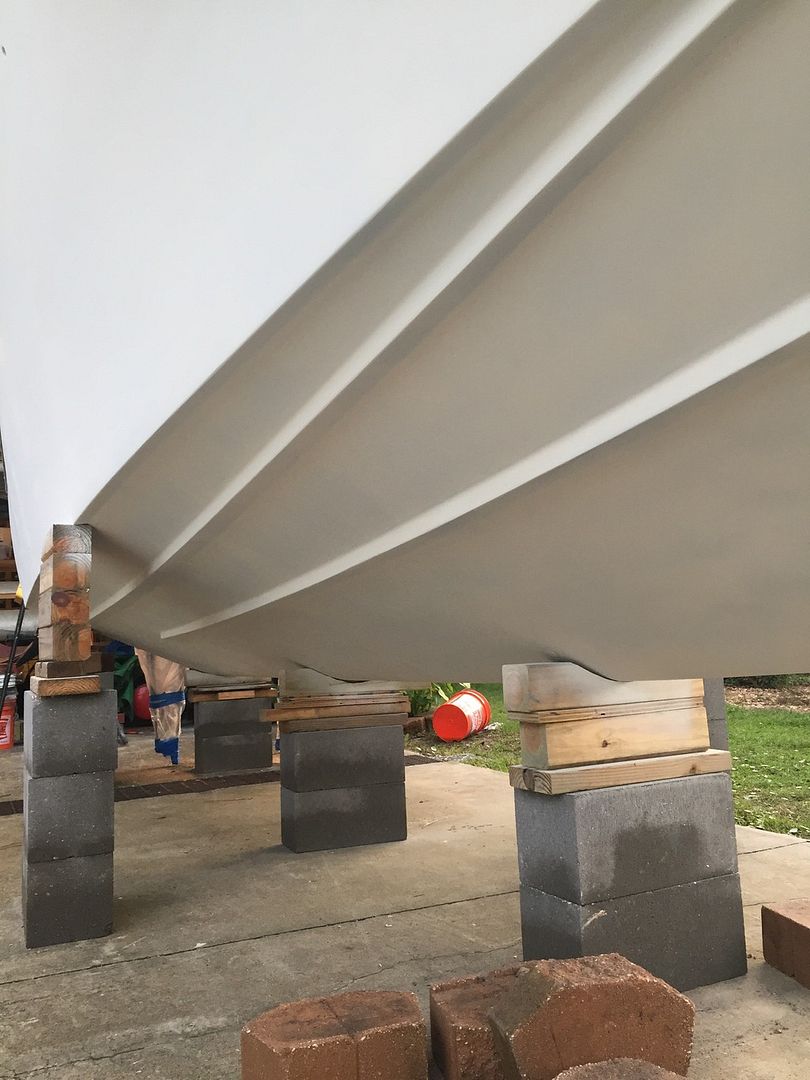
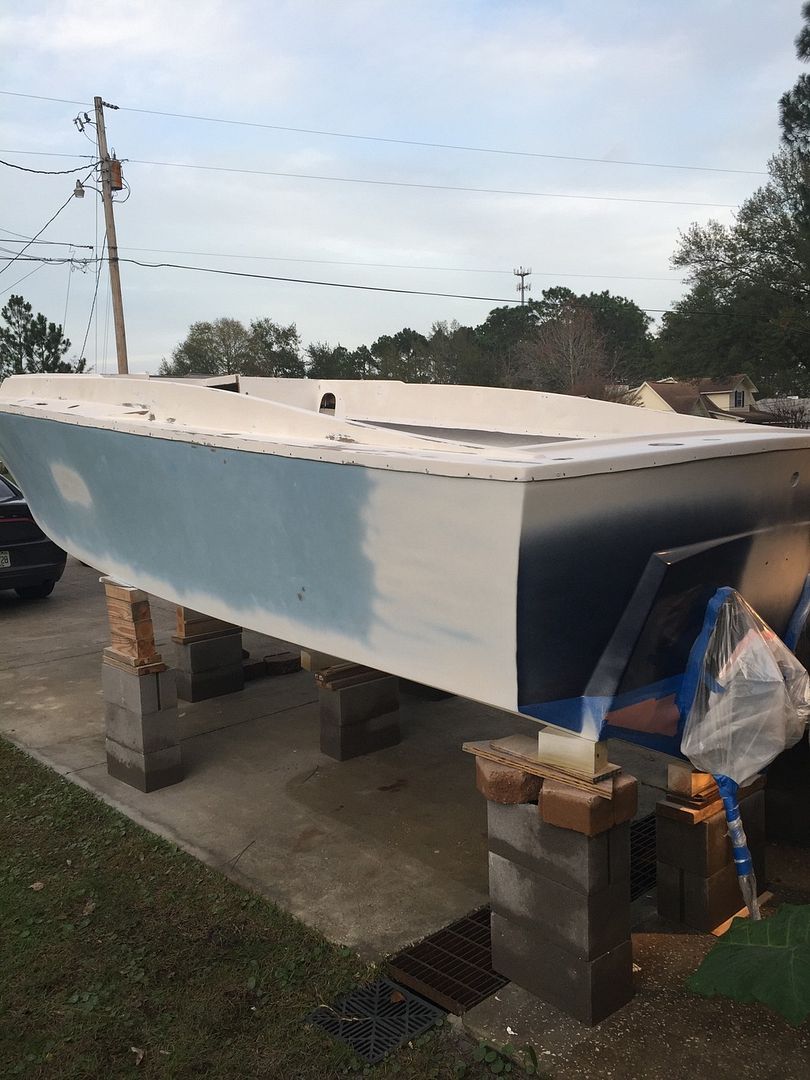
Like I said earlier we finally got a weekend where it wasn't cold or raining, 80+ degrees for Christmas so I decided to try and put a coat of primer on the sides and bottom. And when you see the pics yes I still have the boat sitting on cinder blocks not the RR ties.

I sanded the transom at the top where I had taken the rubrail off after I painted it and where I had to drill 4 holes for different items after I had painted it and messed up my pretty blue paint.


I got a good coat on the bottom and the right side and its revealed a bunch of spots I have to go back and tweak with some more filler but its looking better. I used the 2 quarts of primer I had and Lowes doesn't have any more in stock so I bought some today on Amazon.


Ran out on the port side.
 

Corjen1

Lieutenant Junior Grade
Joined
Aug 24, 2013
Messages
1,237
Mark, you are doing great work!! I have to say, each time I see her sitting on the blocks I freak out some.... looks to me like the pix of the starboard side, the blocks are leaning a bit. Same with the port side. Please be careful!! Im glad you have good neighbors, mine would have lost their minds if I did the GT in the driveway!! Looks like you have a good grsp on the HPLV! Check your fan width.. Hope you have a great new year and a splash next year!!!
 
Last edited:

Mark72233

Ensign
Joined
Jul 11, 2014
Messages
926
Thanks Cor, yeah the neighbors are great and offer to help if needed. They have all been promised rides out to Shell Island and fishing trips. Good eye on the fan width I didn't notice it right away while I was painting my thumb kept rubbing the fan knob and shutting it down. As far as the blocks the boat is resting on the 3 keel blocks and the 2 furthest rear out ones. The ones towards the front out side were after thoughts that I put there for when I climb in the boat and get up in the front. They are pretty vertical and I placed wedges at the top cut from the 4x4s so they are tight. The boat is sitting rock solid and not that it is light at probably around 2000lbs or more but without all the bolt on stuff and neither engines or outdrives it isn't its normal dry weight of around 4500-5000lbs. I know 2000lbs is more than enough to leave a mark if it fell.
 

Woodonglass

Supreme Mariner
Joined
Dec 29, 2009
Messages
25,928
Yup fan width and Volume. Primer needs to have a LOT of volume to go down correctly since you usually don't thin it to much.;)

IF you want to buy a Cheapo Purple HF gun you can modify it to shoot primer like this...https://www.youtube.com/watch?v=Qs1pRuLTckE and it works really well.
 
Last edited:

goin70

Cadet
Joined
Oct 6, 2007
Messages
19
Mark, The project is coming along nicely and what an improvement with the uniform primer finish. What primer have you used and are you pleased it?
I know it probably feels like the project will never end, but, you have made awesome progress and the Formula looks great. I have a Formula project boat and I dream of being at the stage you are. Have a Happy New a Year and 2016 will be the year of the rebirth of your Classic Formula 233. Thanks for keeping your project watchers involved in the rebuilding.
 

archbuilder

Vice Admiral
Joined
Sep 12, 2009
Messages
5,697
Hey Mark, great work! It was nice to see something green in your yard by the way, it was 65 here on Christmas.....now we are ice coated! Keep up the progress, one step at a time!
 

Mark72233

Ensign
Joined
Jul 11, 2014
Messages
926
Its been a few weeks since I last posted but made a little progress here and there. Some of these I don't have pics to prove it happened so I will have to take some pics and post later.

I decided to not spend big bucks on a windlass and instead I cut a hole in the deck where I can just open a anchor hatch and deploy the anchor from there. Once the hatch was delivered I realized I would have a problem mounting it on the deck because near the bow the deck is not flat so the hatch wont sit flush and if I screwed it down it would flex the hatch where it would never close. So I cut out the hole for the hatch, reinforced the deck with a piece of 1/2 plywood and then built a curb out of hairy peanut butter where it was thin at the center line of the deck/hatch and would raise up towards the right and left about 1/2 an inch. Once that hardened I put the hatch back in place and marked the outer edge and then took a Dremel and cut around the outer edge forming the curb. I sanded the inside edge flat and smooth but the inner lip of the hatch covers that part anyway. I than took some thickened resin with fairing compound and fixed the outer edge of the curb where it will have a smooth curved transition down to the deck. I still need to finish sanding it but overall it is looking pretty good.
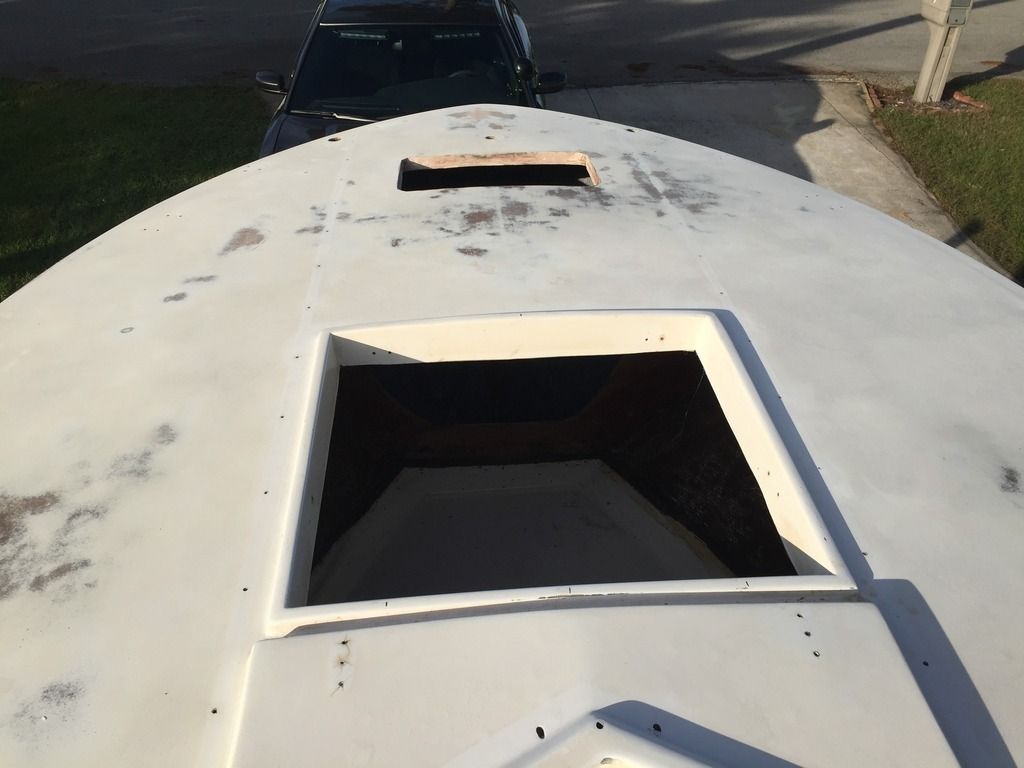
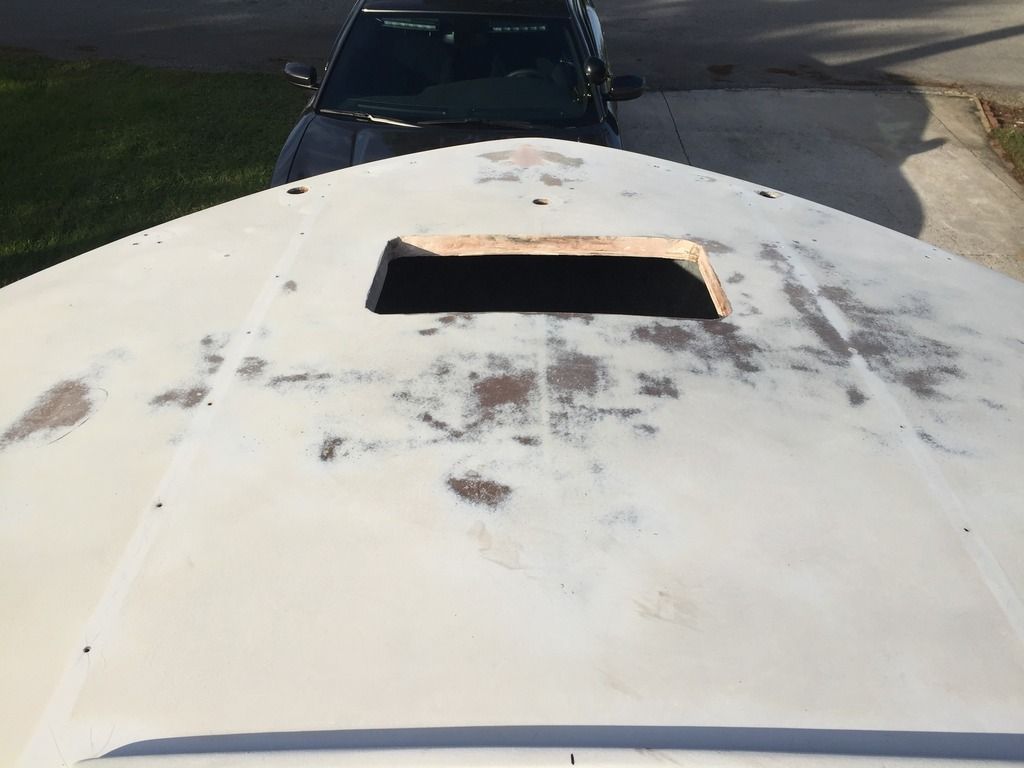
I had to cut out part of the old bulk head in the bow to get the 1/2 piece of plywood installed. I will be replacing this piece with a new piece of plywood that will be attached on all sides unlike the old one that didn't attach at the top.
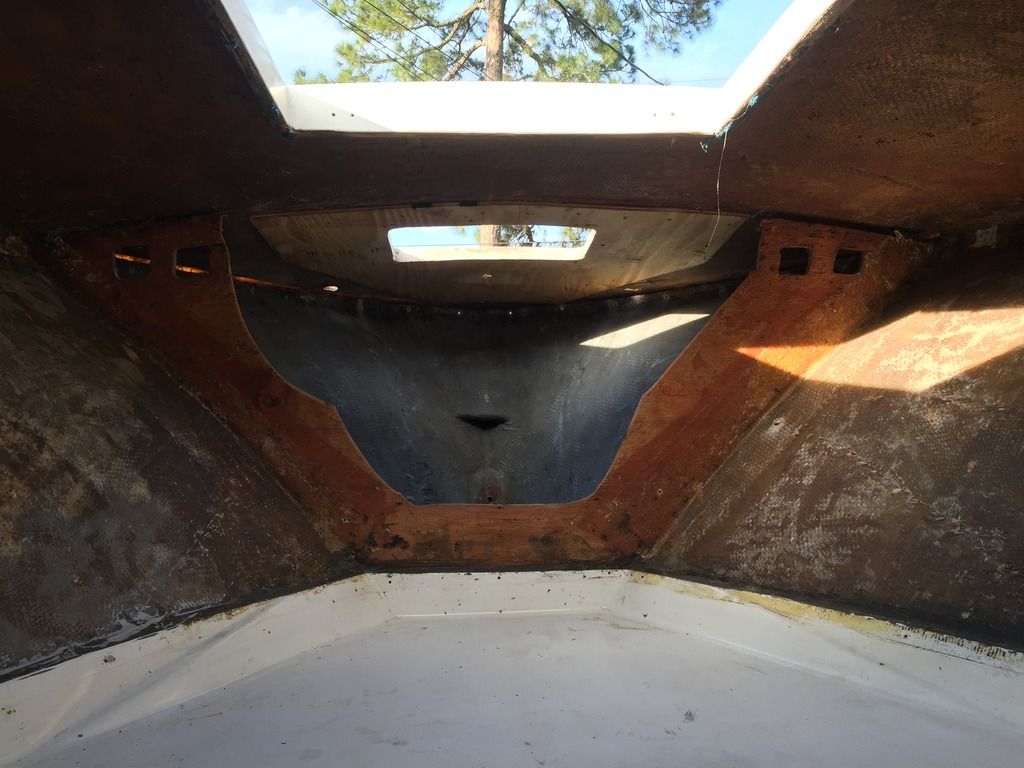
I attached the new piece of plywood with PB and then short stainless steel screws into the old plywood on the deck which surprisingly is still in great shape. I guess since it is so far forward and lucky for me any screw holes had silicone in them the wood is very well preserved even after 43 years.
 

Mark72233

Ensign
Joined
Jul 11, 2014
Messages
926
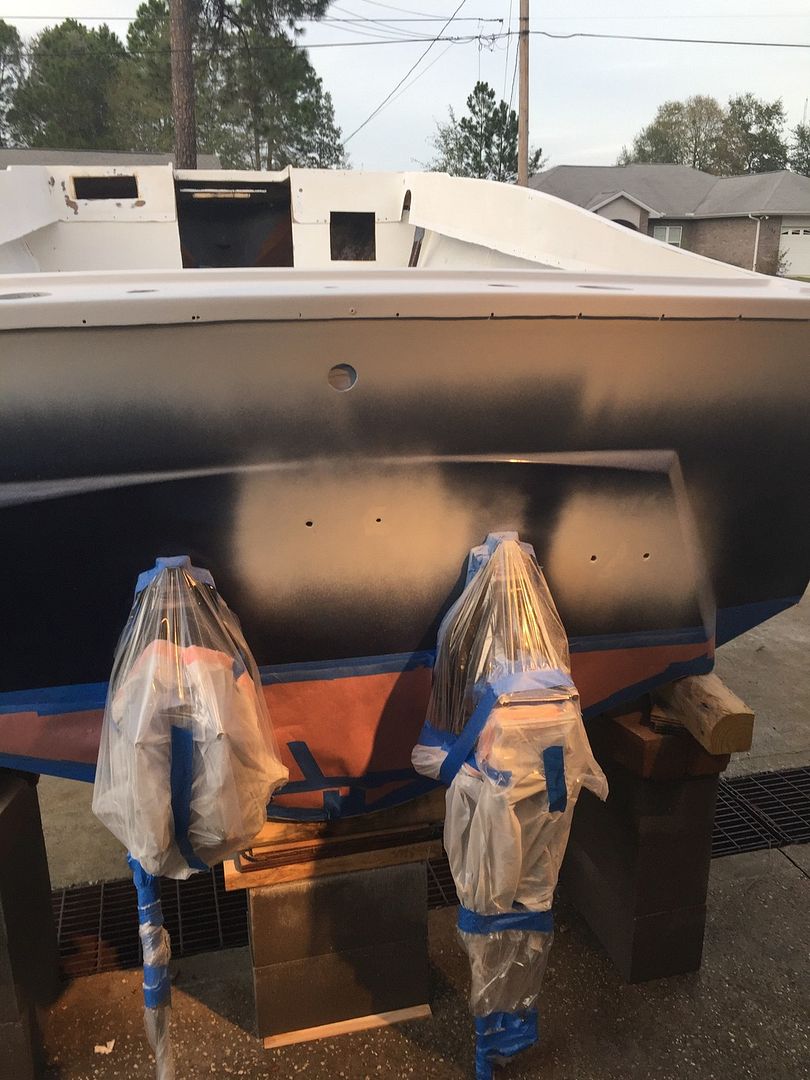
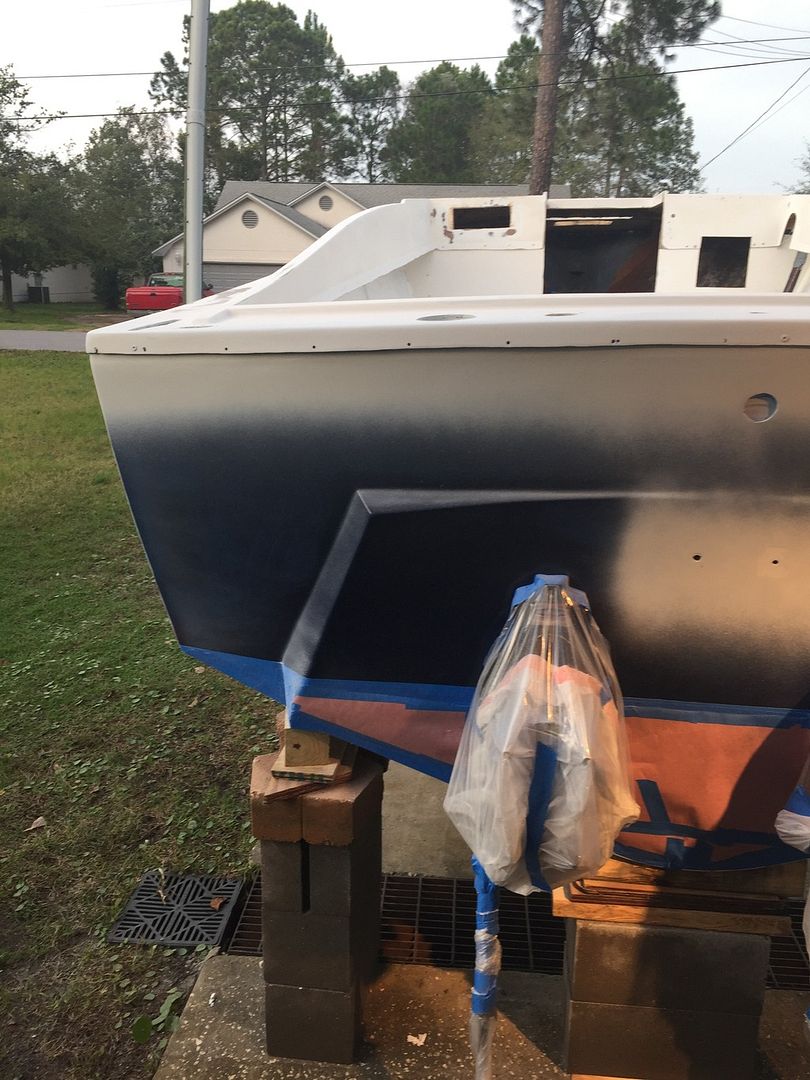
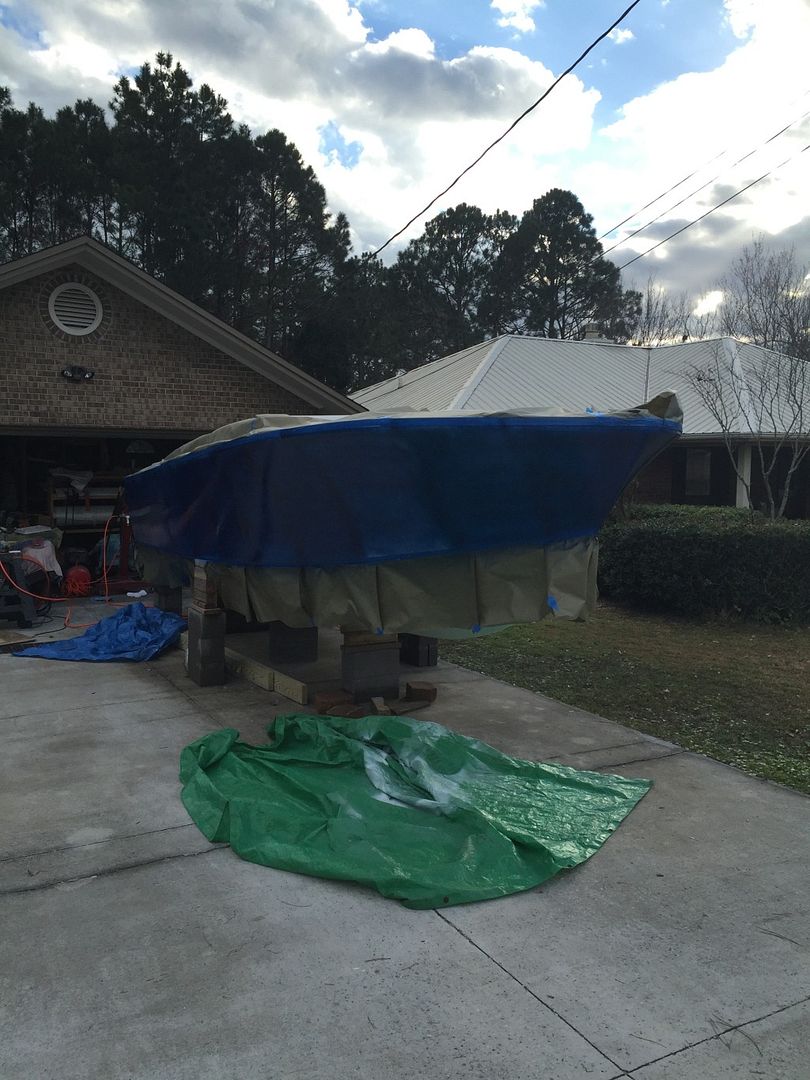
Like I posted earlier I finally got a coat of primer on most of the boat. I finished sanding down the transom and bot sides and decided yesterday to throw some Royal Blue paint on this thing so I taped off the water line and cap and sprayed 2 quarts of paint on her. I needed 1 more quart and 2 more hours but I ran out of daylight so now I will have to hit it again whenever I get another weather window to paint. Its been cold and rainy. Yesterday was sunny and high of 62* so I went for it. This is the first light coat and yes I suck at sweeping it just a little further and letting my finger off the trigger so lots of zebra stripes.
 

Mark72233

Ensign
Joined
Jul 11, 2014
Messages
926
Last coats covered up my zebra stripes. I was in the dark by this time so the pics have the flash going and it makes the Royal Blue kinda of purple I will try and get some pics during the day once this rains quits.
 

Mark72233

Ensign
Joined
Jul 11, 2014
Messages
926
Unfortunately there are a few spots where it could use another thin coat so I will have to prep it again once I get a good day for painting. I think I need to peel all this tape off tonight and tape it up again when I am ready to paint it again. Question should I lightly wet sand the boat with something like 800-1000 grit before I put the last coat on her which may be in a week or 2.
 

Mark72233

Ensign
Joined
Jul 11, 2014
Messages
926
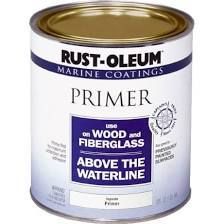
goin70, I just saw your post and question on the primer. I am using this Rustoleum Marine Primer. I don't have anything else to compare it to but so far its been working ok for me. I get it at Lowes and they have about 8 or so different colors on the paint. I am using the Royal Blue for the sides and transom and a Gloss White for the cap and bottom. Price on the primer is about $25 for a quart and you can find it on Amazon as well. The paint is about $14 for a quart.
 

archbuilder

Vice Admiral
Joined
Sep 12, 2009
Messages
5,697
Wow looks like it is starting to come together for you mark. Paint prep is a lot of work, bet your fingers are sore!
 

nurseman

Lieutenant Junior Grade
Joined
Jun 2, 2013
Messages
1,045
Probably don't want to sand any finer than 320 between coats. I did 600 between one of my coats and had horrible adhesion issues. Lesson learned.
 

Mark72233

Ensign
Joined
Jul 11, 2014
Messages
926
Arch, thanks. Yep it's slowly coming together. The plan right now is get the blue done, paint the bottom and get her back on the trailer so I can drop the engines in then I will paint the cap.

Nurse thanks for the info I will hit it with 320. I pulled the tape and it looks good except right at the bow where the two side lines come together it's not even. Don't ask me how I managed to not see that when I taped it šŸ˜³
 
Top