66 Starcraft Sunchief re-Build

Status
Not open for further replies.

North Beach

Commander
Joined
Sep 29, 2008
Messages
2,022
Re: 66 Starcraft Sunchief re-Build

OK, this is the day I've been waiting for all month! No not launch day!!! Wood day!!!

Last night I finished installing all the supporting structure for the side panels. This was basically just riveting the front upper supports and screwing in the bottom channels.
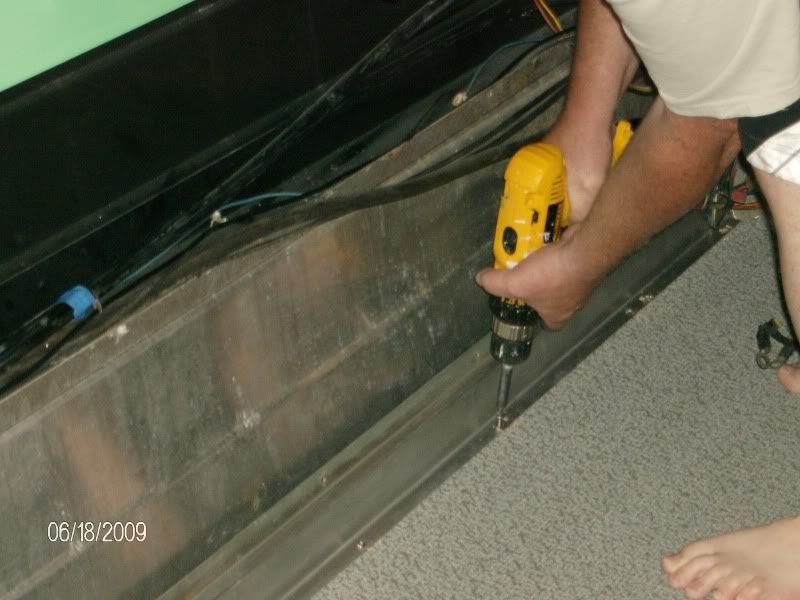
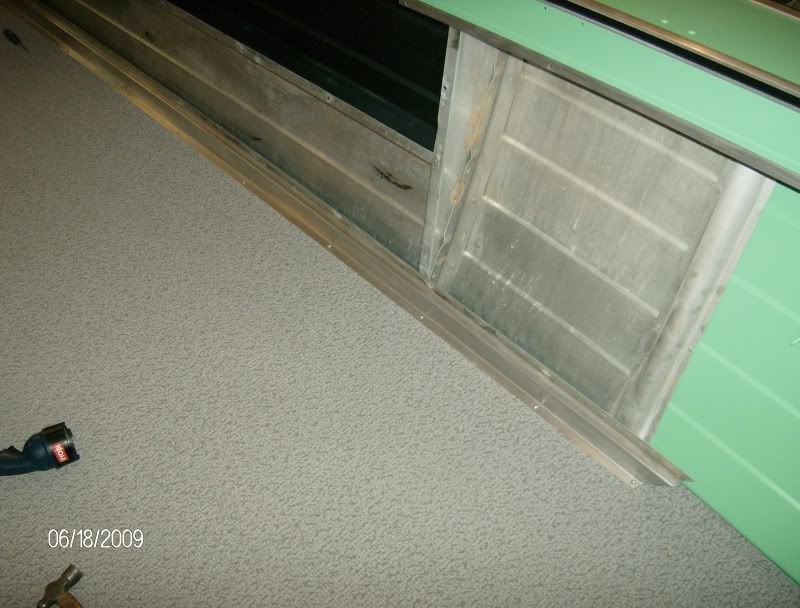
WW11.jpg

WW12.jpg


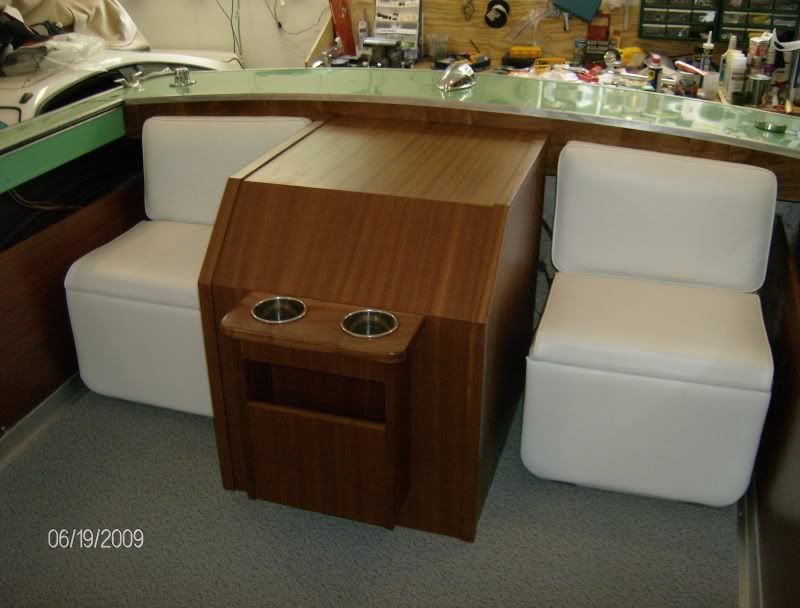
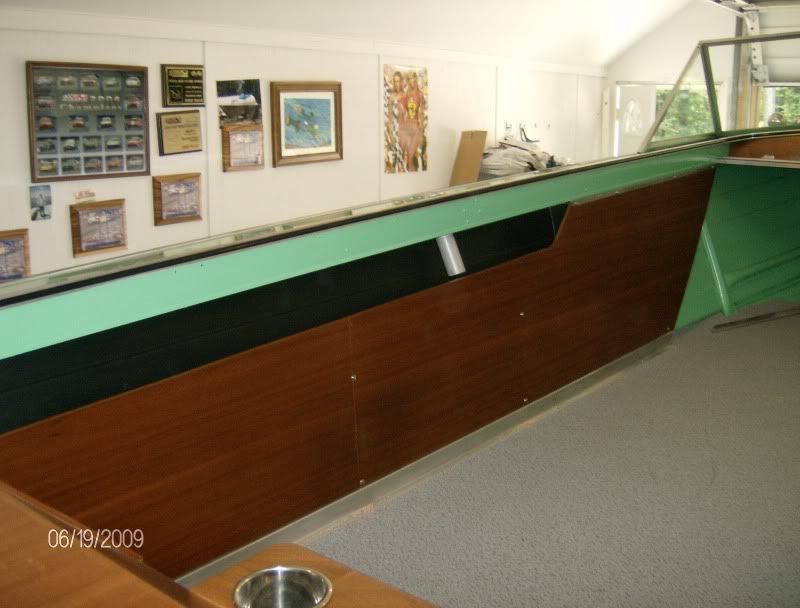
The wood guys showed up this morning and we went about installing the cup holder/cubby hole thingy on the motor box, installing the side panels and here it is!!!
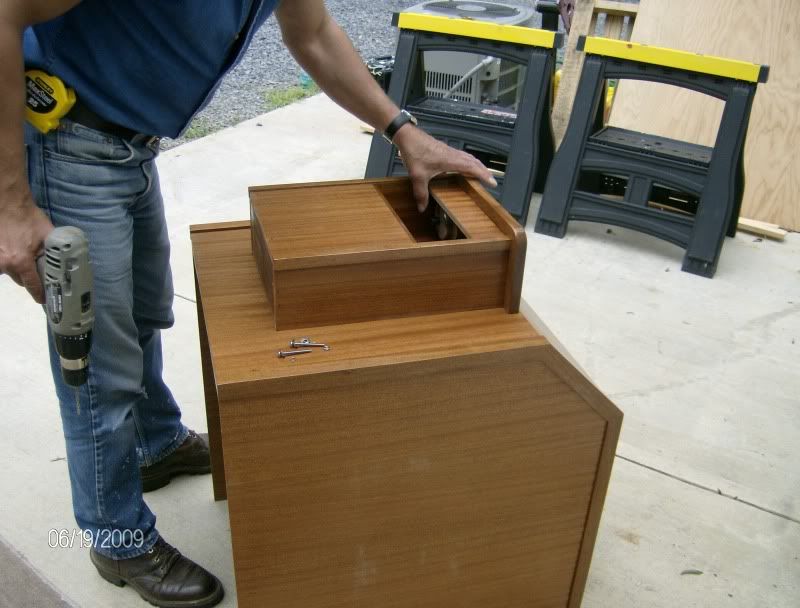
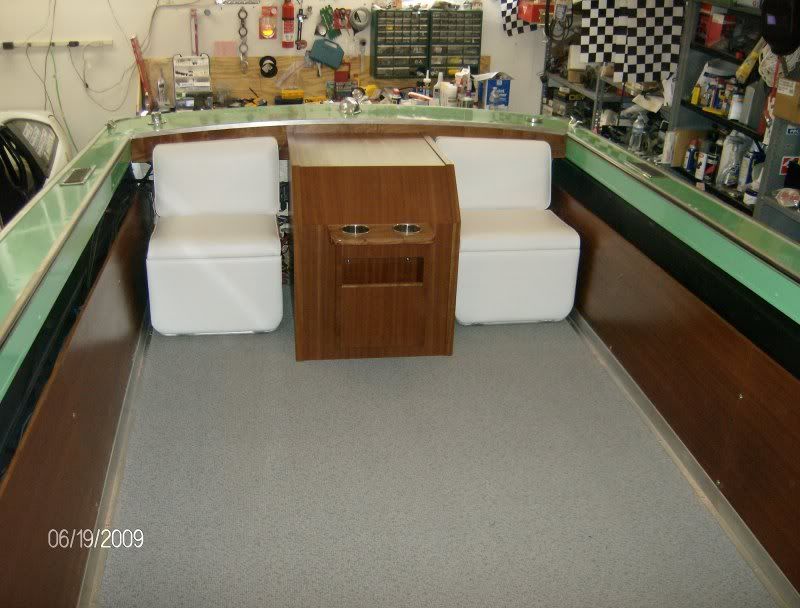
WW13.jpg

WW14.jpg

WW15.jpg

WW16.jpg

Back to the shop and I'll post more later!
 

North Beach

Commander
Joined
Sep 29, 2008
Messages
2,022
Re: 66 Starcraft Sunchief re-Build

WOW So when does the goldsmith show up to do the solid gold inlays on the doghouse and side panels :eek:

Incredible work. I am holding my breath for the rest of the seating ;)

I imagine that will be the only Starcraft with a Dress Code required for riding. Boarding that boat with muddy feet will be tougher than asking to play with the items in the Smithsonian.
Guys I'm not gonna be that uptight about the boat. But the first nimrod that tries to walk on that doghouse is gonna get his dental plan activated:D
 

North Beach

Commander
Joined
Sep 29, 2008
Messages
2,022
Re: 66 Starcraft Sunchief re-Build

So I've spent the last two days installing and tweeking stuf. We are really ramping up for maybe gettin wet by around Wednesday this week. I hope that's not too agressive but I've been putting some work and some volunteer family stuff off tryin to complete. We do two weeks at the lake house in mid July and I need to do a shake out run with the boat and have enough time to make corrections if needed.

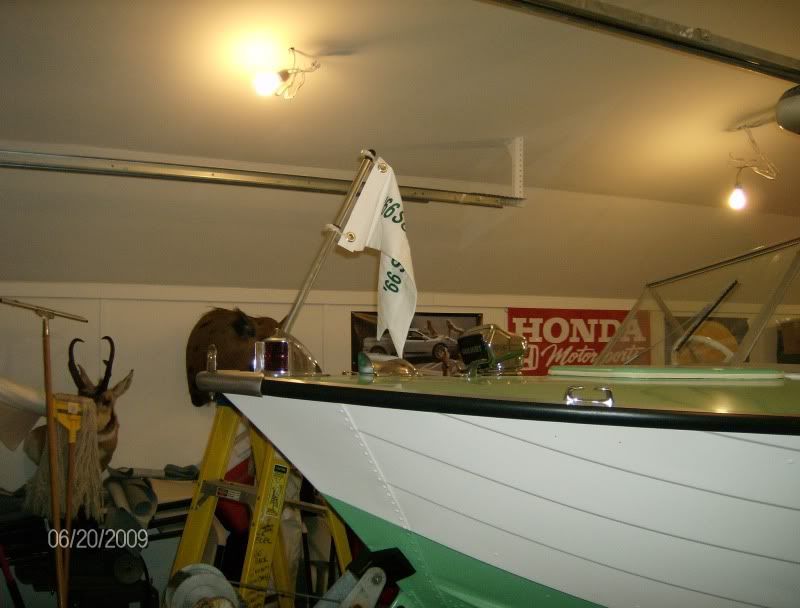
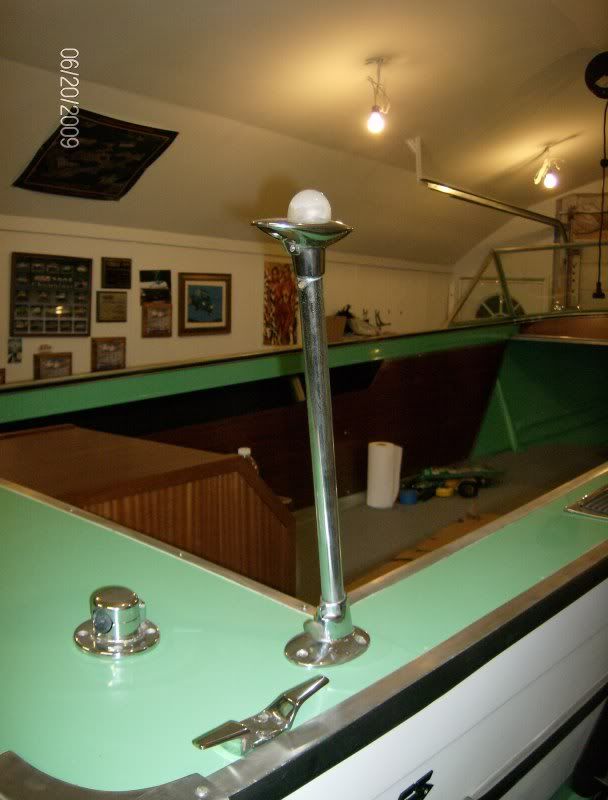
Yesterday consisted of the wood install and basically screwing/riveting misc hardware. Got the bow light in, the Jetson light in, and played around with the danged windshield. I still have an asthetic problem with the lack of trim on the windshield.

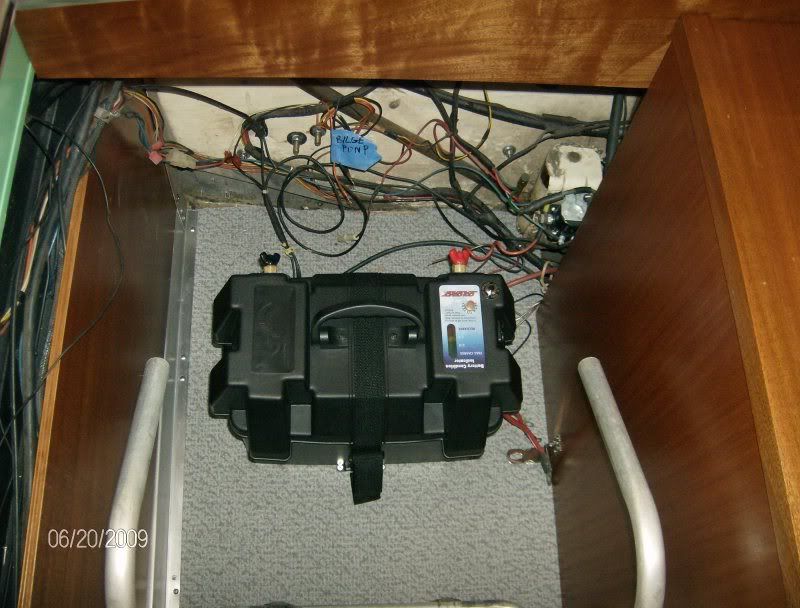
Today I did a full 11 hours out in the shop. Finished the aluminum trim on the wood, put an extension on the air line for the old skool speedo, completed the gas tank install, installed the new battery box, installed the new Rule 1500 auto bilge pump (I swear the old atwood was about the size of a silver dollar), disassembled/re-assembled and installed the Mercontrol unit, put hidden Stainless hasps on the doghouse, installed the blower vent tubes, and attached the mounting clips for the jump seats.
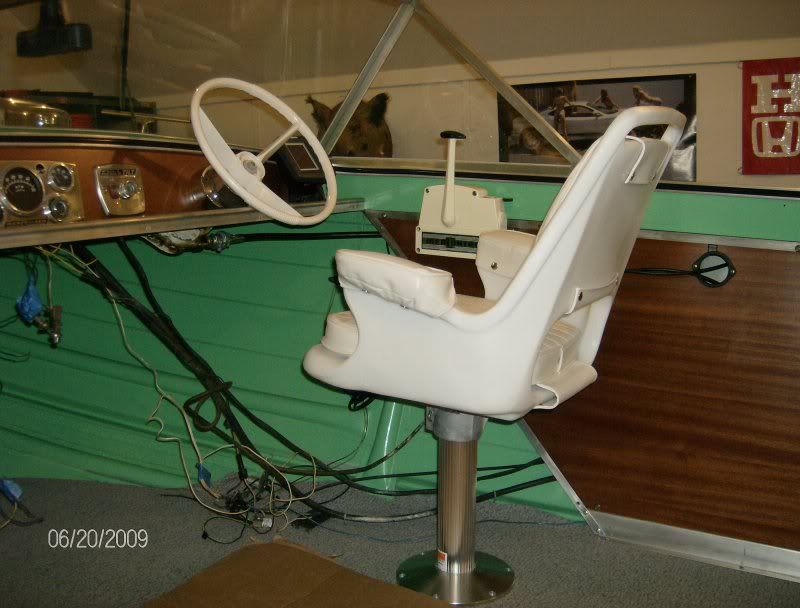
RR11.jpg

RR12.jpg

RR13.jpg

RR14.jpg

RR15.jpg


I threw the seat pictures in just for you Bob!
Tomorrow my son Dave is coming over and we're doing Electric Day! We're gonna re-wire and install the temp switch panel, install the stereo, two way radio, hummingbird GPS and fuel guage. Then on Monday the seats go in and it should be done?????

Am I forgetting anything?
 

North Beach

Commander
Joined
Sep 29, 2008
Messages
2,022
Re: 66 Starcraft Sunchief re-Build

We spent about 7 hours today working on wiring and I'm happy to report it looks like everything is gonna work as it should.

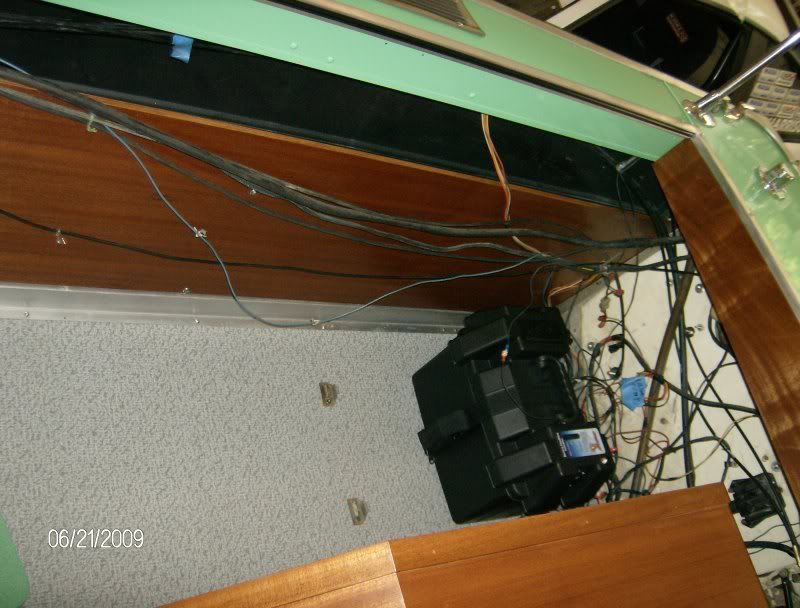
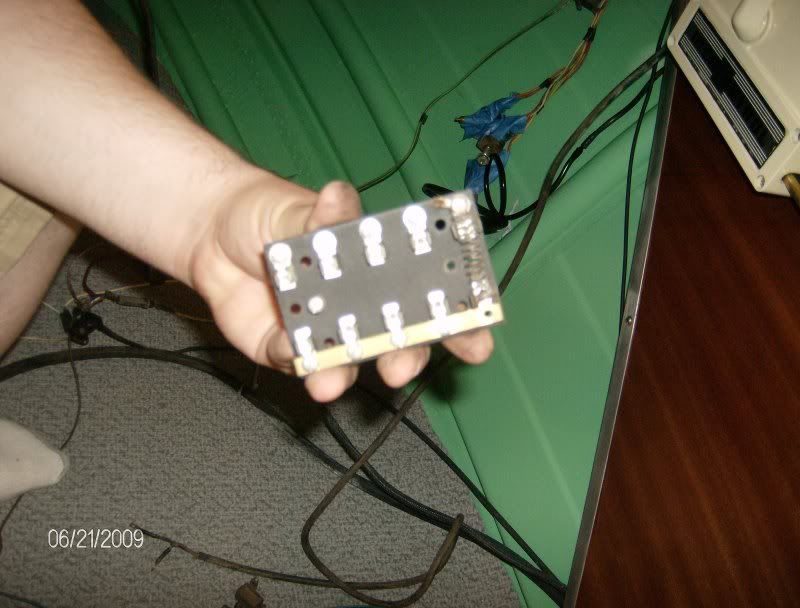
We spent a good while just assessing wire and connection condition. Looks like we're gonna leave the large and small full length harnesses in place since they are in good shape and haven't been cut and rigged as was just about everything under the bow.

Wiring1.jpg


The entire front fuse block had been bypassed with the exception of one wire. Can anyone tell me what's wrong with this picture? :eek:

Wiring2.jpg


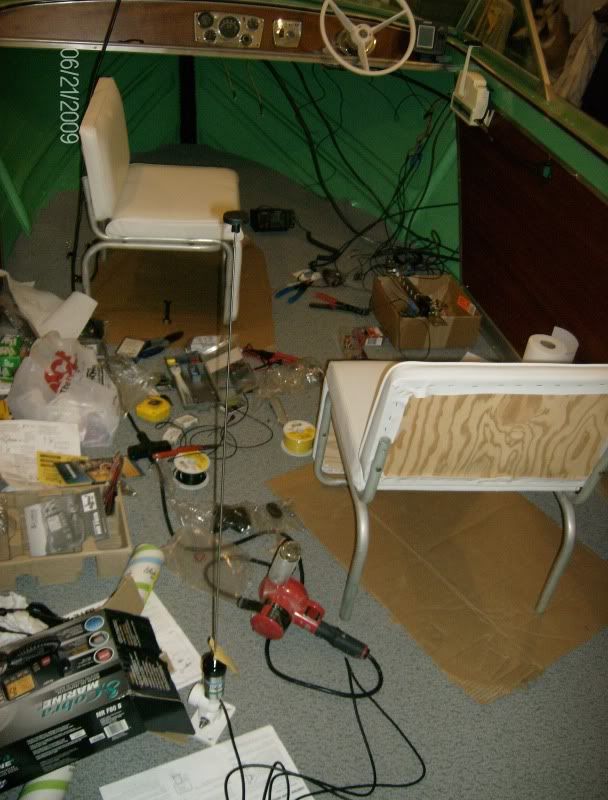
Just about everything had been cut and re-installed by jumping off the back of the tach?? So we took everything apart, threw away all the wire, and started running new wire with ring terminals and barrel connectors with heat shrink tubing.

I have to pick up some more parts tomorrow and we should finish up the electrical after work tomorrow evening.

Here's what it all looks like now. Looks a lot worse than it actually is:D

Wiring3.jpg
 

North Beach

Commander
Joined
Sep 29, 2008
Messages
2,022
Re: 66 Starcraft Sunchief re-Build

Well we're getting right down to the last little stuff now folks. Seems like it's been a long ride at this point.

I'm still pretty much on this project 24/7 trying to finish it off! There's been a bunch of trips to suppliers, time spent online, and just basically searching for that little obscure part or tool to get things finished. I searched all over town for a 2 1/16" hole saw for the danged fuel guage.

My son needed a day off from wiring so last night we gave him a pass. He'll be back tonight and we will finish this project off. In his absence, my nephew and I dove in and got more small stuff accomplished.

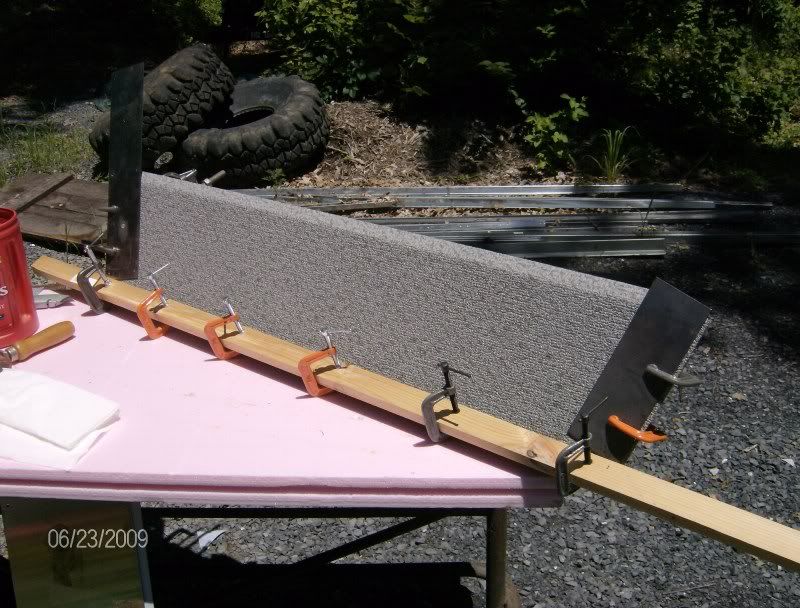
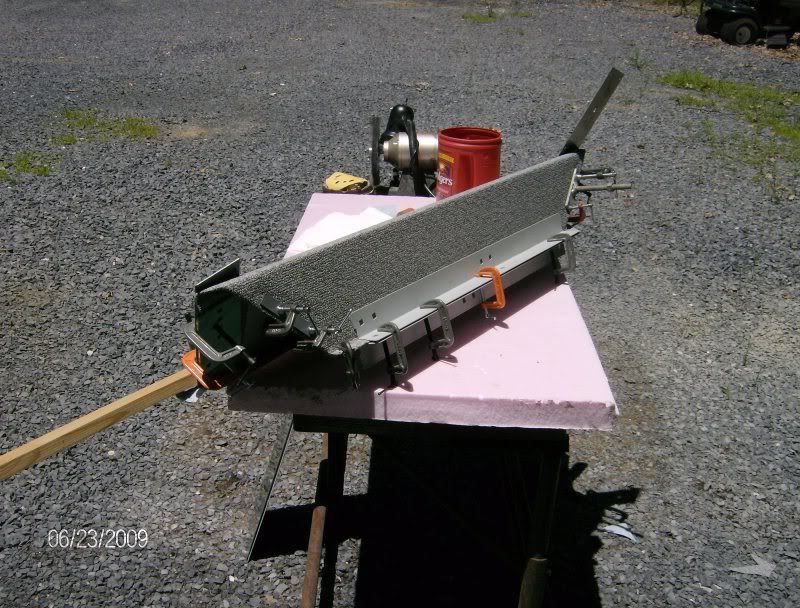
I had a hard time with the cursed Dead Pedal. The outdoor waterproof vinyl adhesive takes a long time to set up and really didn't work all that well with all the bends and wraps needed to do this thing right so yesterday we broke out the waterproof construction adhesive and some clamps I use in the bow shop and now we got it!!!!

Speedo3.jpg


Speedo4.jpg


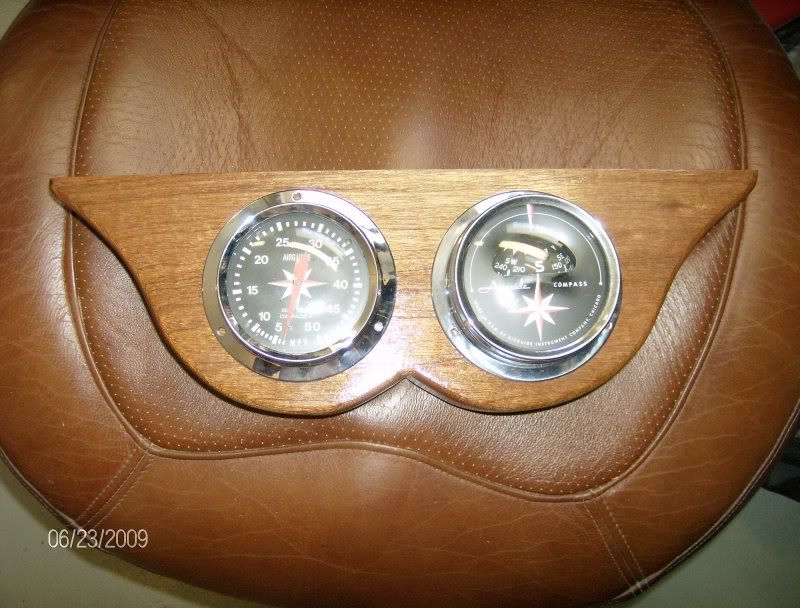
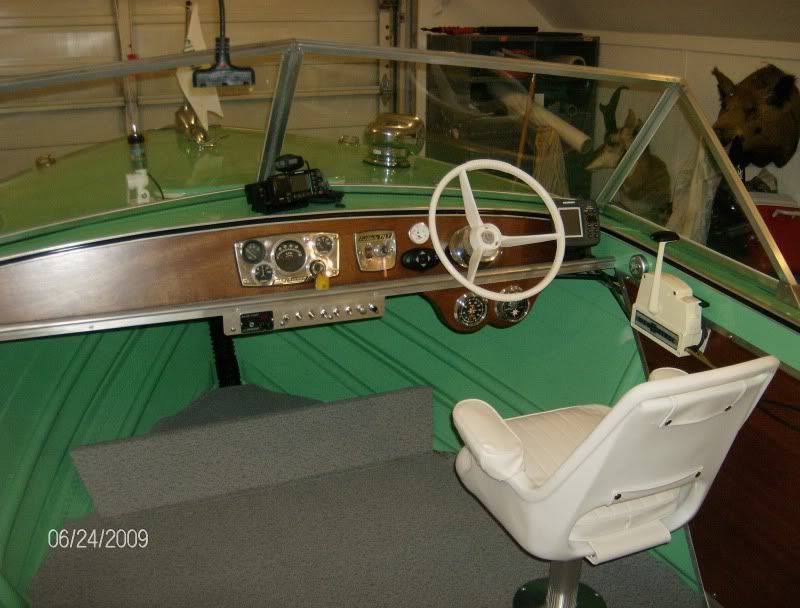
What part of the day wasn't spent out gathering all the little dodads needed to finish, we spent drilling, bolting and rigging the command center. Here's a shot of the peice the wood guy made for me to mount the new old stock speedo and in dash compass I found on eBay. Originally the plan was to mount this on top pf the dash but we decided under the dash looked much better.

Speedo1.jpg


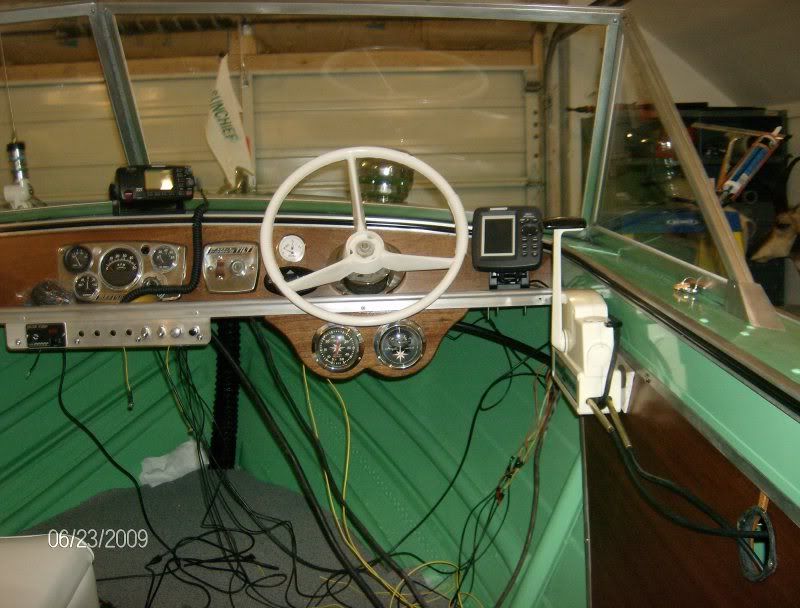
Here's a shot of the progress of the command center:D Remember, the switch panel is temporary and will be replaced with the new one that's dash mounted in a couple of weeks. We also mounted the antenna and drilled and mounted the GPS/Fishfinder. We should finish all this up tonight. That leaves mounting seats and I'm scheduled to hit Lake Anna, Va Friday morning and I'm taking my tool box!!!!!!!!
Speedo2.jpg
 

North Beach

Commander
Joined
Sep 29, 2008
Messages
2,022
Re: 66 Starcraft Sunchief re-Build

just thought i should say awesome boat and you all have helped me figure out a lot of my problems, so thanks

PM, that was the original intent of this thread. To share the experience and to bounce problems off of others who had already been there. I have to say it was a success!

The boat is complete as of midnight tonight. We just finished installing the last of the seats and the bimini top and we're off to the lake in the morning for a shake out run. I had the boat running in the driveway and I'm Pumped!!!!!!

We'll take lots of pics and video and by Saturday, I'll post up the last couple days of the re-build.

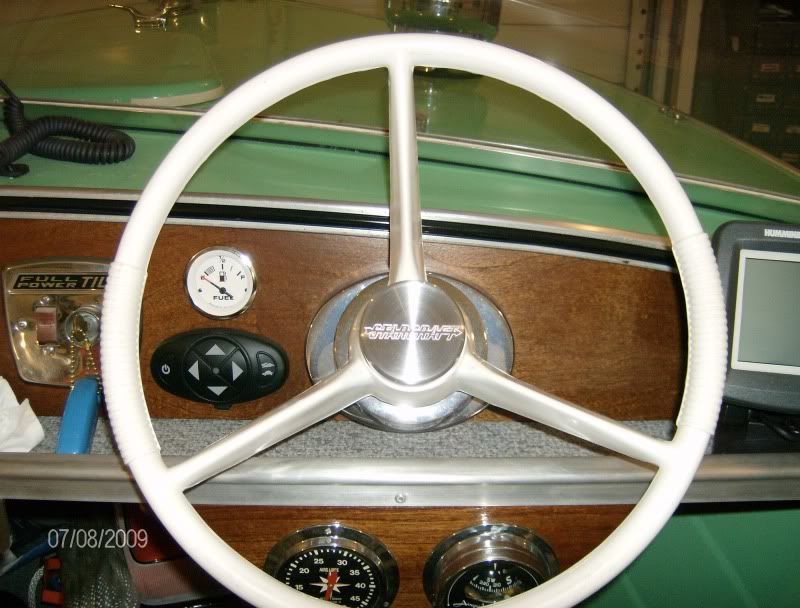
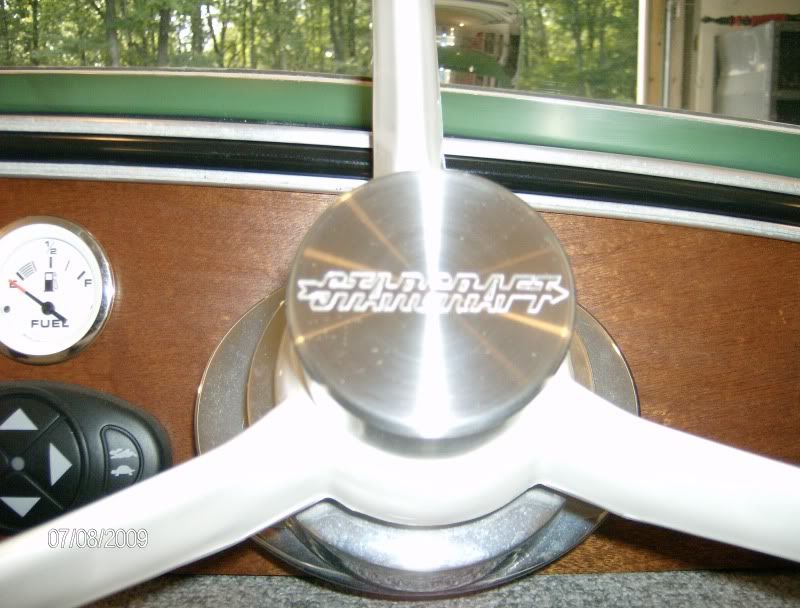
Since I bought the old skool steering wheel without a cap, I had the metal guys here make me up something nice. It's solid construction stainless and since they did the logos for the side, I just had em burn the logo in the wheel cap also. Turned out pretty nice but the danged thing shines so much it's had to get a good picture!

Wheelcap1.jpg

Wheelcap2.jpg
 
Last edited by a moderator:

North Beach

Commander
Joined
Sep 29, 2008
Messages
2,022
Re: 66 Starcraft Sunchief re-Build

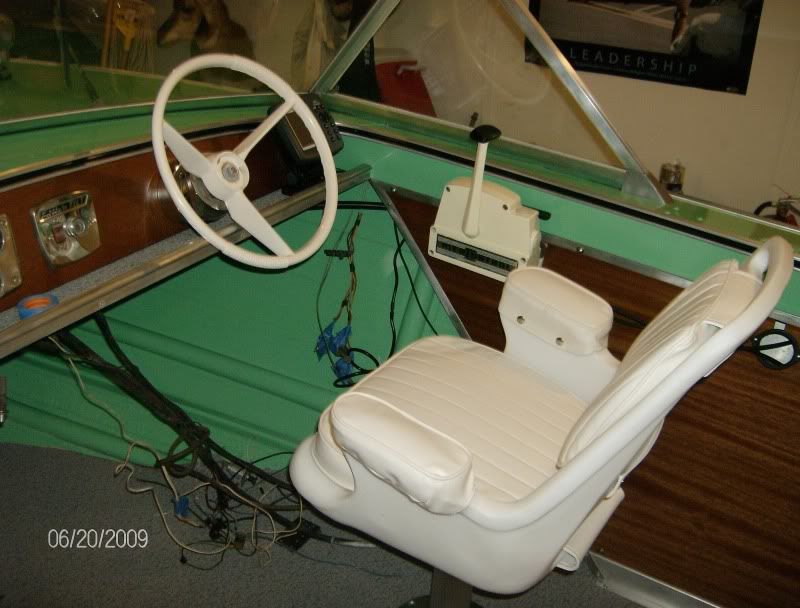
We finally managed to complete the wiring and get it all back up under the dash. Everything is set up with extra wire for the special switch plate that is being made. When it arrives, we'll cut another hole in the dash and swap it in for the underdash temp plate shown in this pic of the completed Command Center :D

Ifin2.jpg


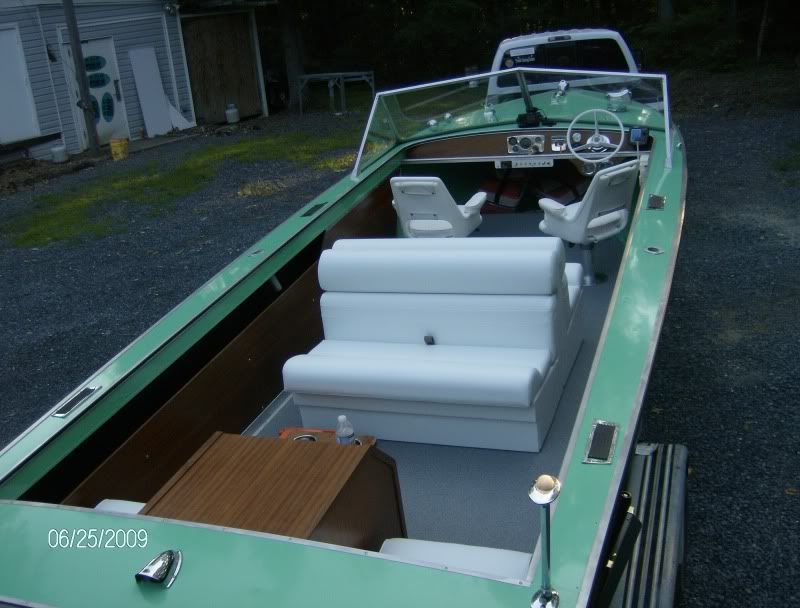
We didn't like the original seat layout I showed you folks a couple months ago. There were several reasons. First, NB the rocket scientest measured the distance from the tops of the gunwales for the large storage pontoon seats. The gunwales sweep up and out from the deck so the measurement between the seats was off by around four inches. This left us with a big honkin gap between the top of the seat back and the gunwale and a less than desireable measurement for leg room. So, we decided to go with this and we really like it. Also the pontoon seats are bolt fastened with the old school rubber expansion anchors so taking them out if we wanna hit the bay and chase stripers is an easy option.

Ifin1.jpg


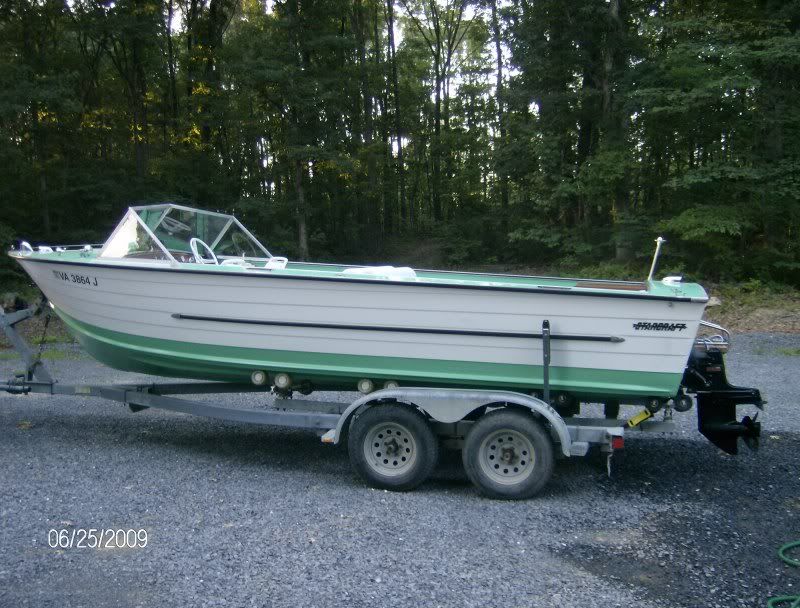
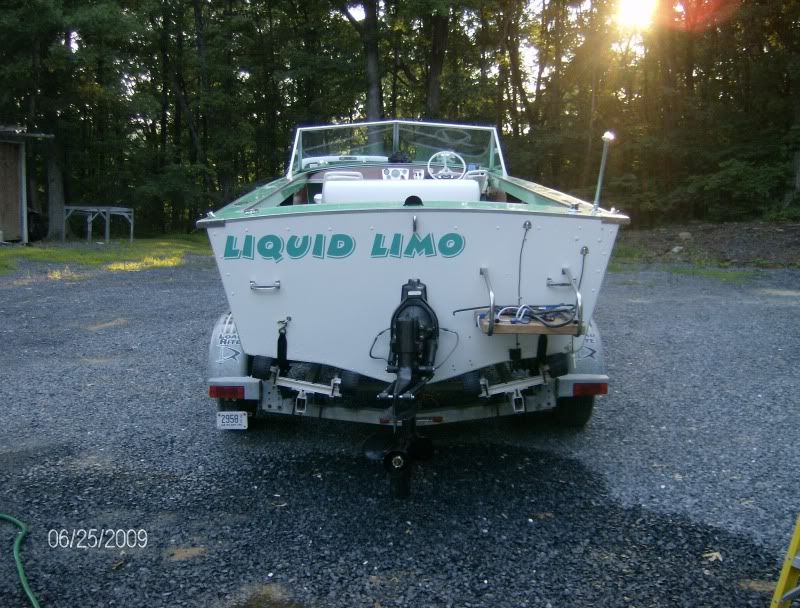
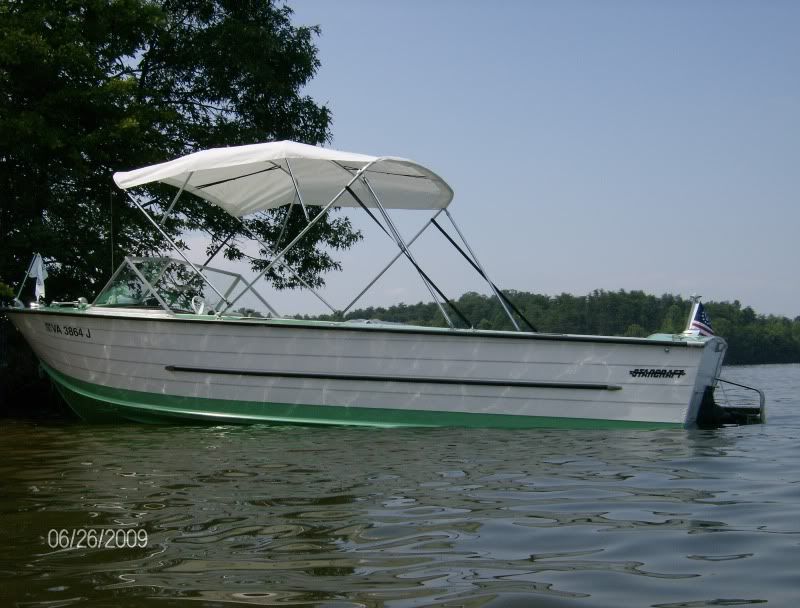
Here's a couple more shots of the outside. I really love how this boat turned out!
Ifin4.jpg


Ifin3.jpg


I ordered our point or origin letters too large so the lettering on the stern is incomplete until the new ones get here.

Folks, I just gotta say that the last two weeks have been grueling! We've spent countless hours drilling, sealing, installing hardware, wire, seats, you name it. Heck on weds and thurs alone we logged in over 26 hours in the shop. That's after several hours each day before we started in the shop making runs to various suppliers for this and that. At 10:30 last night we thought we were almost done and realized the bimini was on backwards:eek:

I'm not complaining. I'm just saying this has not been an easy task. To do a full blown re-build on a boat this size is an undertaking and the reward is, in my opinion, well worth the time and effort. Especially coming from a guy with no prior experience.

I'd also like to say thanks to all the folks who have offered their experience and opinions along the way. Without this place to bounce ideas around, I probably would not have been able to accomplish this.
 

North Beach

Commander
Joined
Sep 29, 2008
Messages
2,022
Re: 66 Starcraft Sunchief re-Build

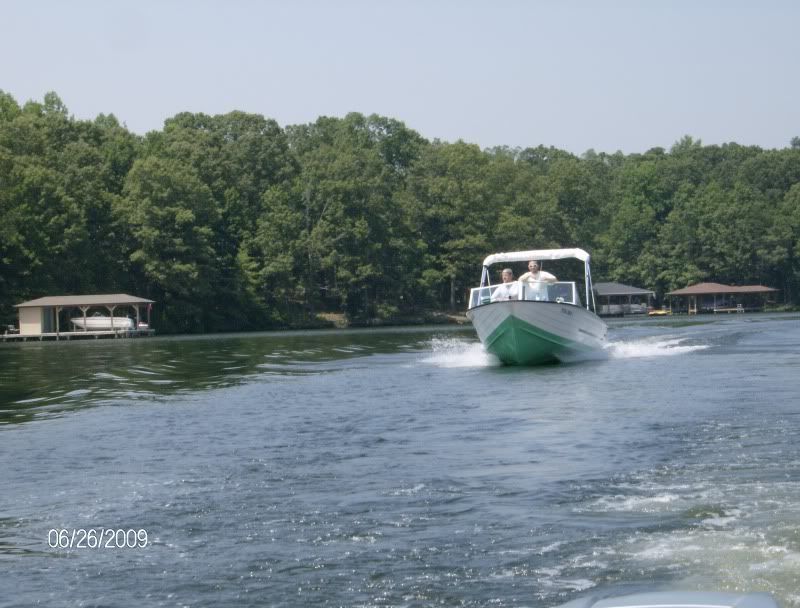
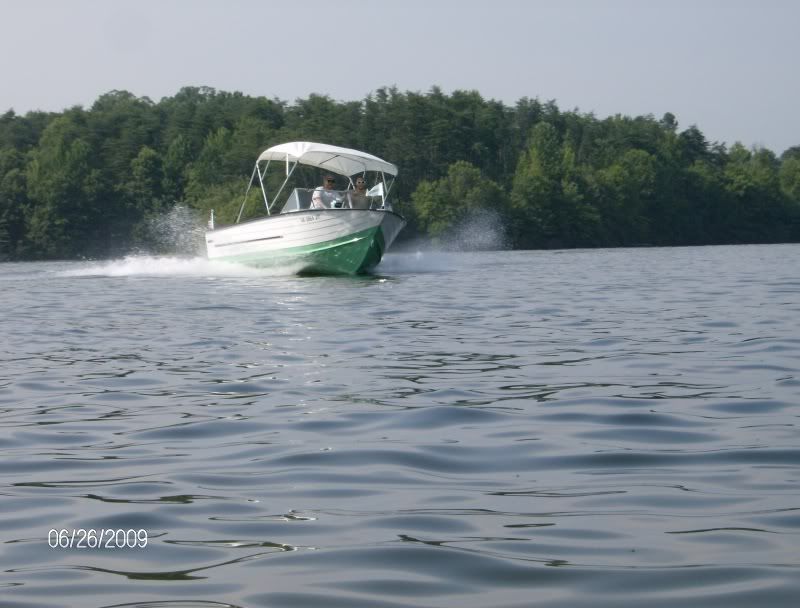
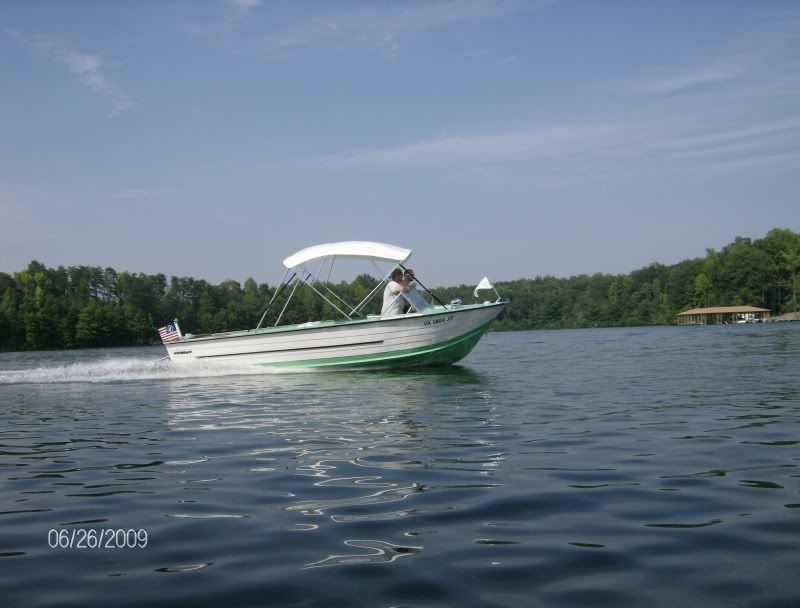
THE SHAKEOUT RUN

OK, we finally made it to lake Anna at around 2 PM. Things I discovered along the way

  • The Garmin doesn't understand I'm pulling a 22 foot boat when it maps out my route to the lake

  • If you're not careful and put just a little too much gas in a twelve gallon boat tank the gas shoots out of the breather vent all over your feet and flip flops

  • You should also use a variation of the 1/3-2/3 rule when taking food for a day at the lake
We ran about a half a tank of gas just cruising around and also pulled my nephew around on his skis just trying to reveal any bugs in the program.

By the end of the day we came accross a couple problems. Namely, my shifter is hardly working at all. I'm sure this is just some simple adjustments to the cables and we will get right on that. There also seems to be a problem with the throttle cable as well. Once you go into gear, there is a long dead space before you get any accellaration (sp?) and the most we were able to get was 27 MPH and just at 3500 RPMs. Mercruiser says I should be running between 3800 and 4300 RPMs. I beleive if we could reach that range I might get close to 35MPH out of her!!!Now I know this could also be a prop problem but I want to go the throttle adjustment route and do another day on the water before I start with the prop swapping.

There was also a small amount of fluid leaking at the tilt pump and my danged engine temp guage took a crap on me. So...... I have a few bugs to work out and now I have an excuse to hit the lake again before our two weeks on the lake in July.

But, I did have a ton of fun!!!!!!!!!

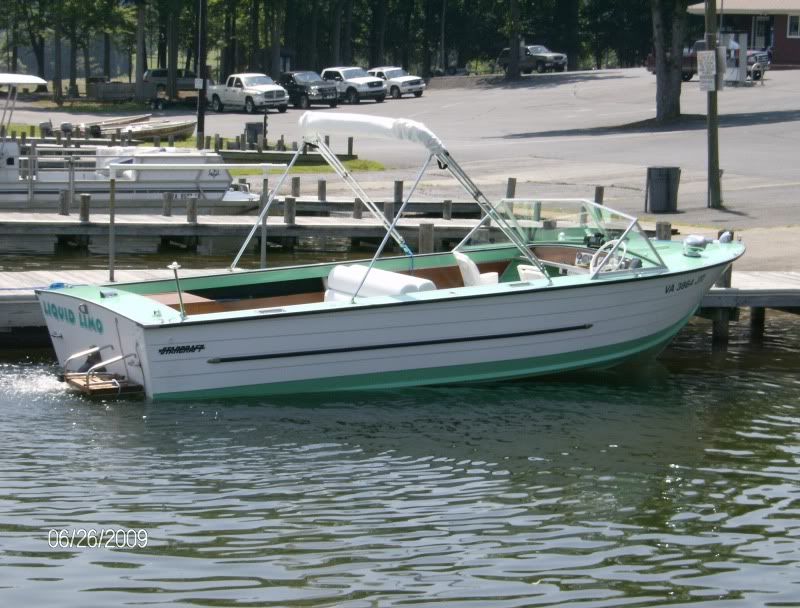
Here's a couple of pics of her gettin wet!
SR1.jpg

SR2.jpg

SR3.jpg

SR4.jpg

SR5.jpg
 
Status
Not open for further replies.
Top