North Beach
Commander
- Joined
- Sep 29, 2008
- Messages
- 2,022
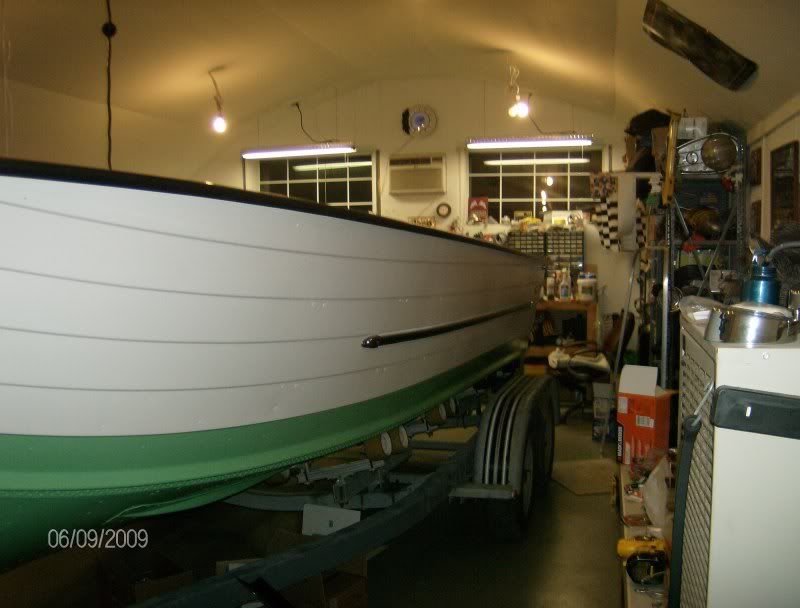
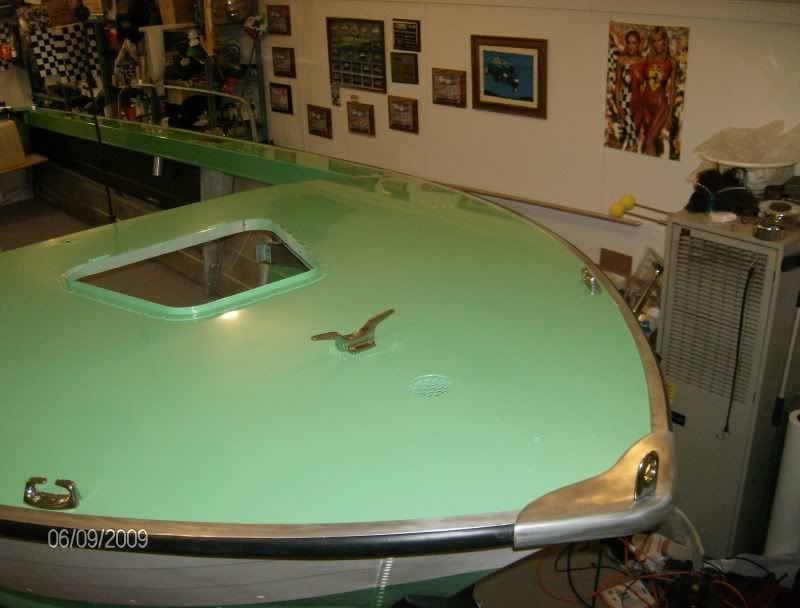
Re: 66 Starcraft Sunchief re-Build
OK. Thanks guys! I'm calm now...............
Tomorrow, I gonna do some more
I hear ya NB...But do me a favor, go back to your first post..
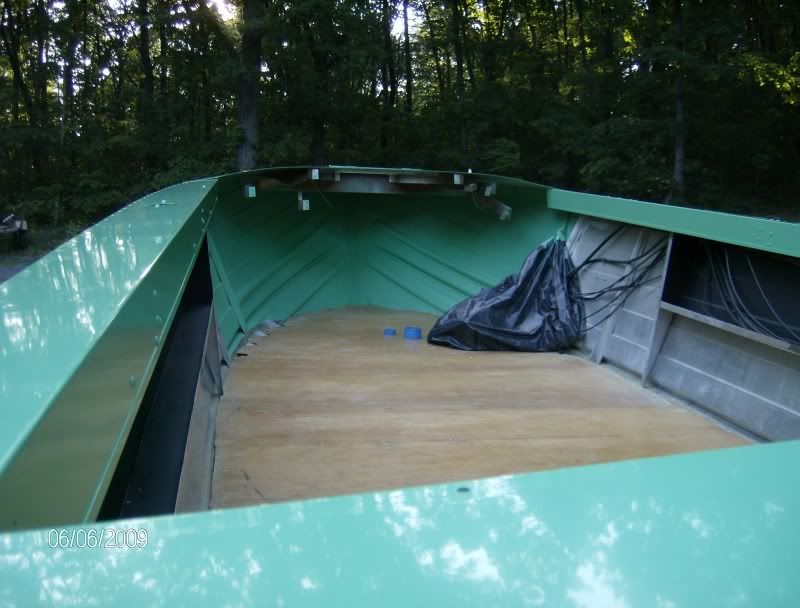
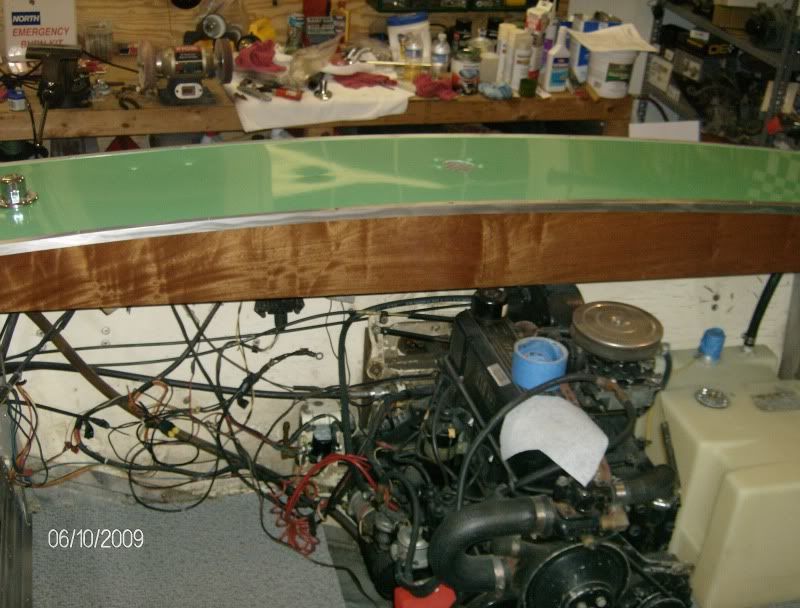
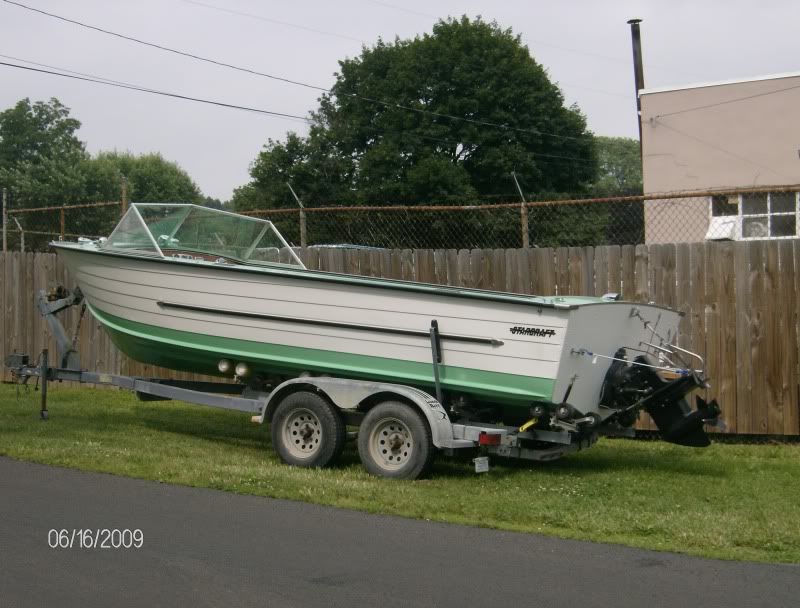
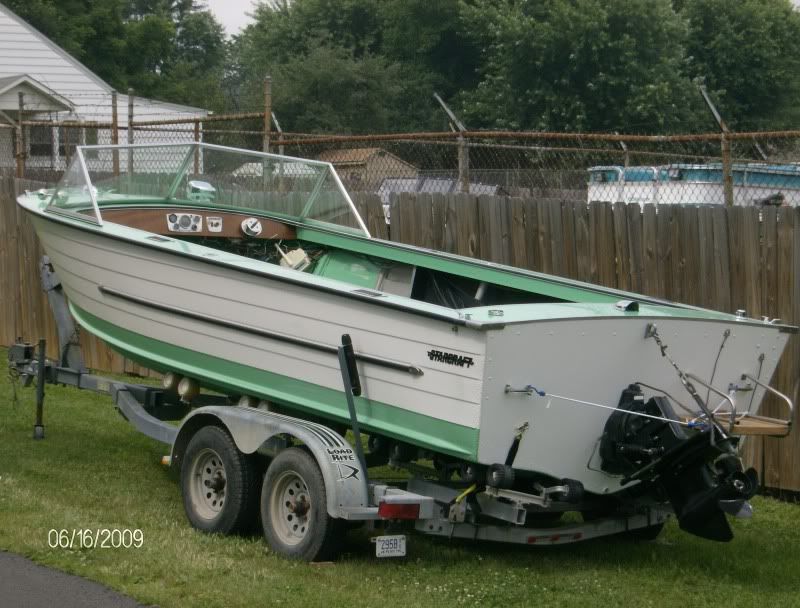
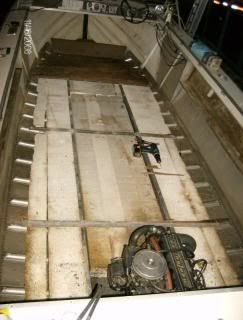
Remember this ol beater?
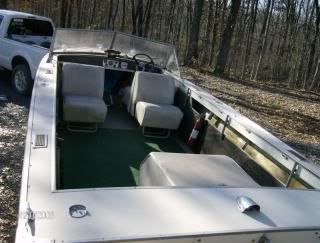
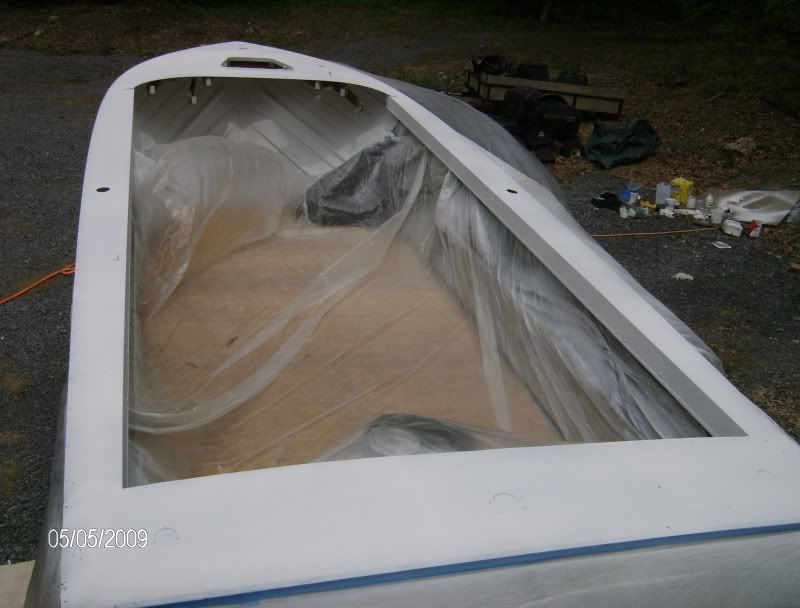
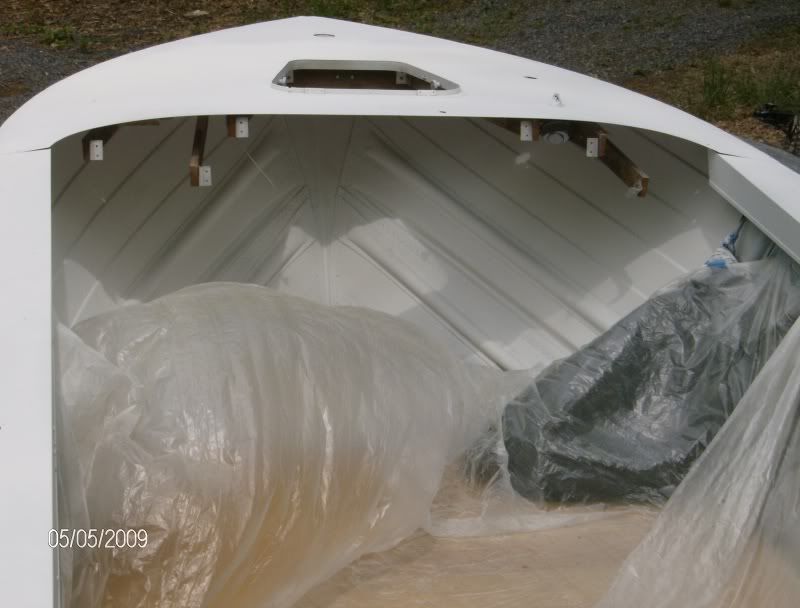
Or when you started bustin out the deck?
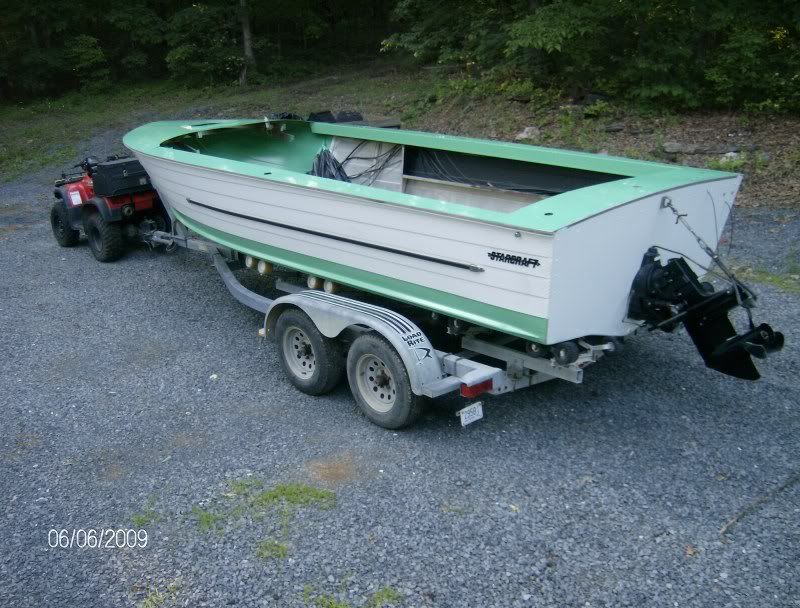
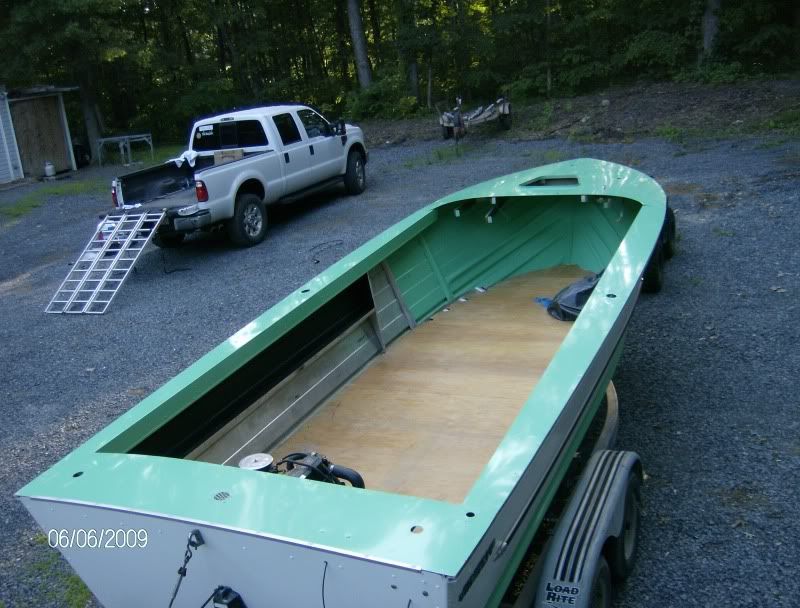
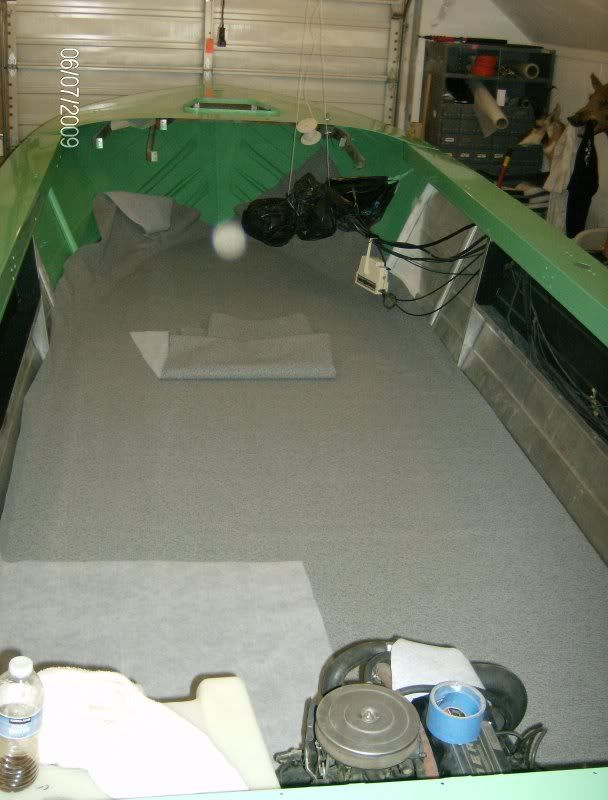
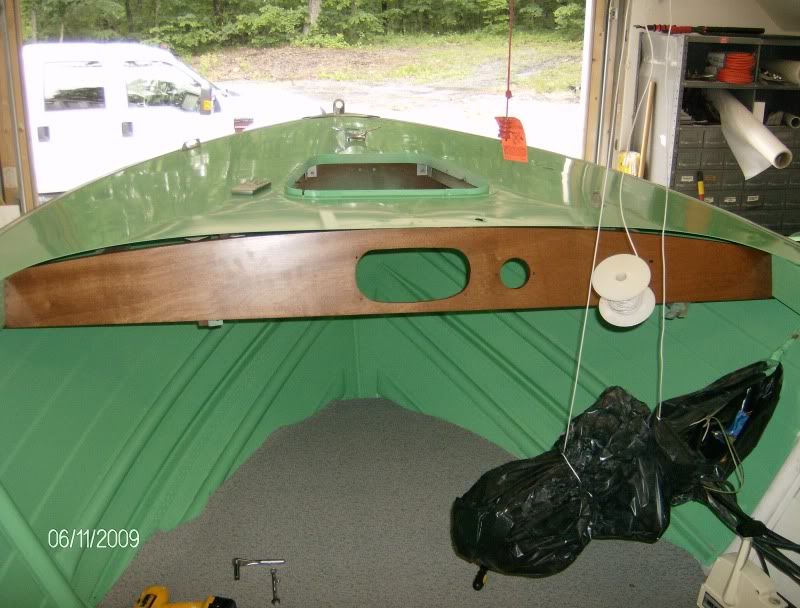
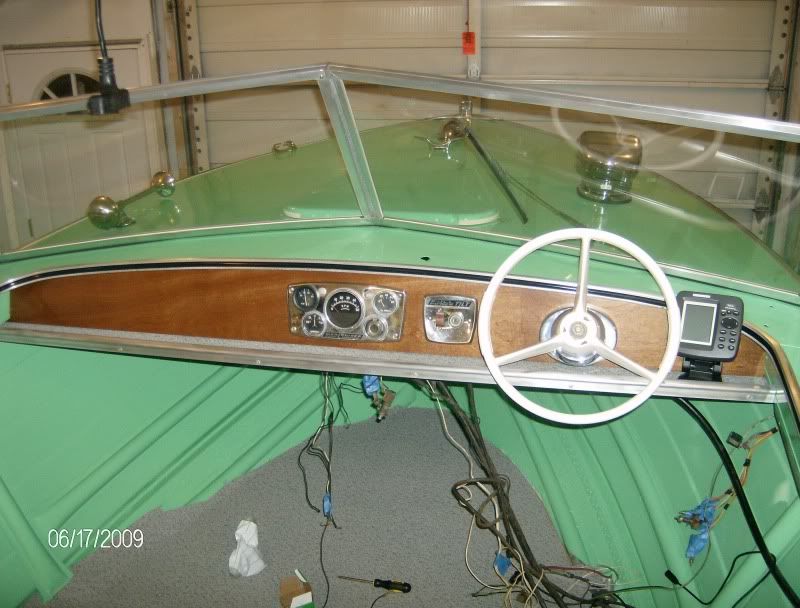
Now look what you have achieved in such a short time!!! Dude, hard to believe this is the same boat..
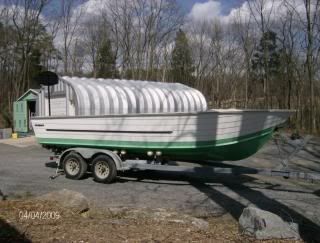
Hang in there, you have come so far brother!
We all do. She's the flagship.
OK. Thanks guys! I'm calm now...............
Tomorrow, I gonna do some more