Update 12-11-2010
Update 12-11-2010
Where to start? Well I work 4 hours on this last night. I did not get as far as I wanted to, and I was not as happy with the outcome. I also learned another couple of valuable lessons.
The first lesson: When wet sanding and buffing you need to completely sand each step before moving on to the next one. If not, you get scratcheds that will show up at the buffing stage. Or better yet heavy compound buffing stage is a good indicator of where you need to sand more. LOL
The second lesson: If you intend to sand one area, you need to sand everything. Or you will get varying gloss levels. The properly sand spots will be shiner than the non-sanded areas. This is due to oxidation of the gel coat. The oxidation has been removed when sanding and not where not sanded.
The thrid lesson: 1000 grit wet sand is not the last step before buffing. You need to go up to 1500 grit and then 2000 grit before buffing. This will save you alot of heavy compound buffing. Like 1/2 the time with the heavey compound. Those scratches I talked about in lesson one.
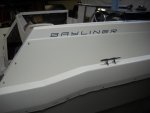
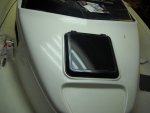
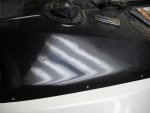
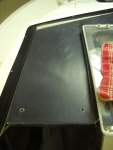
Now on to the pics. I started on the drivers side wall first. I started sanding with 600 grit and stepped up to 800 and then finally 1000 grit. This is where I learned the grit issues and scratches. I need to redo this area if I want to get the mirror effect. Here is the pic after wet sanding.
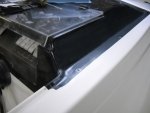
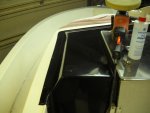
Next I moved to the heavy compound. I like to try to keep the "medium/compound" semi wet. Just at the point of drying. That way I can unload the foam disc when it gets clogged easier. I also Like to see how it is coming out so I will let the compound dry on the pad and I will work remaining film/compound off the work surface after wiping the area clean with a rag. Buffing does not require globs of compound. Once the pad is "loaded" with compound a squirt from the spray bottle of water will bring the compound back to life "cutting" with a simple half a squirt. I tend to work on the dry side of these compounds for the final stages of the buffing You don't get a deep shine with the compound. I guess you can but I have a finer step to go after this anyways. But you do get a minor shine. I do not let the speed on the buffer to get over Number "2 to 3" setting. Here is the pic after this step.
Warning always keep that pad moving. If you stop in a area you will burn the medium/compound into the gel and then back to sanding!

If you look you can just start seeing the buffers reflection in the gell.
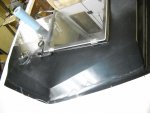
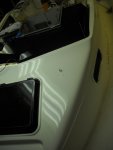
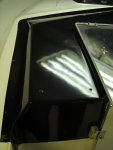
Next I switch pad to the finishing pad and compound from 3M. This is where I get my really nice shine. The mirror if you will. I tend to use minor amounts of compound and lots of water to reactive it. Again I tent to work on the dry side. I will first load the pad with a dime size blob of compound and start working it into the gel. Then after about 5-6 seconds I'll give the gel a squirt of water. This is so the compound does not dry out. Then I'll work an area 1.5' BY 1.5' square. I keep working the compound untill I get all the compound worked off the gel. If I get a build up of dry compound I'll wipe that off with a towel. Here is a pic the same area after this step.
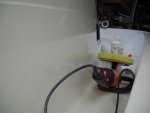
You will notice that the shine is there but not the mirror. If you where to look very close you would see small (800 grit) scratches there. This is where I learned the finer sand paper is required tip. If I had used a DA with 1500 then 2000 grit, the scratches would be gone and the finish would probably be a mirror. We'll see tonight. I'm going to pic up some more paper of those grits today and try it tonight.
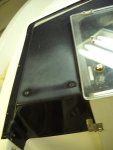
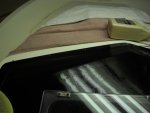
Next post is the samne steps but on the "bubble" Next post.


