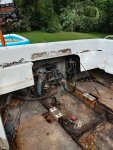
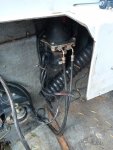
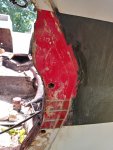
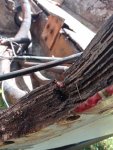
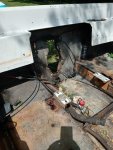
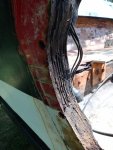
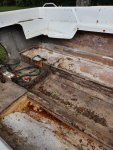
On another note, I had some time this morning to get a little more done. I hate to sound like a wimp, but the humidity today just kicked me right in the arse. Downright tropical out there today. Well, I removed the trim pump first. Disconnected the steering cable and lower shift cable, and unbolted the inner transom bracket. Major corrosion around all of the studs, and one of the two bolts snapped off in the outer bracket. But, it's off. Transom is as expected. The black on the boat is a paint job, as I suspected. The factory red is under the transom bracket. Speaking of transoms, most of the threads I've read have had a standard full transom. Since I have the extended hull, for lack of a better term, I'm not sure what to expect upon removal. How does water that gets under the swim platform drain? Or can it? The hull drain is in the bilge, so I don't see how it can. It's open above the transom, but not by much. Going to have to get a mirror and flashlight to see the horror show behind the transom. Some pics. As I said before, stopping to take photos isn't my normal, but I'm trying. Many people here have helped me with their stories and photos, so hopefully I can do the same for someone else.


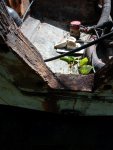
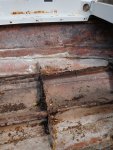


 Once you tear a boat apart you have a new appreciation for what water can do to a boat when left to its own devices.....