1988 Glastron GX 199 Restoration

chconger

Petty Officer 1st Class
Joined
Jul 3, 2012
Messages
315
Re: 1988 Glastron GX 199 Restoration

Quick update;

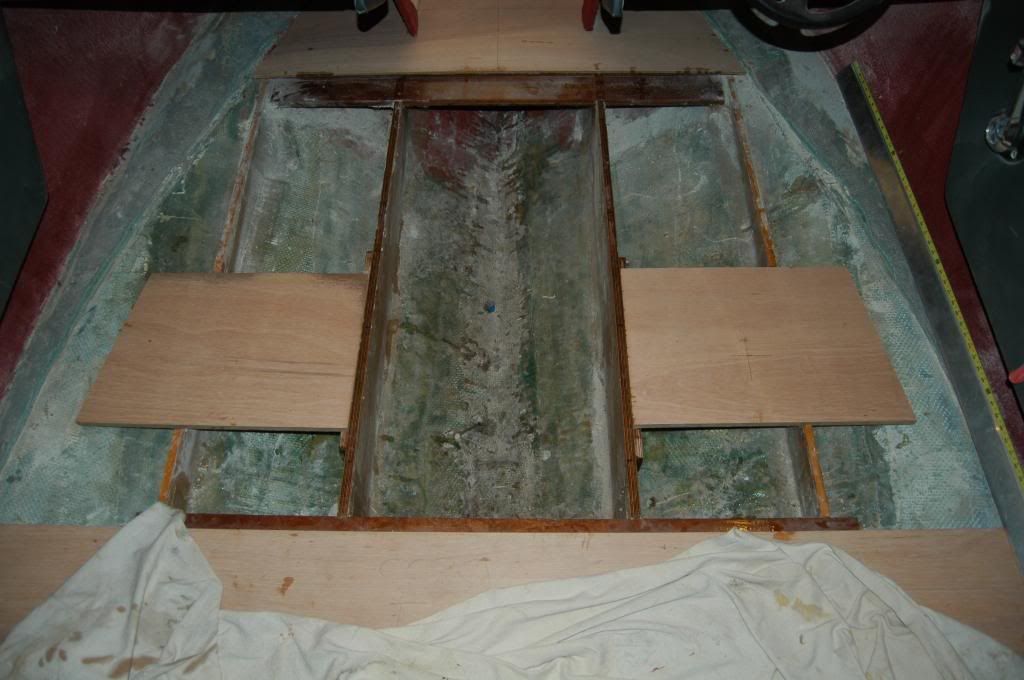
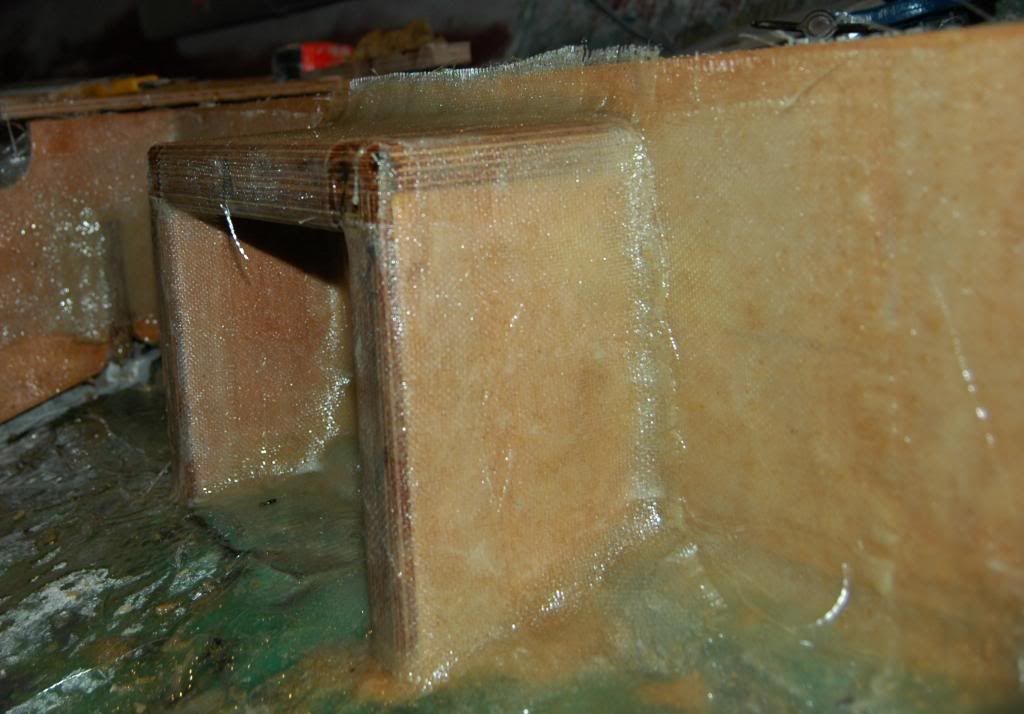
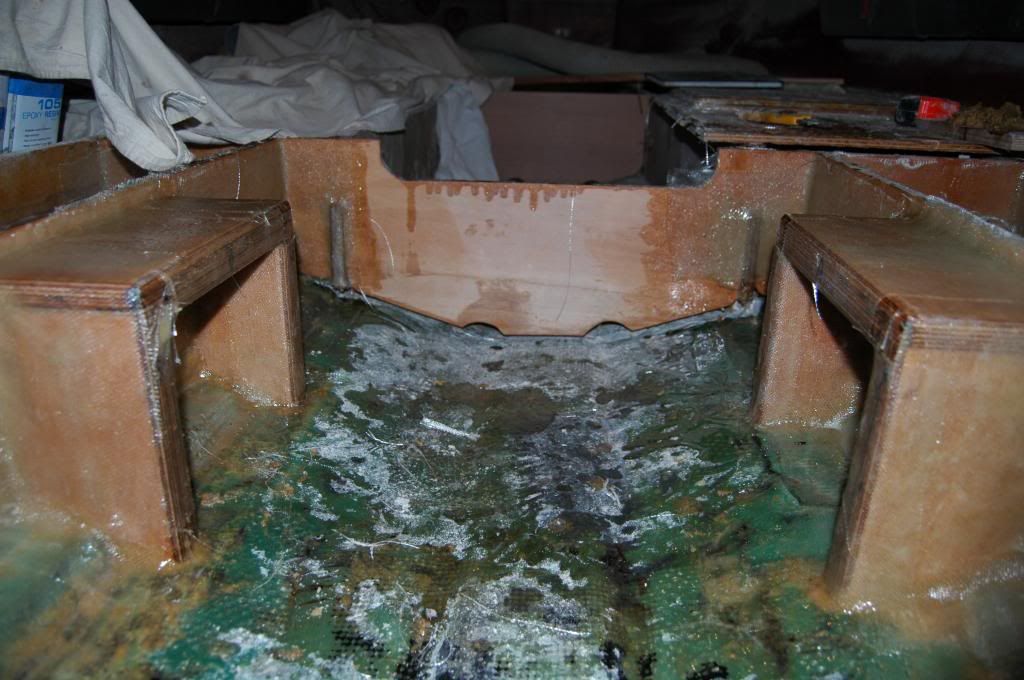
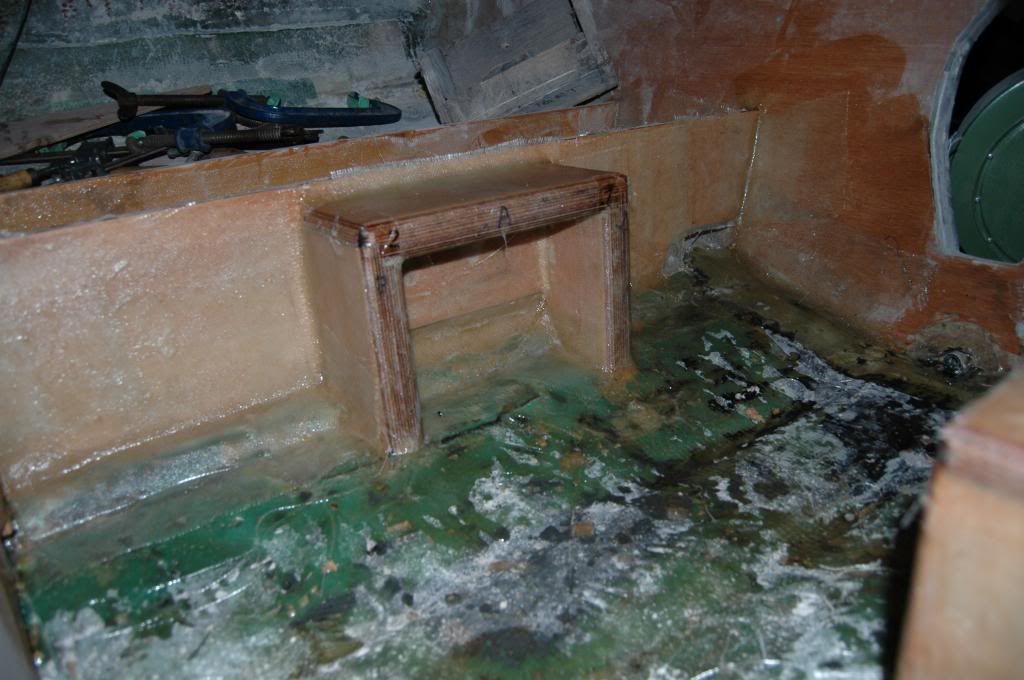
Installed the short "engine stringers" I had to trim the bottom side today, I did not want to loose a day going over the fresh edge with epoxy and wait for that to cure, so i did these in one shot in a bed of epoxy. These are the only stringers not set with PL.

I only did the tabbing on the outboard side of each stringer as the inside will be incorporating the engine mounts and i want to go slow there, so I can figure things out. Nevertheless it still took 4 hours with all the fussing over dimensions and cloth cutting.

I made up some 28" bracing to keep the distance parallel. That's what the clamps are holding. What you see here that looks like cloth at the ends of the stringers is wax paper on the bracing ends, so I can get these out tomorrow.
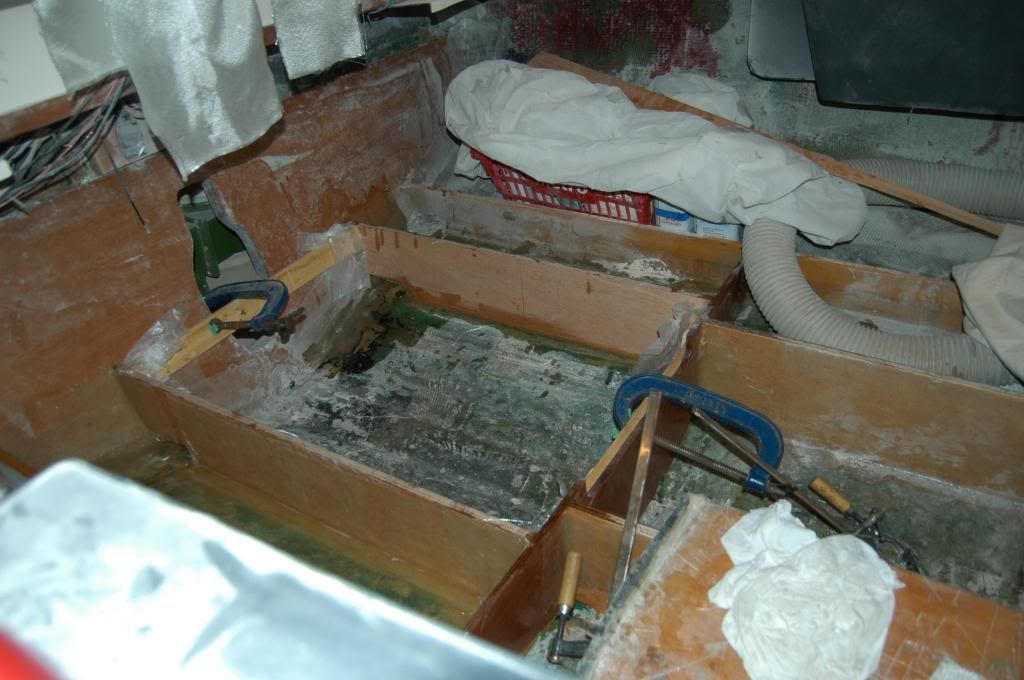
DSC_7497_zps204cb94d.jpg


That's it for today...

Chris
 
Last edited:

ricohman

Lieutenant Commander
Joined
Jul 30, 2011
Messages
1,631
Re: 1988 Glastron GX 199 Restoration

Your boat will last forever, great job.
As a mechanic, I am always amazed at the great woodworking skills on iboats.
 

chconger

Petty Officer 1st Class
Joined
Jul 3, 2012
Messages
315
Re: 1988 Glastron GX 199 Restoration

Your boat will last forever, great job.
As a mechanic, I am always amazed at the great woodworking skills on iboats.

Thanks! Aside from the fantastic advice available here, I think simply posting the progress helps keep motivation to do the best job possible. There are a lot of expert eyes over my shoulder as I work.


Yesterday I epoxy'd on the new engine mounts to the engine stringers. No tabbing there yet. Just wanted them to be glued on to the stringers so they stay without clamps in the way when I glass.

Cheers
Chris
 

chconger

Petty Officer 1st Class
Joined
Jul 3, 2012
Messages
315
Re: 1988 Glastron GX 199 Restoration

Well the engine mounts are in;

DSC_7512_zps12659234.jpg


I must say I expected the multiple dimensions to be a challenge...and they were. I glassed and tabbed every way there is, but it all ends up looking rather patchy; when you tab one thing it ends up looking like the surface you previously just finished with is 1/2 done;

DSC_7516_zpsce6b57ad.jpg


Another view;
DSC_7507_zpsc9241b1e.jpg


Anyway...on to the front bulkhead. Foam coming soon.

Cheers
Chris
 
Last edited:
chconger

Petty Officer 1st Class
Joined
Jul 3, 2012
Messages
315
Re: 1988 Glastron GX 199 Restoration

OK Here is the latest;

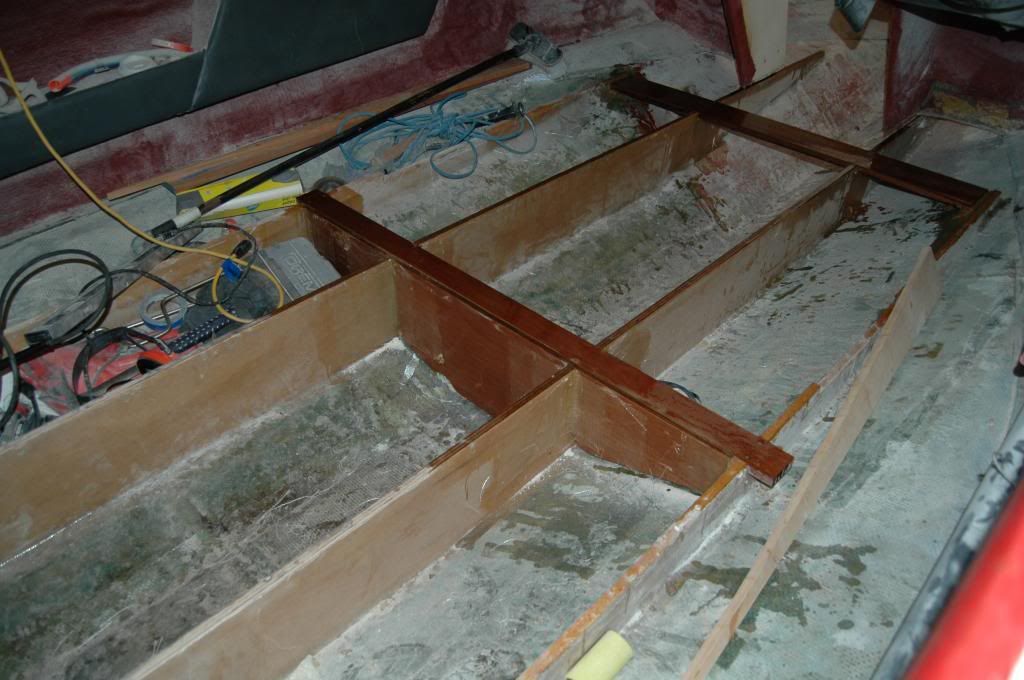
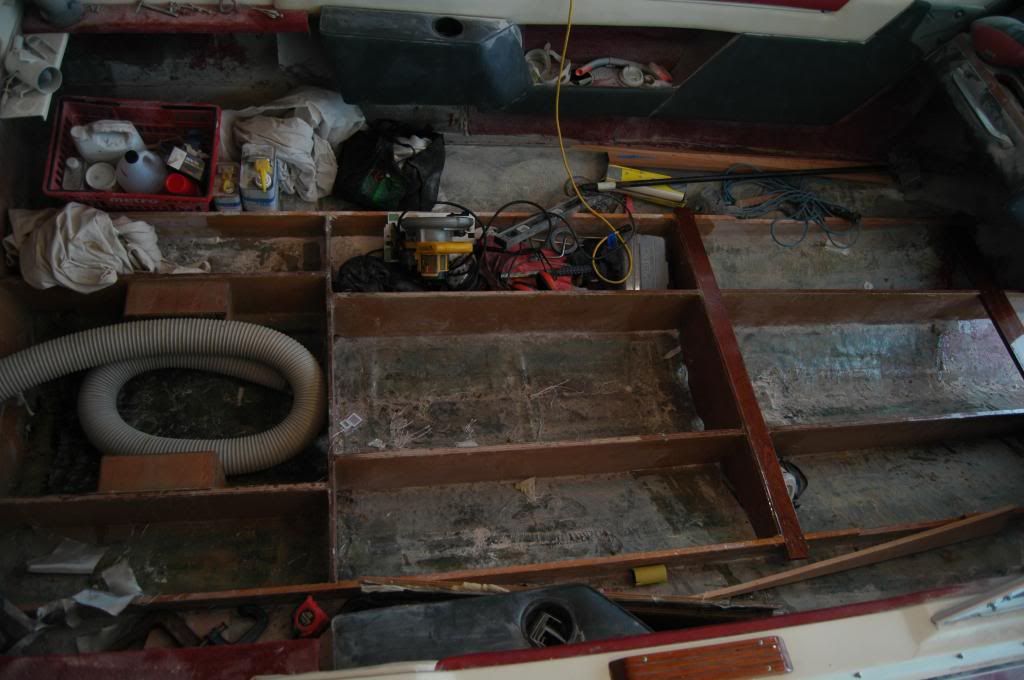
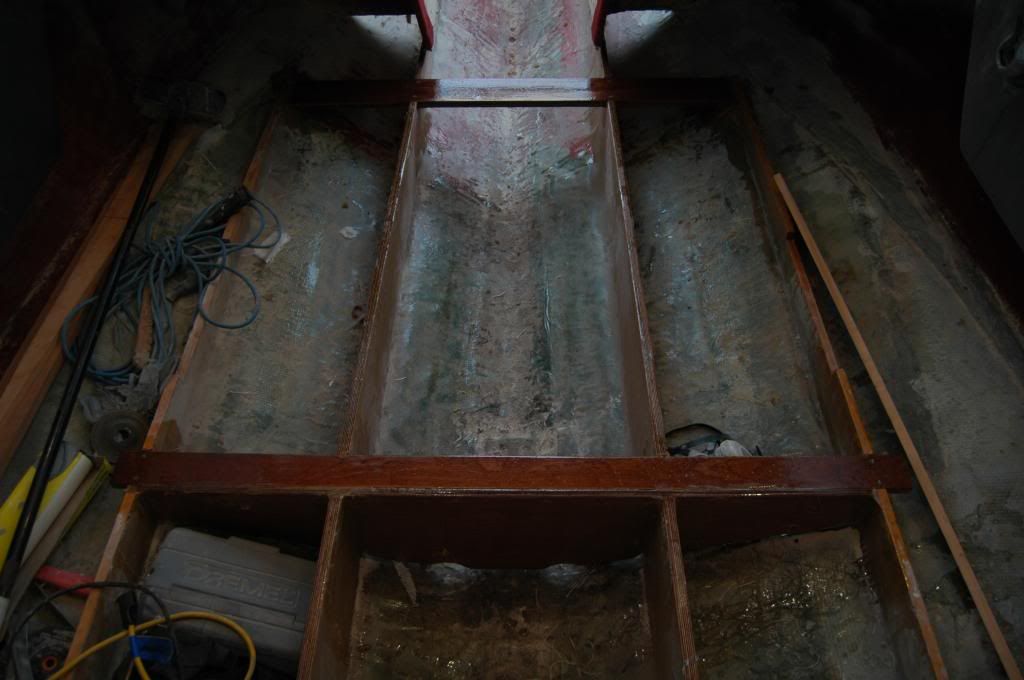
Epoxy, tabbed in the forward bulkhead, the cross member that is adjacent to it (at the 4 foot mark up from the rear bulkhead to accommodate the split in plywood deck later) and also epoxy'd in the cross member under the console. Also a 4 foot mark.

Both cross members are African Mahogany. I could not source American.

Anyhoo.....On to the picts;


One day soon... there will be no dust;

DSC_7543_zps04cdf226.jpg


A general view;

DSC_7551_zps714d1fb8.jpg


Looking forward;

DSC_7549_zps2e14574f.jpg


Next up is to bed in the strapping to hold down the gas tank.


Cheers
Chris
 

chconger

Petty Officer 1st Class
Joined
Jul 3, 2012
Messages
315
Re: 1988 Glastron GX 199 Restoration

chconger reporting in;

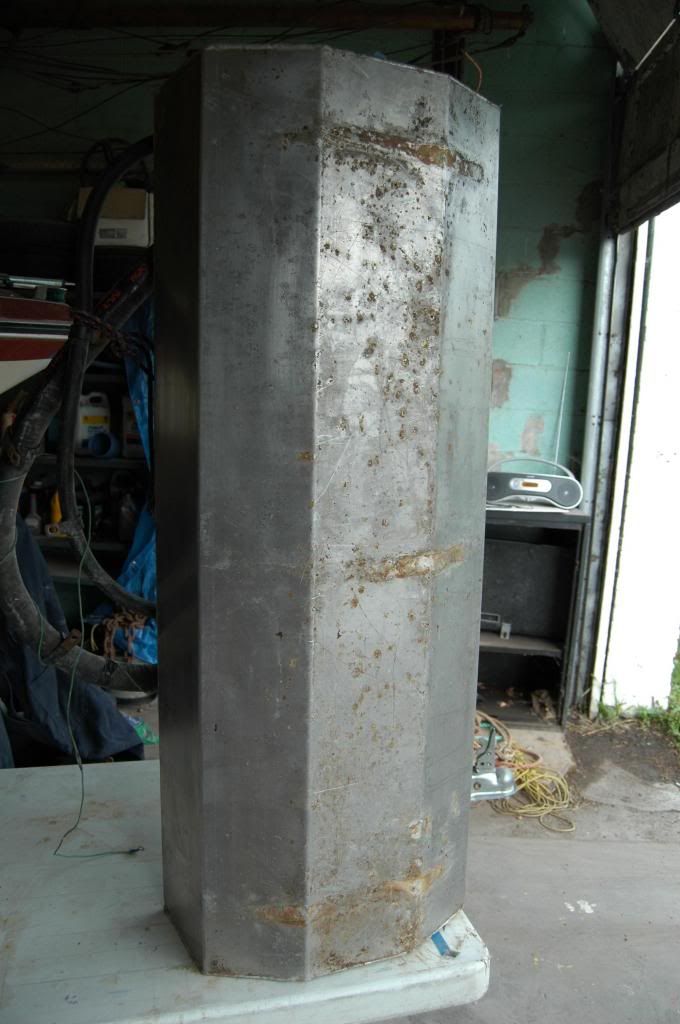
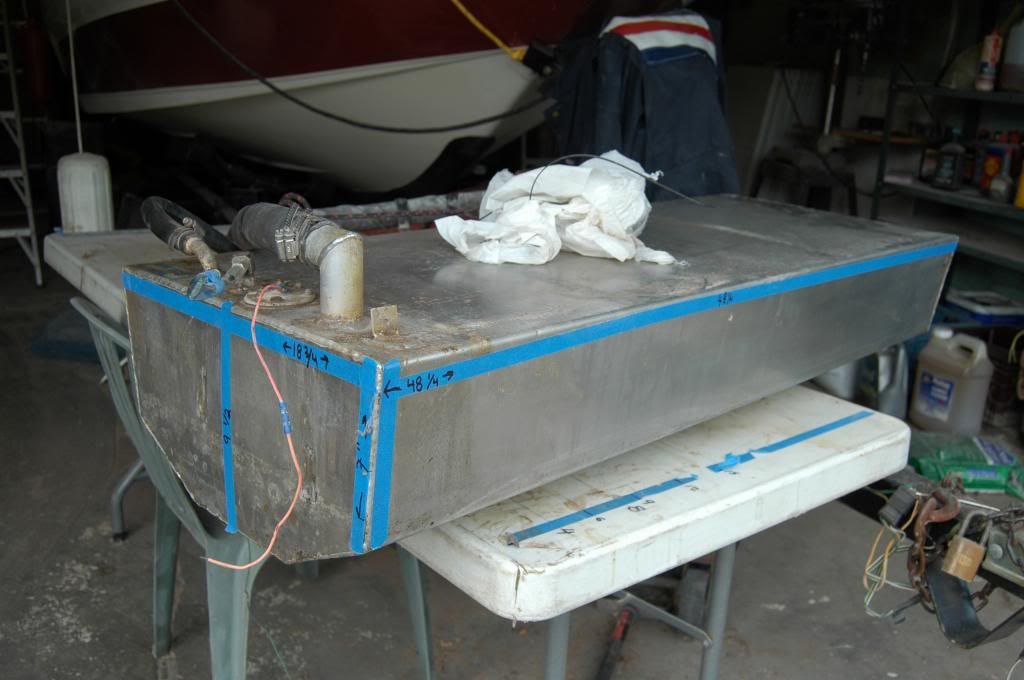
I cleaned up that aluminium fuel tank;
DSC_7556_zps79ced70d.jpg


..And found pitting on the top;
DSC_7553_zps092a2c03.jpg


The bottom had a lot of pitting too;
DSC_7555_zps79a356e0.jpg


So I decided to replace it with plastic. The old tank is a 33 gallon.

After some time searching, the closest I could match the dimensions that will fit with was the Moeller 032525. Unfortunately this plastic tank is only 25 Gal;


1582029_spec_sheet.jpg


So I guess I loose some range there. But at least I reduced my odds of dying in a flaming explosion. So not a bad trade off all in all.

Cheers
Chris
 
Last edited:
chconger

Petty Officer 1st Class
Joined
Jul 3, 2012
Messages
315
Re: 1988 Glastron GX 199 Restoration

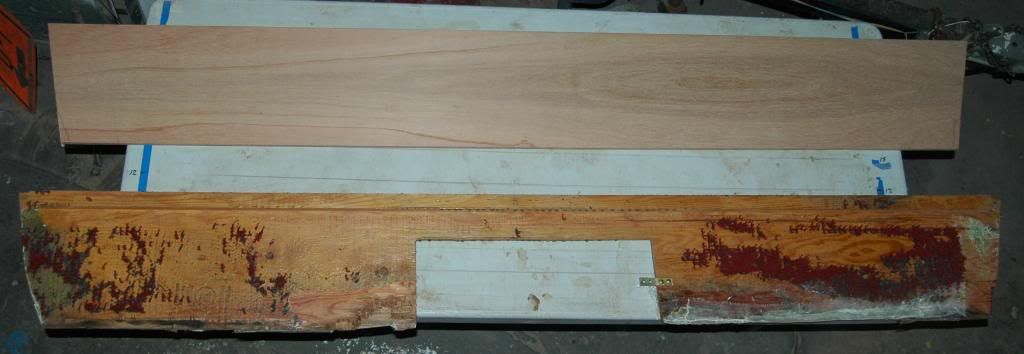
I also cut out the bulkhead that runs on top of the deck, forming the front of the bench seat at the stern. This is 1/2 marine mahogany ply.

The old bulkhead had a cutout in the center and a "door" that was basically the missing cutout screwed in. It's a mystery to me why its there. There is access to the inside of the bench seats available by pulling up the seats. So I wont duplicate it.

DSC_7563_zpsa58b08d8.jpg


What I will do is add drain passages so any water makes its way to the bilge.


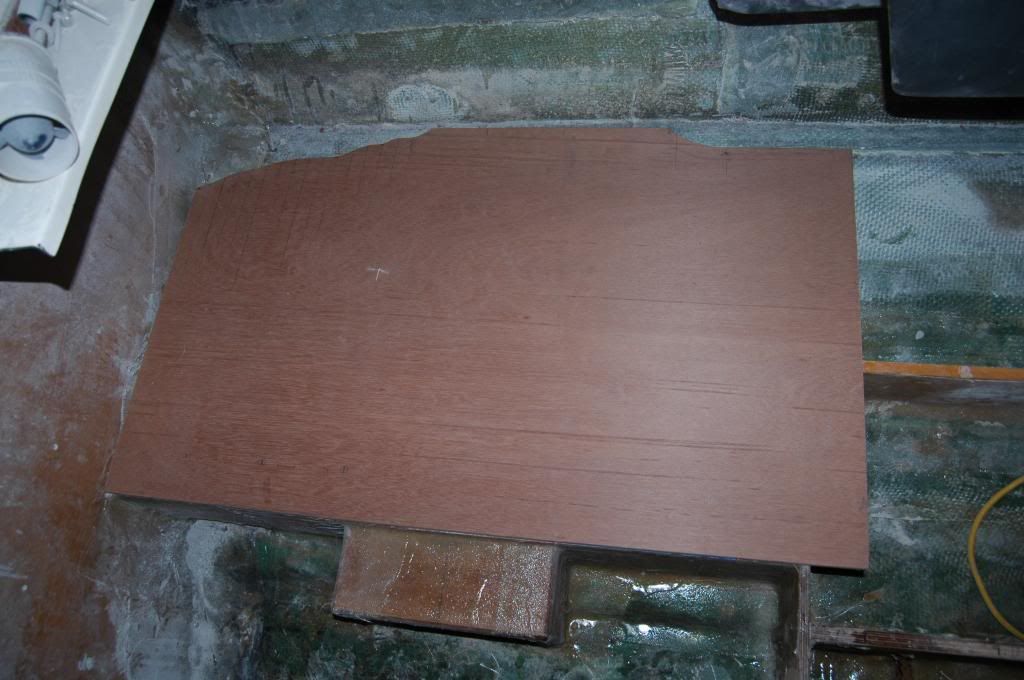
I also was able to cut out my first deck panels for either side of the engine bay;

DSC_7557_zps6ccdf406.jpg


I measured across the stringers with a flat edge and made notes every inch where the line reached over and touched the hull at the side. That's why it ens up with this wonky irregular shape in the corners. Basically the glass is rising above the stringer height. Alternative was to grind away tabbing to make way for the deck, and that is not going to happen.

DSC_7558_zpsf9d4b450.jpg


The factory dealt with this by basically leaving a large rectangular void. There will be another box built up on top of this filled with foam. Then a battery tray.
 

chconger

Petty Officer 1st Class
Joined
Jul 3, 2012
Messages
315
Re: 1988 Glastron GX 199 Restoration

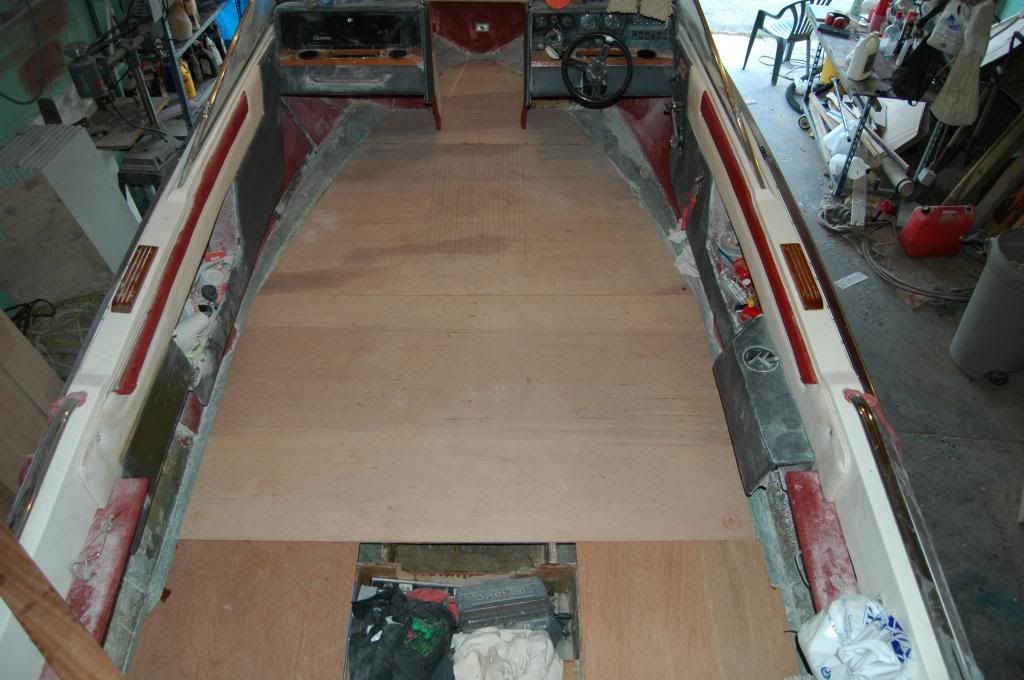
Alrighty...haven't been posting for a while, but stuff has been progressing. So here is where we are;

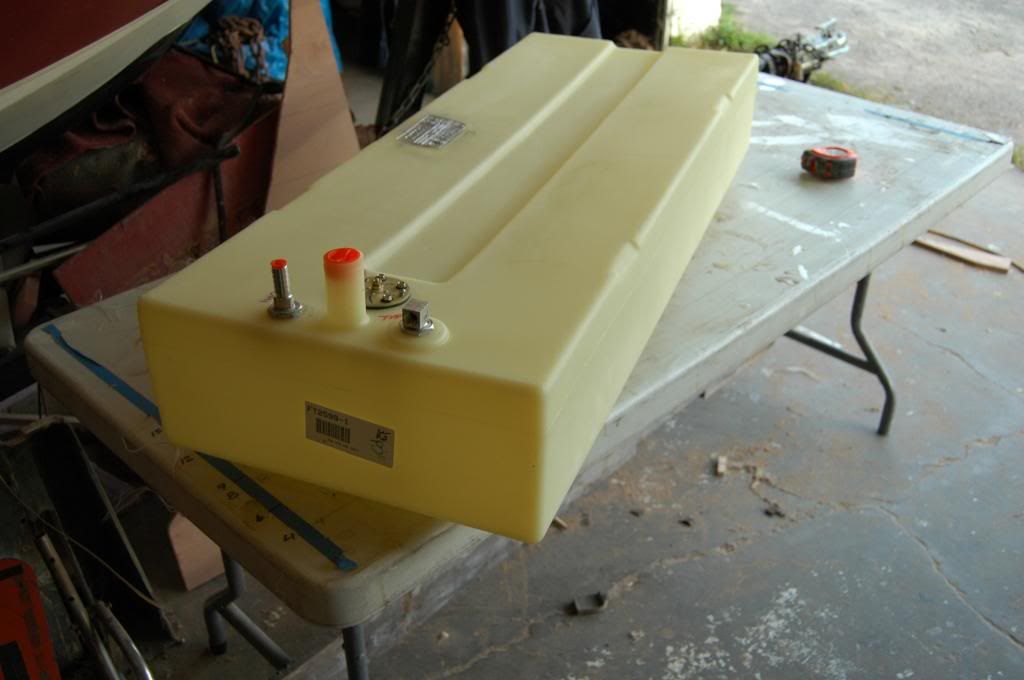
Got that new fuel tank last Friday;

DSC_7574_zps2e18fb81.jpg


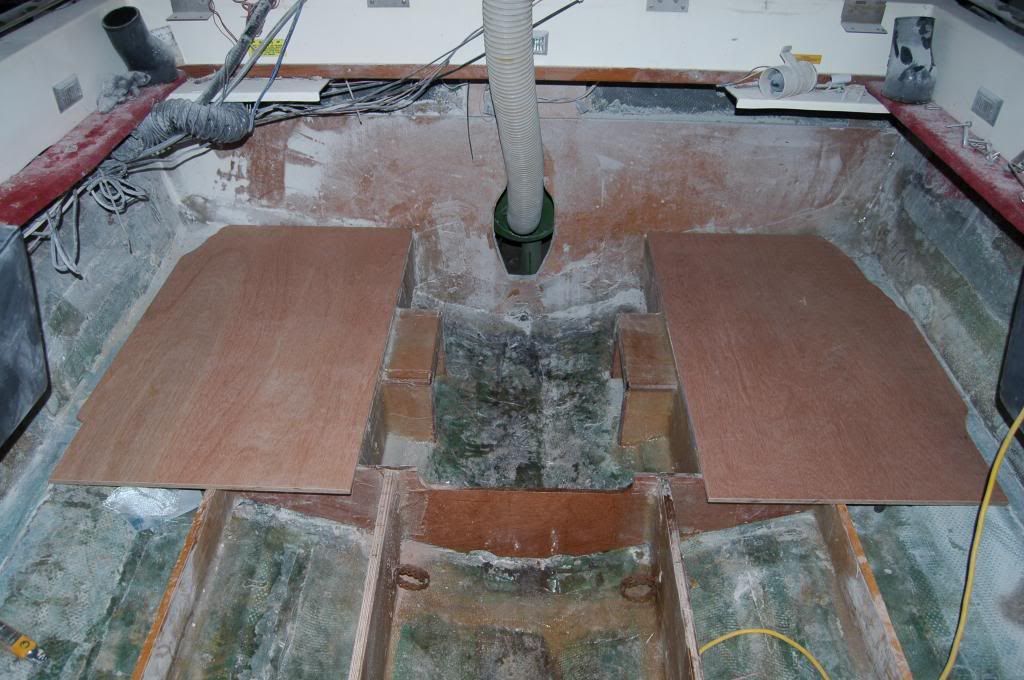
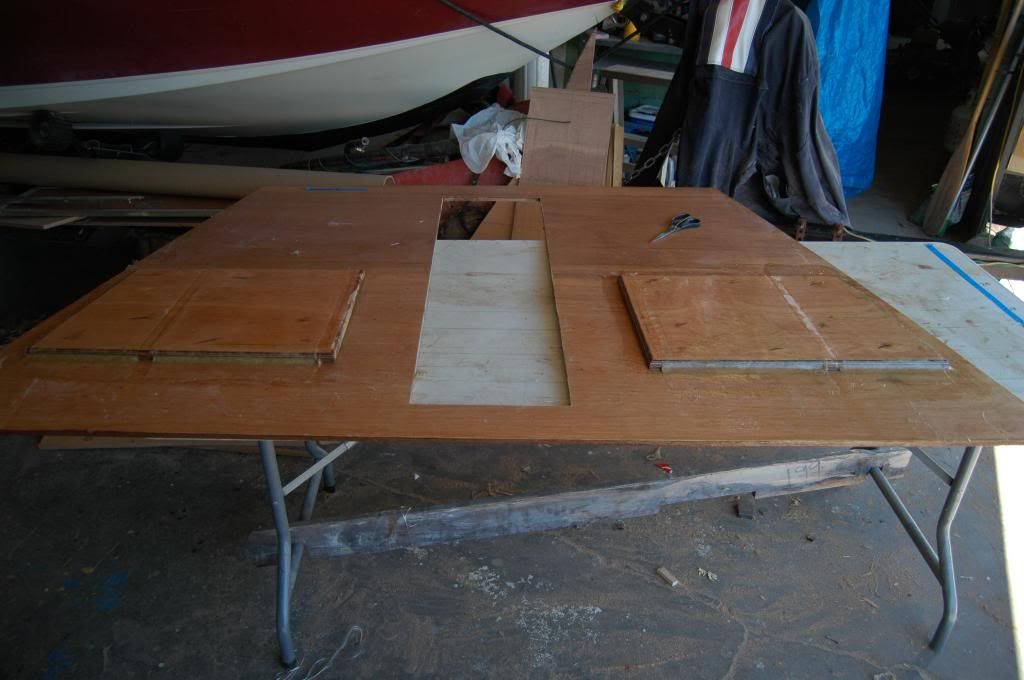
Cut out all the deck panels;

DSC_7572_zpsec8c16e4.jpg


They fit real nice up on the edges. I used 2 straight edges to reach out across the beam at 5" intervals to obtain the point where the hull is the same height as the stringers.

Toward the bow you can see lines where I had to go the other way; made similar reference marks running forward, but at 1" intervals.

I must have made over a hundred measurements overall making these panels. Lot of work but its a dead on tight fit. Very pleased.


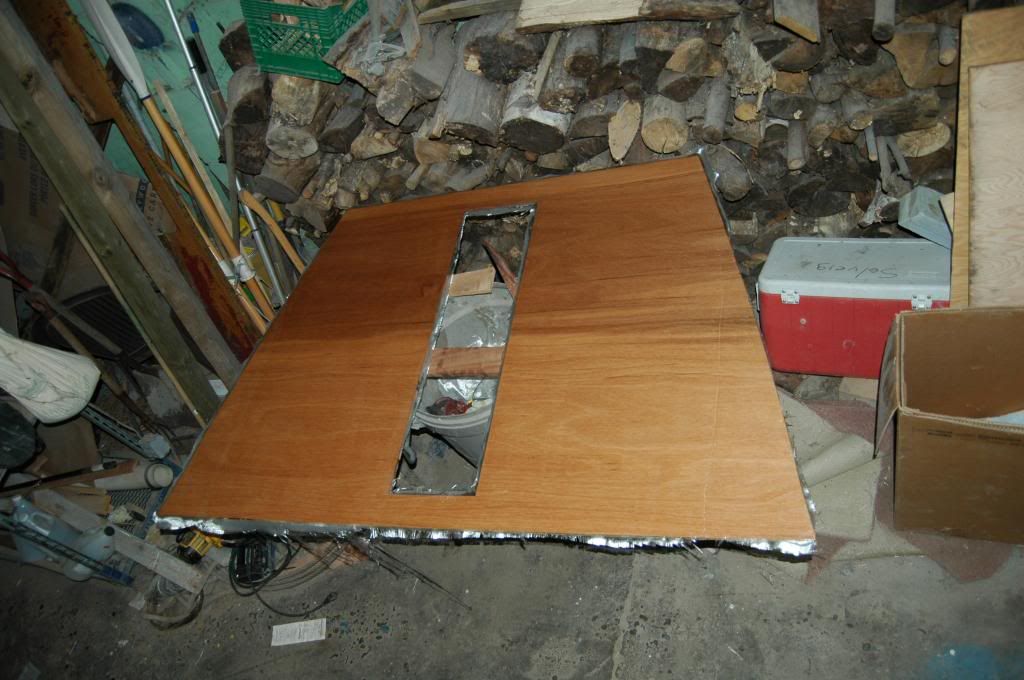
I then used 6oz cloth and epoxy resin and glassed the underside of all of them. Here is the last one I glassed that needed a cutout for the ski locker,

DSC_7580_zpsce4a9e99.jpg


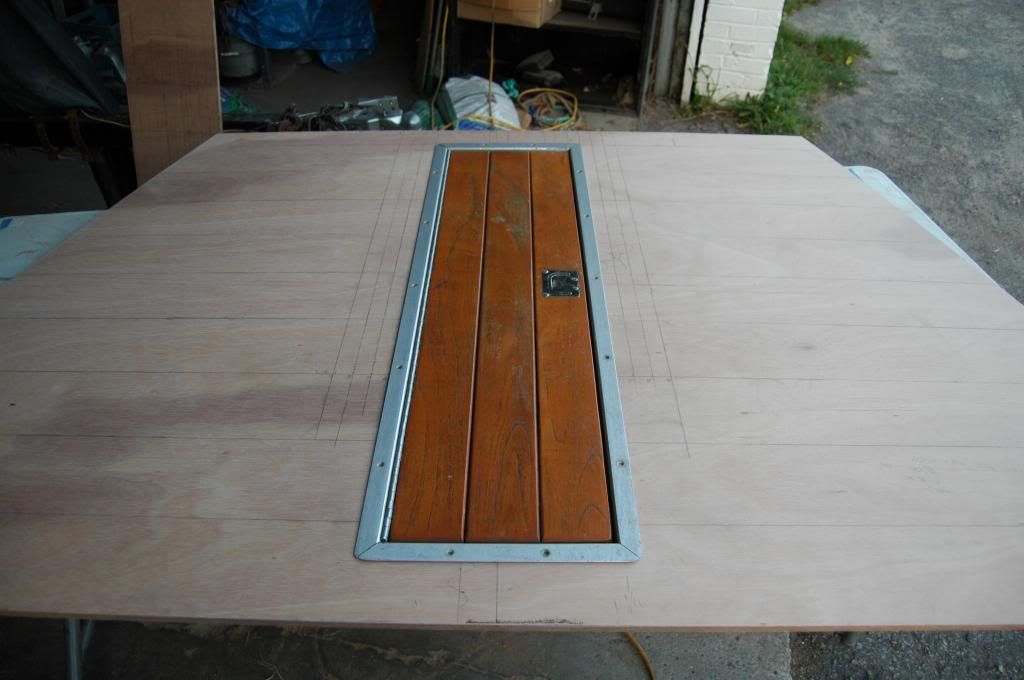
The other side before glassing with the ski locker fit in, you can see my 5" lines and the 1" lines;

DSC_7577_zps91541eb0.jpg


That's it for now...

Cheers
Chris
 
Last edited:
further

Lieutenant Junior Grade
Joined
Jun 18, 2009
Messages
1,031
Re: 1988 Glastron GX 199 Restoration

Great progress... Looking good. Question for ya on the new fuel tank. I'm looking at replacing mine as well- 21 gallon belly style that also has some pitting but can't decide between plastic or aluminum. Did you account for expansion of your new tank? I've heard they expand 1"-2". I don't really wanna reduce the size of my tank and not sure if have the room between the stringers. How you dealing with that?
 

geneseo1911

Petty Officer 2nd Class
Joined
Jul 3, 2011
Messages
183
Re: 1988 Glastron GX 199 Restoration

You are doing some nice work and will have a really nice boat from the looks of things when you're done. Do you have a side picture? I also noticed the keyhole you cut looks just like mine...were OMC and Mercruiser the same, or are you re-powering?
 

chconger

Petty Officer 1st Class
Joined
Jul 3, 2012
Messages
315
Re: 1988 Glastron GX 199 Restoration

Great progress... Looking good. Question for ya on the new fuel tank. I'm looking at replacing mine as well- 21 gallon belly style that also has some pitting but can't decide between plastic or aluminum. Did you account for expansion of your new tank? I've heard they expand 1"-2". I don't really wanna reduce the size of my tank and not sure if have the room between the stringers. How you dealing with that?


According to Moeller, the plastic expansion is 3%. I have not installed the tank yet but I have plenty of room to accommodate any expansion.

Not sure how much searching you have done; but for me; I lost 8 gallons as that's the closest I could find that fit.

Check out Moeller tanks here and you may find something that fits.


I looked into the reasons for pitting of the aluminum and it clinched it for me that I did not want to go there;

Install guidelines on aluminum;

Don't use any other metal type to strap it down
Don't use rubber up against it (carbon will eat it)
Dont allow any portion of the tank to not be able to breath air (any moisture trapped against any part will set up corrosion)

Barf...it seemed to me the thing needed to be suspended in air.

The knock on plastic is that it will smell of fuel over time. So if this was my sailboat, I would go aluminum. But its a runabout, so its a non issue.

Best of luck
Chris
 

chconger

Petty Officer 1st Class
Joined
Jul 3, 2012
Messages
315
Re: 1988 Glastron GX 199 Restoration

....Do you have a side picture? I also noticed the keyhole you cut looks just like mine...were OMC and Mercruiser the same, or are you re-powering?....

That's a great question. I dont know the answer to that. One day I may want to re-power with Mercruiser and it would be great if the keyhole matched. I am sure there is someone here in the know...


Side shot? Ill be back.
 
Last edited:
chconger

Petty Officer 1st Class
Joined
Jul 3, 2012
Messages
315
Re: 1988 Glastron GX 199 Restoration

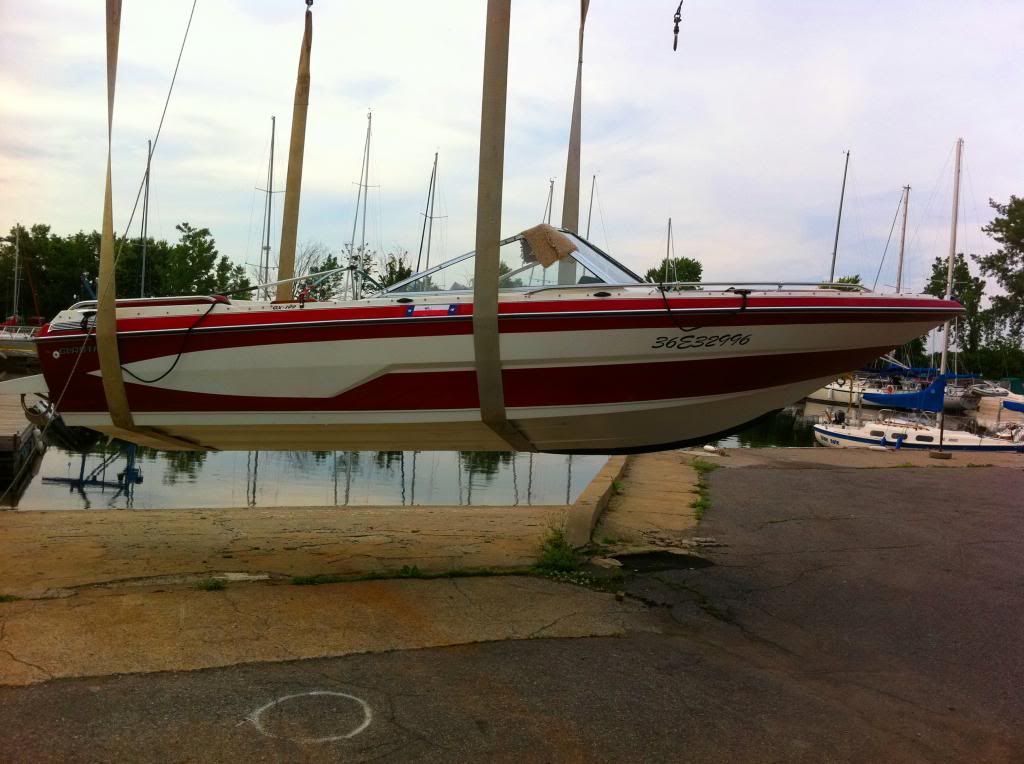
I think this is as good a side shot as can be had

GlastronLift003_zps2ab29e6e.jpg
 

geneseo1911

Petty Officer 2nd Class
Joined
Jul 3, 2011
Messages
183
Re: 1988 Glastron GX 199 Restoration

Yeah, that's what I expected her to look like. That's a really pretty boat. Glastron definitely had style.

That keyhole looks exactly like the one for my Merc. 260 ('82), which is the same as an Alpha 1. I understand that the Volvo cutout is the same as well. I wasn't aware that OMC made a drive with that style, but I'm not familiar with them at all.
 

chconger

Petty Officer 1st Class
Joined
Jul 3, 2012
Messages
315
Re: 1988 Glastron GX 199 Restoration

Yeah, that's what I expected her to look like. That's a really pretty boat. Glastron definitely had style.

That keyhole looks exactly like the one for my Merc. 260 ('82), which is the same as an Alpha 1. I understand that the Volvo cutout is the same as well. I wasn't aware that OMC made a drive with that style, but I'm not familiar with them at all.

So that's an OMC Cobra drive I have. I know the older OMC "stinger" required an alarmingly large window.

Cheers
Chris
 

chconger

Petty Officer 1st Class
Joined
Jul 3, 2012
Messages
315
Re: 1988 Glastron GX 199 Restoration

Here is what happened;


I cut out the 3/4 plates that will reinforce the deck to accept the front seat mounts.

Here they are loosely fitted;

DSC_7582_zps6bc6e8cf.jpg


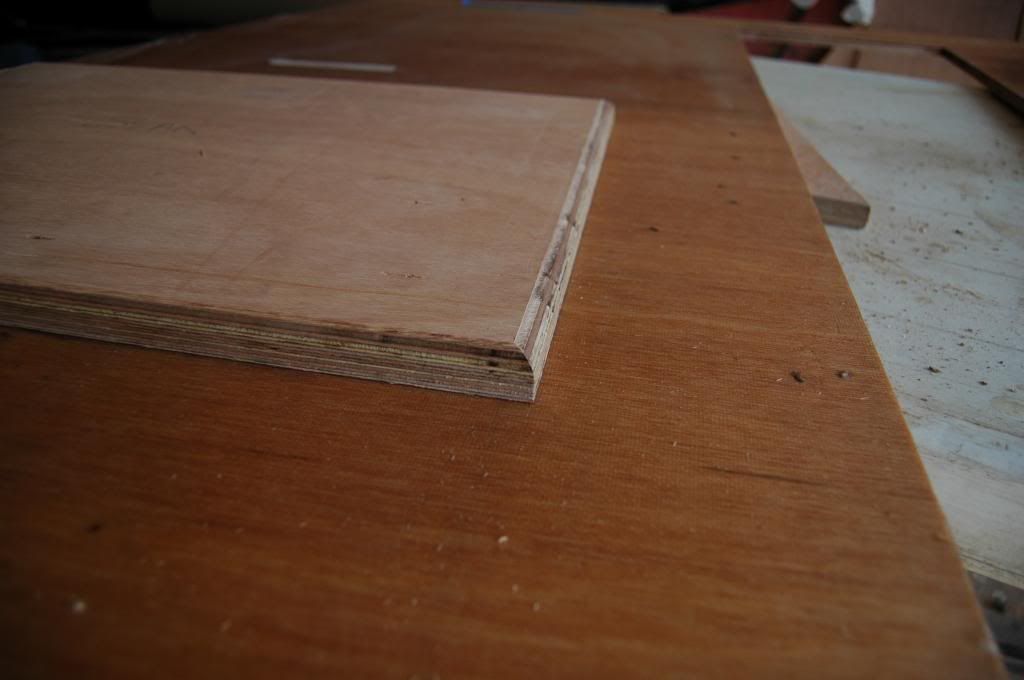
Before I mounted them to the underside of the deck I wanted to put a round-over on the edges so I can easily glass them in.

Here is the starboard side done with a round over;

DSC_7585_zps2cb696c0.jpg


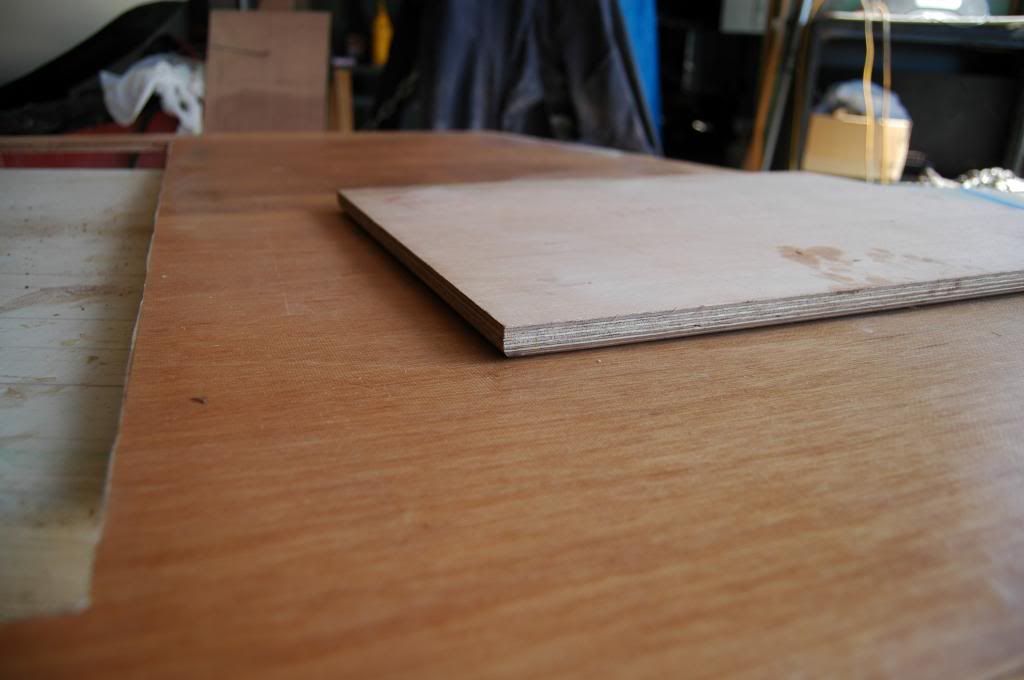
Here is the Port side;

DSC_7586_zps9181e378.jpg


URK!


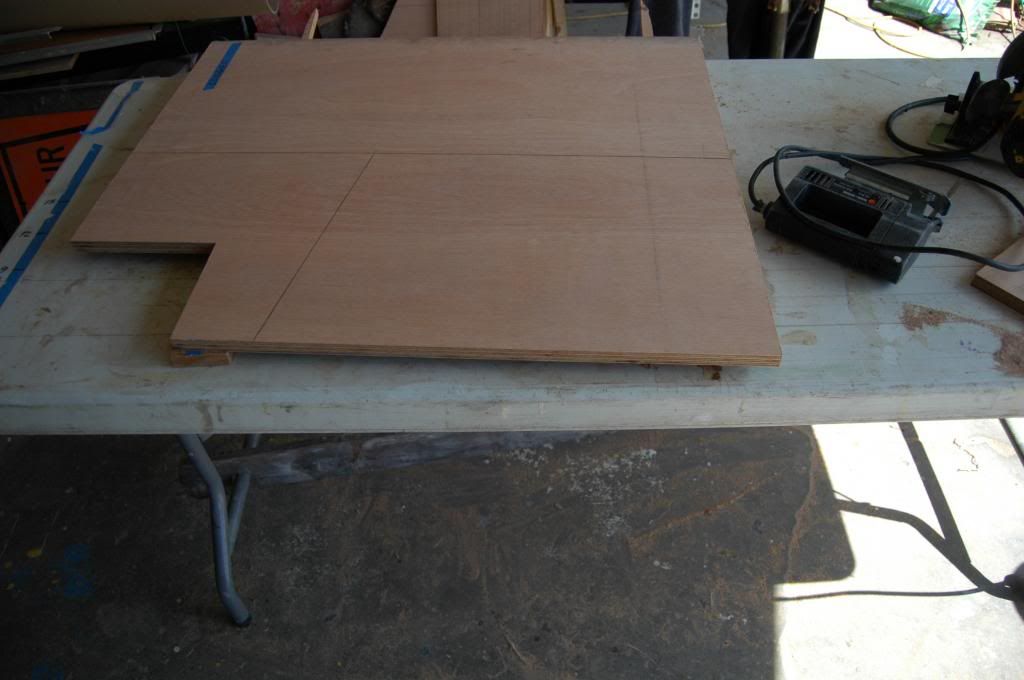
So.... I cut out another;

DSC_7590_zps3909c4f7.jpg


And developed an ingenious solution to ensure error free routing of this one:

DSC_7592_zps6909e970.jpg


I may patent that.


And now they are both epoxy glued, screwed, and glassed in;


DSC_7597_zps721f3a21.jpg


The gap in the glass is to accommodate the outer stringer. There is no glass on the inside of each plate to accommodate the inside stringer. All this is epoxy, wheat flower filler for the filleting, and 6 ounce e-cloth.


Next up is the fuel tank install.

Cheers
Chris
 

Attachments

  • DSC_7585_zps2cb696c0.jpg
    DSC_7585_zps2cb696c0.jpg
    51.7 KB · Views: 0

jbcurt00

Moderator
Staff member
Joined
Oct 25, 2011
Messages
25,043
Re: 1988 Glastron GX 199 Restoration

W/ an epoxy PB fillet & epoxy & glass, the panel rounded on the wrong side would probably still have been plenty strong enough...

But better to remake the small panel then ever worry, eh?

Nice looking work.
 

chconger

Petty Officer 1st Class
Joined
Jul 3, 2012
Messages
315
Re: 1988 Glastron GX 199 Restoration

.......W/ an epoxy PB fillet & epoxy & glass, the panel rounded on the wrong side would probably still have been plenty strong enough...

But better to remake the small panel then ever worry, eh?

Nice looking work.


Thanks and; Yea, your right, it would have been fine.

I think I just got into a head-space where I was just going to have it done as per my plan, even if I had to burn the shop down doing it. You know...iboats is watching!

Ill probably find a home for the orphaned piece somewhere along the way...

Cheers
Chris
 

Woodonglass

Supreme Mariner
Joined
Dec 29, 2009
Messages
25,927
Re: 1988 Glastron GX 199 Restoration

Uhmmm Have you condsidered using stainless t-nuts mounted in those plates and then using bolts to mount your seats?
 

chconger

Petty Officer 1st Class
Joined
Jul 3, 2012
Messages
315
Re: 1988 Glastron GX 199 Restoration

Uhmmm Have you condsidered using stainless t-nuts mounted in those plates and then using bolts to mount your seats?

Well, I have ready access to these in stainless:
prong_t_nut.jpg


But I am going to do the doughnut thing with the holes in the floor (over size, fill with epoxy, re-drill), and am thinking that the "tangs" or what ever the piercing bits are called in a t-nut, will not want to go into the solid epoxy doughnut ring.

So I was considering epoxying on some nuts and fender washers, but I am concerned that the epoxy holding them can be fractured over time. The next person to own this boat may want to try and remove the seats, and will spin the nut under the deck if I don't do this right. So I need to ensure that can't happen.

So all that is to say; I don't know yet....open to suggestions.
 
Last edited:
Top