1988 Glastron GX 199 Restoration

geneseo1911

Petty Officer 2nd Class
Joined
Jul 3, 2011
Messages
183
Re: 1988 Glastron GX 199 Restoration

WOG, that is the biggest electric knife I've ever seen!

Just what I need to carve my Thanksgiving Emu!

In all seriousness, I wonder if an electric knife would work.
 

britisher

Petty Officer 1st Class
Joined
Feb 23, 2012
Messages
369
Re: 1988 Glastron GX 199 Restoration

What does your son make music with now you've hijacked his guitar strings????? LOL
I never cease to be amazed by the ingenuity on this forum.
On your sailboat, has the wife discovered her missing bed sheets yet? :laugh:
 

further

Lieutenant Junior Grade
Joined
Jun 18, 2009
Messages
1,031
Re: 1988 Glastron GX 199 Restoration

How bout one of those electric carving knives. I've used them on foam for seats and works very well.
null_zps88fddf60.jpg
 

chconger

Petty Officer 1st Class
Joined
Jul 3, 2012
Messages
315
Re: 1988 Glastron GX 199 Restoration

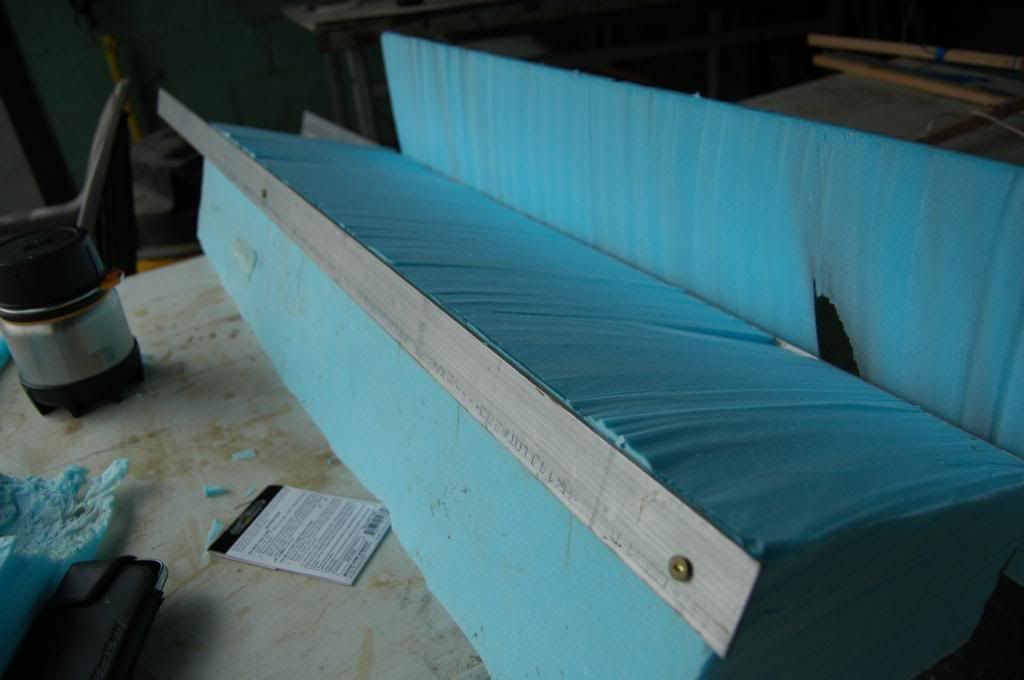
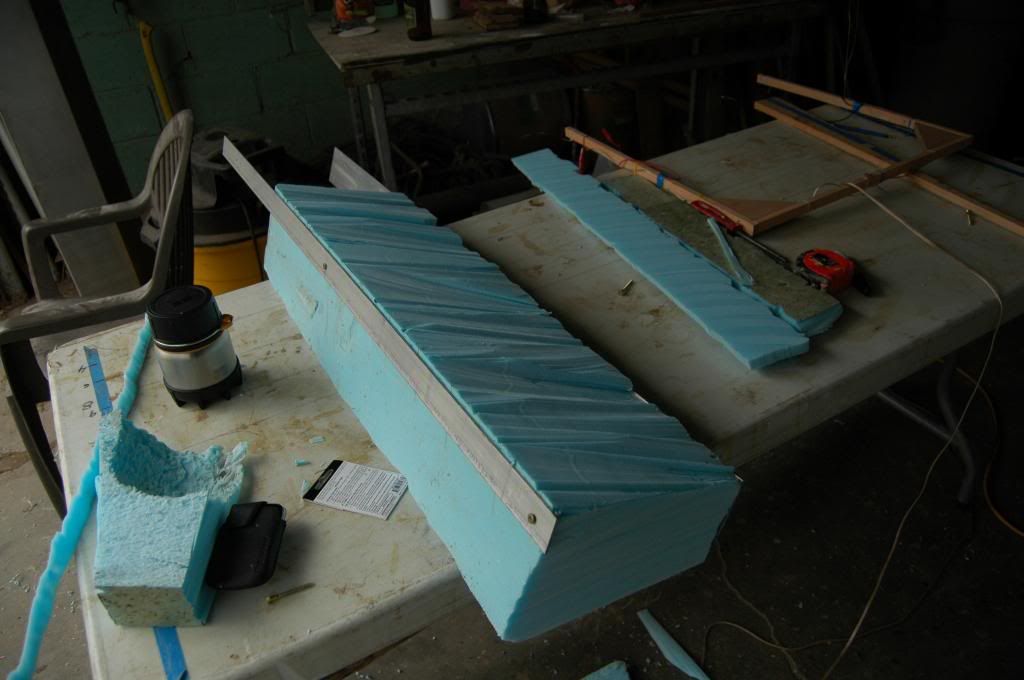
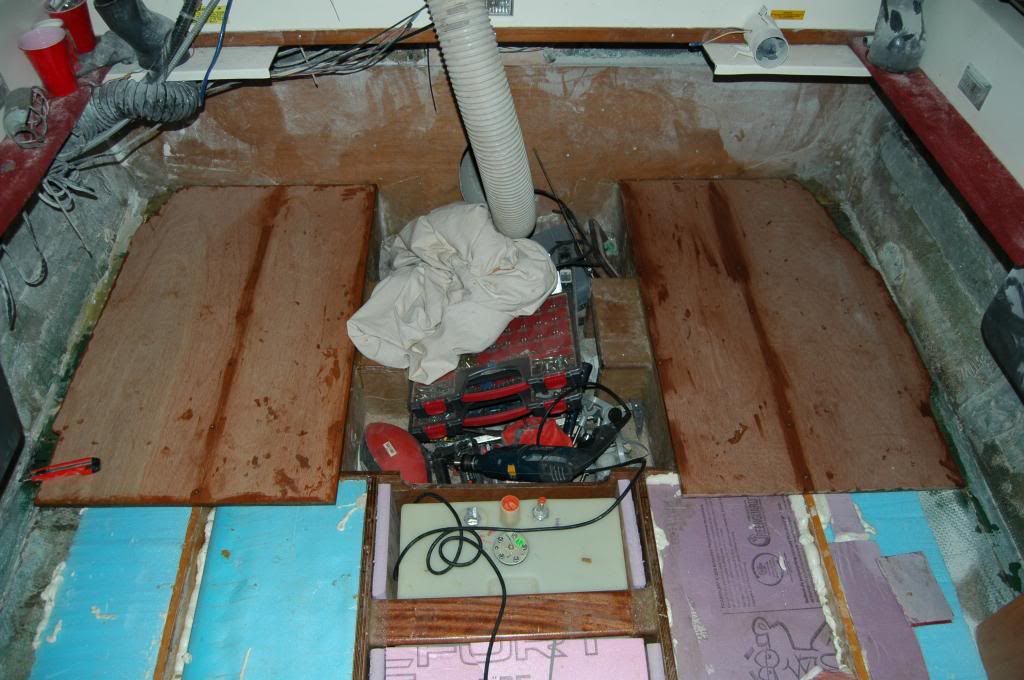
Well I have't broken down for a saw just yet. I tried the nichrome hotwire and it seems to work better. I think the trick is to have a very small diameter wire.


I used some straight edges screwed into the foam to guide the wire through and I end up with fairly accurate cuts;

DSC_7746_zpse5fcbe30.jpg


Check out the wibbly-wobbly cut on top here, made before I thought of the straight edges;

DSC_7745_zpsda68fc75.jpg


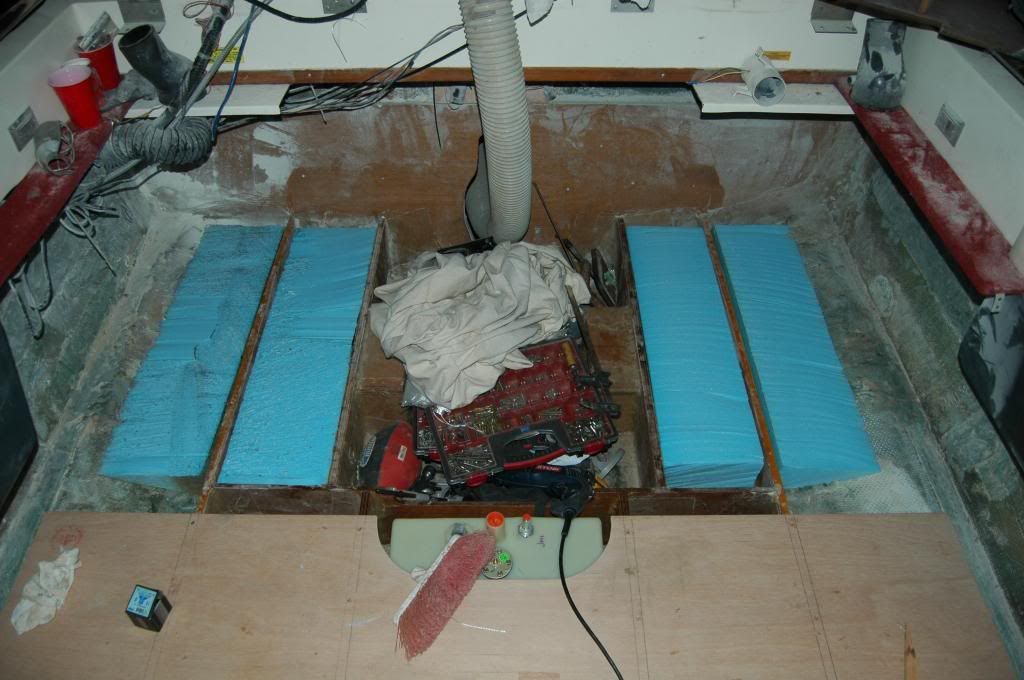
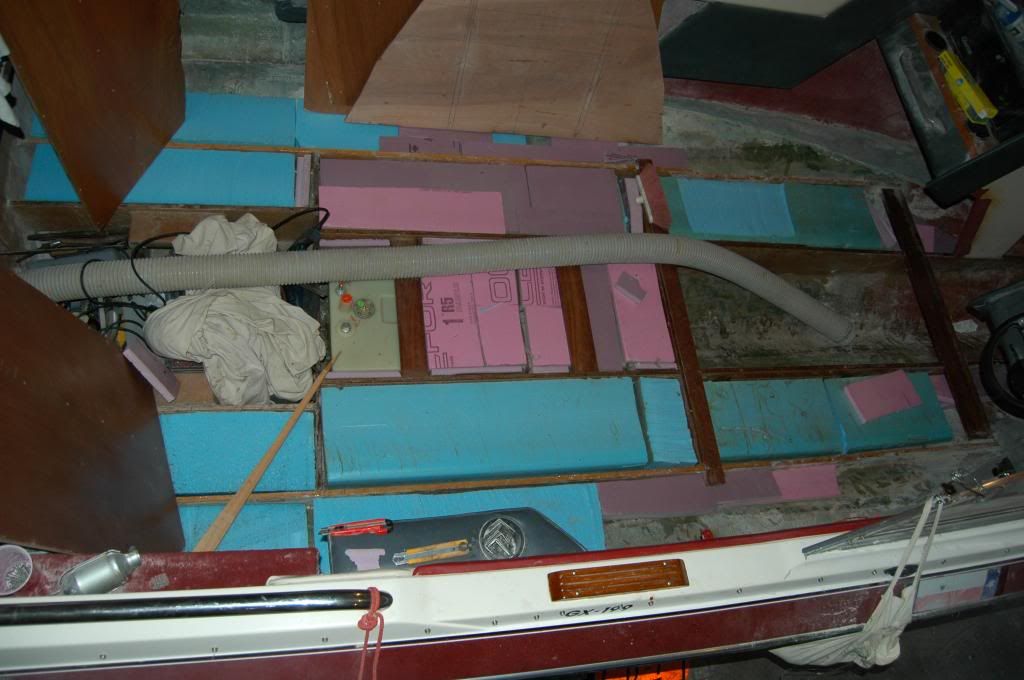
So I am starting to fill here up;

DSC_7748_zpsca12cdc0.jpg


Not a lot of progress as the winds were fairly decent. Here is The Admiral yesterday calling up for some more sunshine;

7346c6eb-d24e-468f-8437-e971c3eef0ba_zpsdff80373.jpg


Cheers
Chris
 

chconger

Petty Officer 1st Class
Joined
Jul 3, 2012
Messages
315
Re: 1988 Glastron GX 199 Restoration

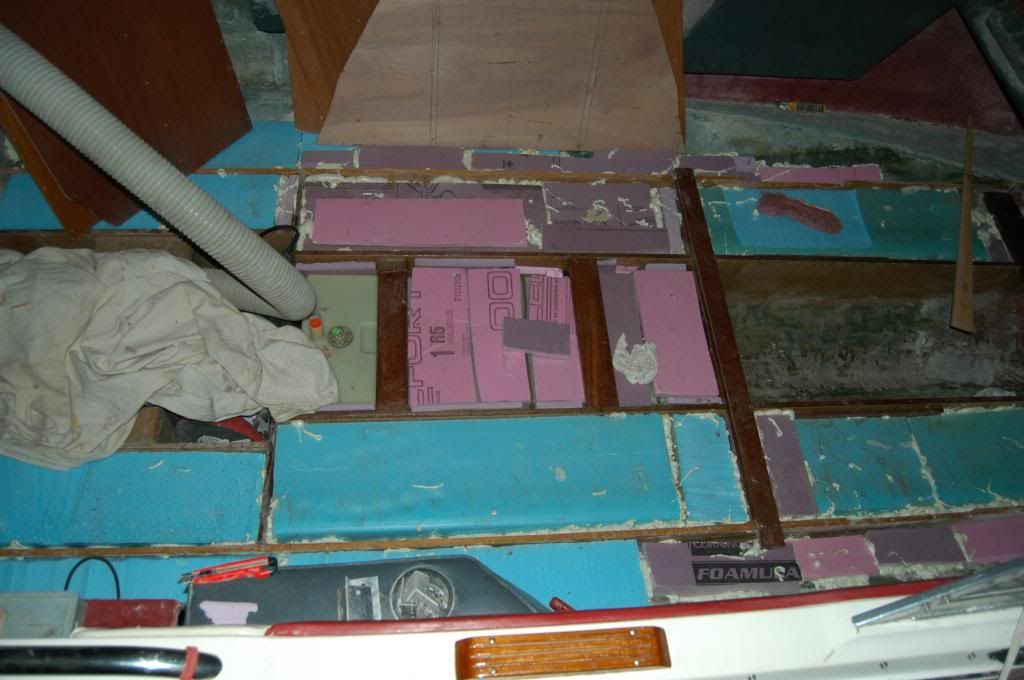
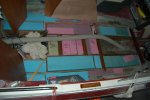
Well I ended up using a mix of stuff I cut with the hotknife and board that I had lying around... so it all ends up rather higgledy-piggledy.


DSC_7750_zps0cbb1ba1.jpg


Ill pick up a couple of can's of Great Stuff to lock this all down.

Chris
 

Attachments

  • DSC_7750_zps0cbb1ba1.jpg
    DSC_7750_zps0cbb1ba1.jpg
    81.7 KB · Views: 0

chconger

Petty Officer 1st Class
Joined
Jul 3, 2012
Messages
315
Re: 1988 Glastron GX 199 Restoration

Well $20 of this;


Great-Stuff.jpg


And I get this;

DSC_7756_zps1b007252.jpg


That is messy stuff. Glad to be done that.

I did not want to create a dam on the natural drain channels running along the bottom inboard side of the each stringer.

So I "spot welded" and/or generally kept the foam out of the "gutter" on the inboard side.

I liberally loaded up the outboard sides, and each end of a piece of foam. I put a single strip of Great stuff under each piece of hard foam board before pressing into the hull.

The ones that had set up when I left seemed locked in place pretty good. Walking on them; they did not so much as squeak.

So I think they will be quiet, add something to rigidity, and will resist popping up in the event of a swamp.

I did not put any around the fuel tank (Moeller instructions)

Will it float the boat? No idea. Perhaps Kung Pao can run the math for me. I do know there is a lot more foam there then I found.

I still have 2 large boxes to be built on top of this deck beside the engine, they will add with about 6-8 cubic feet of foam to this.

Cheers
Chris
 

xanthras

Petty Officer 3rd Class
Joined
Jun 29, 2009
Messages
76
Re: 1988 Glastron GX 199 Restoration

looks good to me. great idea of how to keep the channels clear!
 

chconger

Petty Officer 1st Class
Joined
Jul 3, 2012
Messages
315
Re: 1988 Glastron GX 199 Restoration

looks good to me. great idea of how to keep the channels clear!

Thanks Xanthras,

I think its a good idea to keep an air channel at the lowest point under the foam. Using polystyrene board makes it fairly easy. Using free polystyrene, makes it happen:)
 

dockrash

Cadet
Joined
Feb 13, 2012
Messages
9
Re: 1988 Glastron GX 199 Restoration

Good idea with the spray foam.. Messy stuff, don't get any on ya:)
 

chconger

Petty Officer 1st Class
Joined
Jul 3, 2012
Messages
315
Re: 1988 Glastron GX 199 Restoration

Good idea with the spray foam.. Messy stuff, don't get any on ya:)

Too late.... Ruined another shirt!


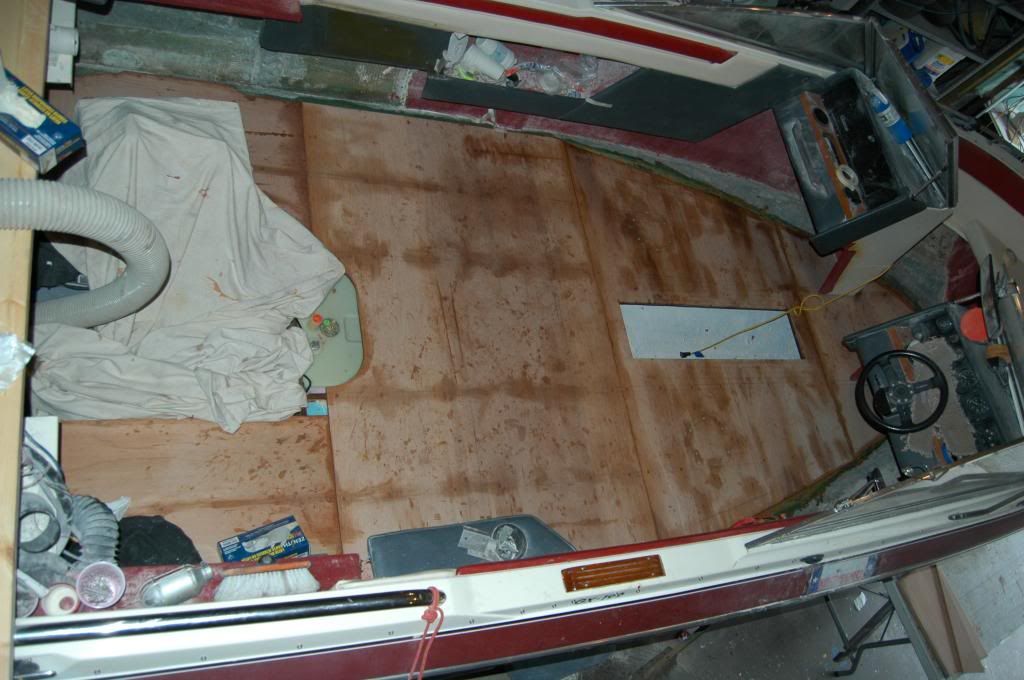
Well today I was able to start putting down the deck. Just the 2 pieces at the stern for now;

DSC_7779_zpse41e5554.jpg


I laid out thin epoxy on the stringers. As well on the underside of the deck board at the stringer lines and where the hull will come up to meet the deck.

I then laid thickened epoxy on the same places on the deck board; liberally on the outboard edge.

Then screwed it all down in the pre-drilled counter sunk holes with stainless and epoxy in the holes.

That's a milestone today. First deck pieces down,

Chris
 
Last edited:

geneseo1911

Petty Officer 2nd Class
Joined
Jul 3, 2011
Messages
183
Re: 1988 Glastron GX 199 Restoration

You're in the home stretch! It goes real fast from here!
 

chconger

Petty Officer 1st Class
Joined
Jul 3, 2012
Messages
315
Re: 1988 Glastron GX 199 Restoration

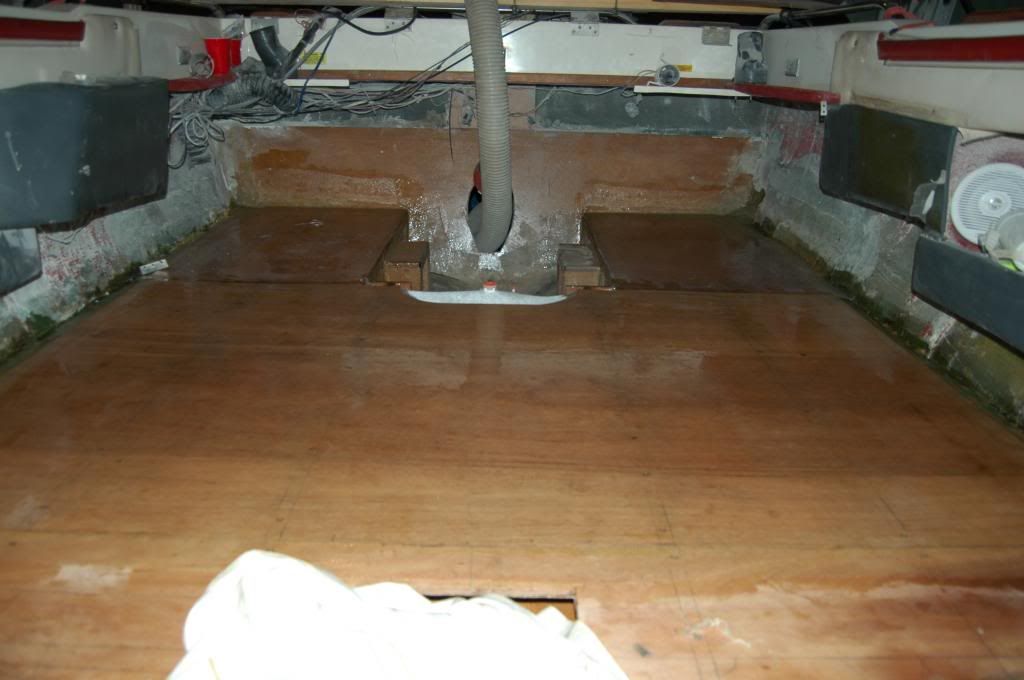
....And its all down;


DSC_7787_zps64edc706.jpg


Tab in and glass over next...

Chris
 
Last edited:

chconger

Petty Officer 1st Class
Joined
Jul 3, 2012
Messages
315
Re: 1988 Glastron GX 199 Restoration

Started top glassing.

That is 10oz cloth with epoxy over the same again in strips for tabbing around the perimeter;

DSC_7800_zpsffb4d95d.jpg


The under sides are all glassed with 6oz cloth and epoxy.


Used brown flower to make the fillet and to fill the roll off from the deck.

31586acb-49f9-4795-8a6f-077731694a26_zpsfc2504c9.jpg


Opened my last gallon of epoxy tonight too. That will be the 8th. Fairly certain Ill be buying some more as I still have the ski locker, bow area, flotation boxes at the stern, and a bulkhead to do....

syllepsis_zpsc6561ea7.gif


Cheers
Chris
 

chconger

Petty Officer 1st Class
Joined
Jul 3, 2012
Messages
315
Re: 1988 Glastron GX 199 Restoration

Hi All

Well its been a damn cold winter and it aint over yet, but its time to think about finishing this girl.

Here is a brief update of where I ended up last fall.


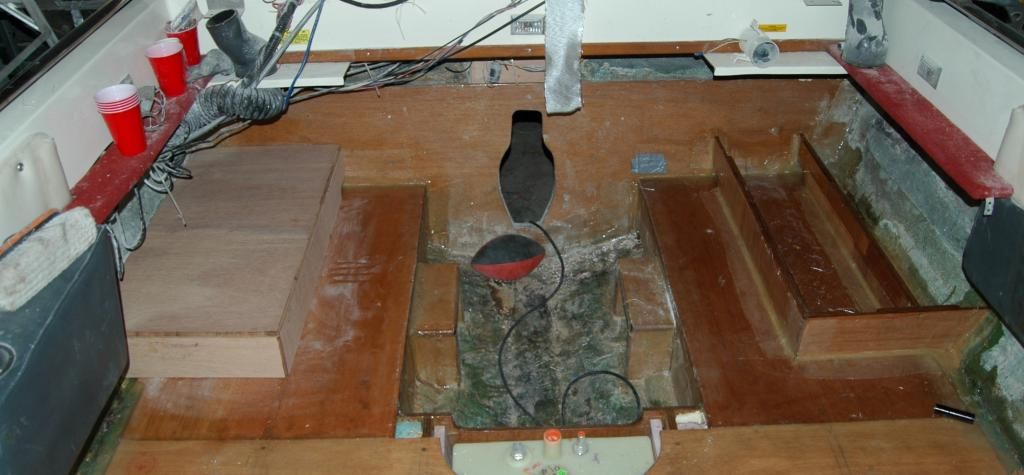
I installed my battery tray boxes;
DSC_7825_zps4a5743ad.jpg


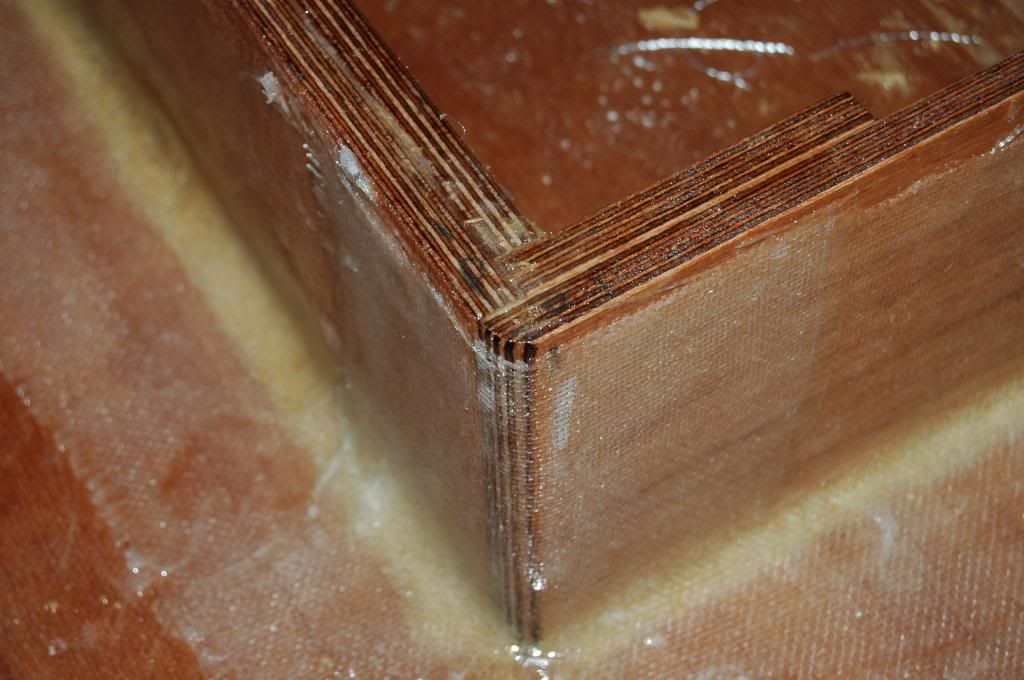
Doubled up 1/2 marine mahogany ply to accept the lid screws
DSC_7822_zps891daedc.jpg


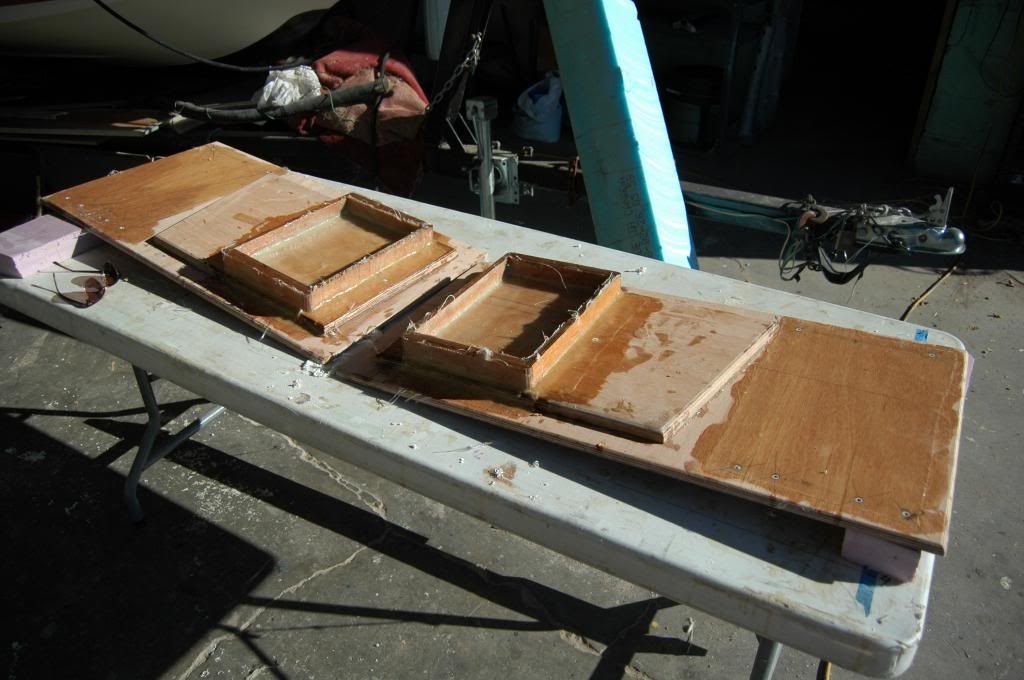
Made some lids and battery trays:
DSC_7834_zps61e1aac3.jpg


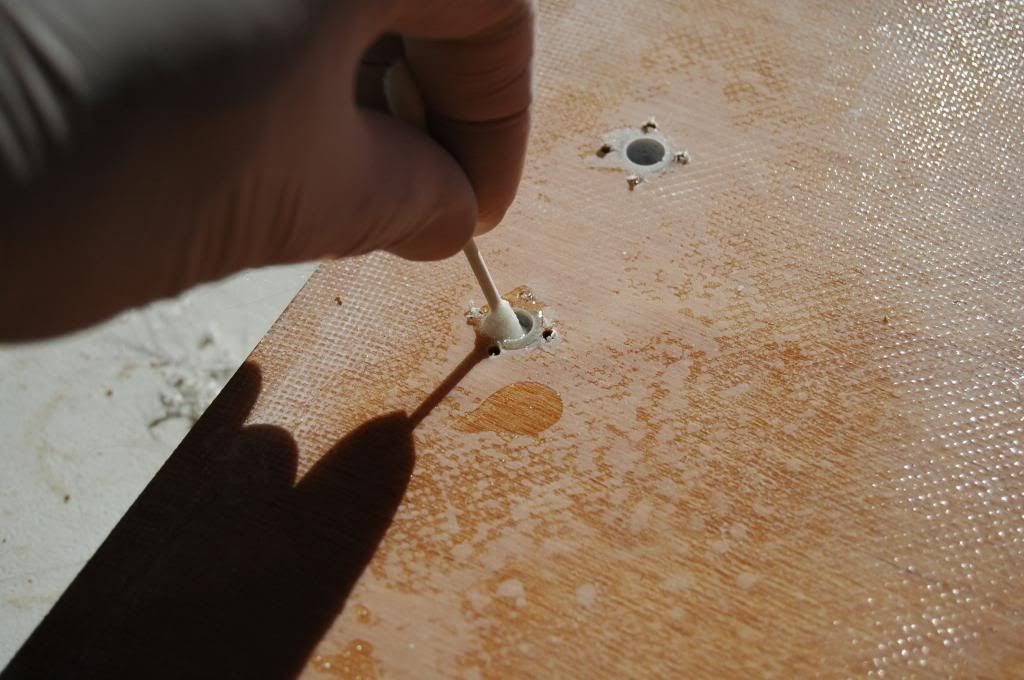
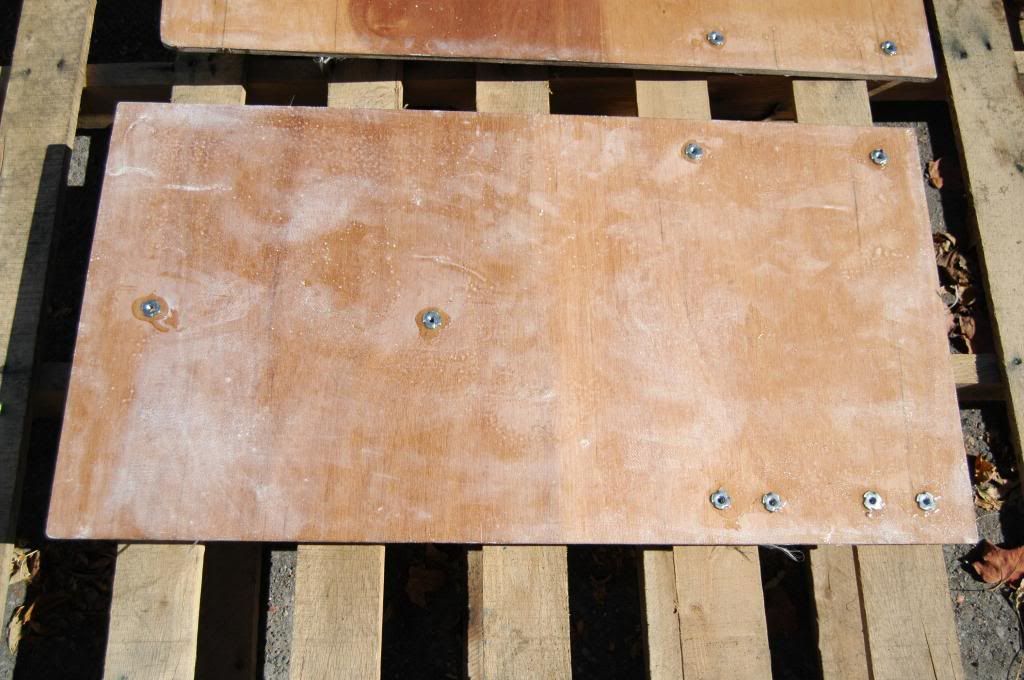
Inserted t-nuts as before (embedded in pre-drilled epoxy holes)
DSC_7837_zpsb2d884d2.jpg


DSC_7839_zpsa2f20ba7.jpg


To be continued....
 

chconger

Petty Officer 1st Class
Joined
Jul 3, 2012
Messages
315
Re: 1988 Glastron GX 199 Restoration

Continued from previous post today...


Then installed and glassed in the lids:
DSC_7846_zps9c690827.jpg


The screws you see there have no immediate use. I Just wanted tie down options. Will probably use some eyebolts.


Here is the other side:
DSC_7850_zps22f1a115.jpg


And together
DSC_7851_zps4f2cc325.jpg


That's all I have documented before I pulled it out of the Club's shed and wrapped her up for the winter. I wanted to re-activate this thread as I am going to get back at it next week. Probably upholstery is next.


Cheers
Chris
 
Last edited:

chconger

Petty Officer 1st Class
Joined
Jul 3, 2012
Messages
315
Hi All

Sorry for not posting in a while. I have been progressing but it seems so slow that I was not too excited about the progress to post.. Anyhoo here is where we left off:

DSC_7851_zps4f2cc325.jpg


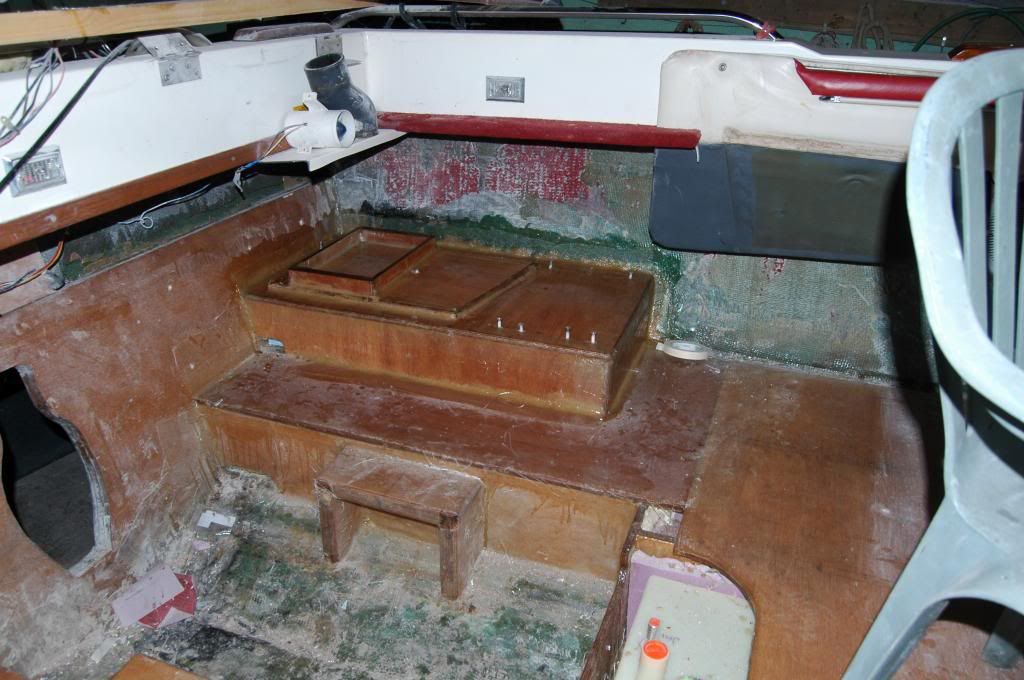
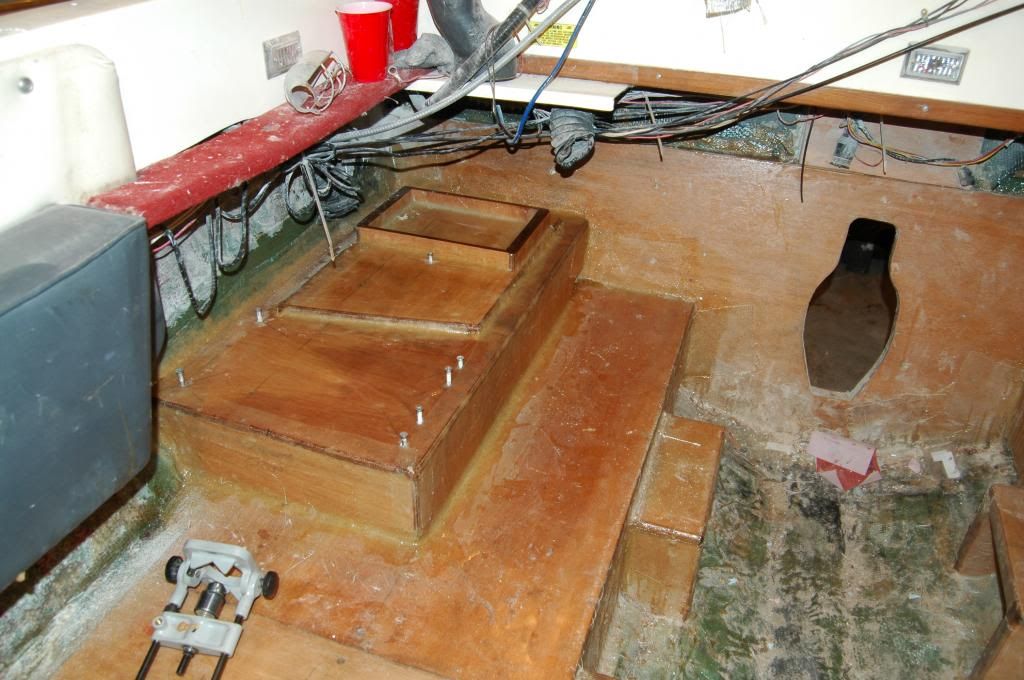
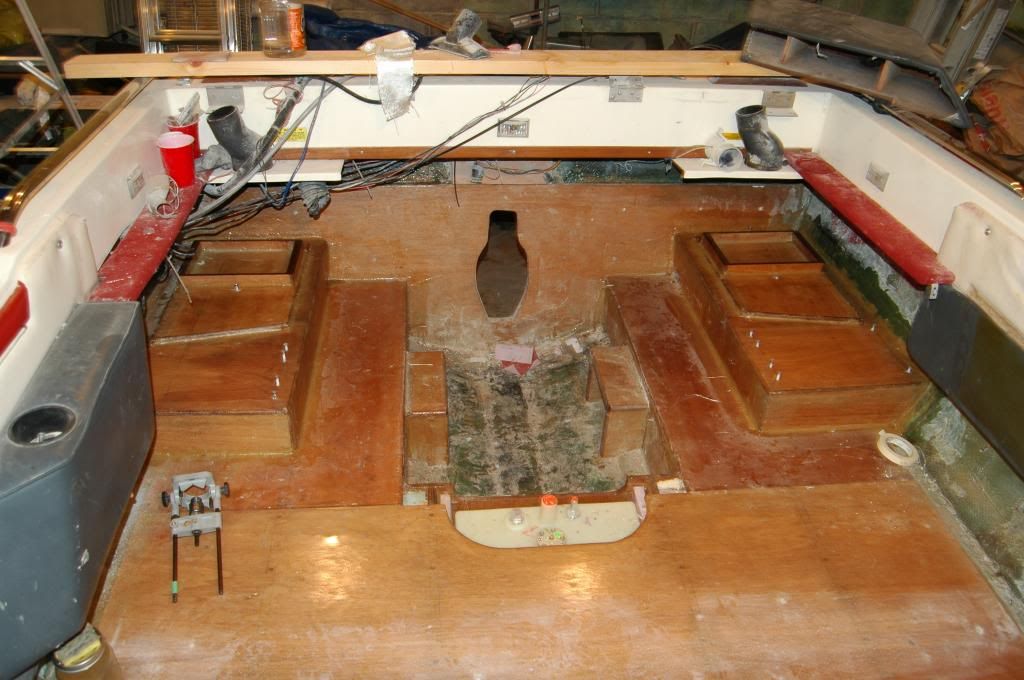
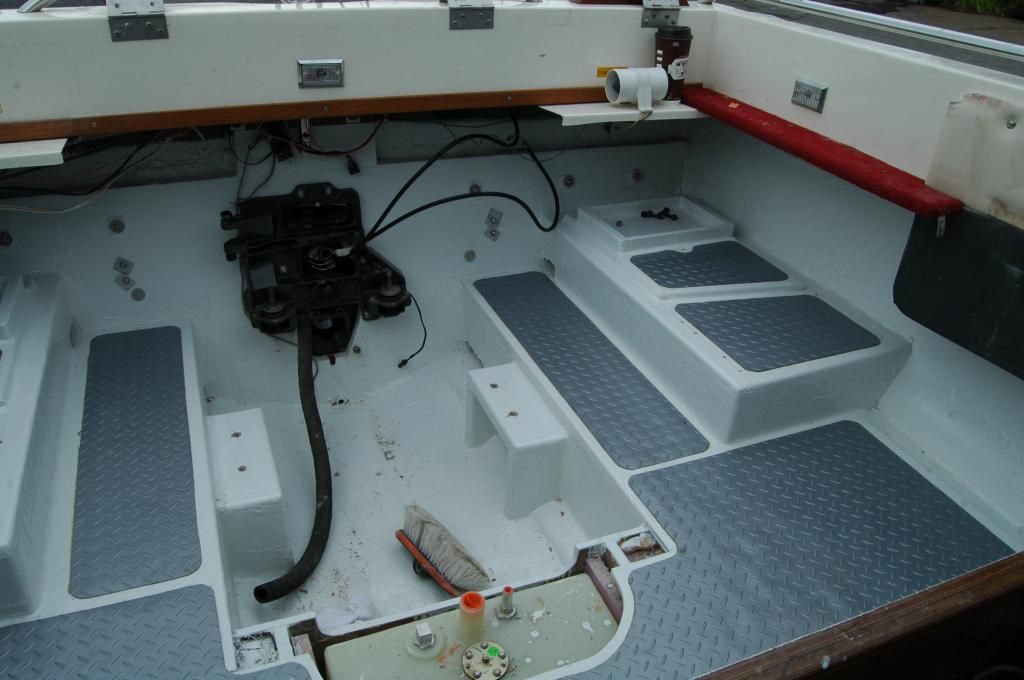
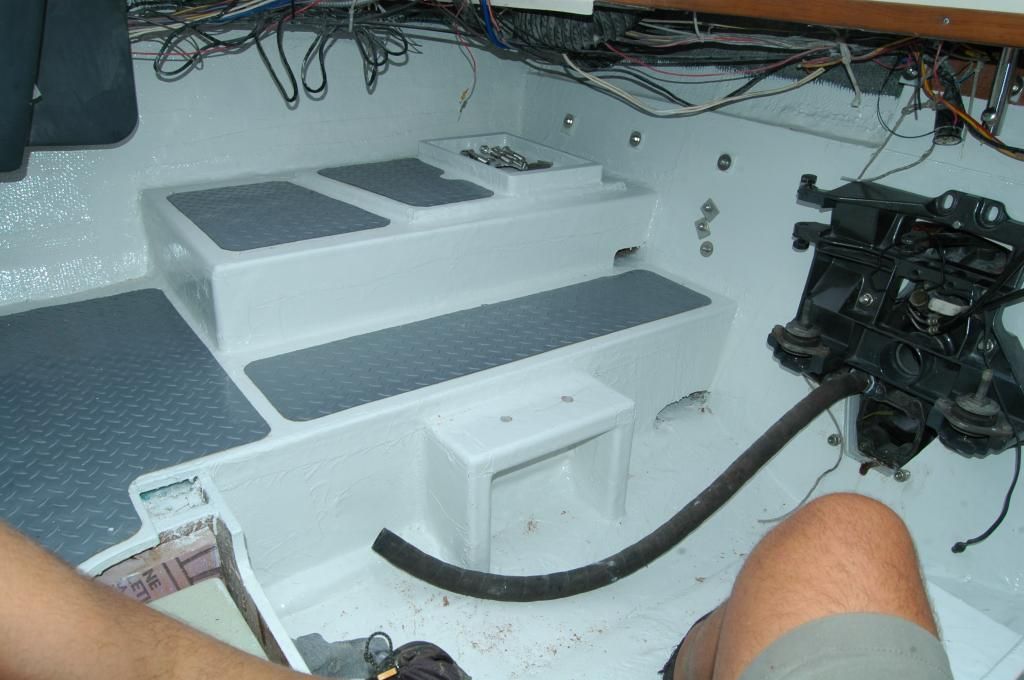
Since then, I painted everything. I used 2 coats Interlux 2 part epoxy primer followed by 2 coats Interlux 2 part polyurethane paint. A buddy here had some extra vinyl checker plate to donate. So I cut and put that down into PL Premium that I troweled out like I was laying tile:


DSC_8255_zpsda180411.jpg


You can see I already have put on the transom plate and a number of other do-dads on the transom


Here is another angle

DSC_8260_zps841b8381.jpg


So you can see my engine mounts are drilled.

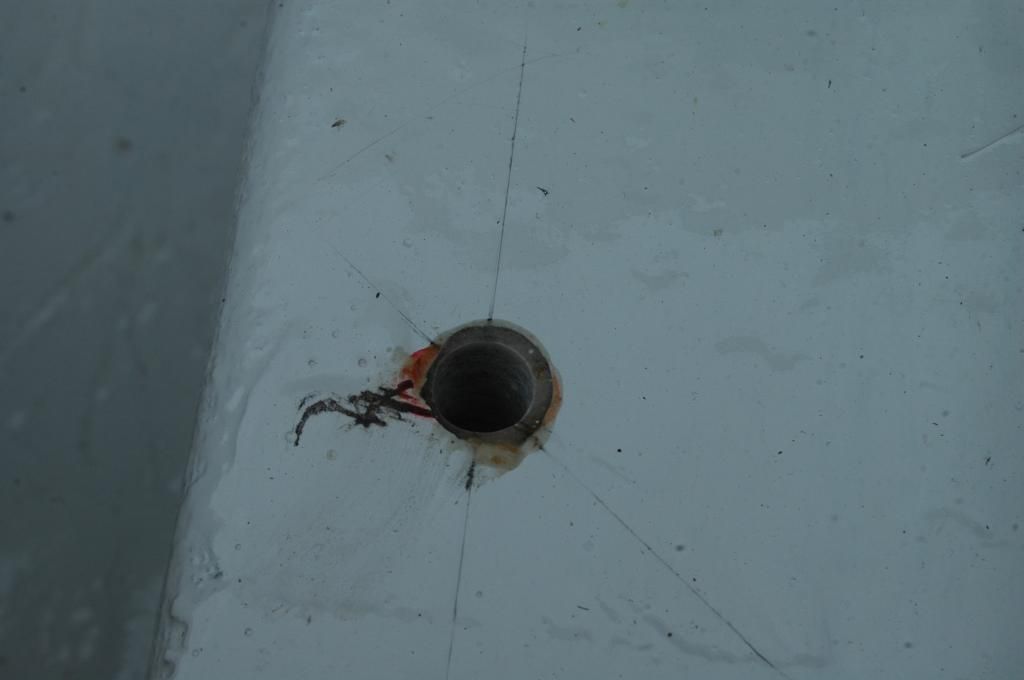
There; I had test fit the engine, marked the holes, then, (like everything), I pre-drilled over sized holes, then filled with epoxy, and drilled the proper (smaller) holes in the epoxy. Here is one:

DSC_8261_zps5217ade0.jpg


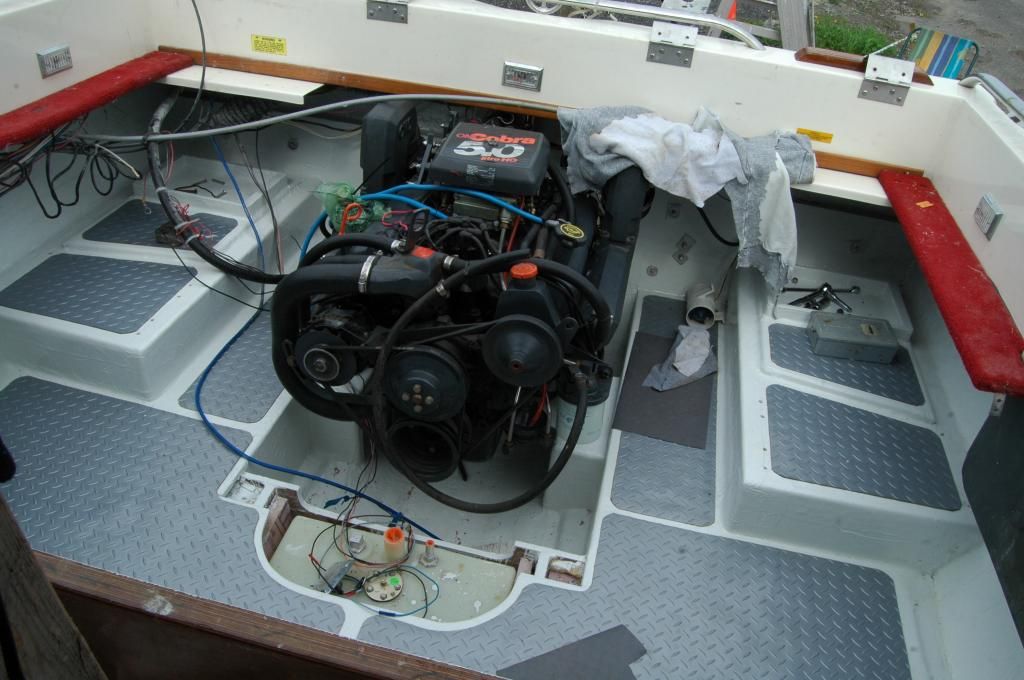
Then today we installed the engine. Here is my buddy Shaun lifting the 302 all by himself:

DSC_8268_zps5d2ae573.jpg


And the engine is home:

DSC_8270_zps1a306fac.jpg


So now I am hooking up stuff.


Cheers
Chris
 
Last edited:

Woodonglass

Supreme Mariner
Joined
Dec 29, 2009
Messages
25,927
Any Progress, is Good Progress, no matter how long it takes. Good to see you back at it!!!;)
 

Willyclay

Captain
Joined
Sep 8, 2006
Messages
3,258
Very nice! Great work on the vinyl floor covering. Good luck with "hooking up stuff".
 

chconger

Petty Officer 1st Class
Joined
Jul 3, 2012
Messages
315
Thanks Guys

About 1/4 of the items are linked:
  • Exhaust,
  • Tilt / Trim pump and lines (needs refilling and final tightening of the lines after confirming have "up to up" & "down to down",
  • All electrical is attached, but needs some tie up / clean up.
  • Upper shift and throttle cables.
I turned it over, just to see, and found my solenoid would stick "on" sometimes. A tap with a wrench would free it for a few cycles, but its no longer reliable. First casualty of sitting for two years I guess.


I forgot how cramped it is to work with the engine there; even with the back seat & sundeck missing. If the engine was not in the way, it would be a lot easier to hook stuff up to it.

Cheers
Chris
 
Top