VolleyGirlSC
Seaman
- Joined
- Aug 9, 2012
- Messages
- 55
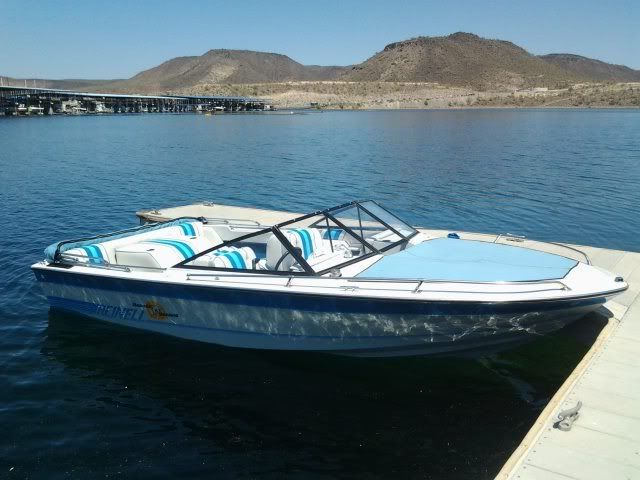
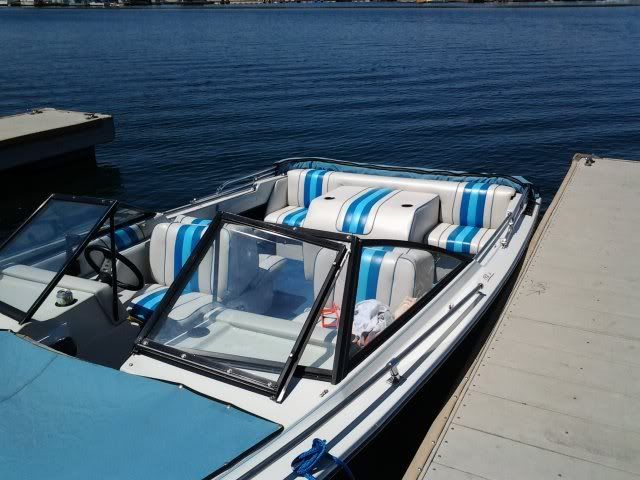
I started a new thread to document our newly expanded restoration project on a 1987 Reinell 192s.
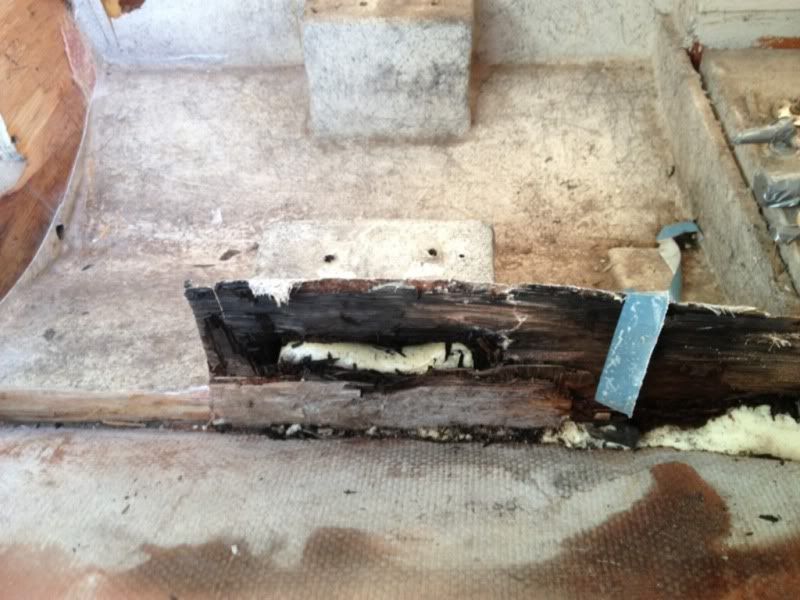
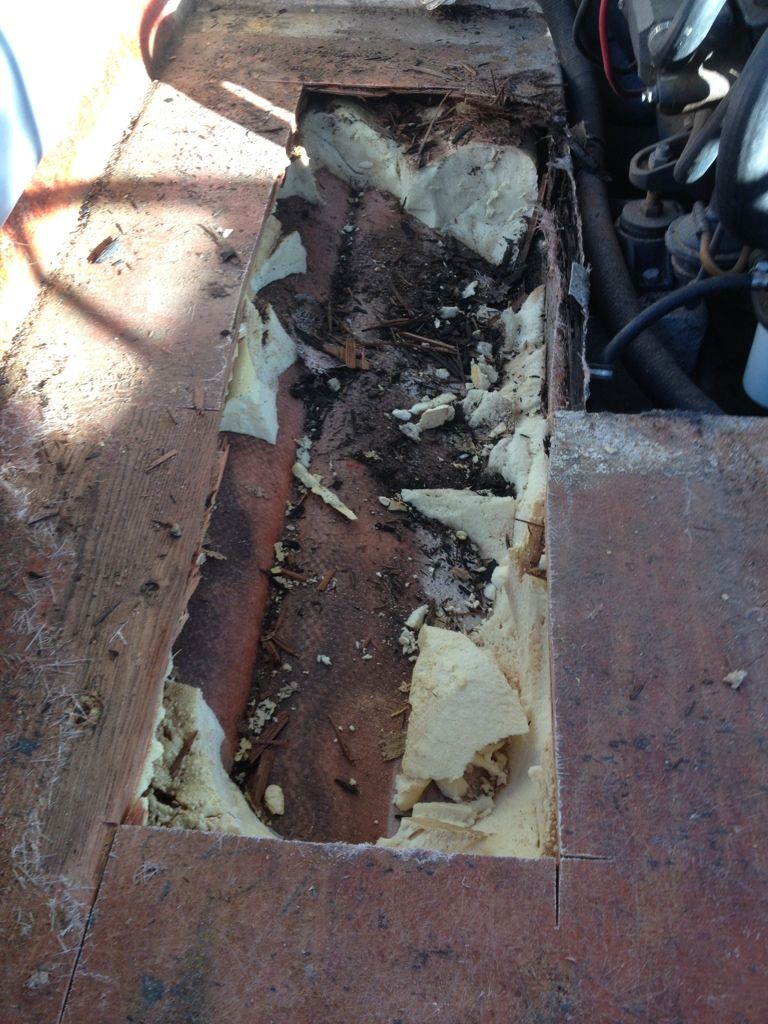
After some investigation, we've discovered that we have classic rot in our boat and this thread will document our attempt to restore this boat for our family to enjoy.
Original threads were:
http://forums.iboats.com/showthread.php?t=576882&p=3971524#post3971524
http://forums.iboats.com/showthread.php?t=576998
Our plan is simple - fix it better than new and we'll be depending on all of you to help us with that since we are newbies.
For this weekend the plan is simple:
Organize the garage/tools/gear that we've acquired to prepare for this project (Done!)
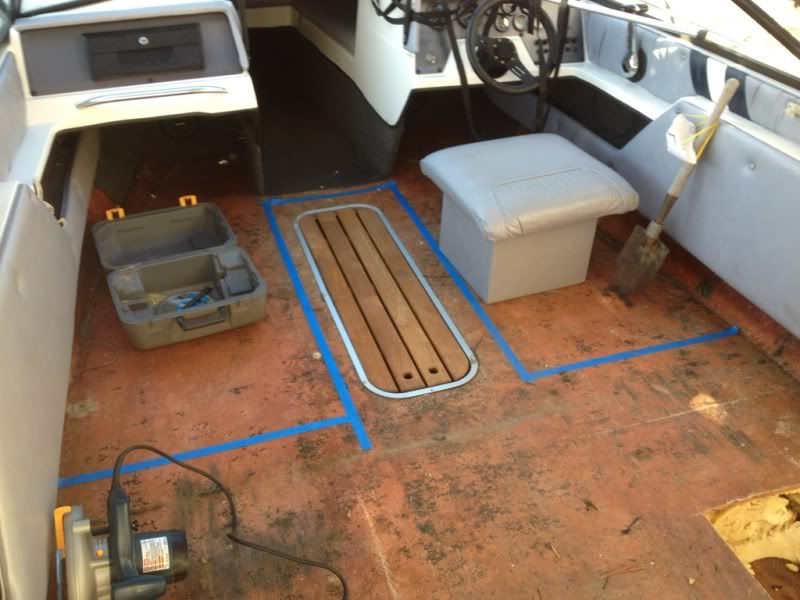
Pull the seats and carpet, take some samples from the forward deck and transom and form a project plan.
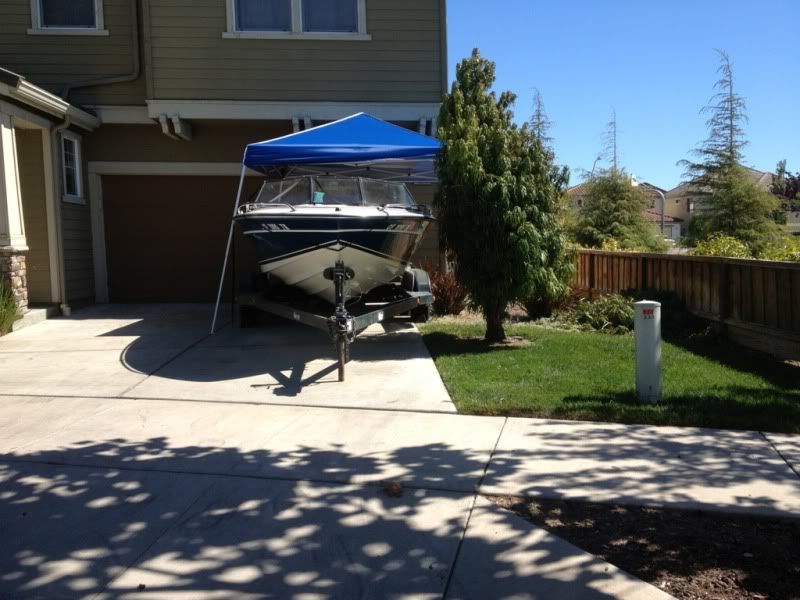
I think I will be heading to the store tomorrow to get a canopy to put over the boat to give us a little shade to work in since the boat won't fit in the garage on the current trailer. I can't do the semi-permanent car one, because my HOA will burn it down, so I think we'll get an EZ Up type that I can put up on the weekend and take down during the week.
Long-term plan
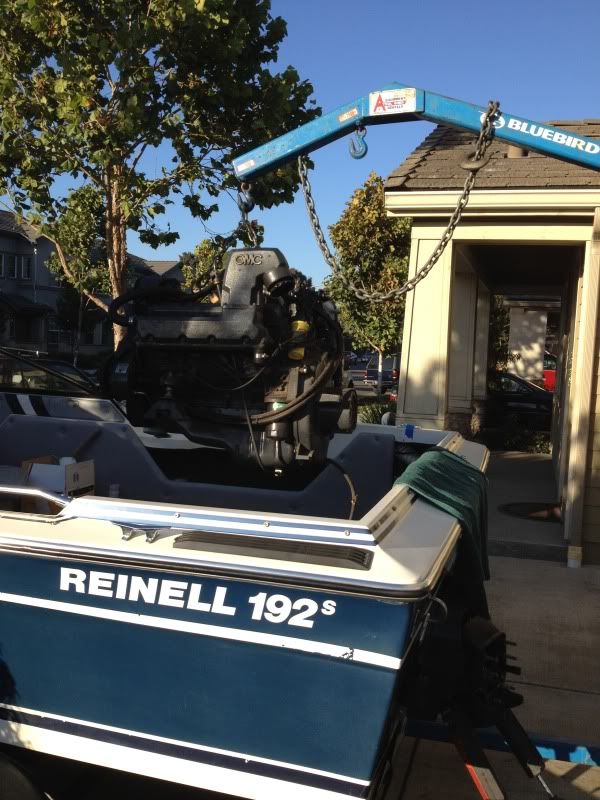
Pull the engine
Demo
Rebuild the stringers/floor/transom
Put her back together
Detail the exterior
Resto the trailer (paint, swing away coupler, etc)
Since we will be weekend warriors on this project, it is going to take us some time, plus we're so green it will take us exponentially longer to do everything.
Here are the First Look Videos of the boat as well as the small area of rot that I've already exposed in the next few posts.
After some investigation, we've discovered that we have classic rot in our boat and this thread will document our attempt to restore this boat for our family to enjoy.
Original threads were:
http://forums.iboats.com/showthread.php?t=576882&p=3971524#post3971524
http://forums.iboats.com/showthread.php?t=576998
Our plan is simple - fix it better than new and we'll be depending on all of you to help us with that since we are newbies.
For this weekend the plan is simple:
Organize the garage/tools/gear that we've acquired to prepare for this project (Done!)
Pull the seats and carpet, take some samples from the forward deck and transom and form a project plan.
I think I will be heading to the store tomorrow to get a canopy to put over the boat to give us a little shade to work in since the boat won't fit in the garage on the current trailer. I can't do the semi-permanent car one, because my HOA will burn it down, so I think we'll get an EZ Up type that I can put up on the weekend and take down during the week.
Long-term plan
Pull the engine
Demo
Rebuild the stringers/floor/transom
Put her back together
Detail the exterior
Resto the trailer (paint, swing away coupler, etc)
Since we will be weekend warriors on this project, it is going to take us some time, plus we're so green it will take us exponentially longer to do everything.
Here are the First Look Videos of the boat as well as the small area of rot that I've already exposed in the next few posts.


 , what a PITA.