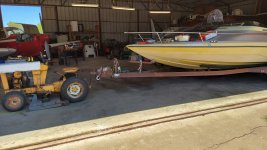
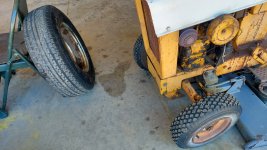
Ok, Laydeez and germs, it was a very good couple days in the CV23 renovation job. Very good indeed. After 4 trips to Napa, and 2 trips to Duncan trailer, I finally, with much effort got all the bits for the hubs, and brakes. New slave cyl, new actuators, new master, new line, new special order races, new bearings, new special order inner seals.
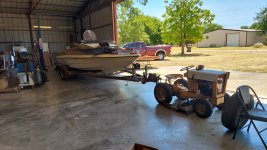
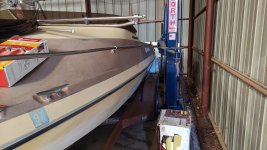
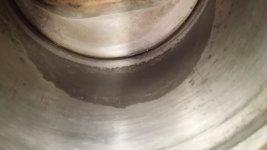
I have bearing buddies with the zerk on the nose and I have a full grease gun so it all came together on Friday with the trailer. If you know what the first picture is, you are a Man among Men(or a Lady among Women!). NO googling!!!

The only thing left is a 2 person bleeding job will be done Sun am. After that, I have some bunk frame welding and paint.
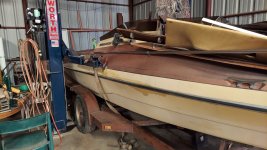
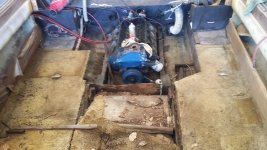
Now, on to the boat. Sometimes, work is done, detail or inside panel, or under the floor, and there's no visual indication of the hours spent. Well, today a lot of Big Metal Parts went on and it really stands out as progress. Each BBF head weighs 88Lbs loaded, and my old ass humping them over the gunwale, and setting it on the block, and getting a bolt in the head without dropping it on my foot is a joyous thing. I took my time, and cleaned all the jugs again, and lubed up with asm lube, and some 90wt gear oil.
What? Why pre-assemble with 90wt gear oil? Well, it's something I learned a long time ago from an old guy who had built dozens of engines. His thinking was - 90wt gear has more zinc in it to protect from shear wear. Also, it sticks where you put it, and on cold start up the first time, clearances are pretty loose until things expand under heat, and the heavier oil provides some cyl wall lube until the pressure comes up. Yes, I will use a shaft and prime up the pump before starting, but still it got some gear oil along with asm lube on all the valve train.
Now, I gotta give some free endorsement to the American Gasket people of Dallas TX. Fel-Pro, and Dorman are now ALL made in China. I refuse to do biz with Chinese unless it's the only thing avail. The last bastion of US made gaskets is the good folk at American Gasket in Dallas TX. I don't get any money, or discounts for this, but my set fit flawlessly, and were very competitively priced. If they don't have it, get a sample and they can make it.
On to assembly. I cleaned everything well, and used generous asm lube. Heads went on dry, all bolts looked good and lubed them lightly with gear oil(shear strength). torqueing to 30, then 70, then 105 wasn't too bad. But that last round of torque to 140 made me grunt - a LOT! I am not a young man, and it's 101F out there in the hangar. I have a fan running and keep drinking fluid but it's still yeoman work getting all those bolts down. I found two stuck lifters, and cleaned with some Berrymans then tapped them a few times and they floated back up.
I used the original pushrods(was going to change but head shop said to stay with them), and did my maths to get the pre-load around 60-75 thou. 1/24th inch per bolt rev, div by 1.71 ratio from pedestal gives 2.5 rotations for around 60 thou pre-load. Each rocker got at least 2 rotation from the take-up contact point. Each pushrod was blown out, and I got some crud out of several that was leftover from 25 years ago, last run. With the pre-lube on the pump, hoping for not too much clatter until the lifters fill, but expecting some. With the open exh, I won't be able to hear it much anyway.
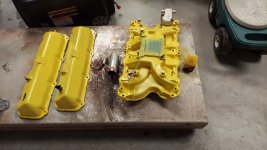
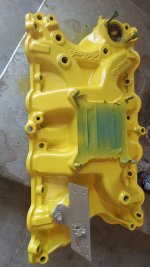
My intake was CO2 blasted(no residual mess) and I'm leaving it bare for now. I may paint it before final asm. I'm going with a taxi yellow engine paint. the heads and block were not painted. So, why did I set it all together? One reason it looks further along that makes me feel more accomplishment. But the big reason is more complex. And so starts a side-story. Skip ahead for boating work.
Years ago, I bought an older Lamborghini, and when I found the cost of a 'tune up' on that engine, I decided I would become a DIY Lamborghini engine tune up artist. I bought a Uni-Syn and a Gunson Color-tune(duckduckgo them), and a dwell tach with very accurate scale. I also got friends with the local speed shop that had jets for both DelOrto and Weber Italian carbs. And off I went. Things were going swimmingly, and I was really getting the hang of it until dis-assed-her struck. I had all 12 plugs out to evaluate, and was going to change the idle jets for one notch leaner. As I remove the idle jet from the front of the carb, it slipped from my fingers, off the screwdriver - tink, tunk, choink - right into the #9 cylinder! OBTW, it's brass, non-magnetic. Removing the head from the engine is a $800 job.
Well, that's going to leave me with at least a six-pack to consider my options. I have one of those little flex cable grabber tools, and I spent a few useless hours trying to scoop it up from inside the cyl without success. Next, I tried a rubber tubing taped to a vac hose, and snaked down in there, but the vac just wouldn't collect the jet and bring it out. I was always off to the side, or the top, or some way the vac wouldn't suck on it enough. After a while, I thought about glues. So, I started with a 7 inch section of pliable solder wire. Put a loop at the end, bent the loop 90deg, and put a dab of gorilla glue on the loop. Then - very slowly, very carefully, lowered the solder and glue down, and gently rested it on the jet. I let it sit, and got another six-pack to consider my odds of success. Night become late night, and six-pack became a case, and it was next day before I went fishing.
As luck would have it, the solder was stuck - to something. I pulled, wiggled gently then a bit more, and finally it popped loose. Lifted it up, and there was the jet, in a glob of green goo, happy as can be. Yes, I put the plugs back in after that. I got pretty good at tuning those engines, and actually made some money along the way tuning old Ferraris with carbs, and also Lambos.
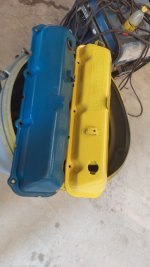
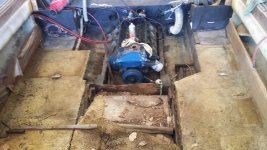
Back to regularly scheduled programming. Once all the pushrods were in, I lubed the rocker bolts, and set all of those. The torque for the 1/2 in bolts was no trouble, and everything cinched up well. the gaskets for the valve covers fit perfect, and I set and tightened them down as well. There's a one piece pan cover, and intake gasket that I must custom bend at the head to block mate surface. I just set the intake and carb on for now, and made a list of parts needed to complete the engine tasks.
I have a Holley 750 with vac secondaries that has been rebuilt and turned into a marine carb. The heads were repaired properly now and they should flow very well. I'm thinking of port-matching my intake gasket and intake manifold as that side of the air flow is most important. Port matching only requires some gooey gasket maker for the witness mark on the intake. The only downside is I will need to tighten it gently and then remove. I think the new intake gasket can take this ok.
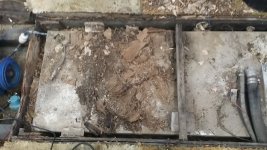
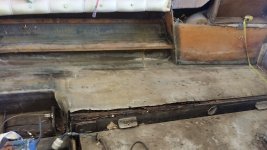
There are a few little hardware bits I need for final asm. I have an electric as well as the mech fuel pump as losing a fuel pump on the lake is a real pain. I'll start with the electric so I can control the fuel flow with a switch just in case. I bought two new fire extinguishers today, and will have then ready. Do a good leak check with 9PSI fuel pressure and we may see if it lights on Mon. Couple fun pics to cheer us on. Next update mid-week.


![20220730_100721[1].jpg](/data/attachments/366/366804-305579c5d2266ac0067b1ecf610144cd.jpg)
![20220730_101048[1].jpg](/data/attachments/366/366805-cafdbc2547eaf0e83fe5627c925c967e.jpg)
![20220730_103146[1].jpg](/data/attachments/366/366806-9c26622f701e169f1bfe0b106d1d43c8.jpg)
![20220730_105836[1].jpg](/data/attachments/366/366807-0b4cdfb9b0f3fb77e19fdc0b715535b4.jpg)
![20220730_113416[1].jpg](/data/attachments/366/366808-e81a1b87252cb102ae308d3ba8dd7286.jpg)
![20220730_120115[1].jpg](/data/attachments/366/366809-3ebcca85314dcd636cf46c2c442917e6.jpg)
![20220730_120750[1].jpg](/data/attachments/366/366810-85daae141a0c59ab5b610f3067e0f156.jpg)
![20220730_123823[1].jpg](/data/attachments/366/366811-78b91699edbc5a896dadb9cc183915ac.jpg)
