I did have 4 bolts in place and it looked ok.. Need to get inside the hull and check again tomorrow..
Do you put the super glue all the way around or just in a few places to hold it in place?
I was wondering about the 5200 on the transom.. I think Friscoboater did his that way..
Does the 5200 mess up the rubber seal?
Thanks hayko1971.. I have read a few threads saying the same thing..I hear 5200 is pretty permanent, 4200 is easier to remove if the time ever comes but seals just as well.
Nice job on the hole, and good score on the angle grinder, I use the heck out of my cheapo $28 one.
I started at the top and just put a drop every where it was needed to hold the seal in place as I went around pressing it in the seal groove.
What I understand is that the 5200 isn't needed and the merc manual doesn't call for it either is probably why they say not to use it. Personally if the mating surface was pitted or had any kind of deviation from being perfectly flat I would use 5200 on the outer transom assembly with the seal.
")

Whoa, my jaw dropped when I saw that lovely monster chunk of AL you had the pleasure to caress, fondle and drill the the wholly living out of. :heh:
So the new tin goes on the inside of the old transom and whats the plan for the attachment?
Sometimes I don't know where I am much less my manners..:lol:Hope ya got a good supply of clecos, looks like you could use 5 or 50......
EDIT: where are my manners :facepalm: Excellent fab work on the plate
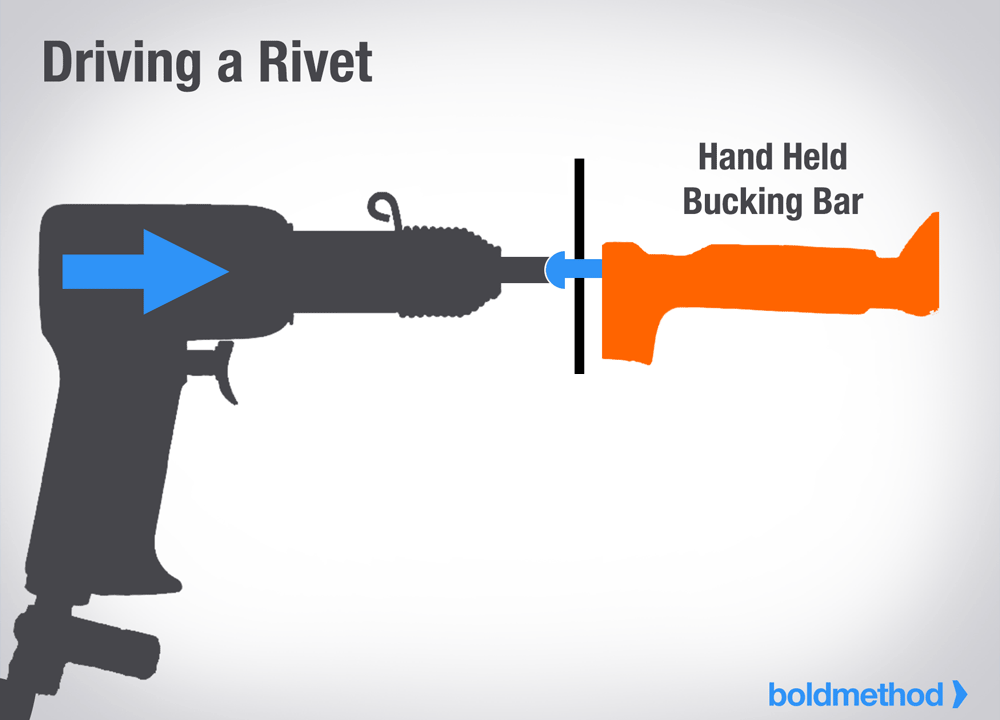
Nice job on the tin, it's going to sound like a war going on for a couple hours at the Decker boat yard, when you get started. Funny my Admiral was out in the hanger on Sunday and I was showing here all the rivets she will have to buck in the V5