1975 Checkmate V-Mate II Restore

Drewb082001

Seaman Apprentice
Joined
Feb 15, 2010
Messages
43
Re: 1975 Checkmate V-Mate II Restore

your checkmate looks awesome looks like a fun project cant wait to see it completed. i really like the style of those checkmates sweet look keep post pictures of your progress
 

bigredinohio

Chief Petty Officer
Joined
Jun 18, 2009
Messages
604
Re: 1975 Checkmate V-Mate II Restore

your checkmate looks awesome looks like a fun project cant wait to see it completed. i really like the style of those checkmates sweet look keep post pictures of your progress

Thanks for the kind works.
 

bigredinohio

Chief Petty Officer
Joined
Jun 18, 2009
Messages
604
Re: 1975 Checkmate V-Mate II Restore

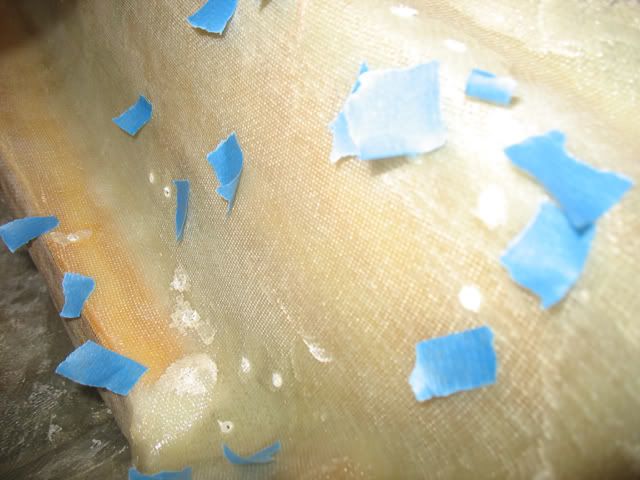
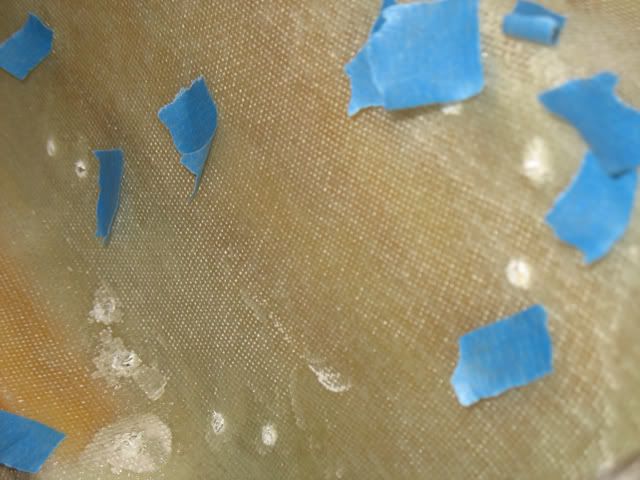
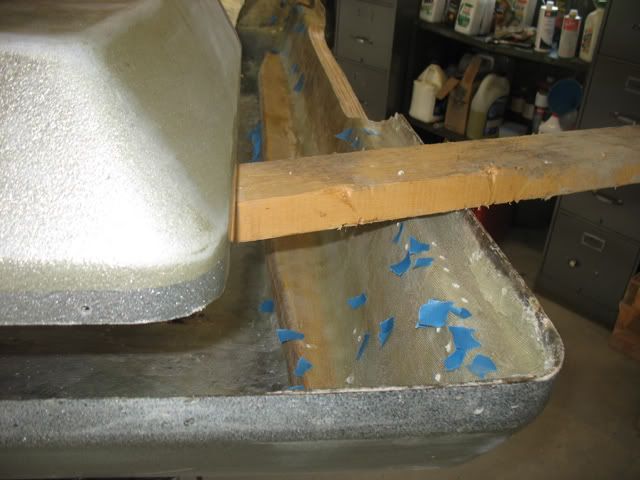
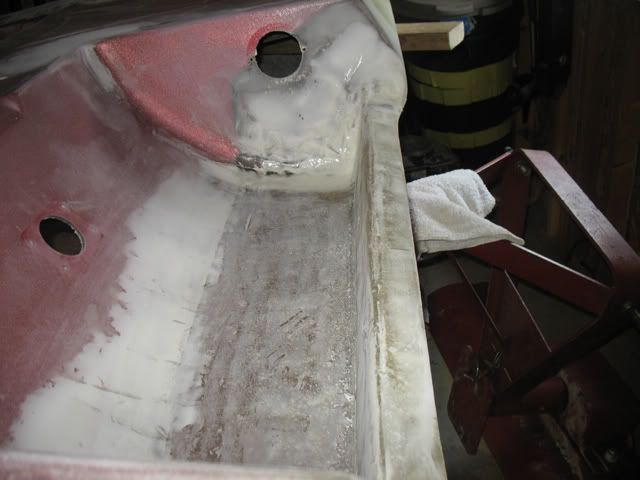
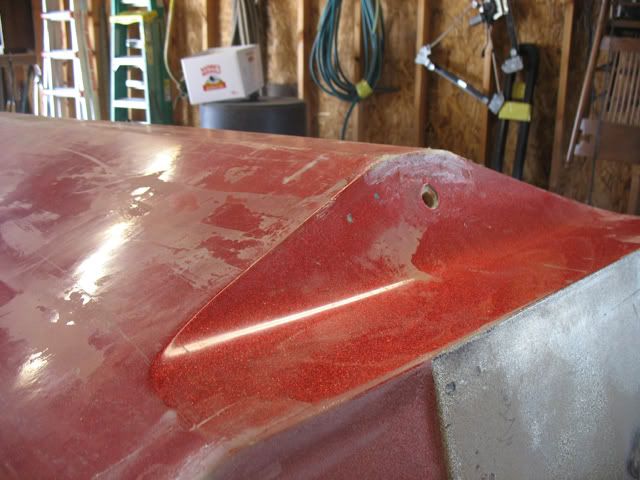
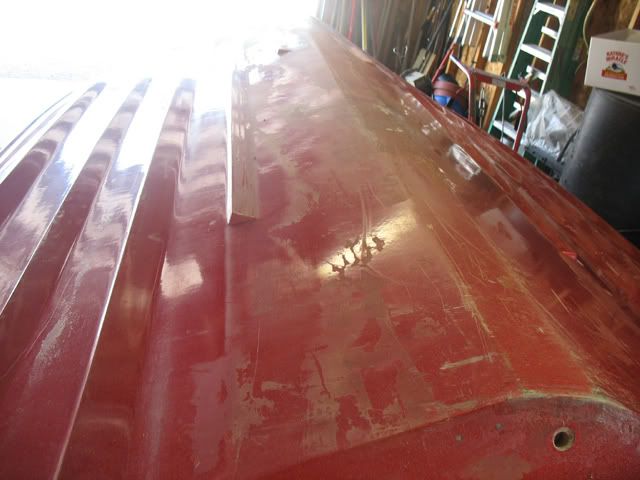
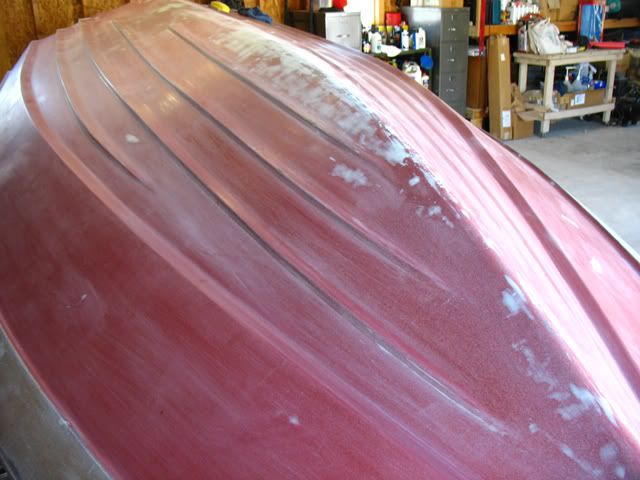
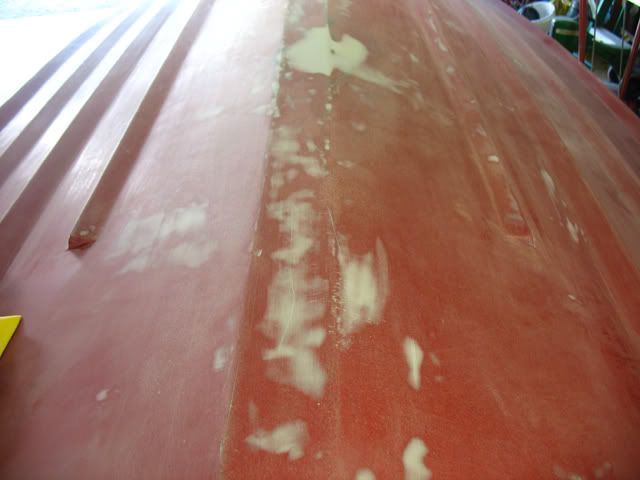
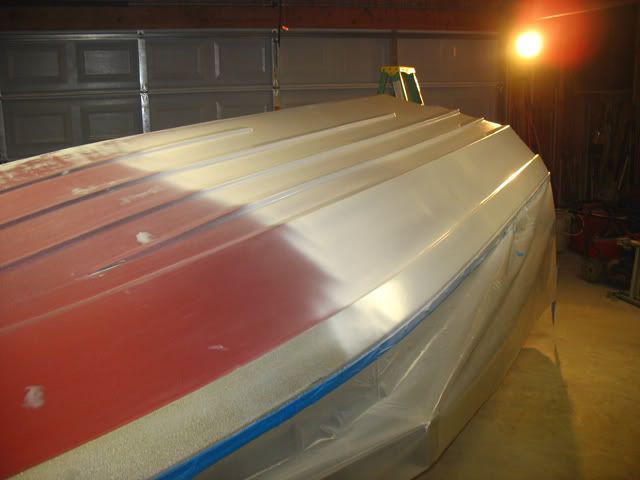
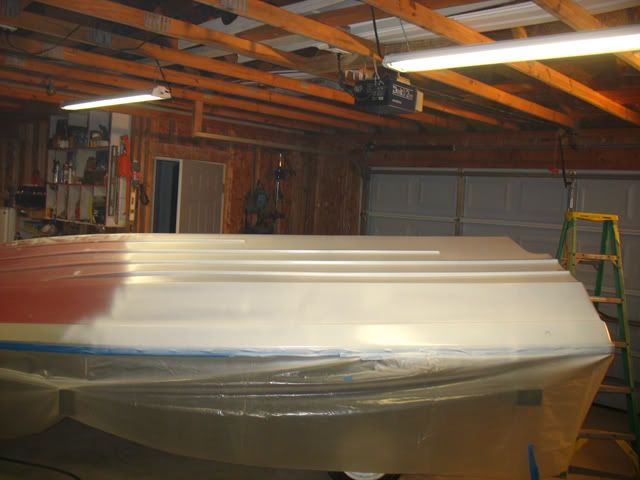
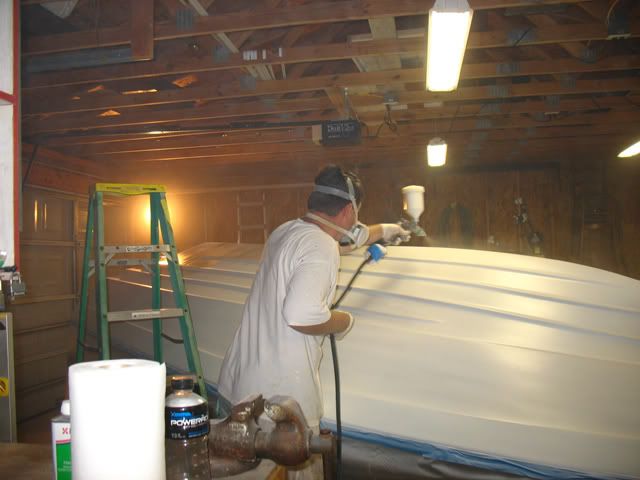
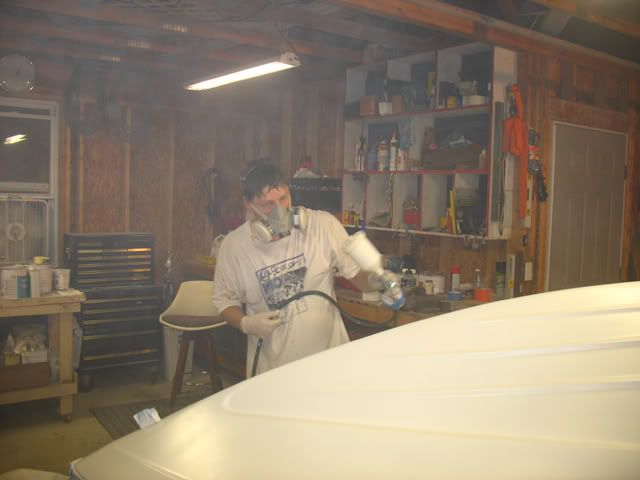
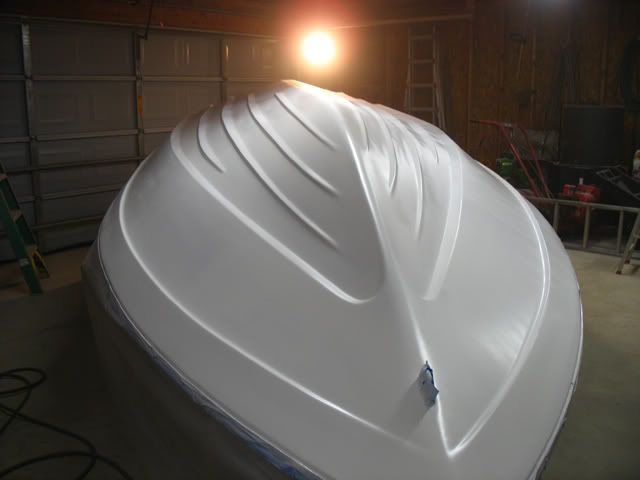
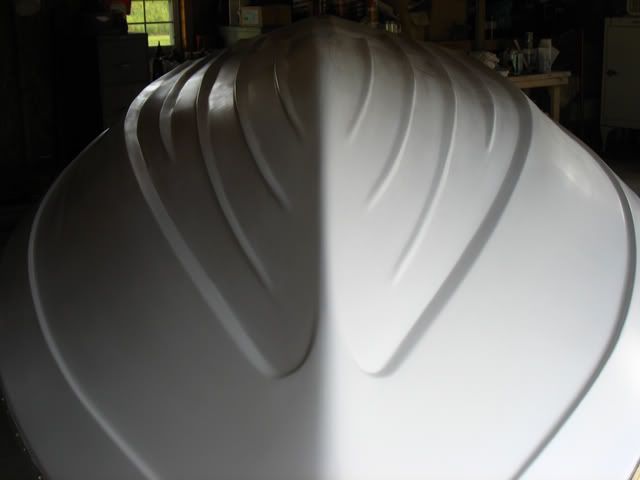
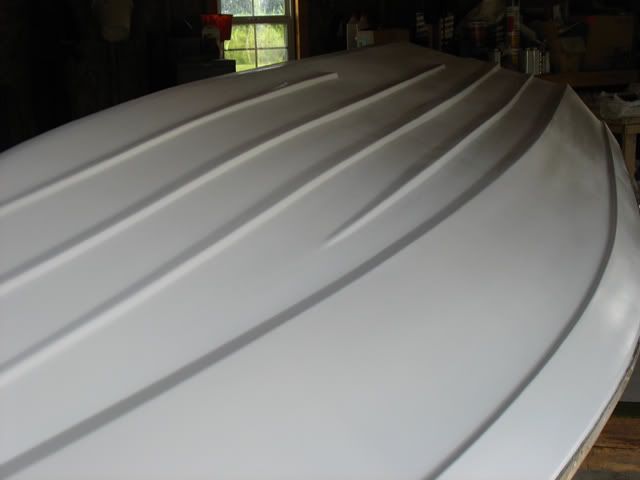
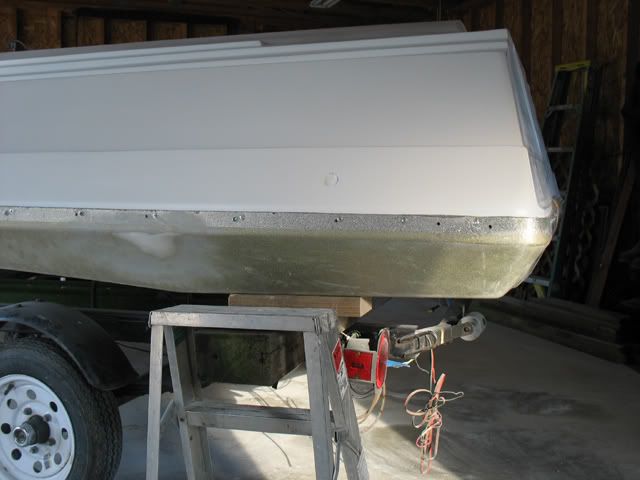
Okay, update time. I finally towed the boat down to my folk?s house a while back. I popped the cap back off and fixed some delaminated 1708 that I glassed. I drilled some holes, mixed up some epoxy with some milled fibers and Cabosil added and used a syringe to fill in the areas. After I saw the areas fill in, I taped them off until everything cured. Then I hit it with a quick sand to smooth everything out.

IMG_3958.jpg


IMG_3959.jpg


IMG_3960.jpg


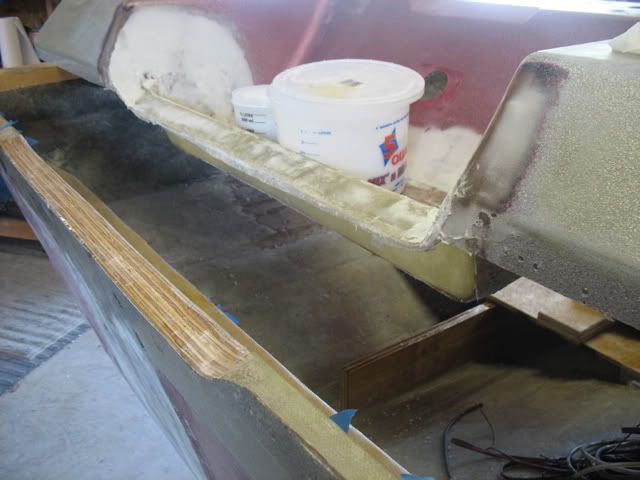
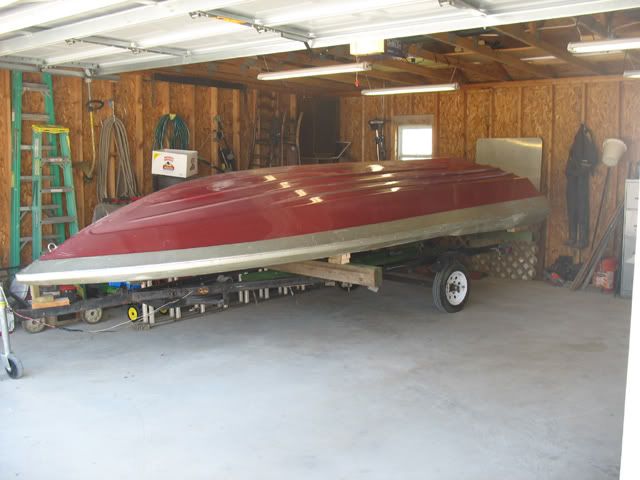
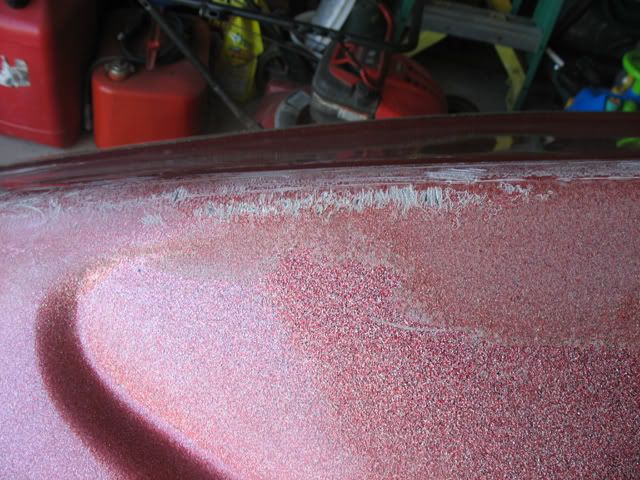
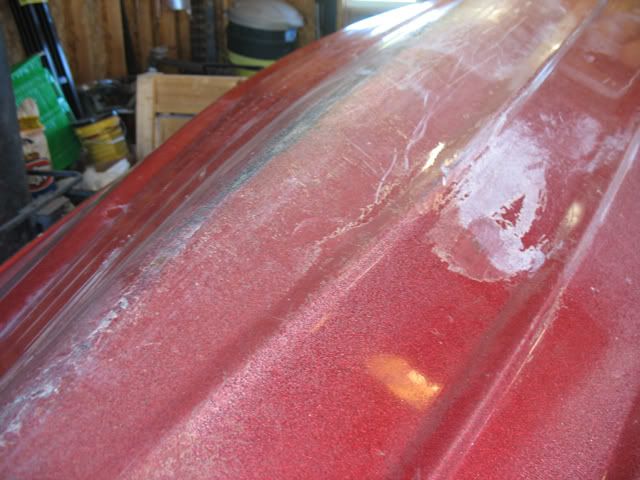
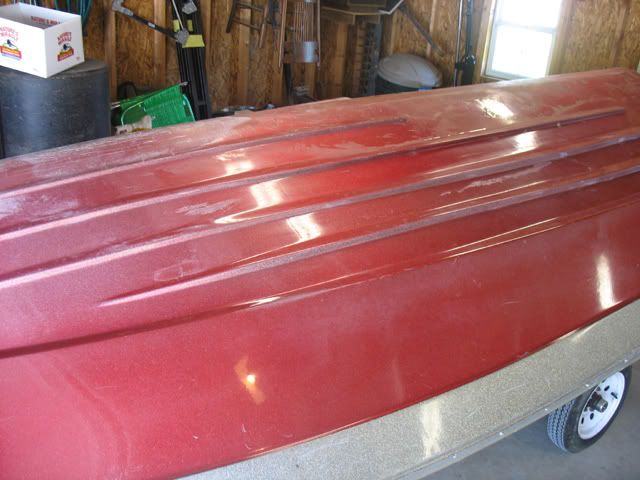
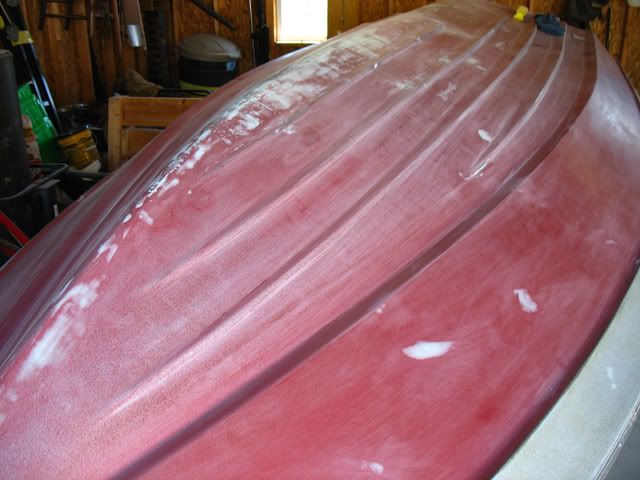
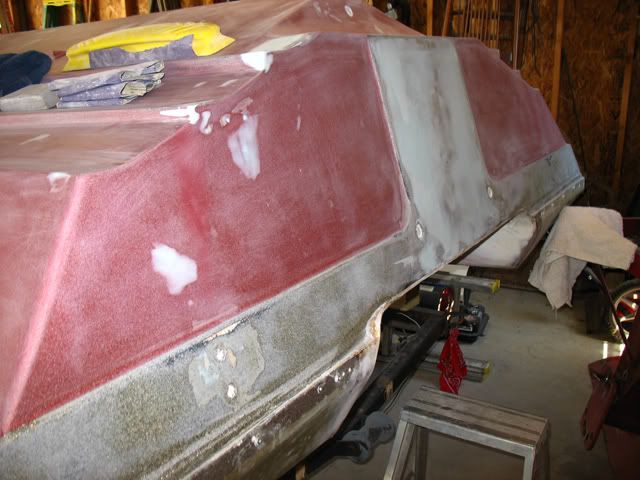
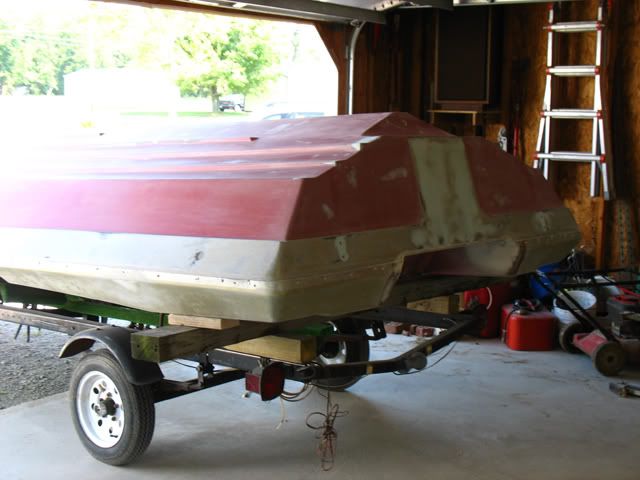
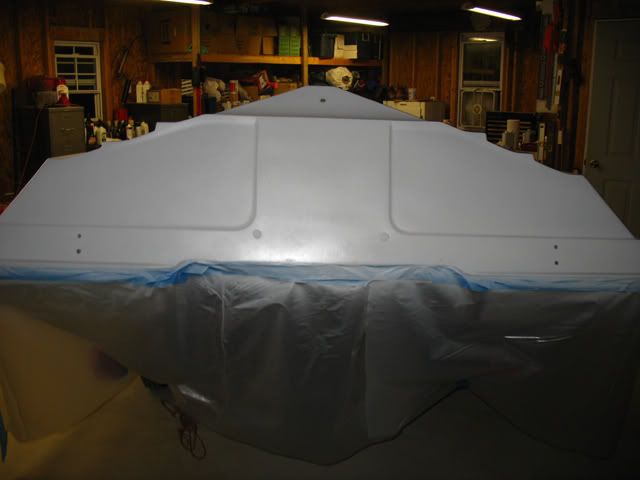
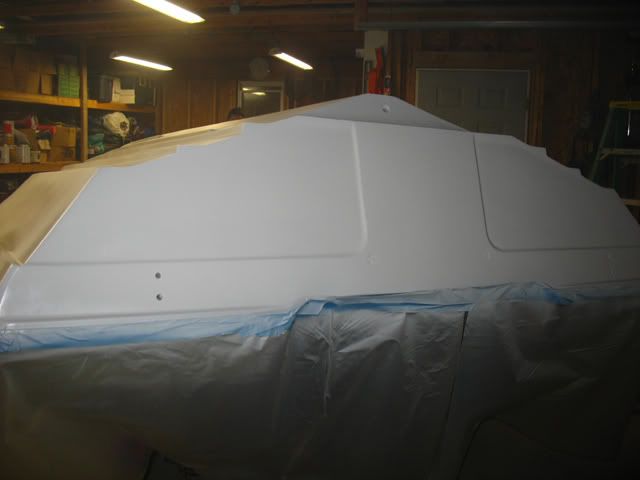
I then trimmed up newly glassed splashwell. Afterwards, I glued the cap to the hull.

IMG_3961.jpg


IMG_3962.jpg


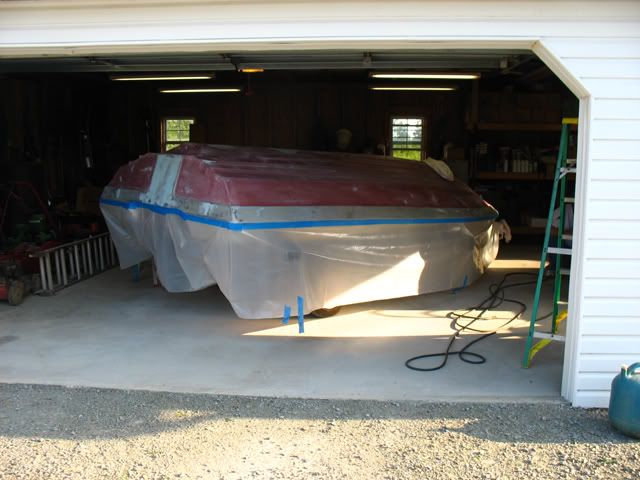
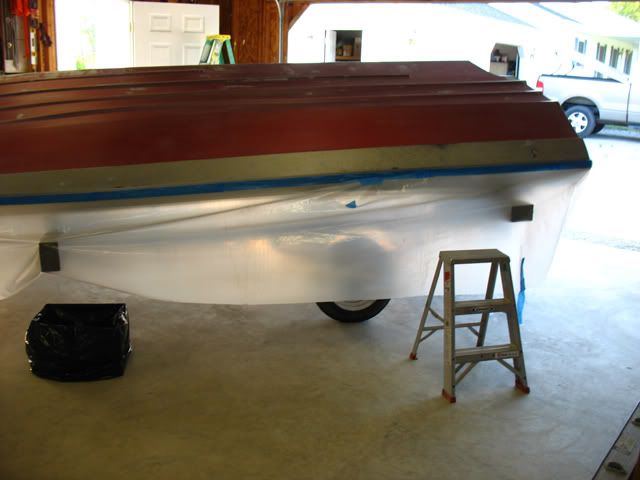
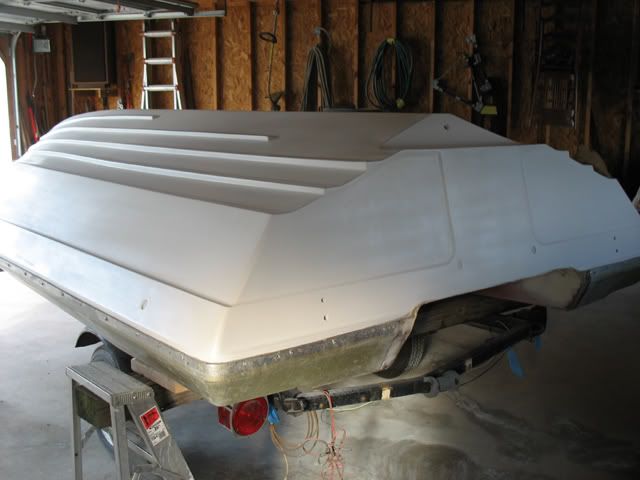
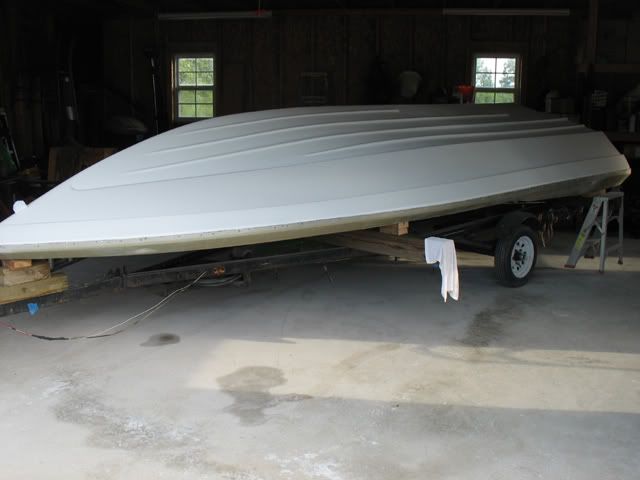
To flip the boat, we used a pulley system. I unfortunately didn't take any pictures of this process but I will when we flip it back. Basically, there are two pulleys positioned on the starboard and port side of the boat near the stern and two more near the bow. We raised the boat high enough to remove the trailer and we proceeded to turn the boat with the use of ropes. I removed the bunks off the trailer and ran 4x6's across the trailer to set the boat back on to work on it.

IMG_3965.jpg
 

bigredinohio

Chief Petty Officer
Joined
Jun 18, 2009
Messages
604
Re: 1975 Checkmate V-Mate II Restore

Once flipped over, I have a better understanding of the condition of the hull and what type of filling I needed to do. These pictures are all before any sanding had been done.

IMG_3966.jpg


IMG_3967.jpg


IMG_3968.jpg


IMG_3969.jpg


IMG_3970.jpg


IMG_3971.jpg
 

bigredinohio

Chief Petty Officer
Joined
Jun 18, 2009
Messages
604
Re: 1975 Checkmate V-Mate II Restore

I must admit, this next part have not been much fun. Once flipped over, I sanded the bottom of the boat. Then I filled all the little nicks, chips, scratches and other imperfections that I could find with Interlux Watertite. It's a two part, below the waterline, epoxy filler. The stuff isn't very hard to work with but it does set up fairly quickly so mix in small batches. Once cured, I sanded and refilled any further imperfections.

IMG_4157.jpg


IMG_4158.jpg


IMG_4159.jpg


IMG_4160.jpg


IMG_4161.jpg


IMG_4162.jpg
 

bigredinohio

Chief Petty Officer
Joined
Jun 18, 2009
Messages
604
Re: 1975 Checkmate V-Mate II Restore

Next I taped off at the rub rail with plastic and wiped the boat down with Interlux 202. That stuff is really strong and will eat through two layers of latex gloves like nothing. You need to be pretty careful when using that stuff.

IMG_4165.jpg


IMG_4164.jpg


Next, I started shooting some paint. I used Interlux VC Performance Epoxy, a two part epoxy bottom paint. It isn't very glossy but is supposed to be durable for trailered boats. Here are some pictures of the first coat being sprayed on.

IMG_4166.jpg


IMG_4167.jpg


IMG_4168.jpg


IMG_4169.jpg
 

bigredinohio

Chief Petty Officer
Joined
Jun 18, 2009
Messages
604
Re: 1975 Checkmate V-Mate II Restore

Here are some more pictures of additional coats being applied. I started painting around 8:00 PM on Friday and finished at 6:00 AM Saturday morning.

IMG_4170.jpg


IMG_4171.jpg


IMG_4172.jpg


IMG_4173.jpg


IMG_4174.jpg


IMG_4175.jpg
 

ezmobee

Supreme Mariner
Joined
Mar 26, 2007
Messages
23,767
Re: 1975 Checkmate V-Mate II Restore

Wow that's quite the update. Looking great. I'm sure your attention to detail will pay off with an awesome finished paint job.
 

bigredinohio

Chief Petty Officer
Joined
Jun 18, 2009
Messages
604
Re: 1975 Checkmate V-Mate II Restore

After a few hours of sleep and some discussion, I finally decided to hit it with a wet sanding. I started with 2000 but it didn't eve seem to do much so we kept going down until we hit 600. When I spoke with Interlux, they recommend starting with 400 but that seemed too aggressive. This is the result after a 400 wetsand. I still need to hit it with the finer grits.

As mentioned earlier, the paint doesn't have a high gloss finish so I will follow up with Interlux Brightsides on the sides. I don't know if its the results of improper spraying or not sanding enough or what but the finish just seems blotchy for a lack of a better term. The sheen seems inconsistant.

IMG_4179.jpg


IMG_4180.jpg


IMG_4182.jpg


IMG_4183.jpg


IMG_4184.jpg
 

archbuilder

Vice Admiral
Joined
Sep 12, 2009
Messages
5,697
Re: 1975 Checkmate V-Mate II Restore

Cool I was wondering what happened to you! Glad to see the progress, I can't wait to see her on the water!
 

jcsercsa

Captain
Joined
May 21, 2007
Messages
3,401
Re: 1975 Checkmate V-Mate II Restore

Yep glad to see your still working on her Red !! she looks good so far !! keep it up !! john
 

bigredinohio

Chief Petty Officer
Joined
Jun 18, 2009
Messages
604
Re: 1975 Checkmate V-Mate II Restore

Wow that's quite the update. Looking great. I'm sure your attention to detail will pay off with an awesome finished paint job.

I'm hoping so.

Cool I was wondering what happened to you! Glad to see the progress, I can't wait to see her on the water!

That makes two of us!

Yep glad to see your still working on her Red !! she looks good so far !! keep it up !! john

Thanks John.
 

bigredinohio

Chief Petty Officer
Joined
Jun 18, 2009
Messages
604
Re: 1975 Checkmate V-Mate II Restore

It's been a while since I've updated my thread in here. :eek:
 
Top