


archbuilder
Vice Admiral
- Joined
- Sep 12, 2009
- Messages
- 5,697
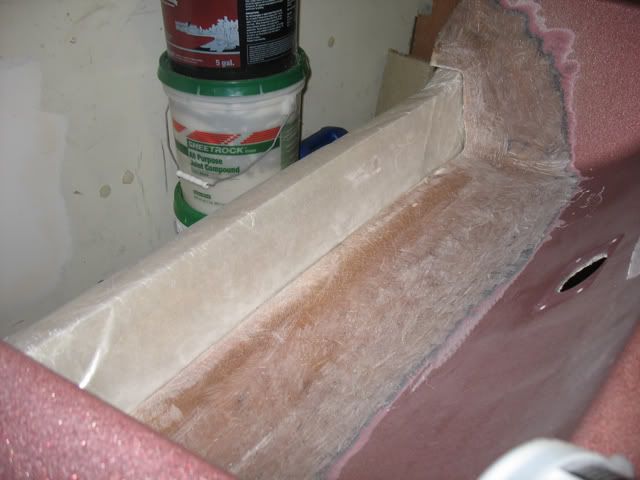
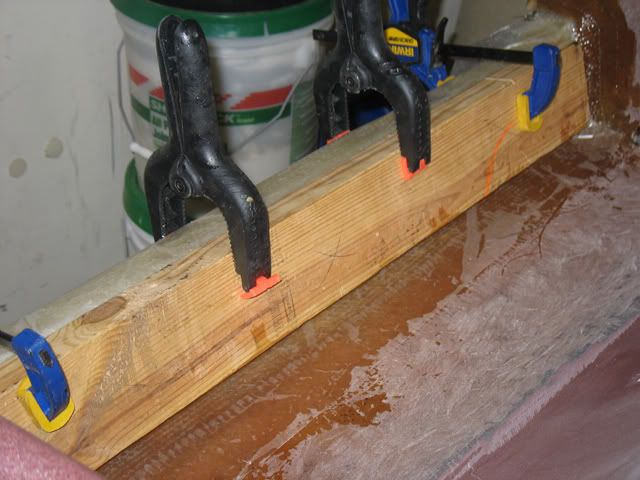
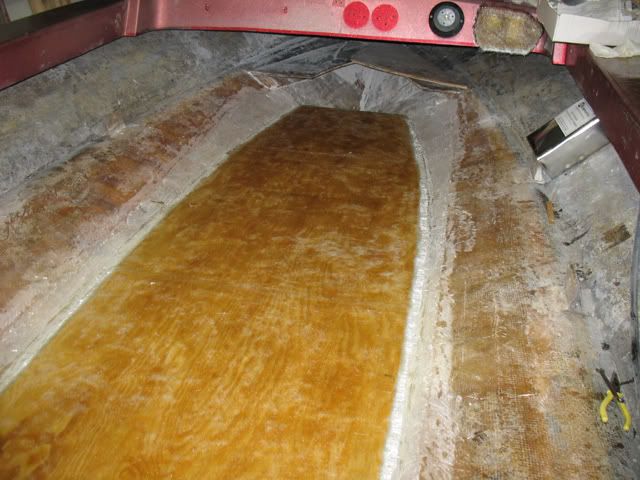
Re: 1975 Checkmate V-Mate II Restore
Nice work, looks like things are moving along nicely!
Nice work, looks like things are moving along nicely!


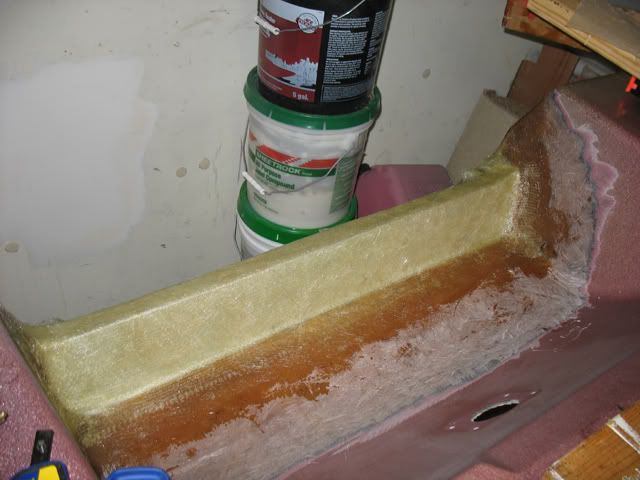
Looking good there BigRed, She getting close now !! !! John

Really nice looking work! What color are you painting her?
Thanks John. I can't believe I'm almost ready to start preping for paint!
Nice work Big Red!
Your glass work looks great. What's your secret to getting everything wetted out and so even?
-Mike
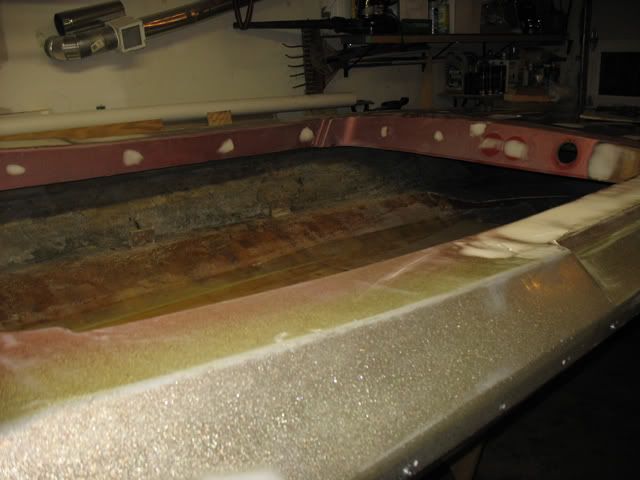
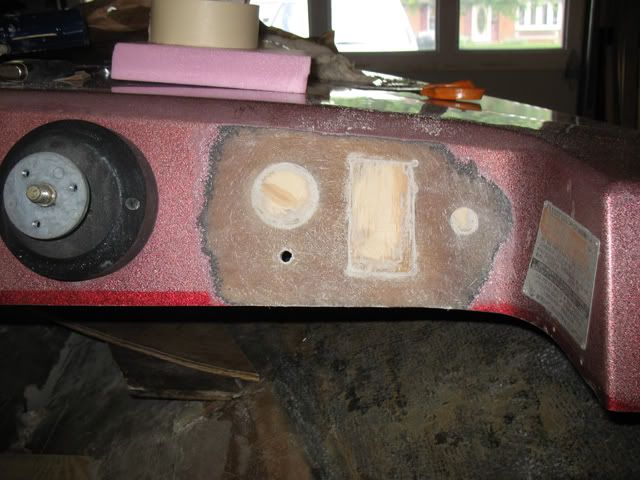
As usual your work looks great! The body work and hole filling are the most frustrating parts.....fill, sand, fill, sand.....Keep on filling and sanding, she is going to be a sweet ride!
What does everyone use to sand? Where would I find a large block sander?
I'm not sure I know what a chip brush is Big Red. Mind posting a picture?
Who makes the "watertight" filler you mentioned DrewP?
Thank you.
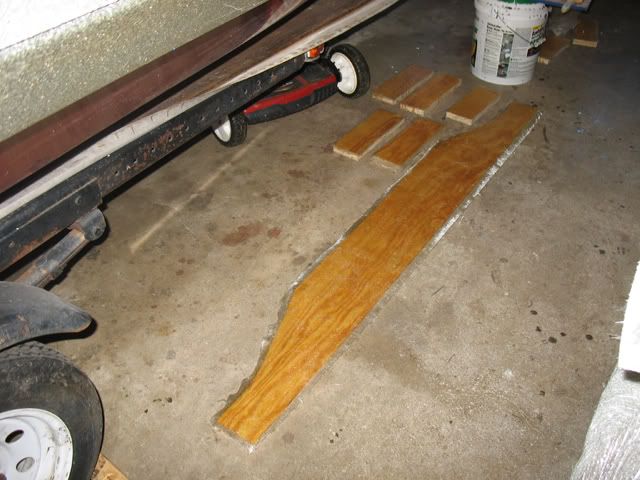
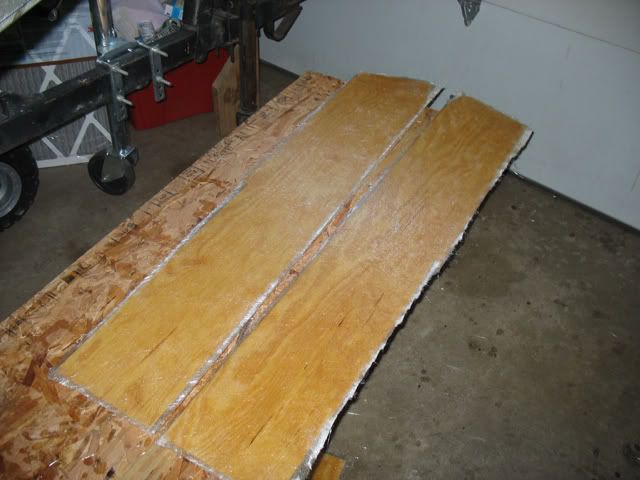
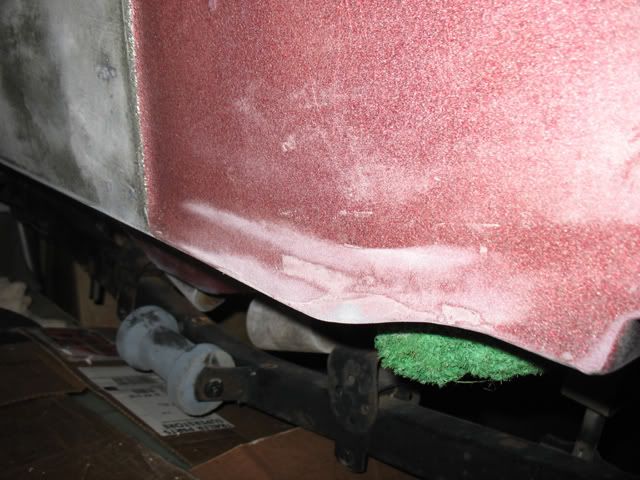
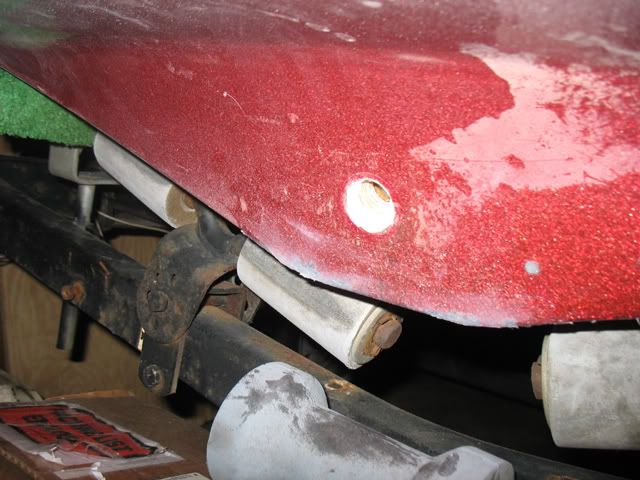
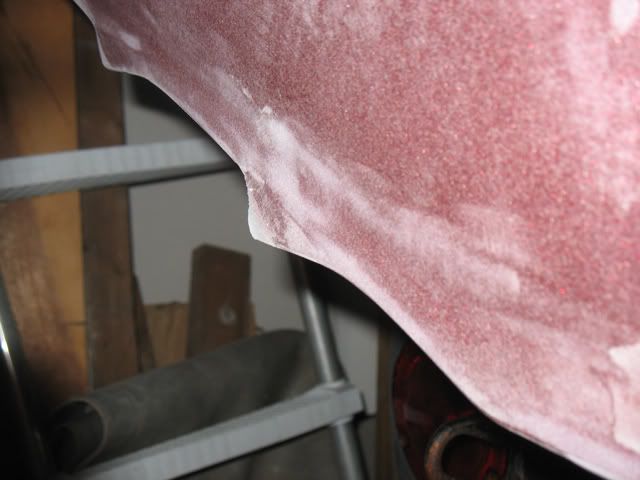
I use 150 grit to knock down watertite. Start with a sander to feather edge the perimeter and to cut any real high spots. Then finish it by hand with a block. Go get a cheap sheetrock block for the flat spots and use paper on it. I also use cut dowel rods of various sizes to get in to inside corner radius. Sand flat first then finish corners by hand. I used a piece of leftover hardwood flooring slat to make a long block. I glued a piece of rubber to it and wrap it in sand paper to use it. You can get long boards and paper for them at a body shop supply house but they are pricey.
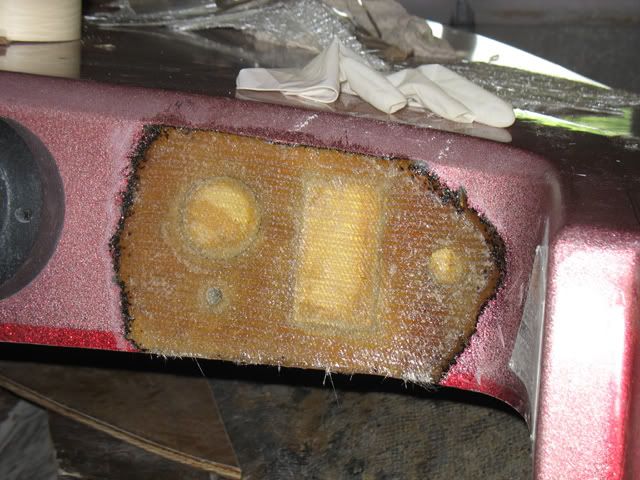
The trick is to build up the filler slightly but not too high. Watertite is tuff stuff and is harder to sand than Bondo or Formula 27. But it wont fracture or collect water.
It is also a good idea to spray a light guide coat on larger areas when you are finish sanding them. The contrast shows low spots really well. I just used plain old spray paint off the shelf for that. Its green and stands out really well against the blue watetite. Remember a very light mist as a guide coat is all that is needed. Get it to heavy and your making more work for yourself sanding it back off.
Once everything is fair, lightly sand it with 220 to get it ready for primer. Its allot of work, but it makes a huge difference if your painting a dark color on the boat.
enjoy
drewp