archbuilder
Vice Admiral
- Joined
- Sep 12, 2009
- Messages
- 5,697
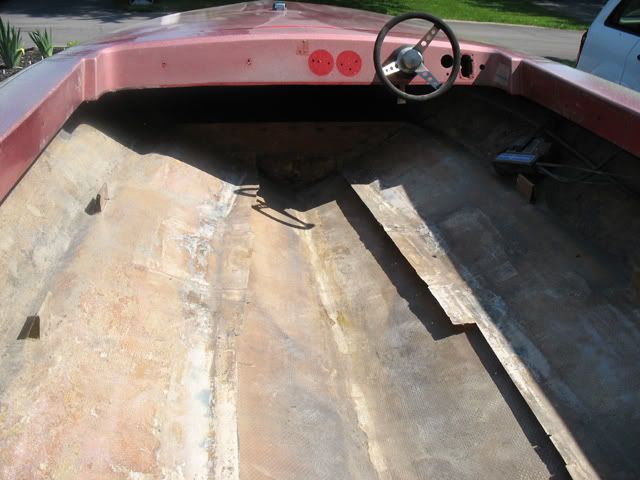
Re: 1975 Checkmate V-Mate II Restore
Nice to see your post again! Looking forward to seeing your progress!
Nice to see your post again! Looking forward to seeing your progress!


Glad to see you back on it!
Nice to see your post again! Looking forward to seeing your progress!


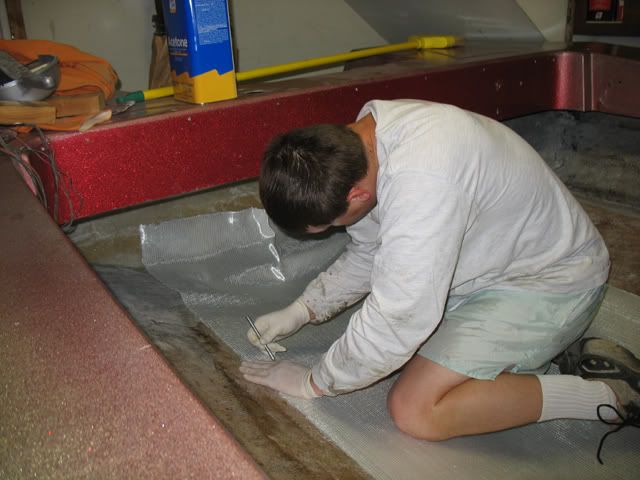
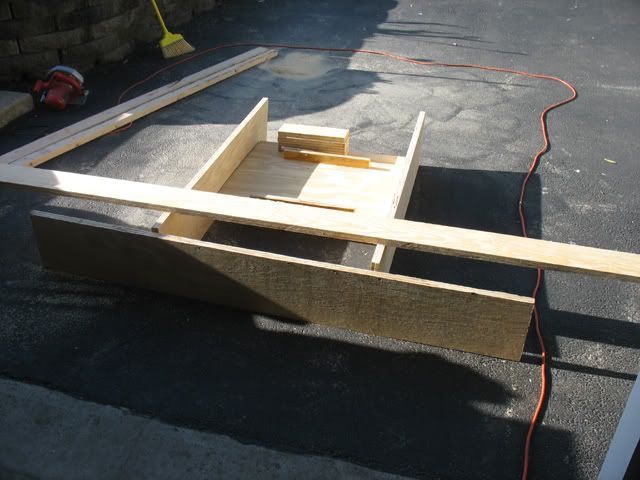
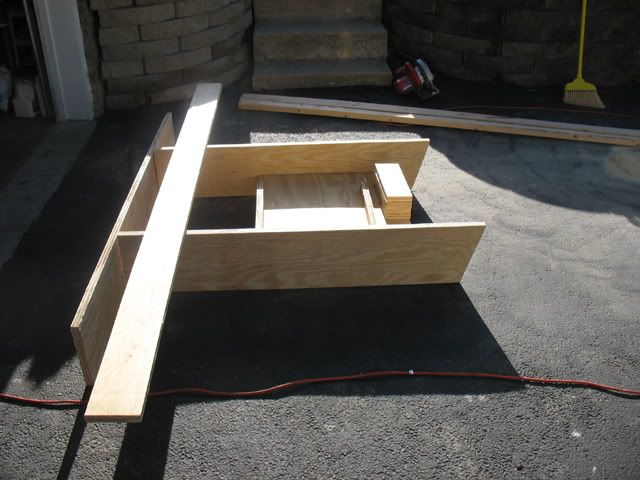
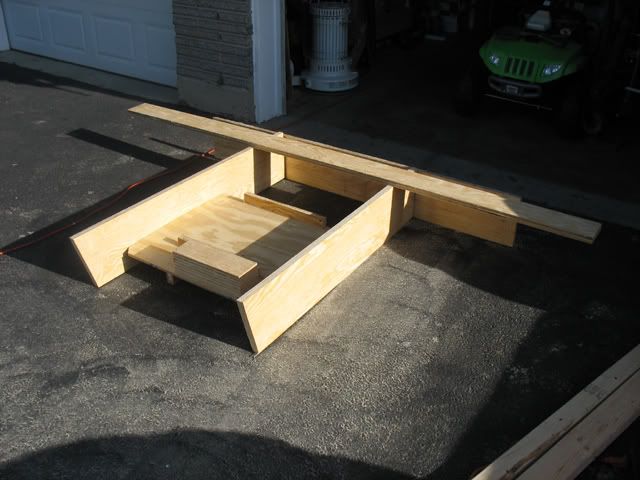
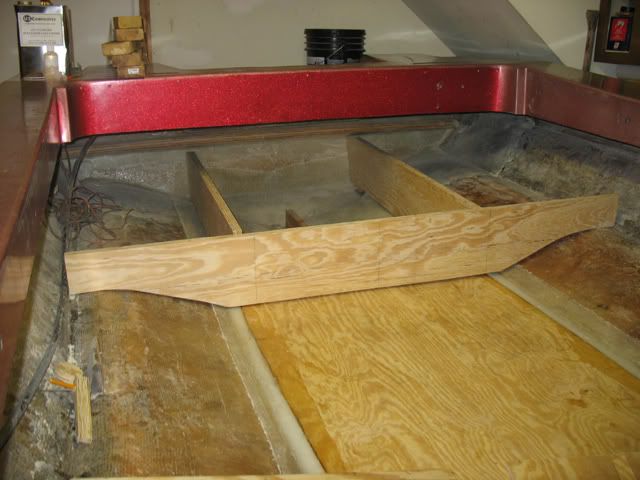
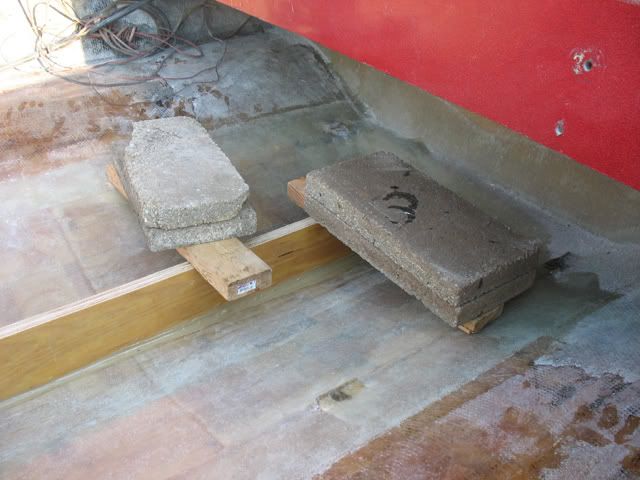
 What are you using for stringer material?
 !
!
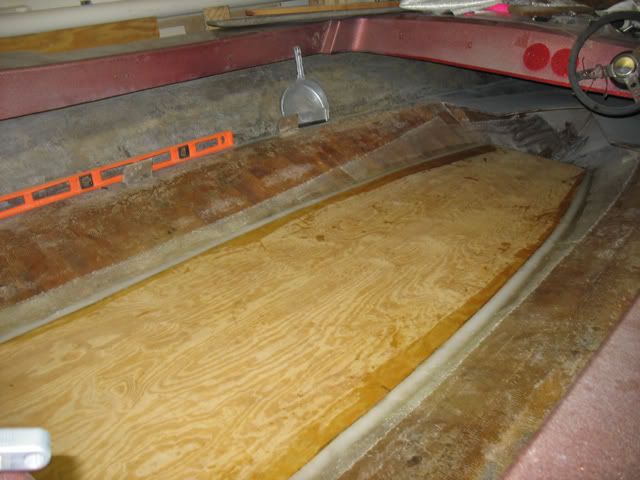
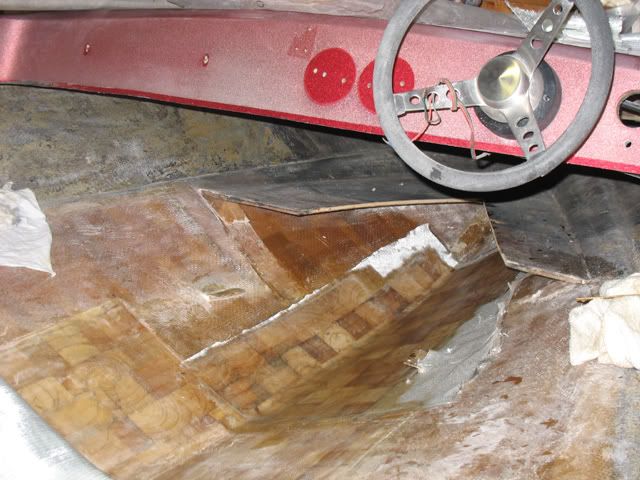
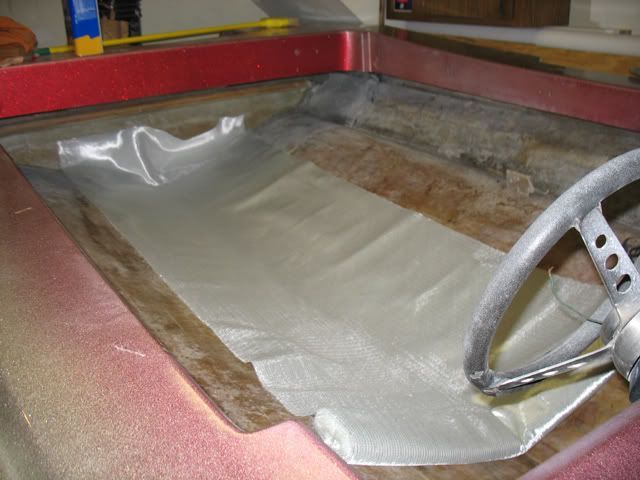
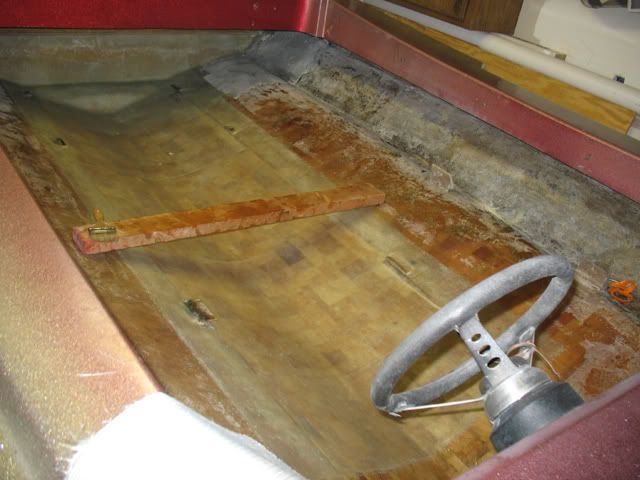
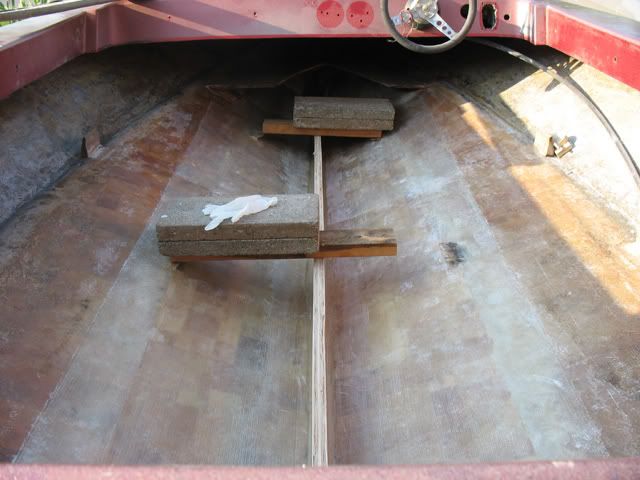
Nice work man. Why is the deck so low in the hull? From the look in the pictures you wold be sitting at an angle behind the steering wheel.