1968 Starcraft Jupiter - Rebuild

Status
Not open for further replies.

ezmobee

Supreme Mariner
Joined
Mar 26, 2007
Messages
23,767
Re: 1968 Starcraft Jupiter - Rebuild

It's number 3 on the durability scale in my opinion. Still quite good but behind #1 fiberglass and #2 epoxy. I went the epoxy route but was fairly perturbed at the expense and the coverage. I'd seriously consider spar varnish for a future project especially given the durability of the vinyl flooring I used (and would use again) and the fact that my boat spends most of it's life in my garage.
 

GA_Boater

Honorary Moderator Emeritus
Joined
May 24, 2011
Messages
49,038
Re: 1968 Starcraft Jupiter - Rebuild

Ok question... why are others not using Marine Spar Varnish to seal up the floors and transom's? It's cheaper, oil based and should protect for years --- especially if it is covered in vinyl or marine carpet. Just curious. Personal preference perhaps?

IM - I think it's a just a matter of preference. Cheapboatkev used paint on his about two years ago and is getting ready to re-do the wood because it didn't hold up. Others are using spar which remains flexible and is good protection. Spar may need to be re-done after a while with exposure to weather, The epoxy/poly lasts next to forever as long as it is protected from UV rays.. That's for the guys doing funeral planning and are going to be buried in their SCs.

Most of the plywood in SCs last in excess of 20 years from the factory with nothing but marine plywood and no added protection - that's as long as the boat is cared for and kept covered.. Marine is minimal void ply with good waterproof glue and no extra rot protection.

I plan on exterior grade (Arauco) with spar varnish. It should outlast me, but I'm old. Hope this helps.
 

dozerII

Admiral
Joined
Oct 25, 2009
Messages
6,527
Re: 1968 Starcraft Jupiter - Rebuild

Ok question... why are others not using Marine Spar Varnish to seal up the floors and transom's? It's cheaper, oil based and should protect for years --- especially if it is covered in vinyl or marine carpet. Just curious. Personal preference perhaps?

That is all I use on my rebuilds, between the varnish and the vinyl they will way out last the way they were built from the factory, Just IMO.
Glen
 

InMotion

Commander
Joined
Nov 3, 2011
Messages
2,080
Re: 1968 Starcraft Jupiter - Rebuild

EZ, GA and Dozer --- Thanks for the replies. I agree that it is preference --- actually with many items in a rebuild. I am definetly leaning towards the spar varnish option... boat is always covered and the floor/transom will be covered as well. Nice to know there are options --- especially given the price of somethings!
 

InMotion

Commander
Joined
Nov 3, 2011
Messages
2,080
Re: 1968 Starcraft Jupiter - Rebuild

Quick update:

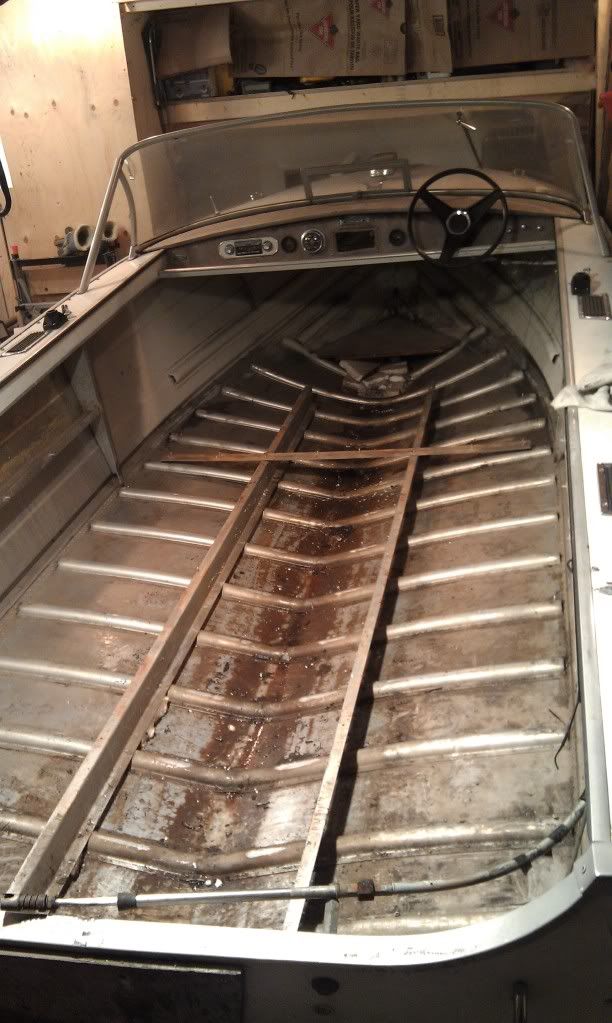
GOOD NEWS!!! The hull from the inside looks really, really good!!!! I managed to get the rest of the styrofoam out... which was frozen in the boat (there is a tiny bit left -- but I'll get that later). Vacuumed the boat and will leave to dry before scrubbing it down. Really happy that it is good from the inside. I also know now why I had some much trouble getting the boat off the trailer vs stripped down Jup I, the styrofoam was blocks of ice... probably a 150 extra lbs of weight. I had forgotten how much that stuff weights when wet!!!

IMAG0096.jpg


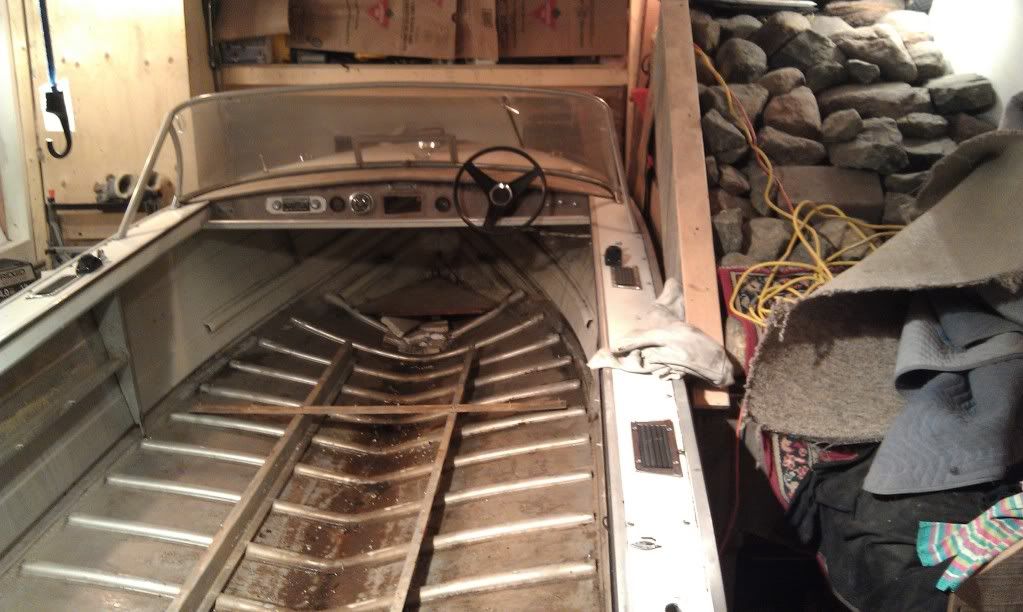
Different perspective wider angle with the rock crawling track:

IMAG0097.jpg


I don't know if you guys can see this that well... but on the way home the car in front of me had two massive ladders on the room of an Altima without a roof rack -- just an industrial blanket and a rope... not the safest. Everytime he left a light or stopped at a light, the whole contraption slide side to side!

IMAG0091.jpg
 

Gibbles

Commander
Joined
Nov 14, 2009
Messages
2,027
Re: 1968 Starcraft Jupiter - Rebuild

lol ^

some people fail to see the big picture.

My favorite around here are things that seem heavy enough, until you hit the freeway...

There is the one highway that always had something fun to dodge on the road, bbq's, mattresses (wife thought she broke her car after running a mattress over lol), I have even seen a table at one point...

but never a ladder headed towards my windsheild at a stop light... :p
 

Gibbles

Commander
Joined
Nov 14, 2009
Messages
2,027
Re: 1968 Starcraft Jupiter - Rebuild

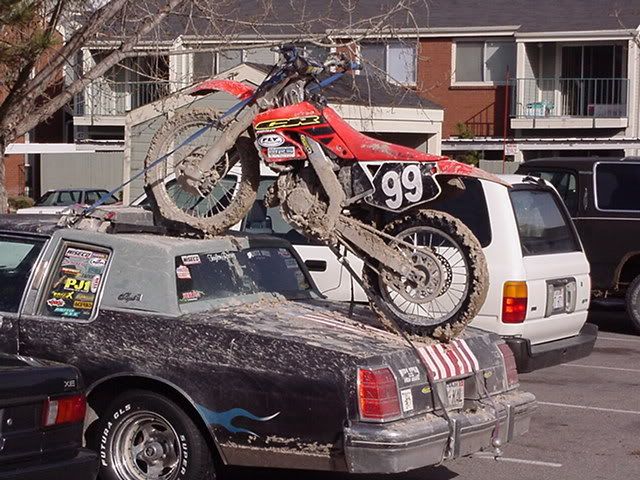
My favorite right here tho
Taken by a guy on a truck forum.
atv.jpg


This one I took, guy lived in the same apartment complex as my friend, I had to borrow his camera to keep the memory.

MVC-001F.jpg
 

GA_Boater

Honorary Moderator Emeritus
Joined
May 24, 2011
Messages
49,038
Re: 1968 Starcraft Jupiter - Rebuild

Any wet foam is heavy. IM. Hope you didn't get a hernia lifting those frozen blocks out. LOL And its amazing the things people do toting their toys. :eek:
 

InMotion

Commander
Joined
Nov 3, 2011
Messages
2,080
Re: 1968 Starcraft Jupiter - Rebuild

No hernia... just a good workout for a bit. :)
 

barato2

Commander
Joined
Dec 7, 2010
Messages
2,956
Re: 1968 Starcraft Jupiter - Rebuild

i'm still amazed by the story of toting the trailer up the stairs. you realize you're perpetuating the myth of crazy Canadians? and you didn't have yer pop get any pix? have someone ready with cam when you bring it back down, you'll get a real kick out of that one in 20 yrs......

glad the new boat is working out well!
 

InMotion

Commander
Joined
Nov 3, 2011
Messages
2,080
Re: 1968 Starcraft Jupiter - Rebuild

Hey barato... Yah it woundn't have been pretty seeing me dragging/lifting/falling/grunting the trailer backwards up the stairs and rock retaining wall. Like I said... Need a better system before for next time! Besides, I my pop had been there, it would have been a lot easier. Really happy about the boat. Thanks!
 

InMotion

Commander
Joined
Nov 3, 2011
Messages
2,080
Re: 1968 Starcraft Jupiter - Rebuild

Ok.... just so you guys don't think that us Canuks haven't been doing anything... a quick update!:D

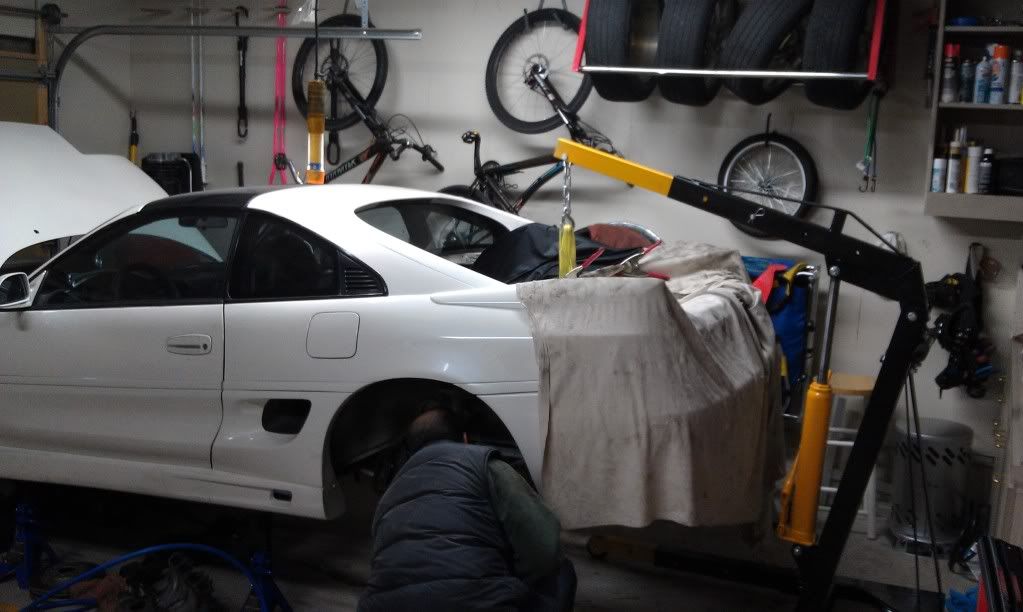
But first, a quick note: I didn't do much on the boat this weekend as I had a number of family commitments... and I helped a very good buddy of mine assemble a hoist. Problem was it only took us about 15 minutes to assemble the hoist! So..... since Mrs Motion had let me out to play for the evening... what do two guys do with a brand new hoist? Well hoist something! He just happened to have a Toyota MR2 which convieniently needed an engine hoisted (more accurately lowered) out of it!!! We lowered the motor on to a dolly and then hoisted the car up to wheel the motor out of it. Hoist worked brilliantly and I must say, I will consider one my self to move the motors around that I have (tie in to boats/motors!! :) )...

IMAG0098.jpg


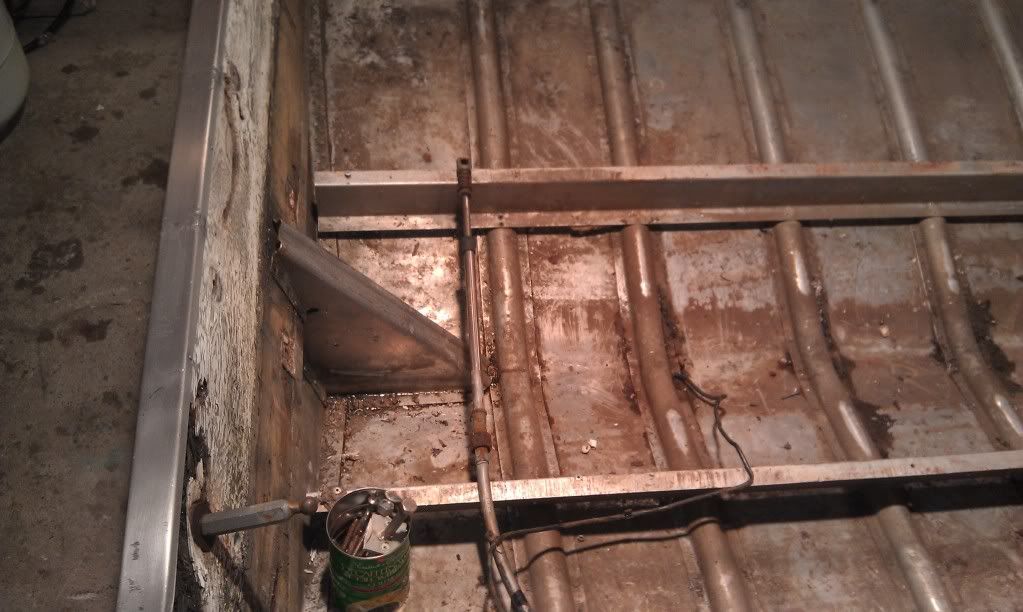
Anyways really back to boats.... I did manage last night to remove all of the bolts holding the piece of plywood that motor rests against. Overall, there is some surface corrosion that can be lightly sanded out, but looks pretty good.

IMAG0112.jpg


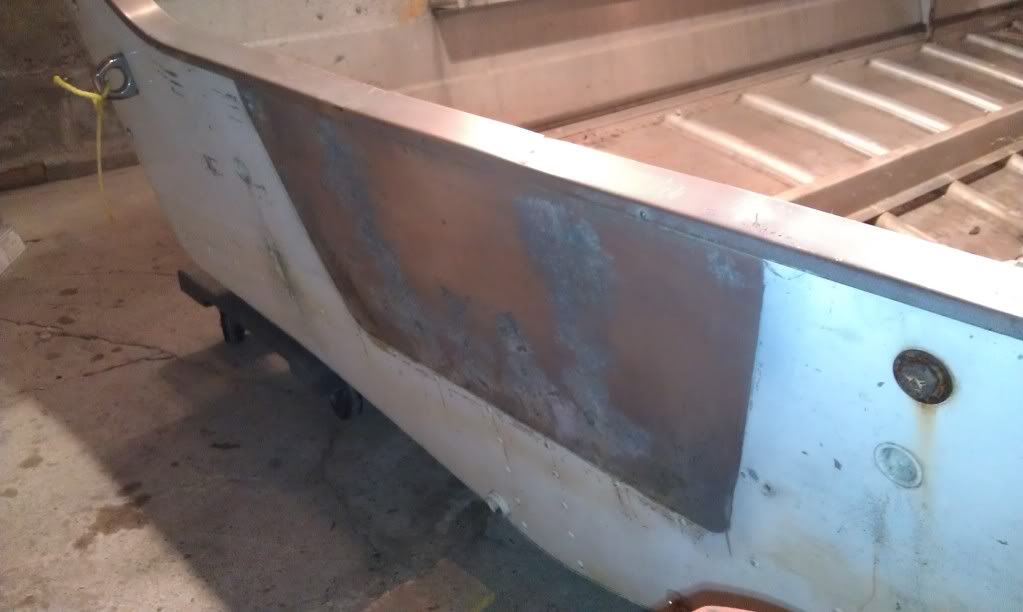
Hull shot --- looks dirty (cause it still is...) but is really in great shape. No pitting or corrosion that I have found so far.

IMAG0113.jpg


Goal this week is to get the transom out.
 

GA_Boater

Honorary Moderator Emeritus
Joined
May 24, 2011
Messages
49,038
Re: 1968 Starcraft Jupiter - Rebuild

Yeah IM, this one looks much better than JI. Glad the wife gave you some play time. :p Give a guy a new toy and he has to make sure it works. :D
 

InMotion

Commander
Joined
Nov 3, 2011
Messages
2,080
Re: 1968 Starcraft Jupiter - Rebuild

Progress Update:

Alrighty... snuck out for a little me time with the boat... decided to get the transum out. Sort of a step by step of what I did for those doing this for the first time...

- First I drilled out the rivets that held the end caps on and popped off the end caps.
- Then I drilled out the rivit right at the back of the rub rail that holds the rub rail channel to the boat.
- Then I removed the nuts on two of the bolts that tucked up inside the gunnels that hold the rub rail to the boat.
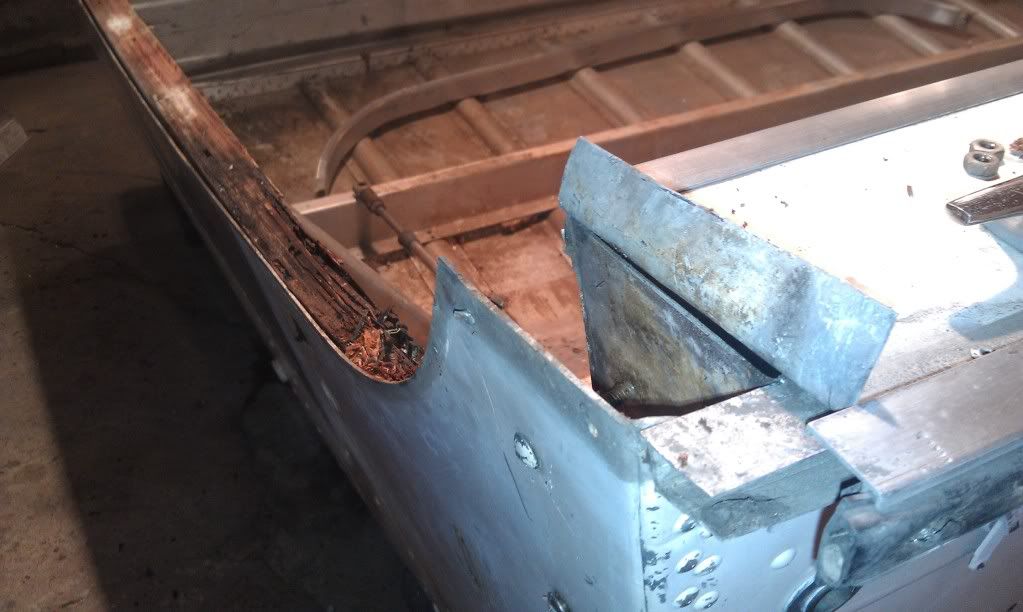
- Finally I pulled the rub rail off enough to bend the gunnel metal up to allow for the transum cap to lift off.

IMAG0115.jpg


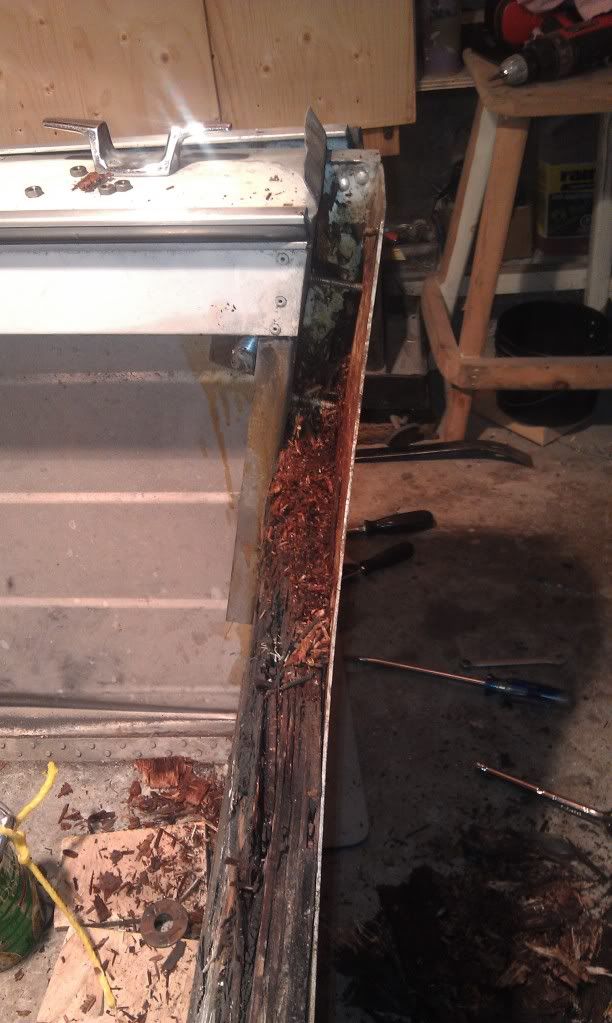
As it turns out, I only needed to do the last point on one side as the top part of the transum was well.... mulch! :facepalm:
If you look closely, on the floor is what is left of the top of the transum...

IMAG0114.jpg


- Next I removed all the little nails that hold the transum cap on.
- I removed the 4 bolts on far sides of the transom that sandwitch transum board between the brackets and the metal part of the transum.
- I remembered to remove the drain plugs this time :)
- I also removed the ski tow ring bolts and had to cut of the bolt that holds the steering cable in place --- totally siezed.

I screwed in two scrap pieces of 2x6 to the transum board and got in the boat with a sledge and gave it a half dozen whacks on both scrap pieces...

IMAG0116.jpg


If you look closely you will see it has moved/released a bit...
 

InMotion

Commander
Joined
Nov 3, 2011
Messages
2,080
Re: 1968 Starcraft Jupiter - Rebuild

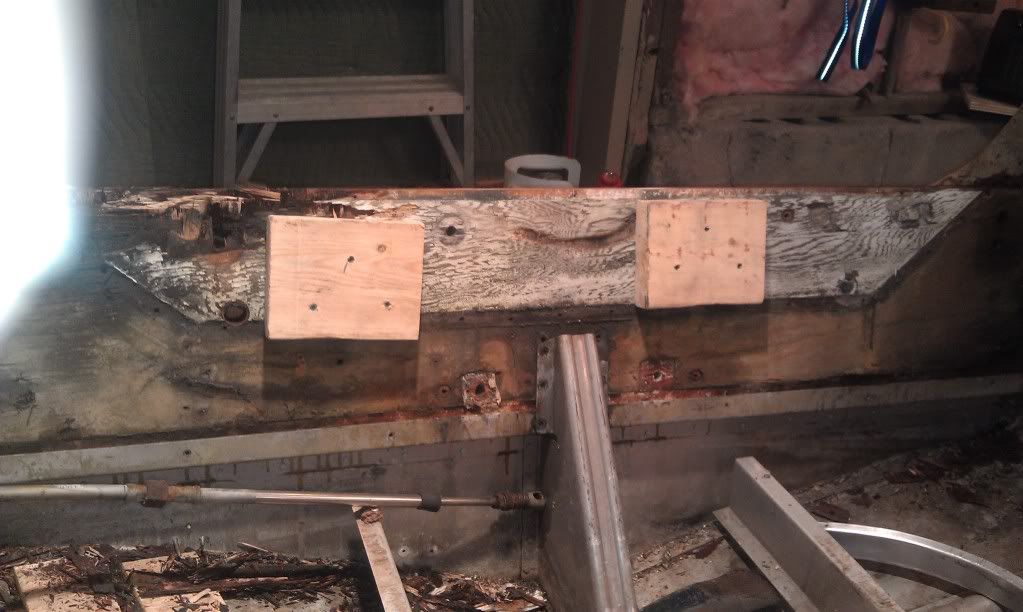
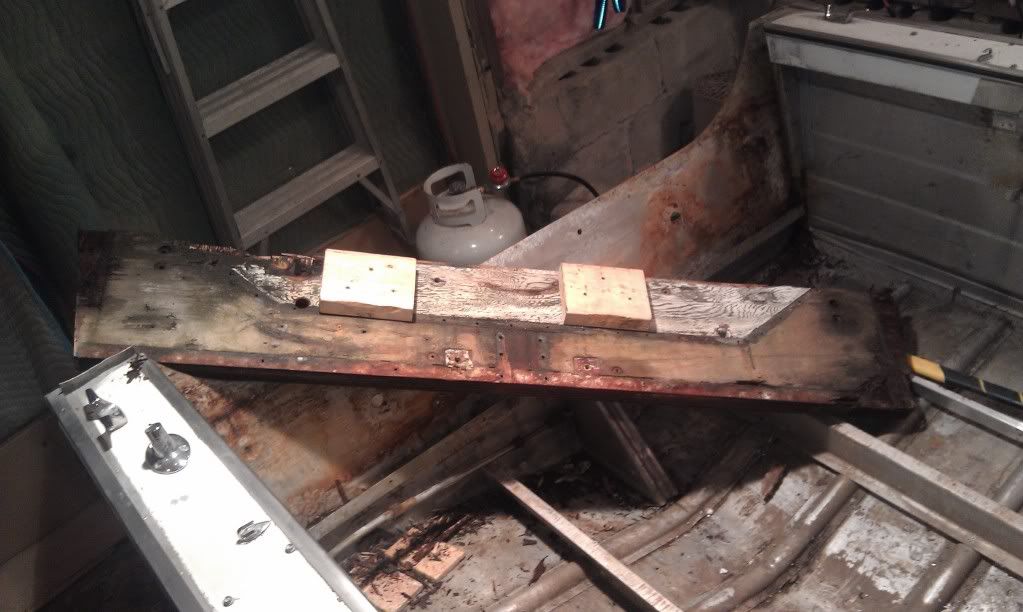
After a few more hits and little shimmying it came out in one piece less the two top pieces which were mulch...

IMAG0117.jpg


Cleaned up and ready for the next step: Remove remaining bits --- windshield, radio, horn thing, ariel, speedo and stearing wheel to ready it for flip and strip! Almost back to where I left off with J1 :eek:

Once I get it flipped I am going pause on the boat for a week or so to raise the collar ties in my garage up. Two reasons: One, everytime I stand up in the boat, I crack my head on them... I'm 6'4".. the collar ties are 6'6" off the floor... been meaning to change this for some time... now is a good time. Secondly, with the kerosone heater running, it is a million degrees (and slightly acridic) at my head level and about 40 degrees at my feet. By raising the ceiling up I am going to install a fan to circulate the air and hopefully mitigate both issues... time will tell!
 

Gibbles

Commander
Joined
Nov 14, 2009
Messages
2,027
Re: 1968 Starcraft Jupiter - Rebuild

Looks like you have enough to get a good template out of it!

and if you feel frosty, any chance of getting a measurement of your floor boards? :D

I'm still working on getting the motor off of mine... lol
 

InMotion

Commander
Joined
Nov 3, 2011
Messages
2,080
Re: 1968 Starcraft Jupiter - Rebuild

Hey Gibbles... thanks for stoppin' in!! Sure I can get some measurements --- but keep in mind there is a bit of curve to them.... especially and somewhat obviously as you go towards the bow :p... So I will try to get some measurements in a coordinates type format --- like the game battleship :cool:

Anyway... good luck with the motor removal. It's much easier the second time! :eek:
 

Gibbles

Commander
Joined
Nov 14, 2009
Messages
2,027
Re: 1968 Starcraft Jupiter - Rebuild

Thanks!

Any little bit helps as I have nothing to work with on my floors. :)


Biggest issue I have with my engine is the large splash well, and domed bolts on the engine side... nothing to grab and they just spin in the mount :facepalm:
 

InMotion

Commander
Joined
Nov 3, 2011
Messages
2,080
Re: 1968 Starcraft Jupiter - Rebuild

Pictures are worth a 1000 words... drop some in your thread... no doubt you will get many a thought... But without them... would removing the spash well give you better access to the bolts? If nothing else is working and if removing the splashwell helps, you might be able to cut the bolt using a sawsall --- had to do that to one of the side transum bolts last night myself --- just wouldn't budge and the flat head screwdriver side head stripped. No biggy... took all of 10 sec's to cut. Or grind the head off using an angle grinder!
 
Status
Not open for further replies.
Top