1959 Lone Star El Dorado "Project Texas Tornado" - Winner 2016 Resto SOTY Award

Watermann

Starmada Splash of the Year 2014
Joined
Jan 12, 2013
Messages
13,798
Main thing would be to tab the butt joints between the ribs so the unsupported wood doesn't flex or sag and becomes basically one piece after joining them.

Something like this except with the scabbed on piece would be underneath of course.

bs0.gif
 

Luke000

Restoration Forum Splash of the Year 2016
Joined
Aug 19, 2013
Messages
346
Thanks for the heads up! I will get some pieces to do a buttjoint made up tomorrow for the floorboards. I made a little progress on the boat again today; I got some more rivets bucked on the stern, and the drain plug re-installed (more bucking rivets). I also flipped the floorboards and applied the coat of sealant. I SOAKED the edges on all the pieces too :). And finally I put the first coat of spar on the transom board.
 

monriverguy

Petty Officer 2nd Class
Joined
Oct 28, 2013
Messages
190
OK i am no expert but thought i would chime in on this one since my next step is to cut my floor boards for my boat. Like i said the po had one sheet of ply on the deck and two little strips on each side about 3 1/2 inches wide so where the seams where you really could not walk or put to much weight there so what do you all think about that lay out?? and i also have been thinking to cut out around the knee brace on both sides.... And luke i took my transom home and did a dry fit IT FITS LIKE A GLOVE :) amazingly if it would have been a 1/4 longer in the top i dont think it would have gone in its that close of a fit.... Thanks again
 

Watermann

Starmada Splash of the Year 2014
Joined
Jan 12, 2013
Messages
13,798
Keep up with the forward progress and by spring time you'll be skimming the waves and turning some heads with the ole gal!
 

Luke000

Restoration Forum Splash of the Year 2016
Joined
Aug 19, 2013
Messages
346
OK i am no expert but thought i would chime in on this one since my next step is to cut my floor boards for my boat. Like i said the po had one sheet of ply on the deck and two little strips on each side about 3 1/2 inches wide so where the seams where you really could not walk or put to much weight there so what do you all think about that lay out?? and i also have been thinking to cut out around the knee brace on both sides.... And luke i took my transom home and did a dry fit IT FITS LIKE A GLOVE :) amazingly if it would have been a 1/4 longer in the top i dont think it would have gone in its that close of a fit.... Thanks again


What do you plan to do as a floor covering? just spar, carpet, vinyl? I don't think there are any bad ways to lat out the floor. If I were to do it again it would be "3/4" ply wood with the seams running with the ribs. I am so glad the transom fit good! Cant wait to see yours when it gets installed.

I did some more coating with spar on my boards. The transom needs one more coat to be finished, and the others still need 2-3 more.

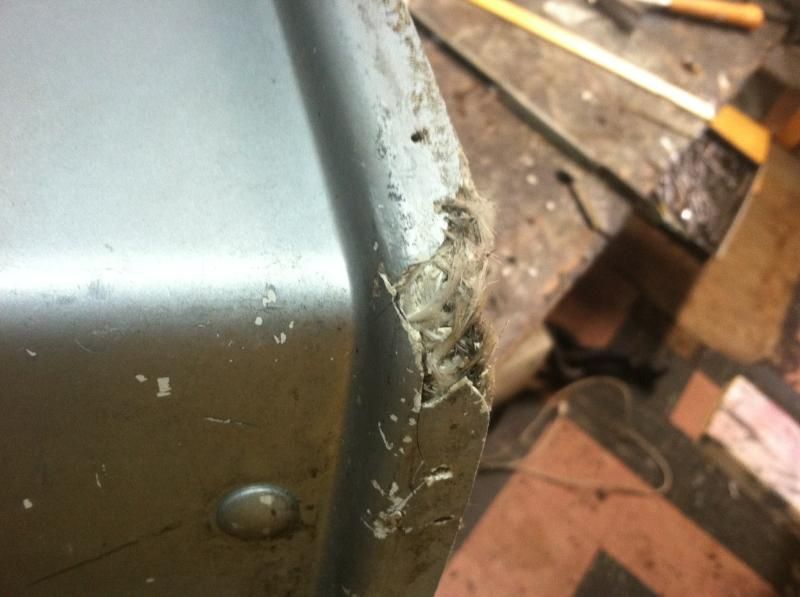
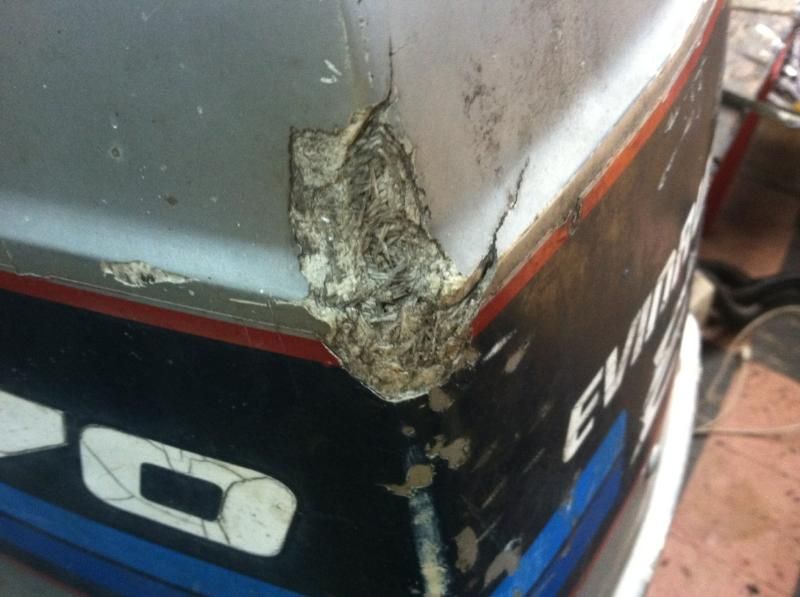
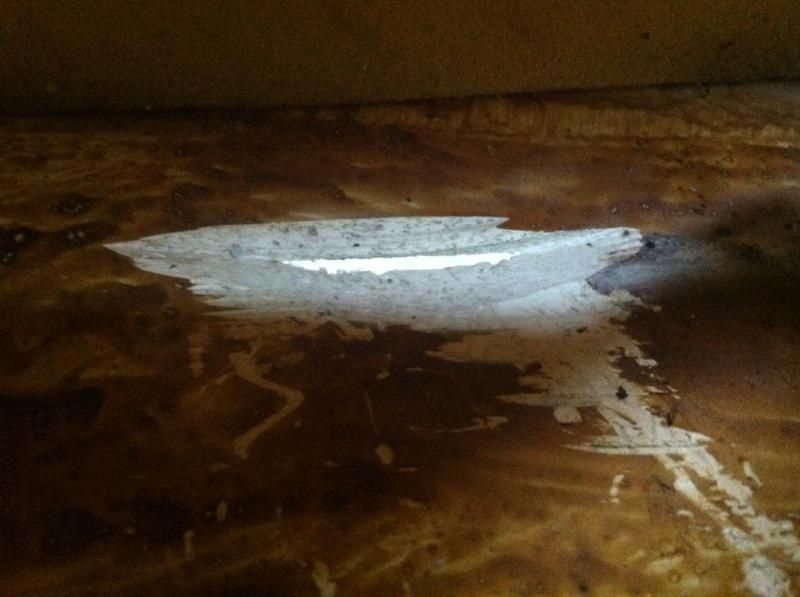
I decided to start looking on my next project, the motor. I took the hood off today to make a game plan for it. The seal was just crumbling so I took what was left off and pulled the staples. I know the gasket is no longer available so I think I am going to use automotive door trim/weatherstrip. Unless you guys know of something better? There are a lot of nicks and gouges in the hood that I want to fill in before I paint it. But there are also some larger areas of damaged fiberglass (see pics below) including one spot where it looks like the flywheel was spinning and cut through the hood. What do you guys recommend I fix this with? Also I am planning on stripping out the old foam so nothing gets sucked into the engine as the foam continues to degrade. Should I replace it with anything for soundproofing or is it just not going to do much?


Damage to corner of hood where hood meets engine:


Damage on edge:

Damage where the flywheel cut through the inside:
 

Watermann

Starmada Splash of the Year 2014
Joined
Jan 12, 2013
Messages
13,798
I was able to get a new motor cover seal for my 1978 Johnny at marine engine dot com. A fiberglass repair kit should do it for the scars. I would strip the whole cover, do the repairs, repaint and put on some new re-pop decals. Should look good as new.

For the cover insulation check out this section of my Chief thread.
 

Luke000

Restoration Forum Splash of the Year 2016
Joined
Aug 19, 2013
Messages
346
I like the slick on foil paper instead of the foam, I think I will do that. Along with a repaint of the entire engine with repop decals. I could not find the hood gasket on marine engines, it said it was unavailable. How do I go about repairing the fiberglass with the repair kit? Are you talking about the bondo type kits that come with some cloth, resin, and basic tools? They have different kits, how do I know what kit to buy?
 

Woodonglass

Supreme Mariner
Joined
Dec 29, 2009
Messages
25,928
I got my cowl gasket here...http://www.nymarine.ca/cowlgaskets.htm
I'd do the repairs on the cowl with Hairy Peanut butter. Resin, Cabosil and Large strands of CSM mixed to the consistency of creamy Peanut Butter. This would be very strong and easy to mold to any shape. You could then sand and fair with some finishing filler which is resin mixed with glass bubbles mixed to the consistency of mayonaise. This sands easily. Or you can by 3M premium filler.
 

Watermann

Starmada Splash of the Year 2014
Joined
Jan 12, 2013
Messages
13,798
I will have to defer to WOG's advice on the glass work. I found the sound proofing material in my thread at Home Depot in the roofing section and put some on the bulkhead of my Chief's engine compartment. I guess it helped some but the 4 barrel carb at WOT is still very noticeable howling away in there. :D
 

Luke000

Restoration Forum Splash of the Year 2016
Joined
Aug 19, 2013
Messages
346
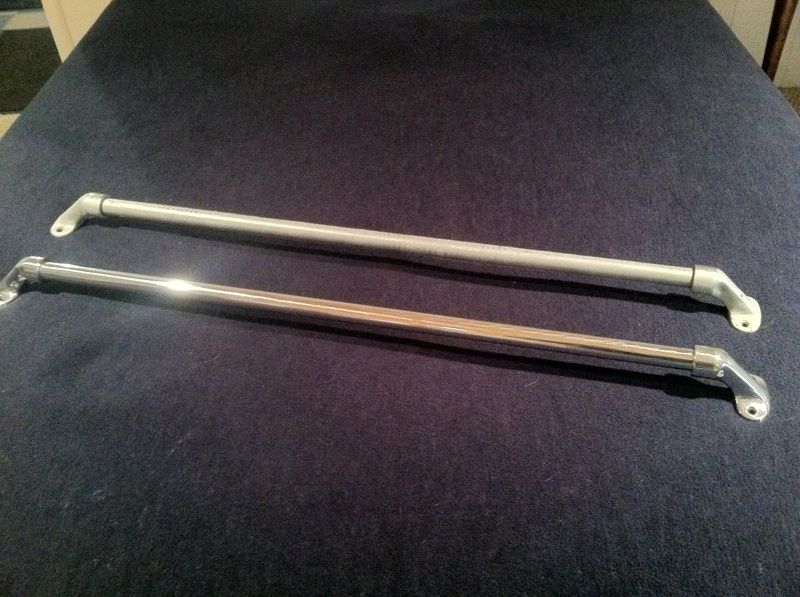
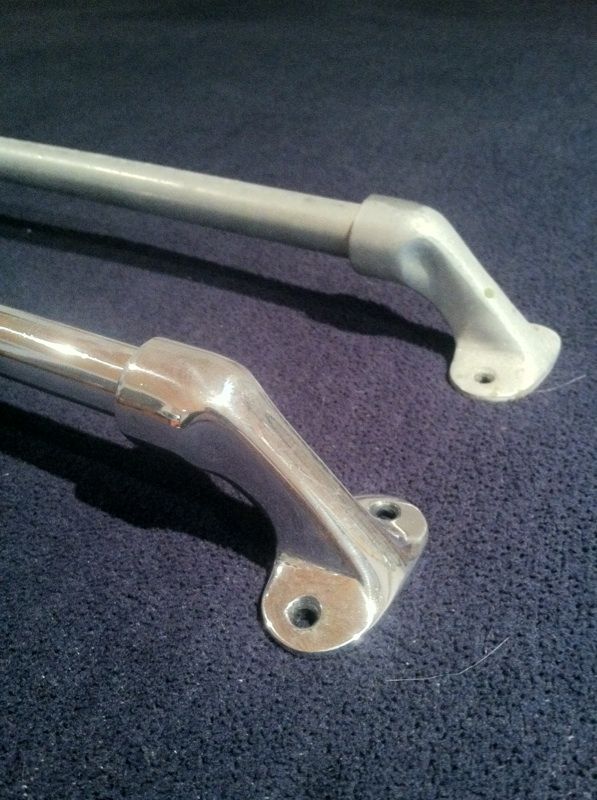
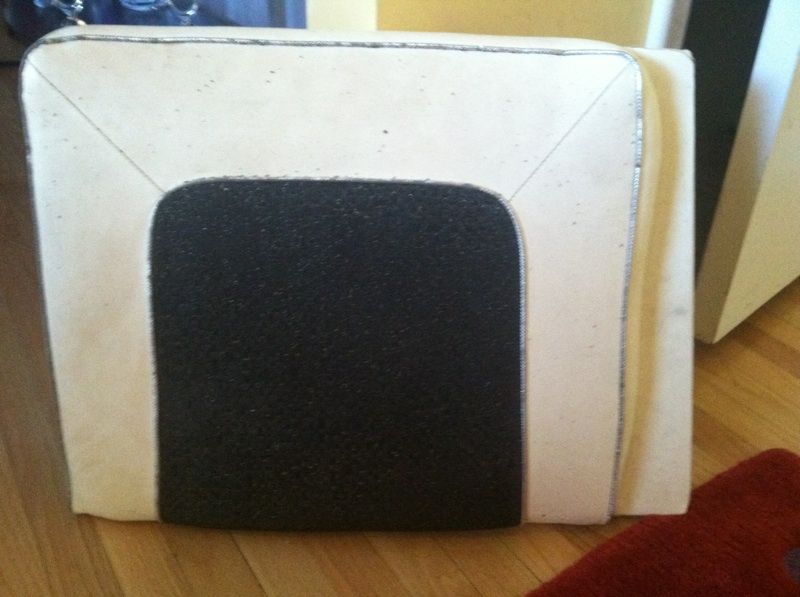
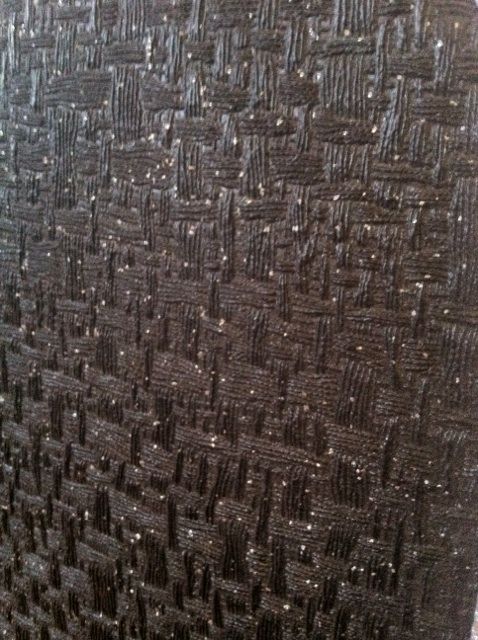
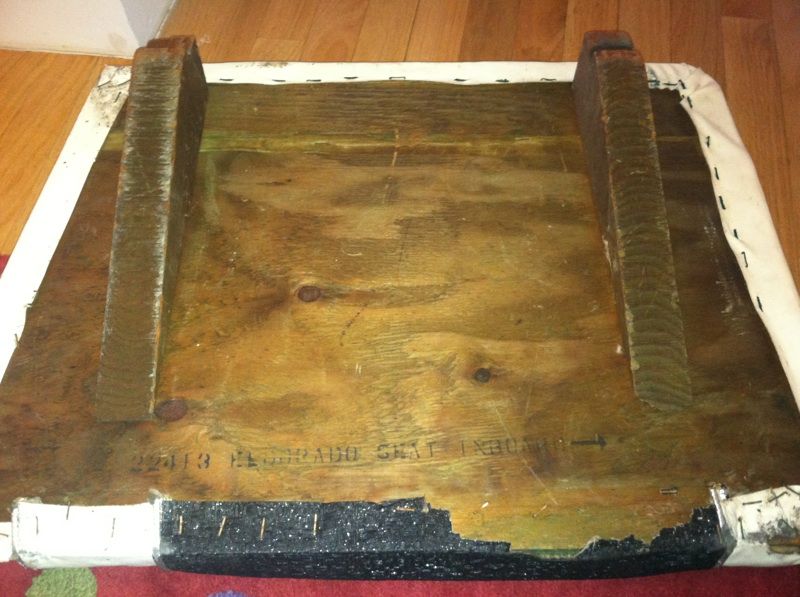
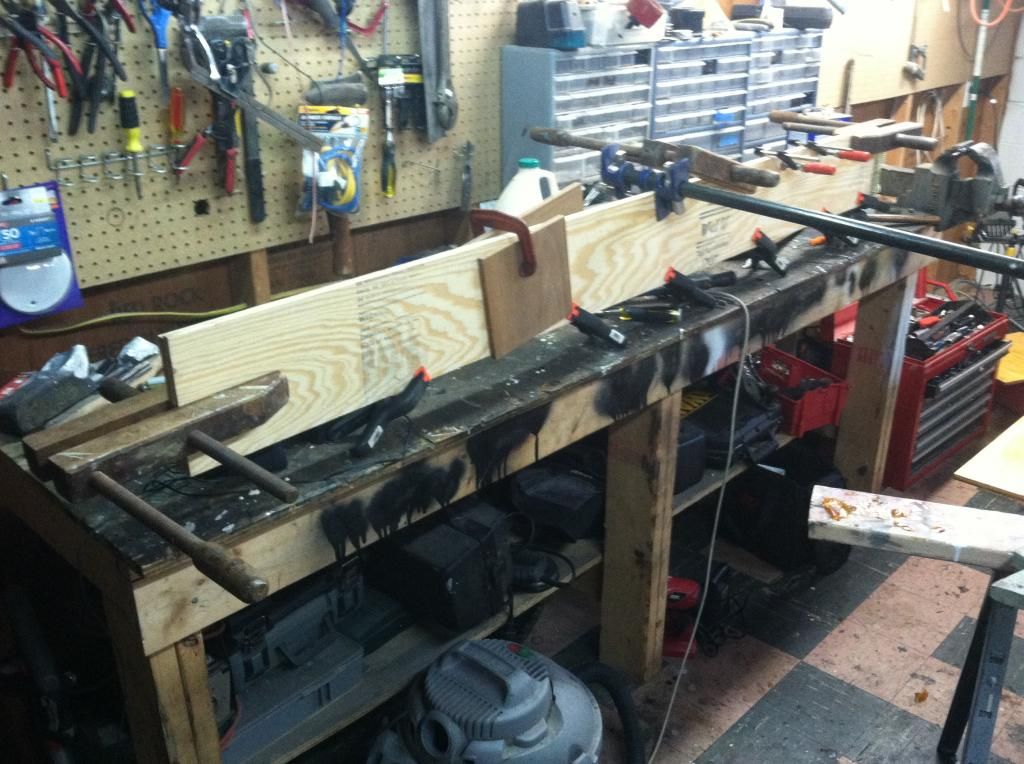
I got a little more work done today: more spar and some polishing of aluminum trim. I am going to take my seats to get an estimate on getting them redone with new padding and vinyl. I have some options for color and material. For the center sections the OE was this really cool textured black vinyl. I want to replace it with something similar and found a good candidate on ebay but the seller also had it in a silver. I like the black for the looks of original but I have a feeling it will be extremely hot in the sun. Also I need to decide (not immediately) on if I want to do piping again. Again its a decision- do I want to keep it original and kind of cool looking or do I want to do without for more comfort, less seams, and less of a chance of it cracking in a few years (happened on my moms boat after 2 years). I think I am going to re-use the old boards because they are OE and still are stamped with “ELDORADO” and seem to be in decent shape. Let me know what you guys think!


Last edited:

monriverguy

Petty Officer 2nd Class
Joined
Oct 28, 2013
Messages
190
That's how mine look too Luke got the same Eldorado markings on them i think i am going to be able to use the boards to, i was thinking of just doing the best i can my self to reupholster the seats . I have a great place to get foam and vinyl here local but i cant to it back to Factory... What you thinking on your steering system ?
 

Luke000

Restoration Forum Splash of the Year 2016
Joined
Aug 19, 2013
Messages
346
That's how mine look too Luke got the same Eldorado markings on them i think i am going to be able to use the boards to, i was thinking of just doing the best i can my self to reupholster the seats . I have a great place to get foam and vinyl here local but i cant to it back to Factory... What you thinking on your steering system ?


For my steering I am going to use a modern teleflex system and ditch the cable and pulley system. I found out that my original steering wheel fits right up with the teleflex 3/4" tapered helms :D My engine came with a rotory helm that I might reuse if it checks out to be in good shape.
 

Corjen1

Lieutenant Junior Grade
Joined
Aug 24, 2013
Messages
1,237
That's how mine look too Luke got the same Eldorado markings on them i think i am going to be able to use the boards to, i was thinking of just doing the best i can my self to reupholster the seats . I have a great place to get foam and vinyl here local but i cant to it back to Factory... What you thinking on your steering system ?

Moon and Luke, All I can say is I couldnt spell upholstery a year ago......its like anything else, practice and you will get better. There are lots of rresources on here and the web if you want t give it a go. I have no doubt that you can do it better than factory.

I agree, the black might get pretty hot....
 

Watermann

Starmada Splash of the Year 2014
Joined
Jan 12, 2013
Messages
13,798
SOme good forward progress, working on the smalls keeps the project moving. On the new vinyl check out the 303 Aerospace protectant yo keep it looking new. I even got some for fabric too for the bimini. I'm with ya on reusing those original seat bases, they're pretty cool with the stamping.
 

Luke000

Restoration Forum Splash of the Year 2016
Joined
Aug 19, 2013
Messages
346
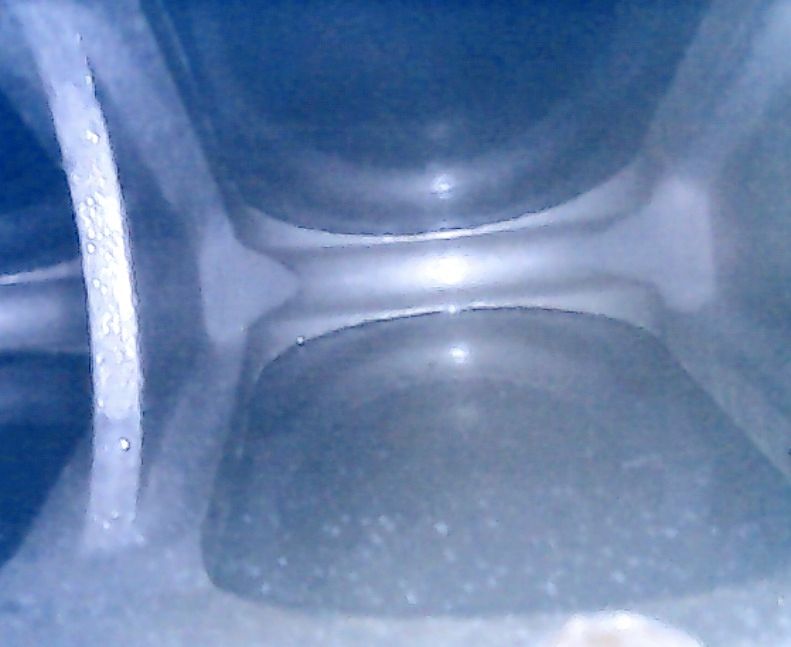
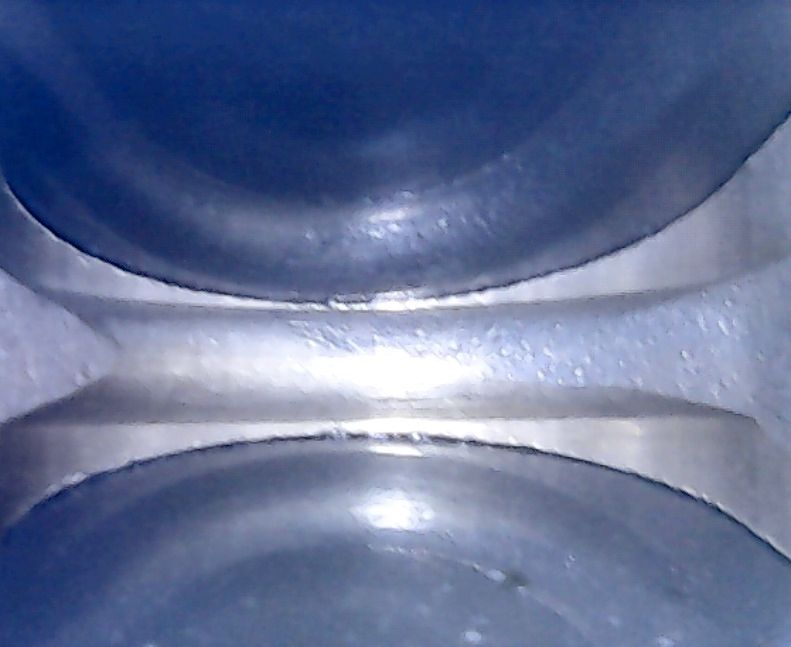
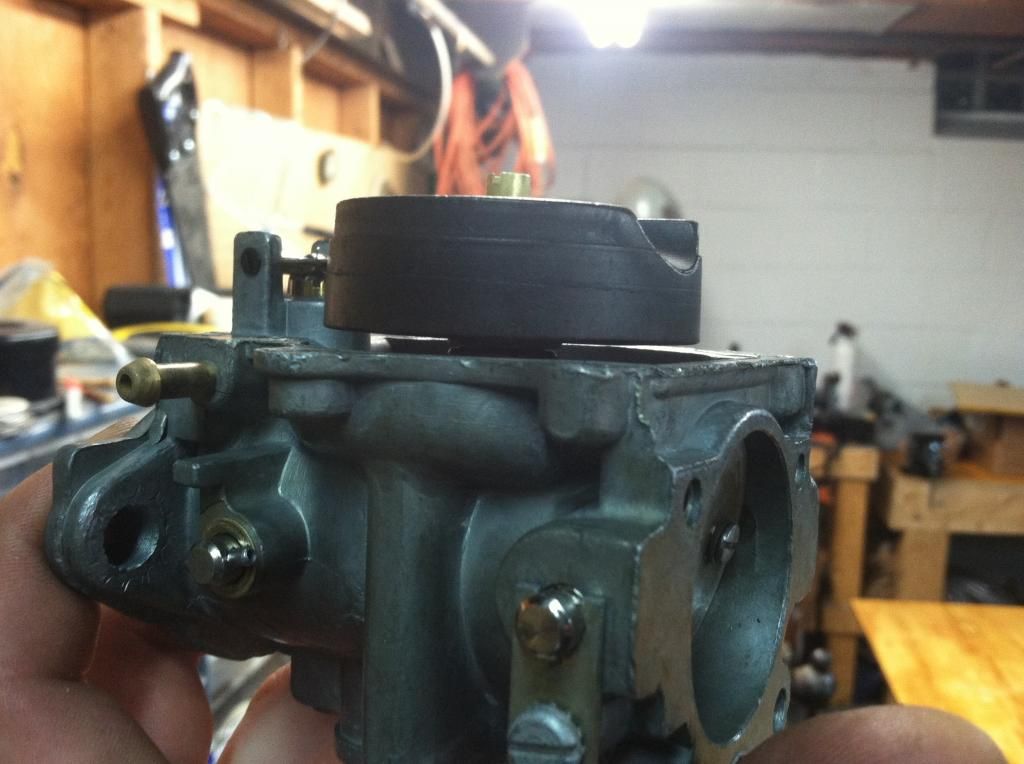
I have some samples of vinyl coming in so i can work on making that decision. I am going to keep the OE seat bases for the stamping to stay with the boat. I still need to decide on if I want piping, I am leaning towards yes though. Today I decided to start a little work on the engine itself. Like I said earlier, it starts but surges badly. So today I pulled off the carbs, starter and battery cables (to clean around), and fuel lines. I got the carbs pulled apart today and one of the floats didn't look properly set for height, and there seemed to be a little water in the bowls as well. I am going to take them into work and put them through an ultrasonic cleaner and thoroughly clean them. I got the carb kits to replace all the seals, needles, welch plugs, and the floats. After I pulled the carbs, there was finally a chance to use my new borescope and I inspected the reed valves and they all look to be in top shape :D


Watermann

Starmada Splash of the Year 2014
Joined
Jan 12, 2013
Messages
13,798
Great thinking, too much can't be said for properly functioning carbs. The frustration of a poorly running OB is normally caused by fuel delivery.
 

Luke000

Restoration Forum Splash of the Year 2016
Joined
Aug 19, 2013
Messages
346
Great thinking, too much can't be said for properly functioning carbs. The frustration of a poorly running OB is normally caused by fuel delivery.
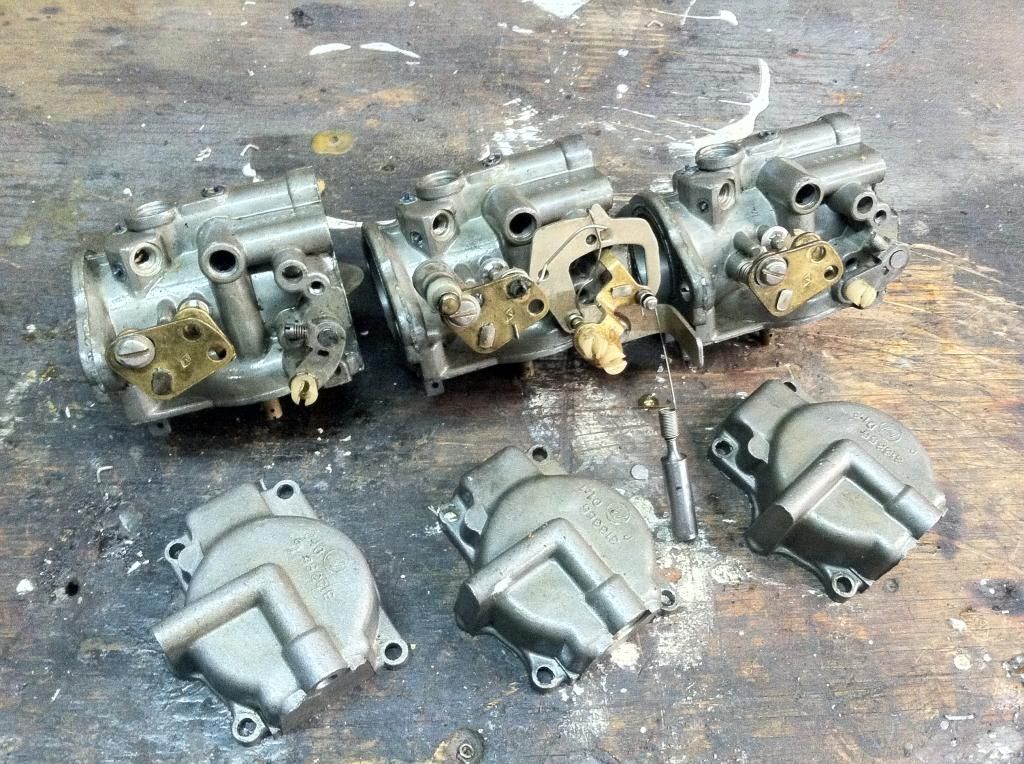
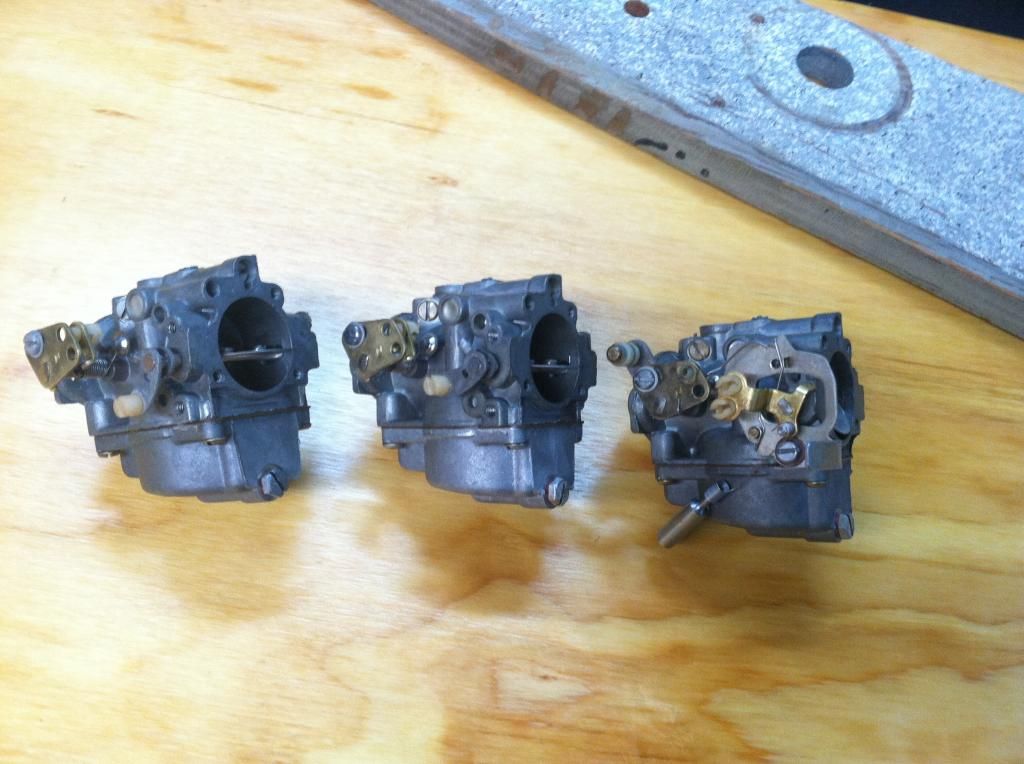
Amen! I want this motor to be running in top shape by the time it gets mated to the boat in the spring. I finished the rebuild on the carbs today, each spent a half hour in a hot ultrasonic degreaser bath then all the small parts and orifices were blown out afterwards with carb cleaner. New parts were installed all the way down to welch plugs, o-rings, and floats. I adjusted the float heights so the float sits level all the way around.

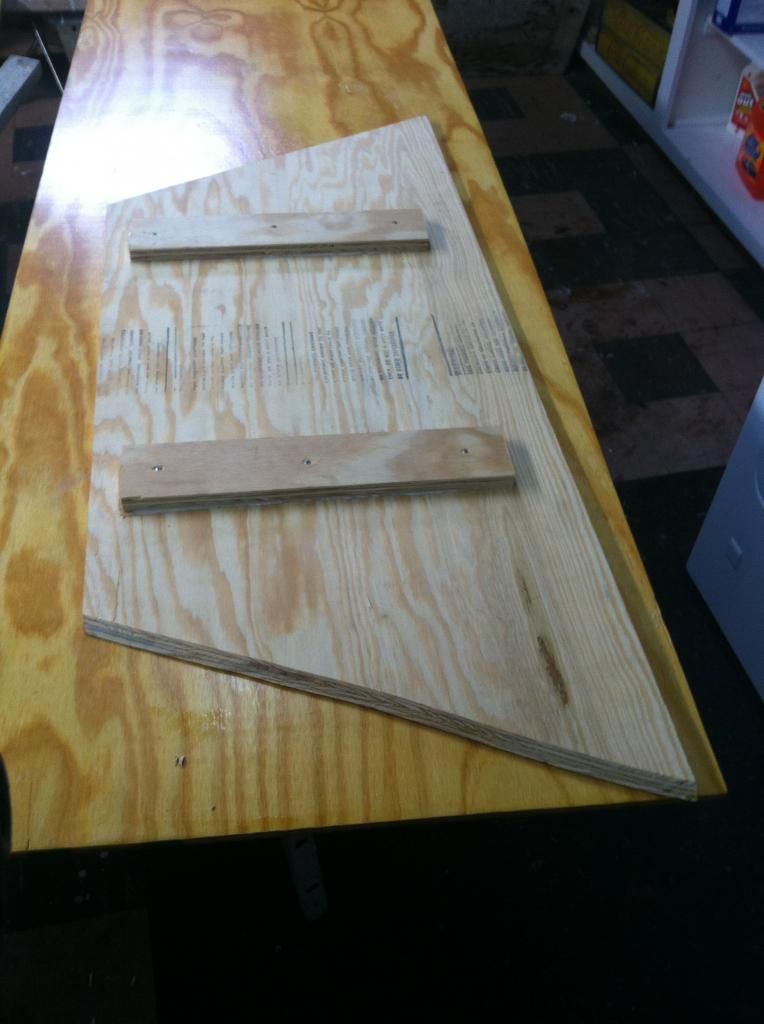
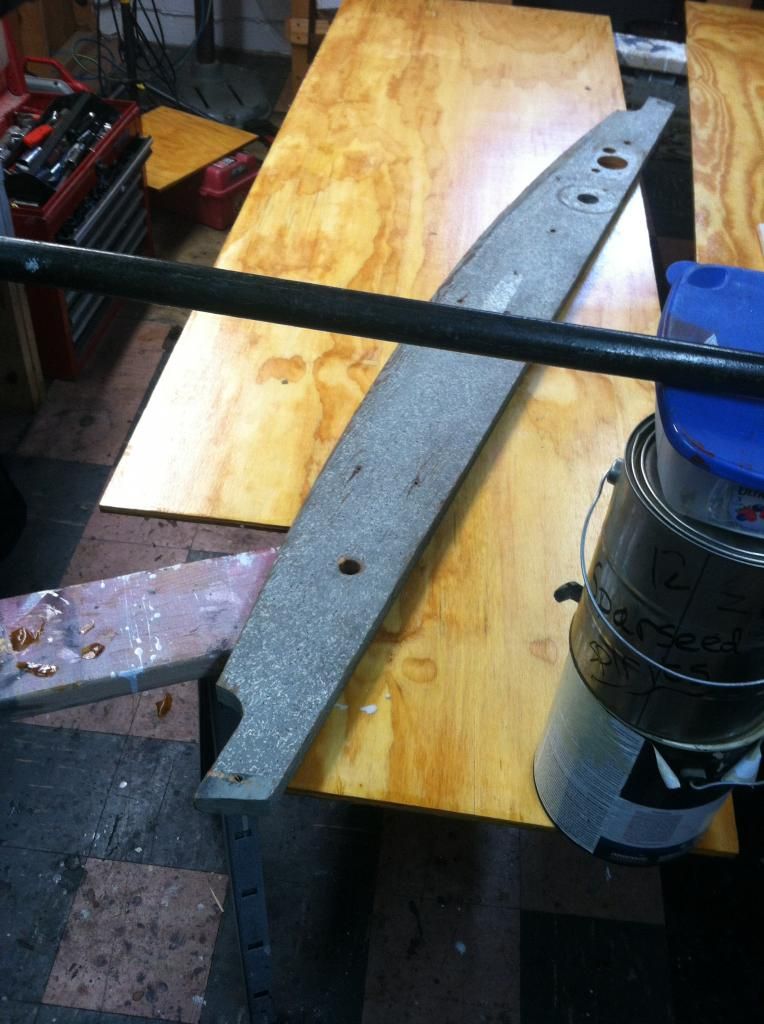
I also made a run to lowes then home depot to get more plywood and made the final piece to the floor and laminated two pieces to an inch thick so I can remake the dashboard.


Shiny, rebuilt carbs!


Old dashboard


Watermann

Starmada Splash of the Year 2014
Joined
Jan 12, 2013
Messages
13,798
Beautiful sight right there! Be sure to replace all of the hoses as well and the fuel hose zip ties are a special kind too that you should use rather than regular ones. When I had my Johnny apart, I went ahead and put a new fuel pump kit in it as well. When I did I found that the diaphragm was like a chunk of old shoe leather stiffened with age.

What was the original type of dash wood?
 

Tnstratofam

Commander
Joined
Aug 18, 2013
Messages
2,679
Those carbs look good. So many people make the mistake of not thoroughly cleaning them, and most don't do a good job cleaning the jets. Looks like you've done a good job on them for sure.
 
Top