MNhunter1
Lieutenant Junior Grade
- Joined
- May 12, 2014
- Messages
- 1,118
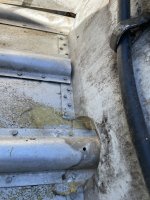
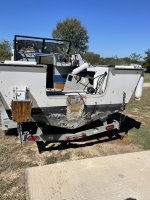
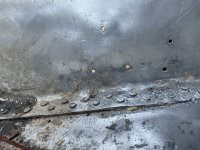
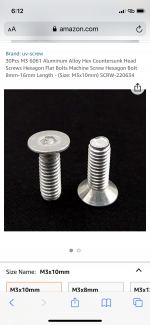
Not very difficult or time consuming to drill out the rivets and reinstall after addressing the corrosion. Well worth it in my opinion.Thanks for the reply. I was afraid of that lol just trying to minimize down time and take care of the necessities. But corrosion is a necessity so that’s what I will probably be doing