Re: 66 Starcraft Sunchief Re-Build
OK just to the East of us got a nasty snow storm yesterday and things at work got pretty much shut down. With a high around 25 and some nasty winds, I decided it was time for a trip to Home Depot to pick up the flotation and get started. I finally got my sleeves rolled up around 12:30.
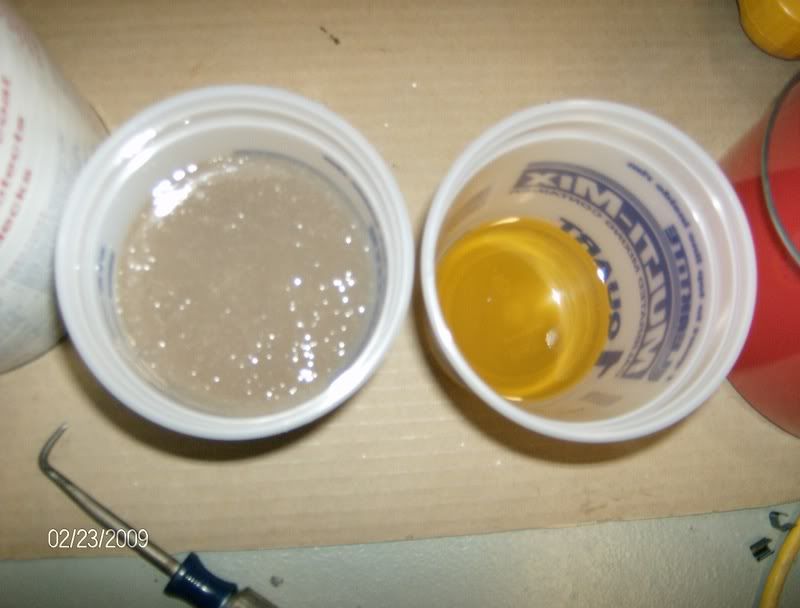
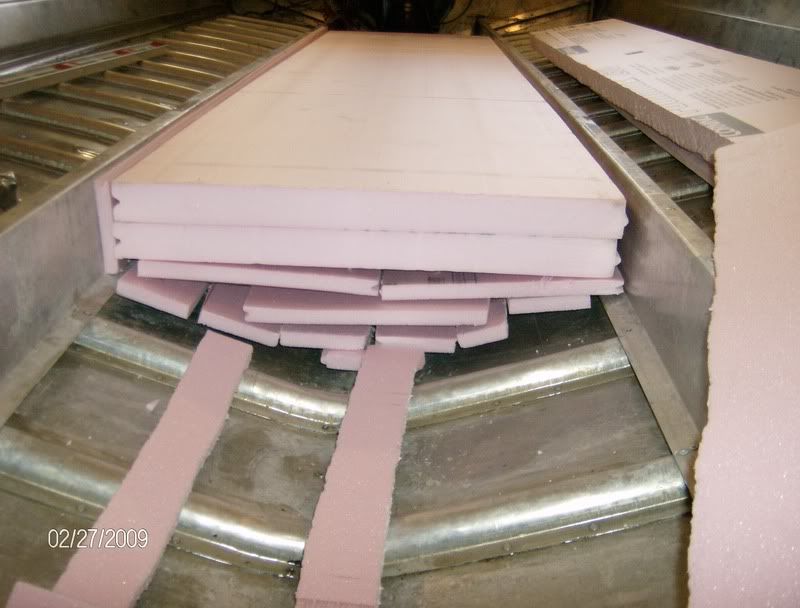
The Gluvit is all set up so I can?t really put this off any longer. Here?s a shot of how I started.
This is alternating between ??, 1", and 2" Dow Foamular 250. Basically what HD stocks on the shelf. With the concave V hull, the angle was fairly steep so I needed a lot more of the 1? and ?? than the 2. So around 3:30 it was back to HD for more of the smaller stuff. When I arrived I realized I?d forgotton my wallet and the folks at the store weren?t having any of me coming back later to pay, So My wife, who thinks I?m off my knot for not buying a new boat had to drive to town with my credit cards. (more on what that will cost me later).
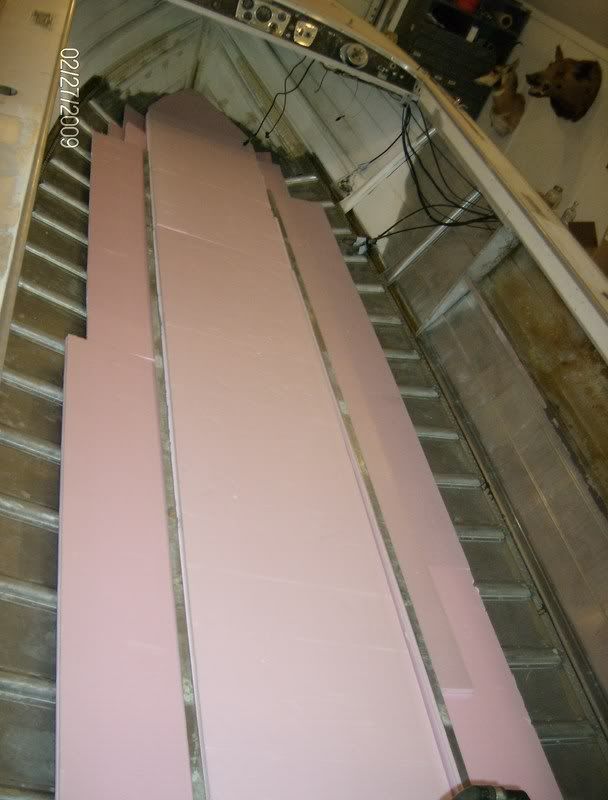
Here?s a shot of the finished product.
Pretty much just building the stuff up to level at the top. Note should be made that the 1 and ? cuts really well with a razor knife. The 2 takes a keyhole saw resulting in a lot of pink beads everywhere. I did all the cutting outside and blew everything off with the hose reversed in my little shop vac. I also vacced out the boat about 50 times in an effort to keep the beads out of the bilge. The only down side to the operation was all the climbing in and out of the boat and cutting outside!
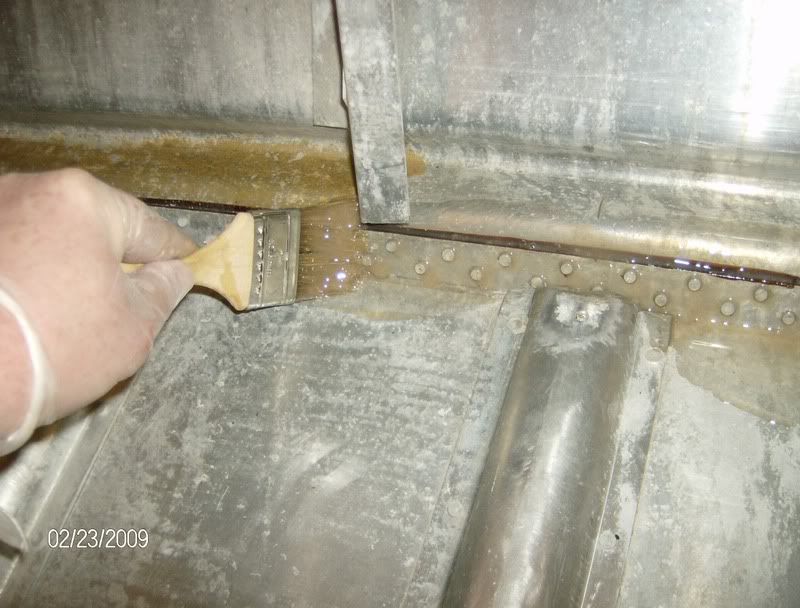
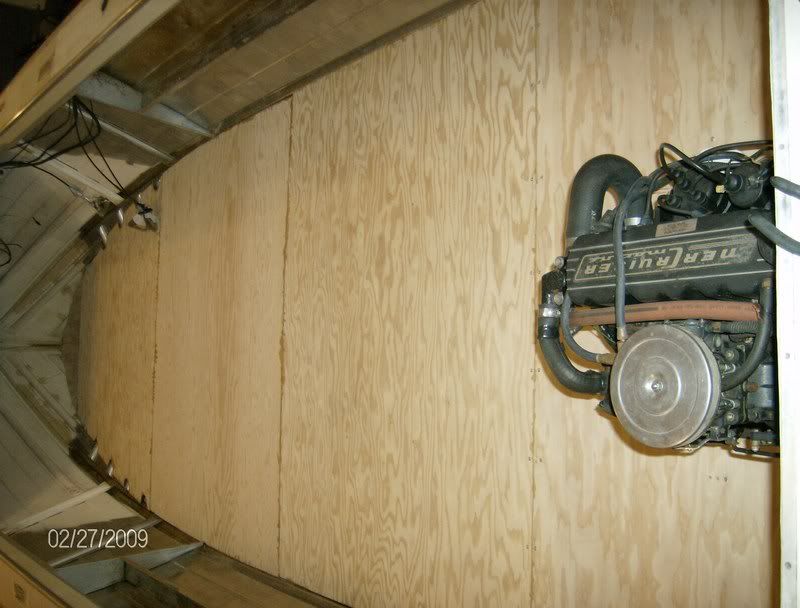
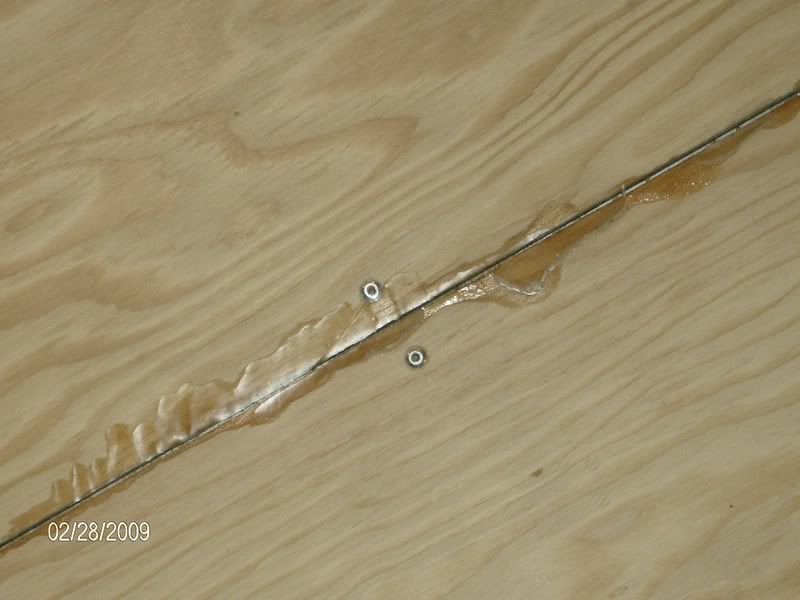
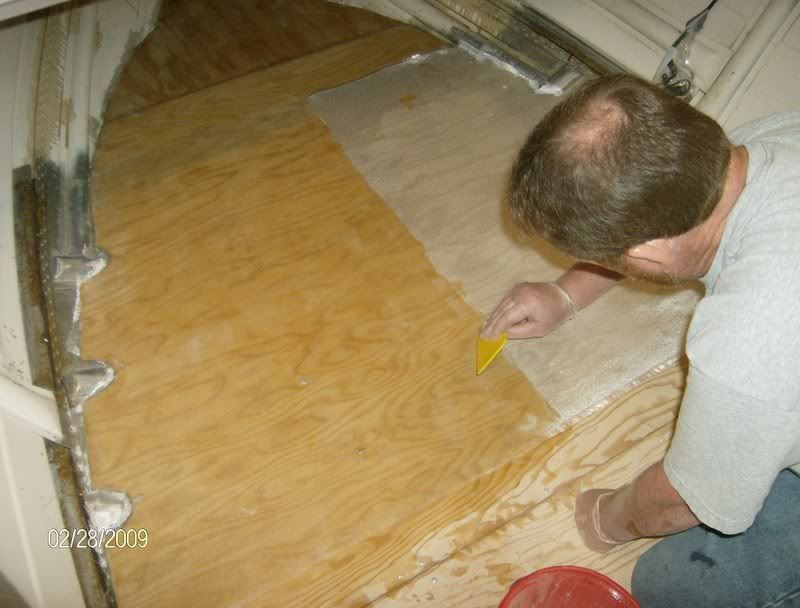
Once the flotation was finished, I got creative and lured my nephew and one of his friends over with a six pack of Bud Light. My wonderful wife went and picked that up also. (this will end up being a very expensive day) We had the bottom side double coated with resin from last week so we basically just went at it. We fastened the plywood with 3/16 aluminum rivets with a 1/2'? to 5/8? grip range. Went very smoothly.
Here?s a shot of my nephew installing the rivets and his friend supervising

The rivets fasten along the edges directly into the aluminum ribs, down the center into the two aluminum stiffeners you can see in the earlier pics and at the joints into the flat 3? aluminum strips that are oriented side to side over the insulation. The 3? strips also fasten into the two center stiffiners. Once all this is fastened down the deck basically stiffens right up resulting in one heckova more sturdy deck than the 43 year old worn out deck we removed a couple of months ago.
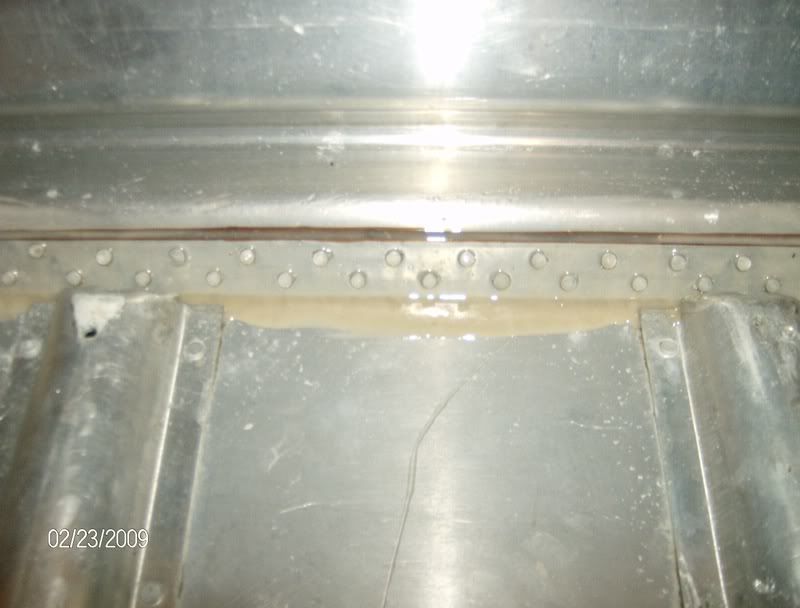
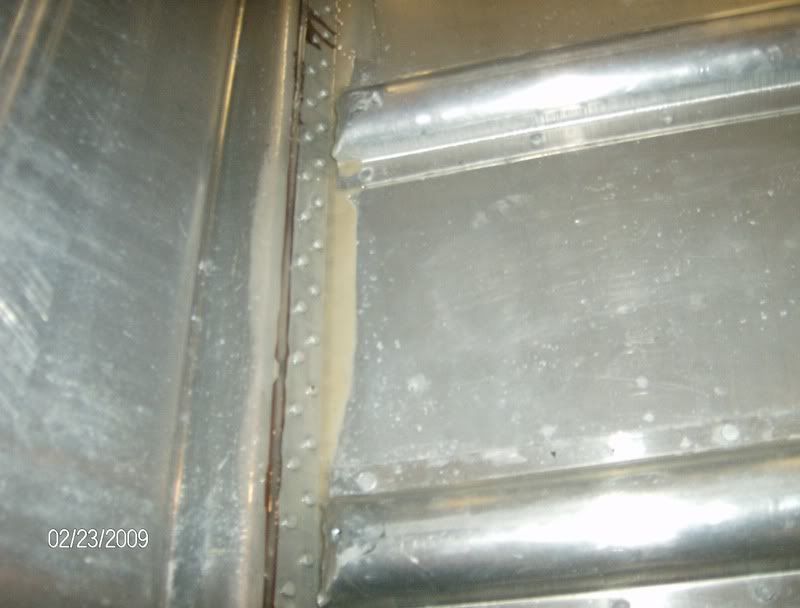
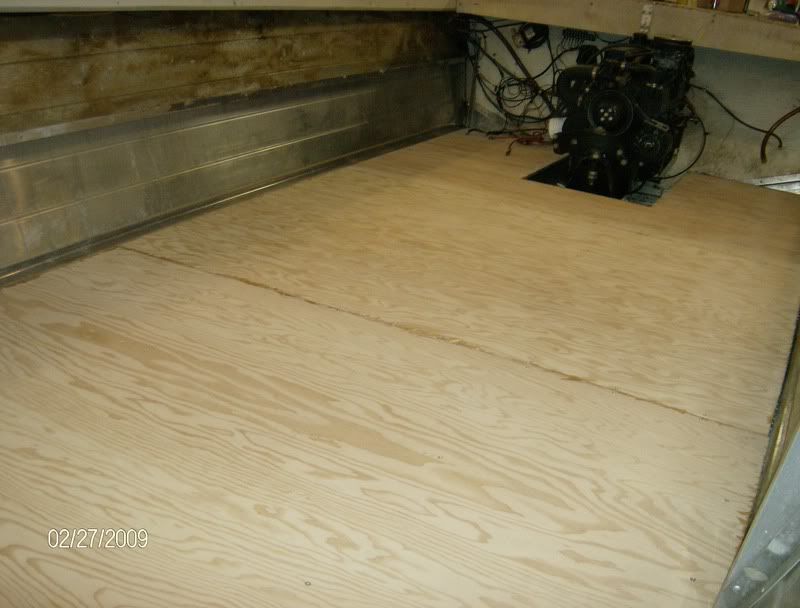
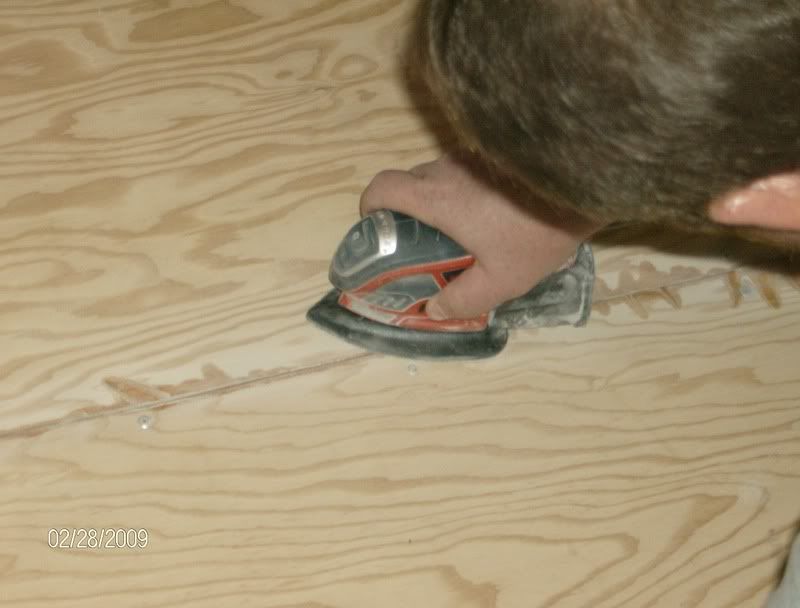
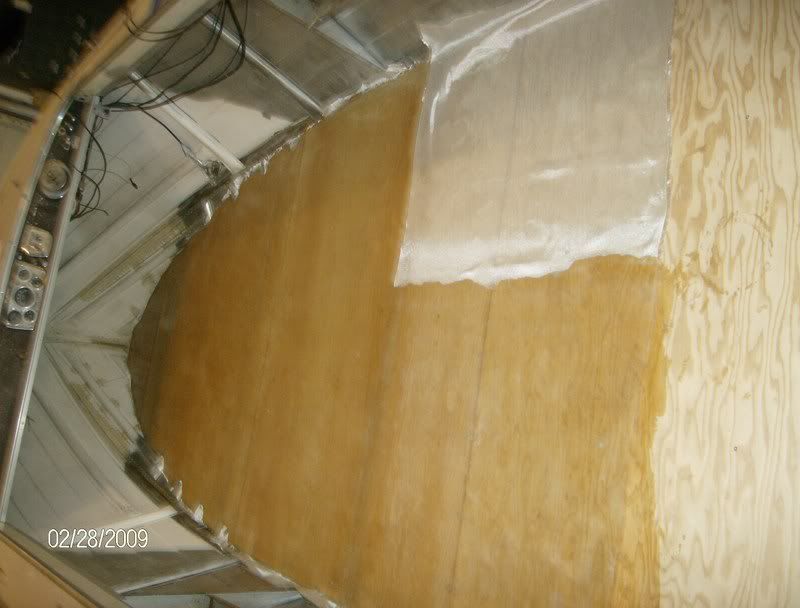
Here?s a couple pics of the finished product.
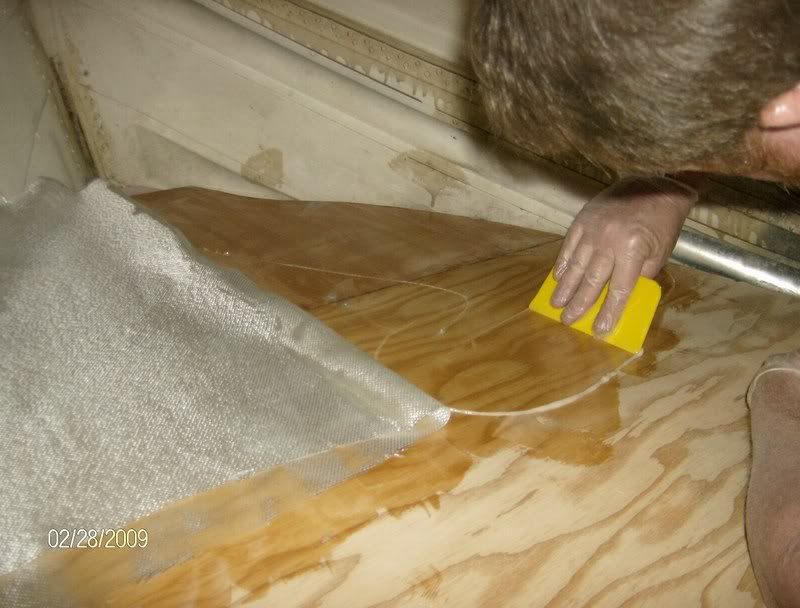
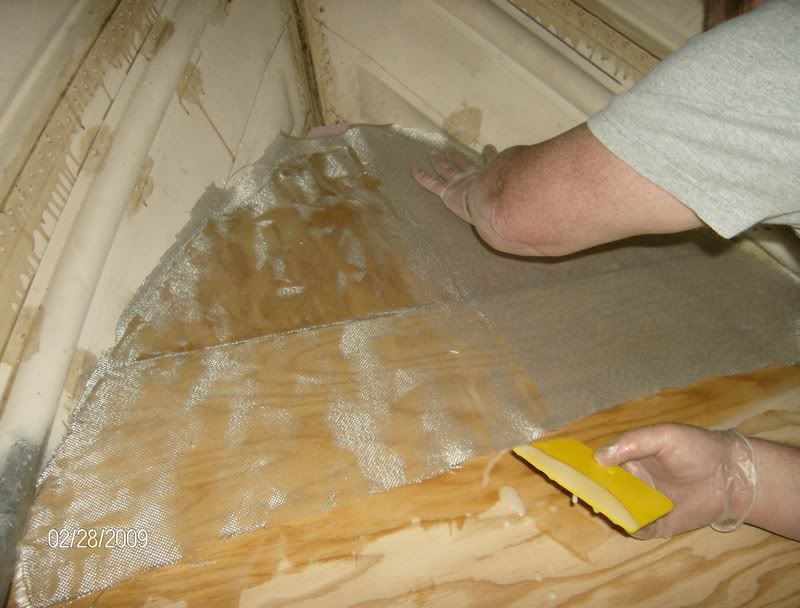
We finished up right at 10 PM. If I?m not too worn out tomorrow, it?s glassin time!!!!!!