Sea Rider
Supreme Mariner
- Joined
- Sep 20, 2008
- Messages
- 12,345
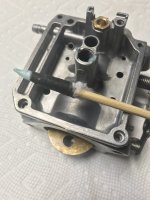
If the seats are the original factory installed, all 3 should rest leveled against the bottom, just check them if so. Seems previous owner tried to remove some and ended rounding the heads.
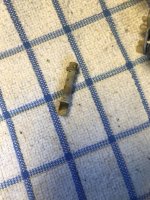
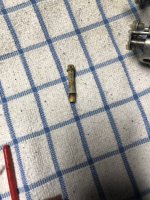
Forgot to mention that If you place the slow jet against a light source your eyes will pay you a visual trick, will see the middle jet being clogged, but that ain't so, a magnifying glass will confirm so LOL!
To clarify since a reasonable doubt was created, previous posted pics does't show the jet being fully inserted in the outside nozzle's tip, in which case the fuel will exit through the small and middle orifices at same time when the container is squeezed hard. Didn't want to modify the tip diam just for the pic sesion as use it to squirt thinner shots inside every posible carb orifice regardless of the diam they are.
Post 95 pic shows same jet screwed inside the nozzle's tip, exposed to a light source can see a perfectl clean and rounded orifice, poking it lightly with a very thin needle did the trick. This poking orifices with needles, only applies when cleaning extremely gunked slow jets and nozzles orifices specially when out of stock or NLA...
Happy Boating