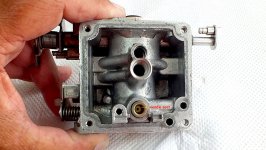
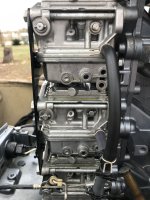
If fuel is overflowing the carb when priming the bulb past firm condition it's a needle & seat tech issue not doing their homework right. The micro polishing cleaning procedure is as follows :
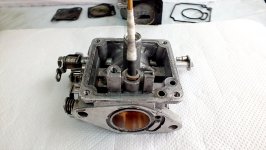
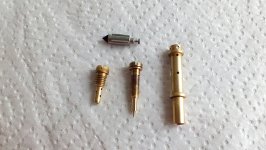
-With fuel bowl sitting up on a flat surface, remove all the jets the float and attached needle. Clean all jets separately.
-Get a wooden meat skewer, a wooden sushi stick and roll a thin piece of cotton on tip to form a large cotton swab.
-Dampen in water, roll again the cotton tip as to hold firm against pointed tip.
-Apply an overdose of toothpaste of your preference brand on tip.
-Insert tip on needle's seat, with both hands grabbing stick in middle, roll it sideways firmly down as when polishing valves on a motor block.
-Dispose the old cotton and roll a new one in, wet it, add more toothpaste. Repeat this process until the cotton comes out white clean.
-Re install all jets, needle and float back into carb's bowl.
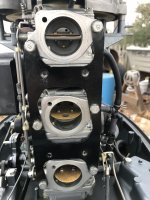
-Proper time to change the middle carb's (s) gasket (s) for new ones.
-Prime the bulb till firm, check if the fuel spill through the throat was solved.
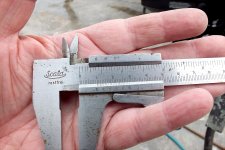
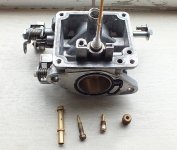
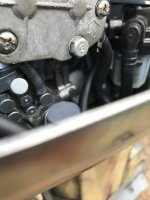
Note: all needles must be sharp pointy, if found rounded install new ones. Inspect the needle's seat condition with a flashlight before and after micro polishing. Once done the internal seat should look perfectly polished as in third pic, will assure a perfect marriage between the needle's tip and the seat. 2 stroke oils tends to accumulate gunk over time on the internal seat that sometimes isn’t properly removed with carb cleaner sprays.
Happy Boating