- Joined
- Jul 23, 2011
- Messages
- 52,780
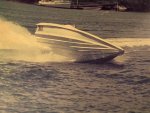
cool, not sure I would want to ski at 70mph......35 is fast enough to fall...


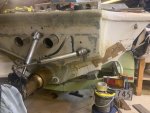
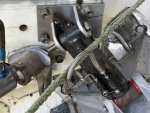
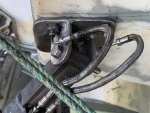
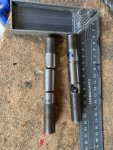
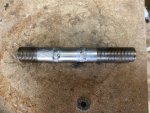
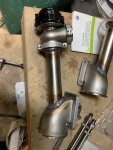
Arneson trim cylinder /transom hydraulic fittings:
On with hydraulic fitting
the cylinder uses 7/16"-27 tpi threads, so can use AN4 hoses
had a look at mercury K-plane trim hydraulic fittings which are the same so decided to utilise this and cut and lengthen the fitting with 16/12 (SCH80 ) stainless tube, length approx. 30mm to allow plenty of adjustment on inside of transom for locking nuts
will organise the stainless AN4 fittings for cylinder, 1*45 degree and 1*straight
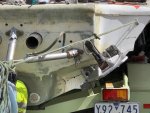
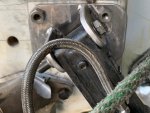
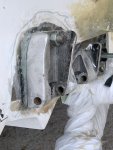
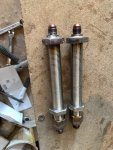