Start of Lund Restoration...maybe

03vrod

Seaman Apprentice
Joined
Apr 26, 2009
Messages
30
Re: Start of Lund Restoration...maybe

wire wheels work good but the stripper wheels will work better and they tend to last longer.You can't get around the rivets with it as well but for the open areas they do well and last longer.The wheel looks like a wire mesh with a coating on it I think I bought the last one at a auto parts store.I used up 3 wire wheels before I tried it.I also tried a sanding wheel on my grinder but it removed to much material.I did go back with a wire wheel and go around each rivet.
 

slbri

Seaman Apprentice
Joined
Jun 2, 2008
Messages
48
Re: Start of Lund Restoration...maybe

Hey thanks Bob for the advice. I will hope to be back in that part of the boat by the weekend. Geez! Then we will have a looksy under them and pray for no action between the metals.

I am definitely in the market for my orbital sander or grinder probably both. Harbor Freight is only a 5 min drive. So I guess I will try that out.

Didn't get much done today...I did have my boat repair guy come by and take my lower unit to do impellar, prop seal, and lube. I just don't have it in my to tackle that atm as well. Well onward and upward as they say:)
 

slbri

Seaman Apprentice
Joined
Jun 2, 2008
Messages
48
Re: Start of Lund Restoration...maybe

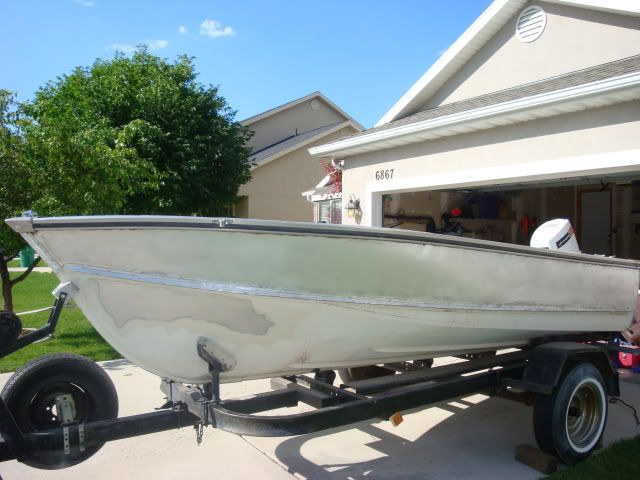
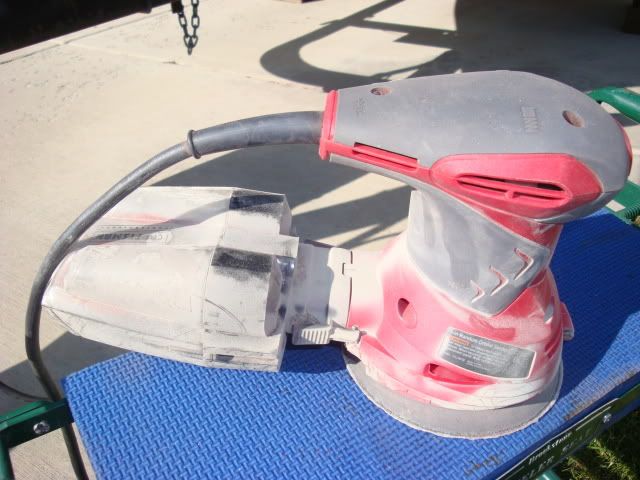
Ok another update here. I did buy myself a 4 1/2 craftsman angle grinder with a couple of different wire attachments. The tar is still a major PITA. So I took a break from cleaning inside and started on the outside. I also purchased a craftsman professional grade random orbital sander. WOW that thing has been marvelous. I have all the red paint off and am now working on the bottom hull I can reach. Then I guess its back in and attacking that freaking tar again.

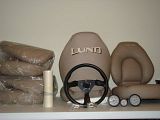
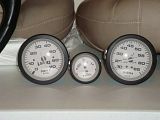
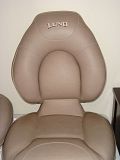
I will post some more pics of the boat progress tomorrow...but I thought you all would like to see some pics of the various things that have been arriving in the mail.

1. Boat seats...I absolutely LOVE them. Pictures dont do them justice. I could't be more happier with them and the service from the lund ebay boat store.
2. New steering wheel
3. Some tyvek suits
4. Awesome set of gauges. (Ezmobee you need to walk me through the tach gauge :D)
5. Some locks for the side lockers
6. Set of Lund boat graphics that I will reveal later...;)
7. Oh and my windshield. I haven't pulled that out of package yet. Too afraid it is probably broken in shipment. Ahh hell you know I am going to have to go open that up now. GEEZ!
Thanks for the input so far guys. I need the encouragement. You guys know how it is. Seems pretty daunting. My poor thread buried all the way on page 8!


ezmobee

Supreme Mariner
Joined
Mar 26, 2007
Messages
23,767
Re: Start of Lund Restoration...maybe

4. Awesome set of gauges. (Ezmobee you need to walk me through the tach gauge :D)

Those are some really nice gauges. Hooking up the tach was really simple. All it needs is 3 wires: ground, a positive off the ignition, and a pulse wire. The pulse wire is a gray wire in your control box. Worst case scenario is you can't find the wire in your control box and have to run one back to your motor. No big deal. A tach is a great accessory to have because it can help you make sure your motor is propped and set up correctly and also because it lets you know your charging system is working! That gives me a lot of peace of mind. I wish I could say the same for the speedometer. I wish I hadn't installed mine. They aren't terribly accurate and require far too many holes to be drilled in the transom to mount the pitot and to run that big water tube up to the dash. Total pain.

All your parts look great and I'm definitely looking forward to seeing how you fabricate your interior.
 

sschefer

Rear Admiral
Joined
Nov 13, 2008
Messages
4,530
Re: Start of Lund Restoration...maybe

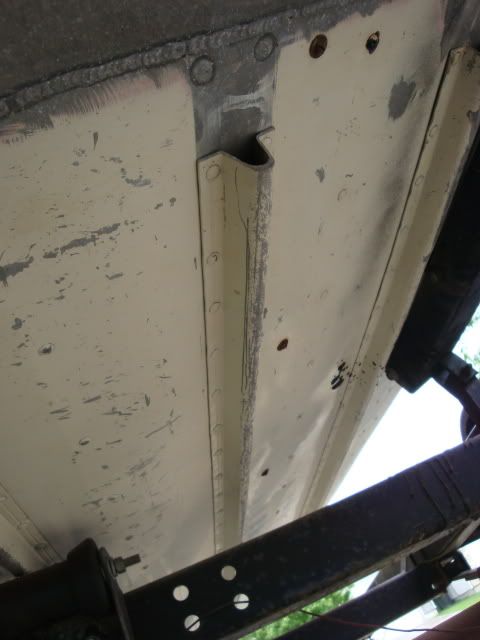
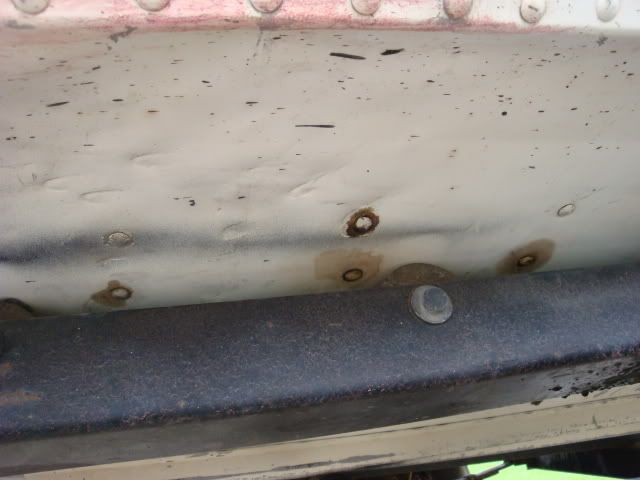
You asked what those things were that are attached to the hull. Well, I don't know for sure but I am pretty sure that Lund's are not screwed together at the factory. If they did anything like that they would have been welded or maybe riveted.

For your sake, I hope I'm not right about this but those could be covering hull cracks and it would explain the use of the tar like substance.

For peace of mind, I think you have to remove them and have a look.
 

slbri

Seaman Apprentice
Joined
Jun 2, 2008
Messages
48
Re: Start of Lund Restoration...maybe

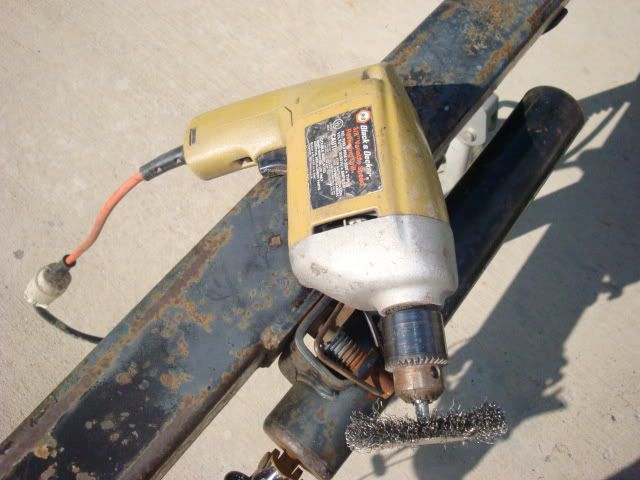
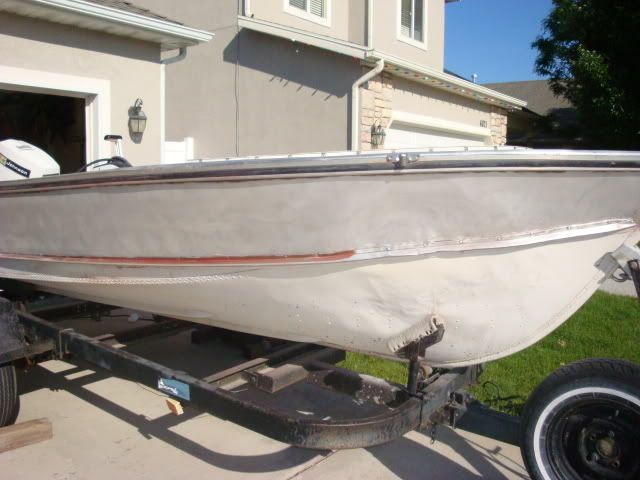
Ok couple of more progress pics. I found that for me the best thing was the wire wheel on an old beat up drill and my random orbital sander. The rain here for the month of June has been killing me. It has rained like 23 out of 25 days. Really hampering my progress.

We did take a break for some camping for a few days around fathers day. So now it is back to the grindstone.

DSC01342.jpg

DSC01343.jpg

DSC01344.jpg

DSC01345.jpg


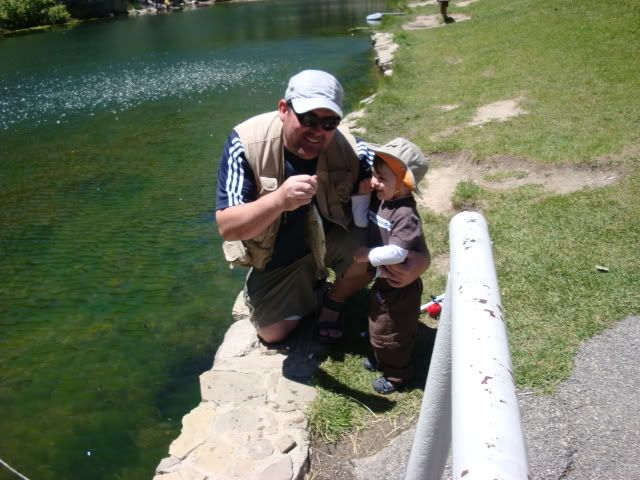
Course the reason we do all of this...
DSC01445.jpg


His first fish!
DSC01450.jpg
 

slbri

Seaman Apprentice
Joined
Jun 2, 2008
Messages
48
Re: Start of Lund Restoration...maybe

Couple more progress pics for everyone. And I NEED some serious input here on what to do next. I will ask the questions as above each pic.

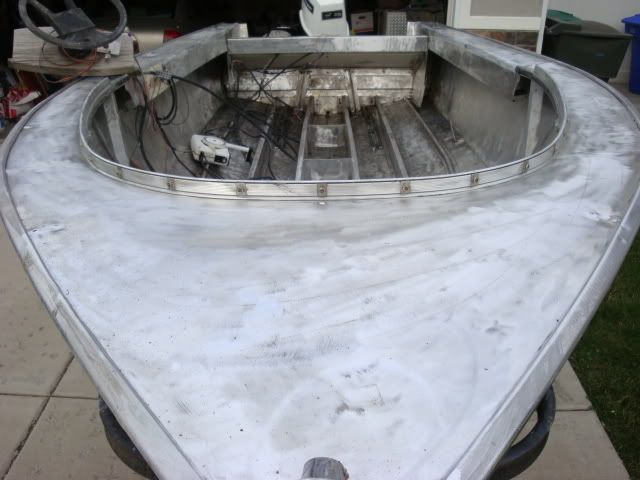
Obviously top of boat sanded to aluminum
DSC01461.jpg


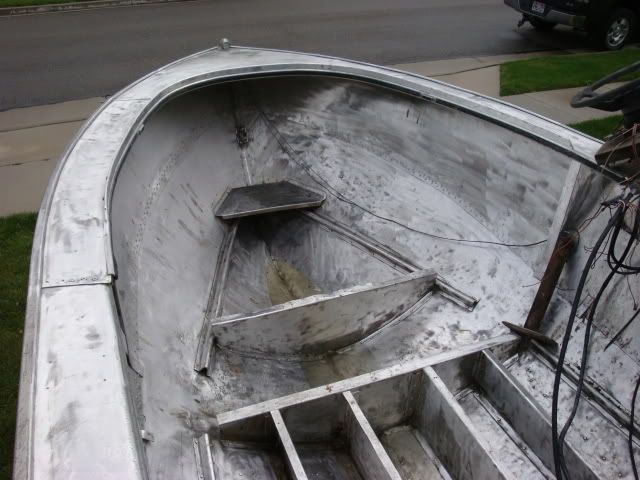
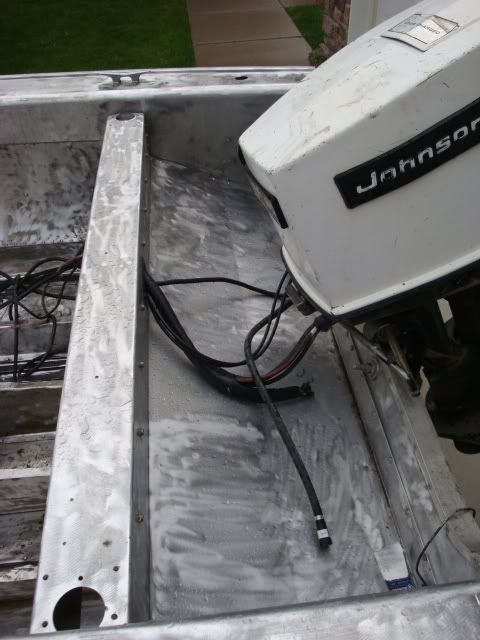
Inside...needs a thorough cleaning and wipe down still. Not quite finished yet.
DSC01463.jpg


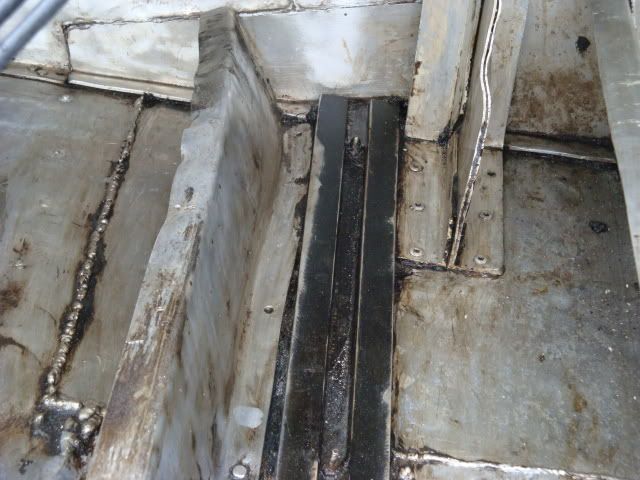
Heres where things get interesting...Obviously there has been an aluminum patch welded. Some rivets are there others are not. Guess there is no need for rivets when the weld does the trick. The stringer though isn't completely riveted though. Drill through and rivet? Screw it with bolts?
DSC01462.jpg


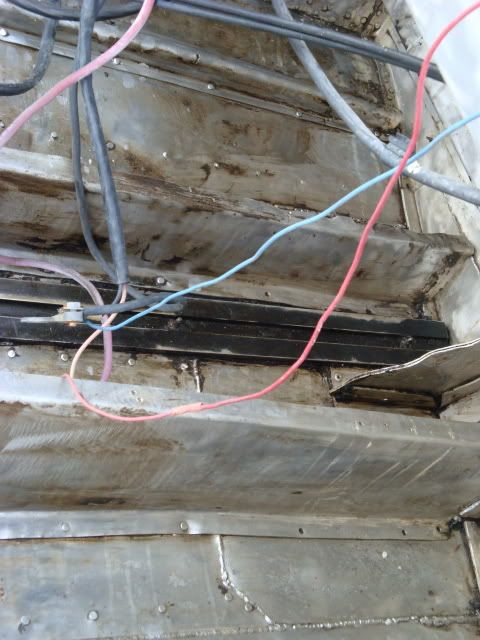
The black supports are indeed aluminum thank God. Lots of blank holes where there should be rivets or screws. Thoughts? This is the port side knee brace.
DSC01464.jpg


Starboard side knee brace and company.
DSC01465.jpg


I guess I better get removing this splashwell to get to those areas better.
DSC01466.jpg
 

slbri

Seaman Apprentice
Joined
Jun 2, 2008
Messages
48
Re: Start of Lund Restoration...maybe

More pics and questions. :)

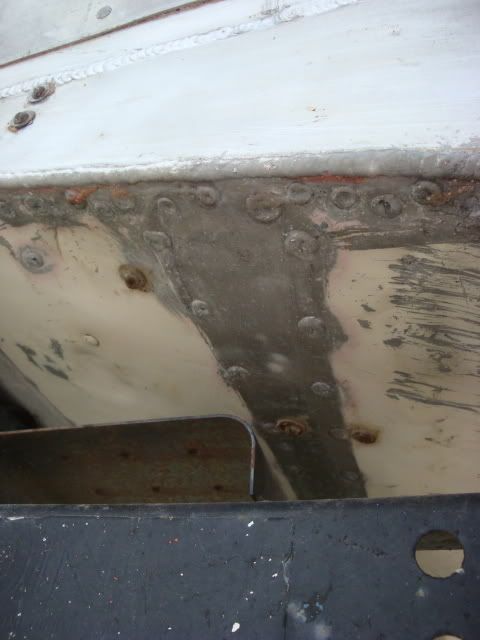
Ok this pic shows the underside of the portside. You can see where the rivets are just melted. Thoughts? Apply Lab Metal to the outside and sand smooth? Obviously gluvit inside. Drill out and put in new rivets? Bolts? I will definitely remove the rusty bolts and put new stainless in.

DSC01467.jpg


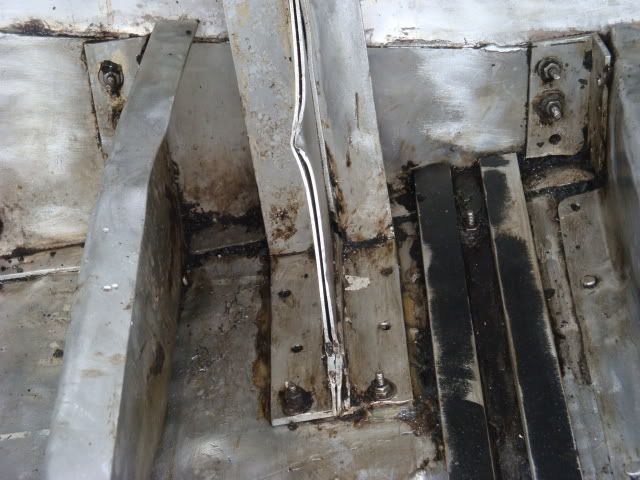
This next pic shows the rusted bolts to be replaced for the aluminum brackets, and little bit of the patch that was welded.
DSC01468.jpg


Finally some rivets that definitely need replacing. Questions about rivets:

1. Bucking rivets: Ballpin hammer and small sledge. I know sounds like dumb questions but from which side do you hammer? And I assume you are hammering with the ballpin. How hard are you doing this? How many times? Are you 'smashing' the rivet?

2. If replacing rivet, what size rivet? What kind of rivet should i use? What are the existing rivets called? Can I replace them so they all look the same?
Might I need to rent a rivet gun to redo them so they look uniform?

3. If I use screws. Same kinds of questions. What size? How long? Washers front and back? Thanks in advance for the replies guys.

DSC01469.jpg
 

slbri

Seaman Apprentice
Joined
Jun 2, 2008
Messages
48
Re: Start of Lund Restoration...maybe

Wow you would have thought with all those pictures and updates I could have gotten some direction. :rolleyes:

Well I finally got my lower reinstalled and the dreaded attempt at firing the motor. Turns out my battery cables need to be replaced. Pulled out my jumper cables, popped the cover caps on the carbs and fired in some carb cleaner I guess. Was some sea foam product and what do you know she fired up and came to life! She ran rough at first then idled very nicely. Shifted forward and reverse very nicely.

Mechanic recomended I put her in the water and test her out before we did any more to the motor. He didn't recomend doing the carbs just yet.
Turns out at least at this point don't really need the 3 carb kits. I do need some new spark plugs. So guess I am off tomorrow to make my own battery cables and buy some new plugs. The mobile boat mechanic said he would do it for me but would charge me two hours of labor plus cost of parts. $50.00 an hour.....I think I can manage my own cables. Only issue there is the heat shrink parts. Anyone know how those work? I believe I can buy the parts at my local marina and make them right there in the shop.

Any thoughts on my rivets and screw questions?
 
Last edited:

slbri

Seaman Apprentice
Joined
Jun 2, 2008
Messages
48
Re: Start of Lund Restoration...maybe

Well it has been a while...I apologize my restore is not keeping up with all of yours. I thought I would post some pics of what I have been up to. Now that this hunt is over I need to get back to my restore. :D


jcsercsa

Captain
Joined
May 21, 2007
Messages
3,401
Re: Start of Lund Restoration...maybe

OHHH MAN VERY COOL 6x6 !!! congrads !!!! I would take time off for that too !! where you get him ?? John
 

slbri

Seaman Apprentice
Joined
Jun 2, 2008
Messages
48
Re: Start of Lund Restoration...maybe

I shot him in central Utah John. It was a great hunt! He isn't the biggest bull around but he is more than a trophy in my eyes. I snuck up on him and shot him at about 125 yards. He had about 15-20 cows with him.

Anytime you can meet your quarry on their terms and in their element and outsmart them indeed it is a fine trophy. :)
 

TojosMojo

Petty Officer 2nd Class
Joined
Aug 13, 2009
Messages
128
Re: Start of Lund Restoration...maybe

I just started reading this thread, good luck on your Lund redo. I absolutely loved that 1967 Seaflite, that boat was a head turner with its classic looks, great interior and that awesome hardtop. I can't believe all it needed was a transom replacement and outboard for that price...:(
 
Top