ShoestringMariner
Lieutenant Commander
- Joined
- Apr 18, 2015
- Messages
- 1,605
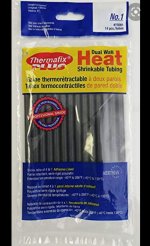
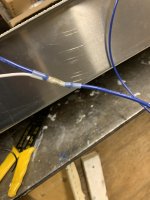
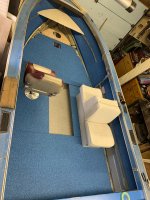
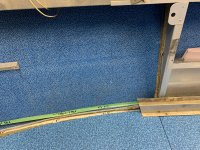
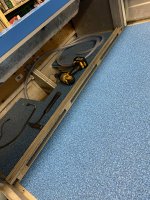
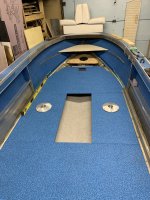
Rut-roh Raggy…. I didn’t think this one ahead. This rod locker has four lights on it. And the connections will be hidden. I’m using Marine tinned wire. I was thinking about soldering and heat shrinking the joints but heat shrink won’t work on multi wire connections.
These wires will be sitting on top of the flotation insulation underneath the boards. So they should not be immersed in water unless the bilge pumps fail. Am I overthinking this? I don’t want to have a problem that I can’t fix later.
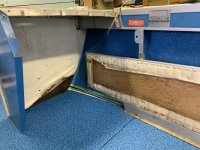
I can run individual wires out to gang the connection outside of the floor area but that’s a lot of wire. Will the tin wire not prevent corrosion issues especially if soldered?
These wires will be sitting on top of the flotation insulation underneath the boards. So they should not be immersed in water unless the bilge pumps fail. Am I overthinking this? I don’t want to have a problem that I can’t fix later.
I can run individual wires out to gang the connection outside of the floor area but that’s a lot of wire. Will the tin wire not prevent corrosion issues especially if soldered?