For the G-Flex, I mixed small batches in empty single-serve yoghurt cups using a small digital kitchen scale to get the ratio correct. That worked out really slick - put empty cup on scale, and zero display, squirt in 'x' grams of part A, then 'x' more grams of part B, and mix. G-Flex is well-suited to that approach as it's dispensed in squeeze bottles, and is a 1:1 ratio.
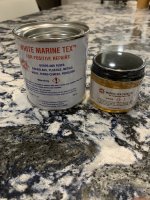
I've got a Coat-it kit waiting for warm shop prior to application, and it's in cans of similar sizes to that Marine Tex. Dealing with alternate ratios is easy with the scale, but how does one dispense small volumes neatly without waste? Maybe some 'been there, done that' folks can chime in!