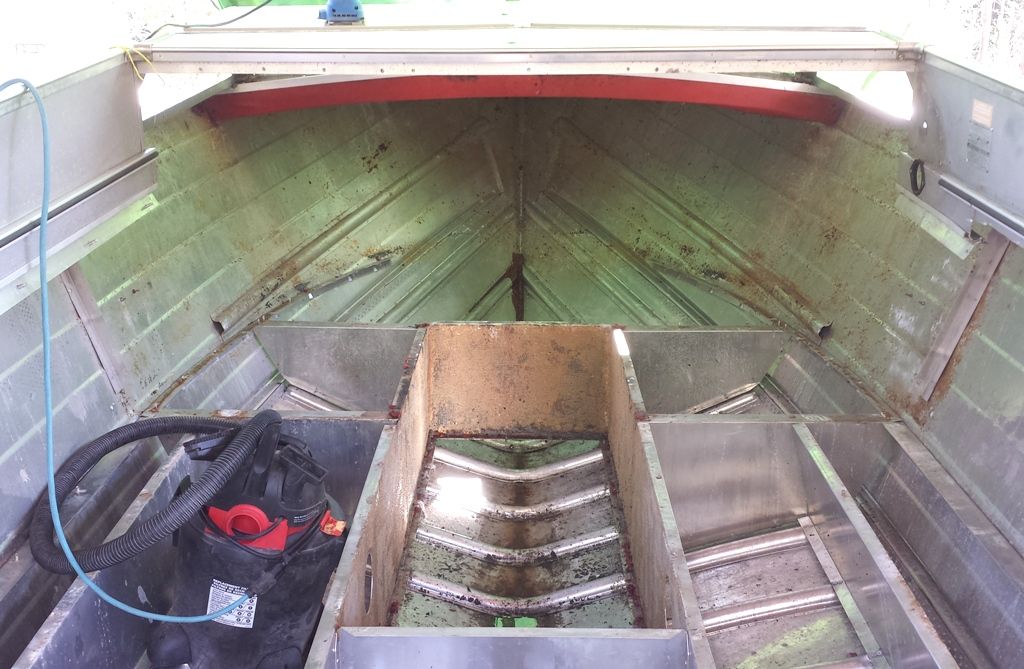
Ratherb's 74' 21 Ft Starcraft Islander

Watermann

Starmada Splash of the Year 2014
Joined
Jan 12, 2013
Messages
13,790
I would comment, but you lost me......

other than the nice 18% exchange rate here we also have a lot of taxes, and carbon fees... but it's not a tax right...ha ha ha. who the hell voted for our government. Soooo bad


Someday just maybe the politicians will stop thinking they can tax the people into prosperity.
 

Mikeopsycho

Senior Chief Petty Officer
Joined
Feb 6, 2014
Messages
738
Hey Rather, I'm not sure what part of BC you're from, but I've got 2 gallons of two part pour foam left over from my project I could let you have if you want it. Let me know.
 

Ratherbboatin

Petty Officer 1st Class
Joined
Jan 2, 2015
Messages
217
Thanks for that, but I am going with block foam. Really don't want to touch the pour in stuff. And I am a ways off thinking about foam.....still need to finish the demo, clean it, flip it and strip it down....and yes I am talking about the boat.

located in Mission, B.C. Canada
 

Mikeopsycho

Senior Chief Petty Officer
Joined
Feb 6, 2014
Messages
738
Thanks for that, but I am going with block foam. Really don't want to touch the pour in stuff. And I am a ways off thinking about foam.....still need to finish the demo, clean it, flip it and strip it down....and yes I am talking about the boat.

located in Mission, B.C. Canada

:laugh: hehe. No prob, just trying to find a use for the pour foam before it dies on the shelf.

My niece and her family live in Mission, and my sis and BIL are going to move there from Coquitlam when they retire next year. I'm up in the Shuswap myself.
 

Ratherbboatin

Petty Officer 1st Class
Joined
Jan 2, 2015
Messages
217
Not much to report, I am still tearing it down.....had to work all week. I expect to have all the glass and trim removed with all the small accessory parts before the end of the week. Then hopefully the top cabin will be removed.
 

Ratherbboatin

Petty Officer 1st Class
Joined
Jan 2, 2015
Messages
217
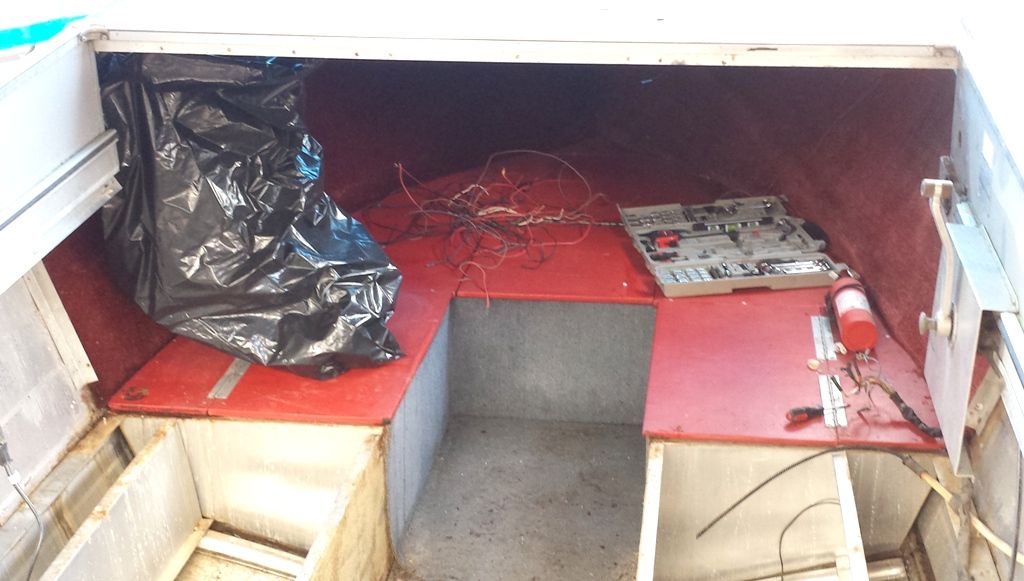
Removed Helm, Wiring and Steering cables


Most of the old floor removed, Transom parts all removed


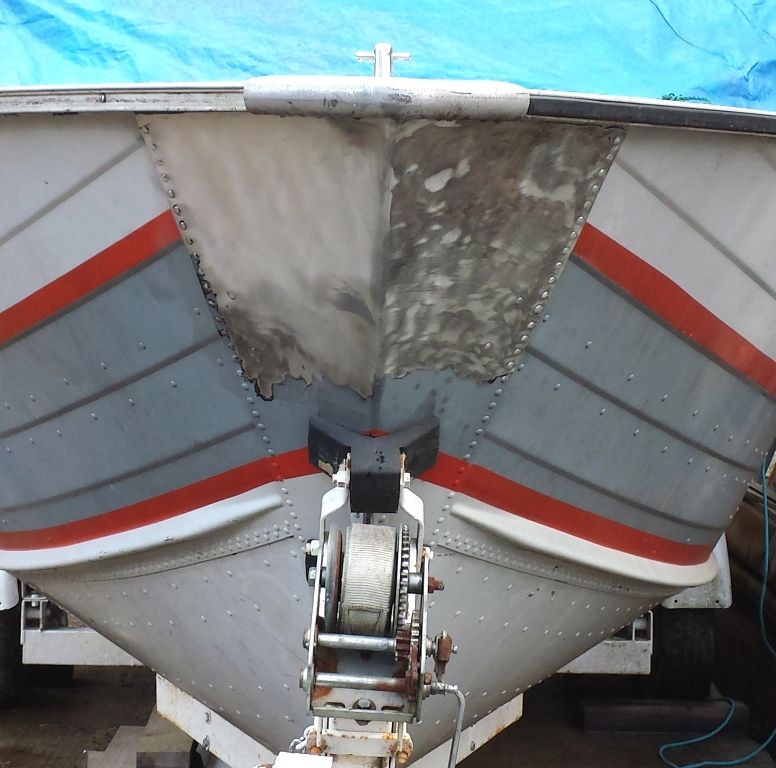
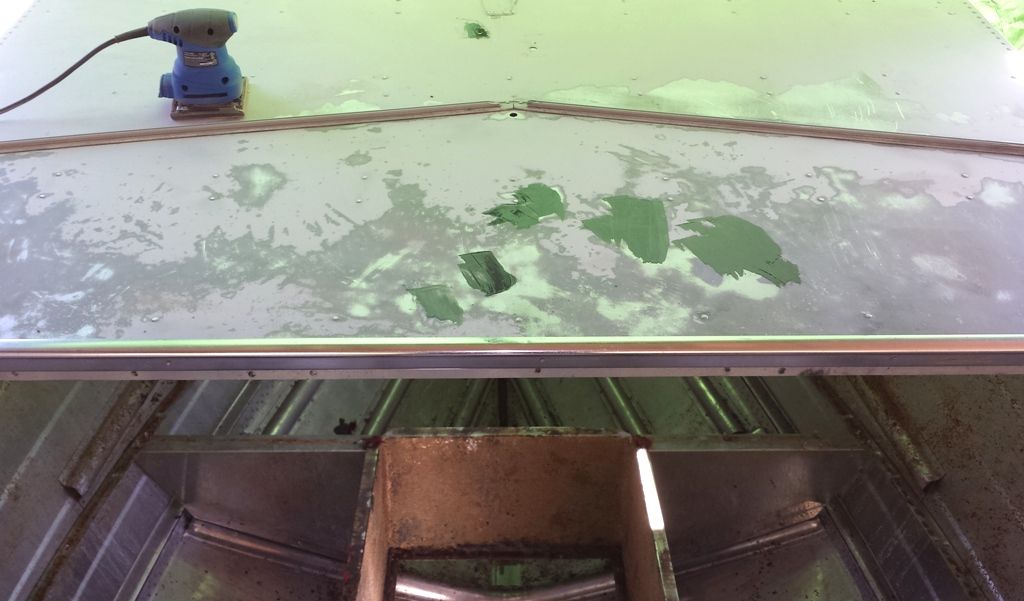
Cleaned off some paint to plan colour scheme

 
Last edited:

Bondo

Moderator
Staff member
Joined
Apr 17, 2002
Messages
70,970
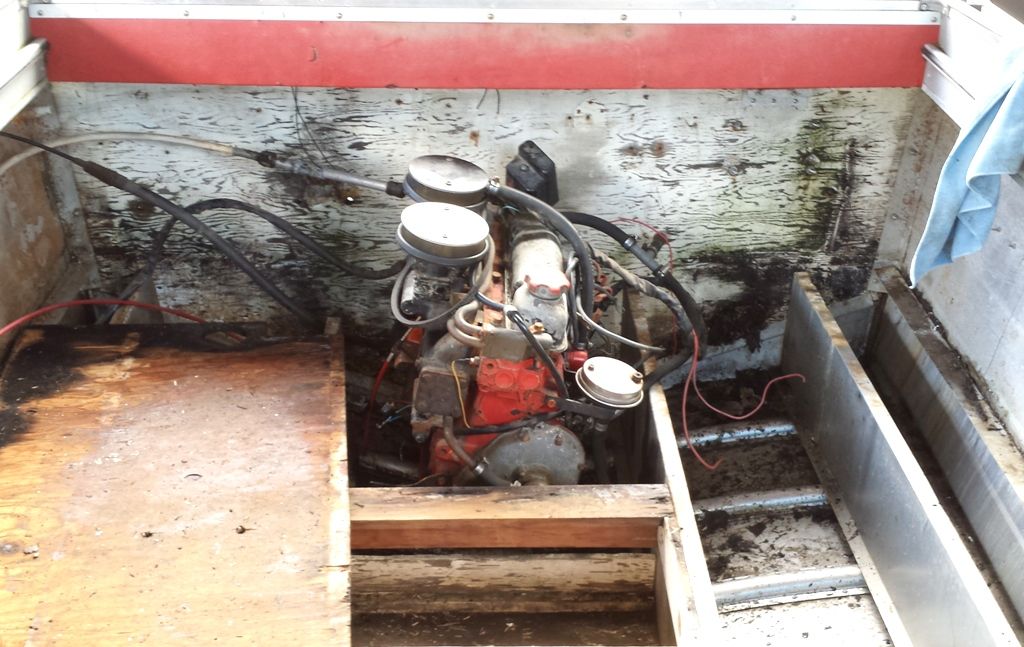
Ayuh,.... Why is the motor still in it, that shoulda been the 1st thing to go,.....

'n quit sandin' the paint off the hull,....
If ya just scuff it, it can be repainted any color ya want,....
Primin' bare aluminum is expensive, 'n a major pain,....
The original paint is in good shape, why screw yerself over like that,..??..??
 

Ratherbboatin

Petty Officer 1st Class
Joined
Jan 2, 2015
Messages
217
Why does the motor need to go first???? I needed to disconnect everything from it first. Anyways, I will not take the motor out until I move the boat from its location. It was a pain to get it in there.
I am planning on keeping parts of the hull polished that is why the paint is cleaned in that area.
The paint is not original and not really in good shape, flaking off in many spots, and sooo ugly I can't stand looking at it. I will only lightly sand the paint in the areas that will be re-painted.
 

Watermann

Starmada Splash of the Year 2014
Joined
Jan 12, 2013
Messages
13,790
Yeah... NO... if you have a top coat of paint applied on top of the original paint "like most of us do" then you're in for some paint stripper action. I would never paint over 2 coats of paint, it'll be a waste of time and money. I would take her all the way down to to the tin.
 

Ratherbboatin

Petty Officer 1st Class
Joined
Jan 2, 2015
Messages
217
Watermann, I think you dropped a V6 in your starcraft?? How do you like the power? Any issues with the motor stressing the mounts you added? I found a V6 Volvo with complete Leg and controls that I am going to look at.
My next step is pulling out the Engine and Leg, PITA the way the leg is used as the motor mount for the engine.
 

Watermann

Starmada Splash of the Year 2014
Joined
Jan 12, 2013
Messages
13,790
I love all the power but found I rarely use it, I could have done with a 2bbl lesser HP 4.3L but then I would've wanted the 4bbl. :lol:

The transom assembly takes the torque forces in a IO config spreading the forces out more than an OB config. The motor mount beds mainly support the motor weight with maybe some of the twisting torque pushing down. My Chief's motor mount beds were solid riveted to the hull bottom with supports, riveted to the ribs, then into the longitudinal stringers which goes to the decking.

I have no concern about the mounts being stressed with everything being new. I would worry about it down the road say 40 - 50 years that is if I weren't going to be in that big harbor in the sky by that time. :D
 

Ratherbboatin

Petty Officer 1st Class
Joined
Jan 2, 2015
Messages
217
I have made some progress:
Floor is fully taken out
Engine mount removed, leg is now free to be removed.
All parts and side rub rails removed
Lower front window should be removed in the next day or so.
So much rain here everyday, its very muddy and wet......wish I had more done!! sorry no pics too much rain
 

pckeen

Commander
Joined
Jun 20, 2012
Messages
2,067
Hi,

With my 16' Naden, I stripped it all down to bare tin, becuase I had no choice - there had been multiple very bad paint jobs over the years. If I ever get lucky enough to find my 25' Chief that needs a resto....and the paint is in good shape, I would scuff it, clean it, and paint over the top again. I think I detect a wire wheel on some of your stripping there - be careful with that around the rivet heads, as you can strip enough of the head off to weaken the rivet.
 

Ratherbboatin

Petty Officer 1st Class
Joined
Jan 2, 2015
Messages
217
I did use a wire wheel on the bad spot to strip the paint, but switched to a soft pad for the rest of it and around the rivets. I would prefer to keep them all in good shape. Once I lift out the engine I will be into the cleaning paint stripping and sanding phase.
 

Ratherbboatin

Petty Officer 1st Class
Joined
Jan 2, 2015
Messages
217
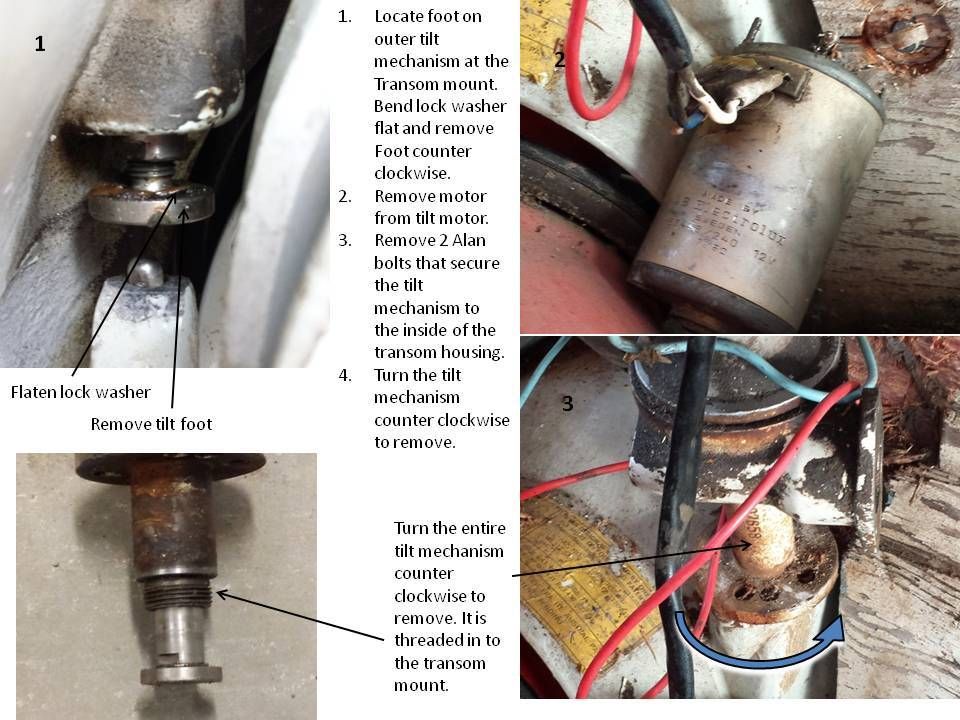
I put together a step by step Tilt motor removal for the AQ130 / 270 leg. I did not find any good info on the removal of it and from what I read there might be more than one type of installation. The one I have actually threaded into the transom mount, other look like they are only held in by 2 alan bolts and a rubber seal.
 

Ratherbboatin

Petty Officer 1st Class
Joined
Jan 2, 2015
Messages
217
Work has been very busy and I have a couple days planned to get some work done on the boat, will update with more photos soon.
 

Ratherbboatin

Petty Officer 1st Class
Joined
Jan 2, 2015
Messages
217
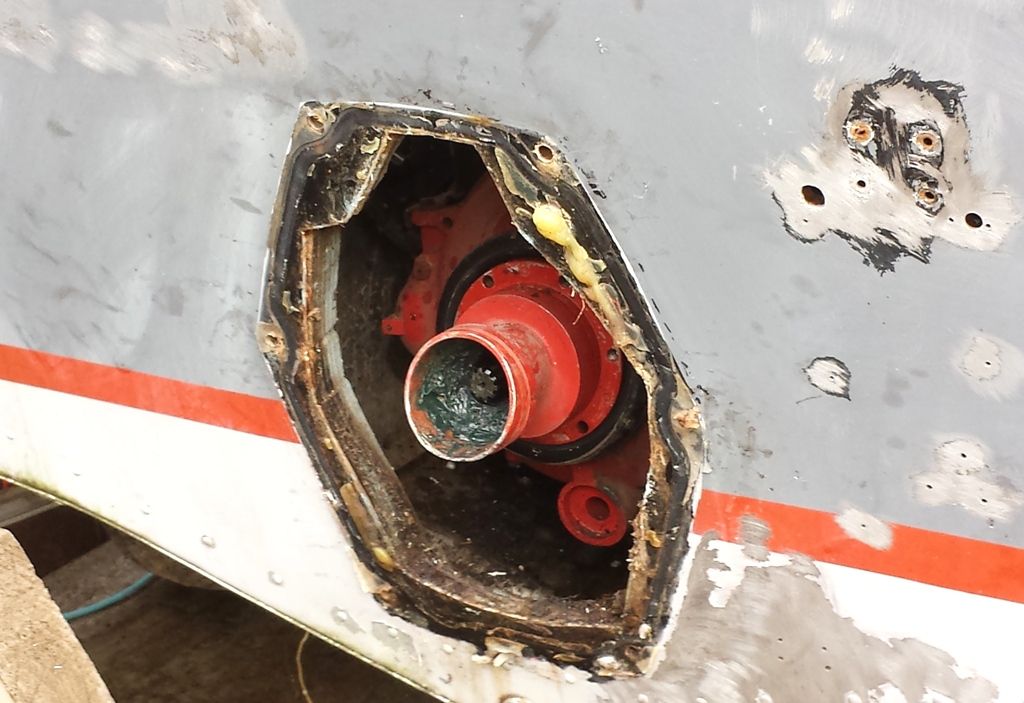
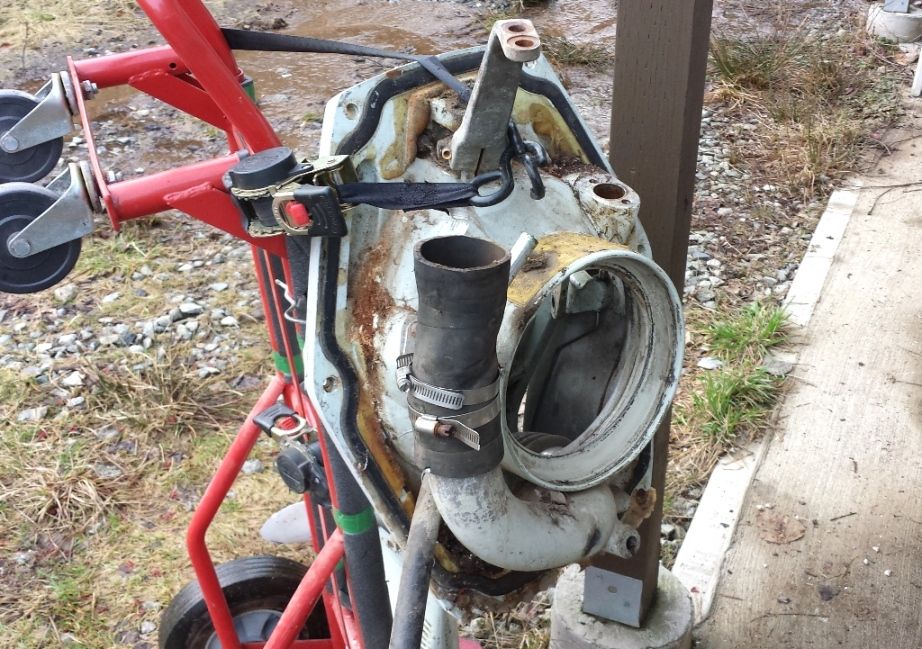
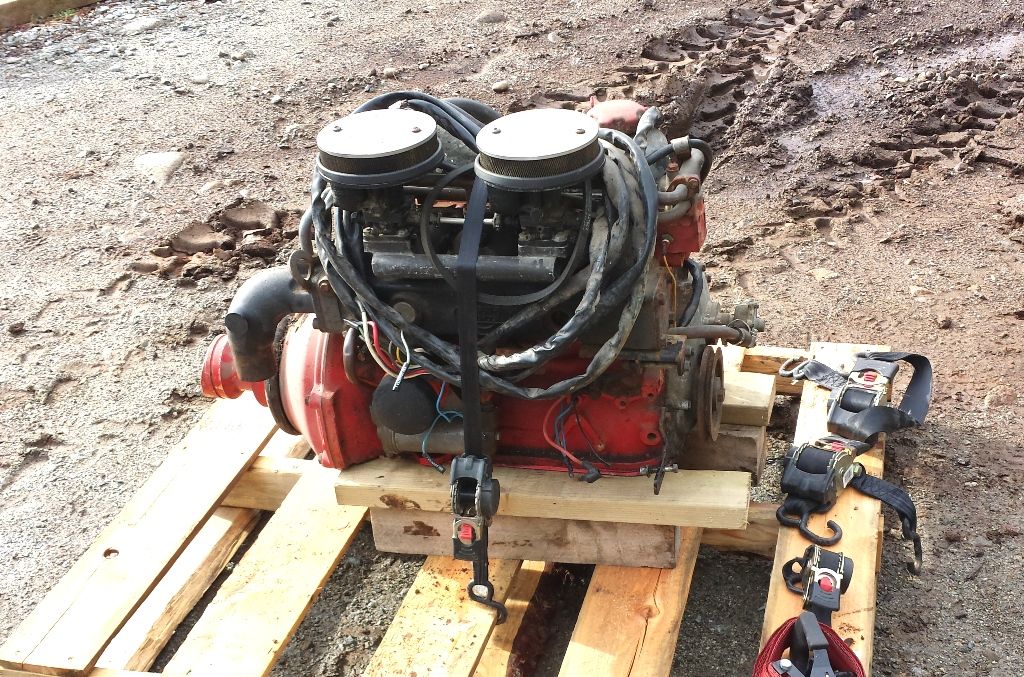
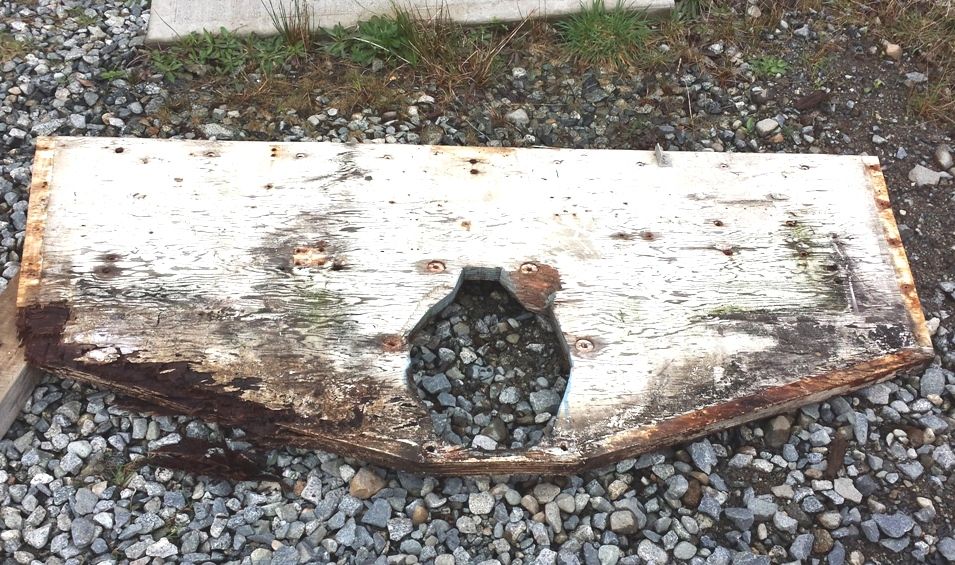
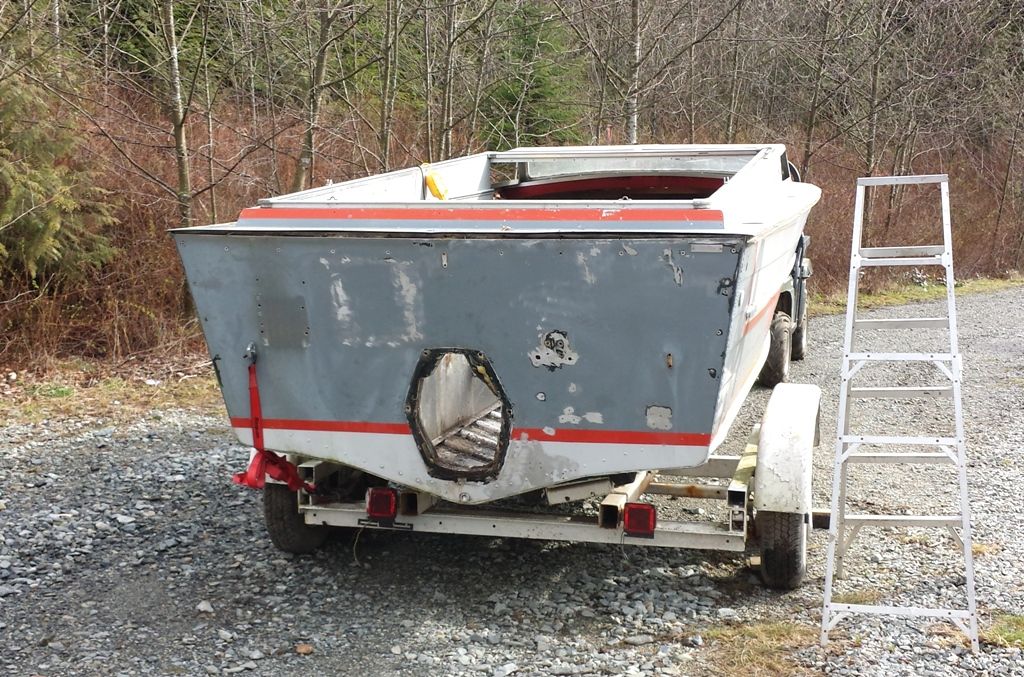
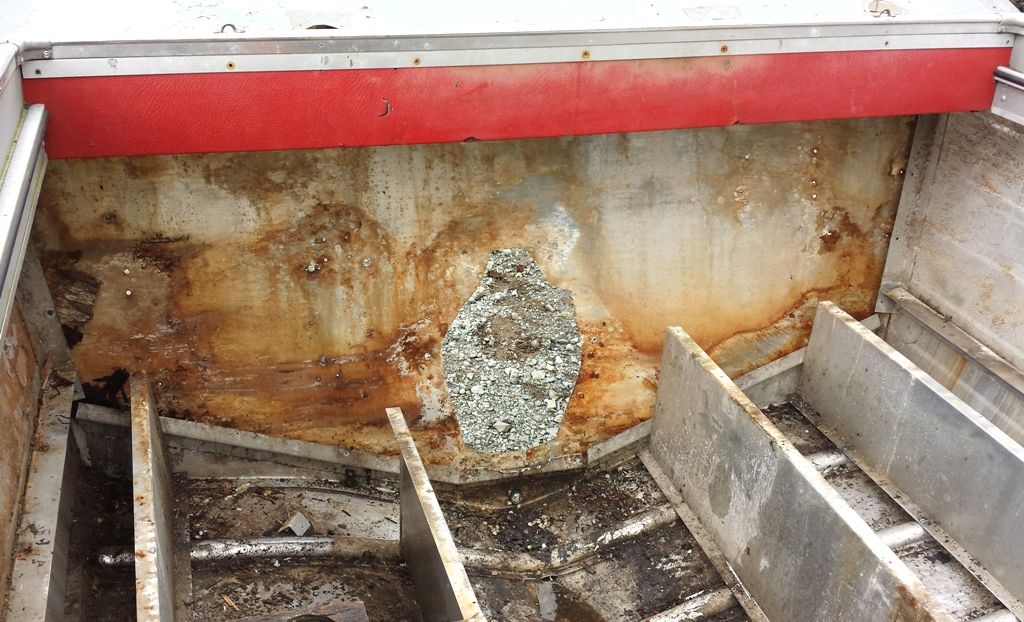
A few hours today pulling the engine, and old Transom out among other Misc. pieces that are left.


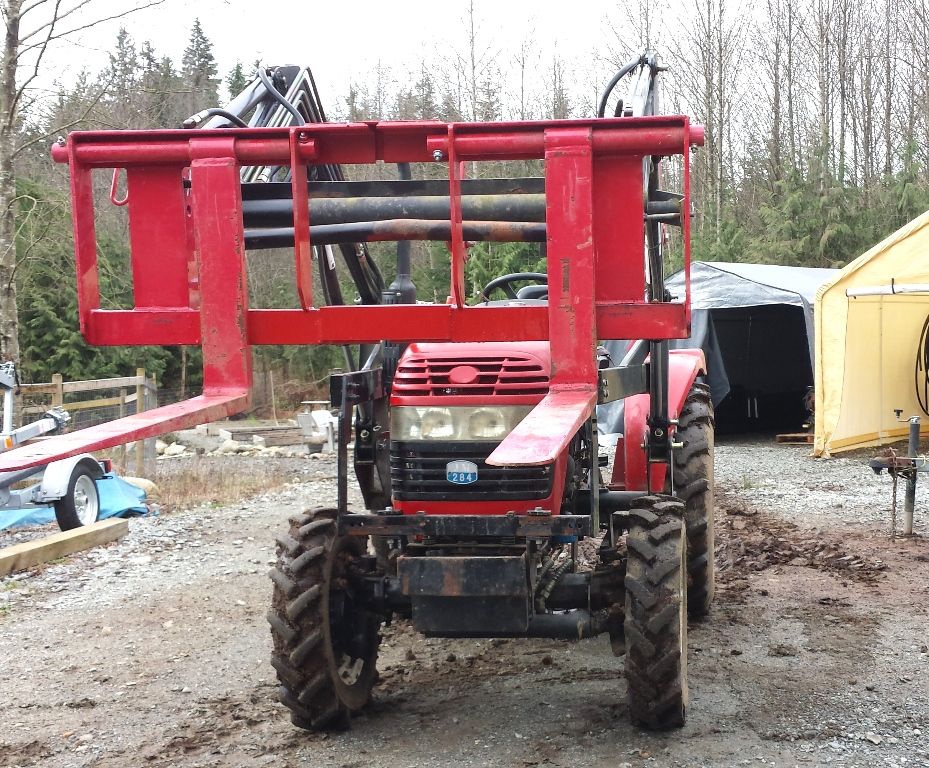
Pulled the engine with my handy 4x4 tractor, now that the front hydraulic rams are repaired!!


Tractor with the forks mounted on it


Transom, should be good enough for a template


Back of the boat just before I pulled the transom board


Inside
 

Ratherbboatin

Petty Officer 1st Class
Joined
Jan 2, 2015
Messages
217
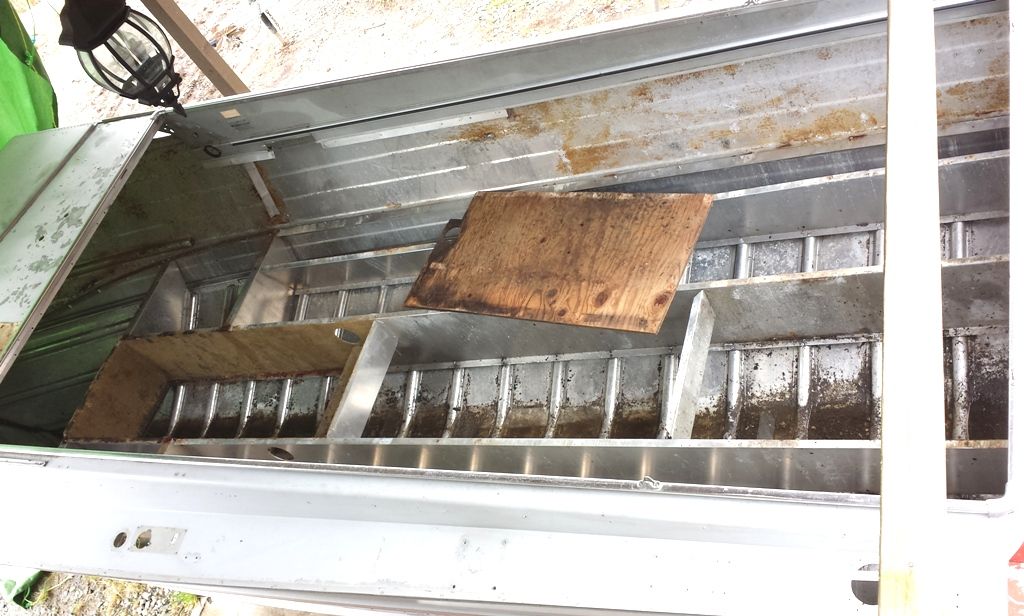
Working on cleaning the inside of the hull.......


Prep work on the top portion

JB Weld the holes on the dash and used aluminum tape on the underside to seal the hole off. Seems to work very well.
Isn't 1 hole ever enough for a depth/fish finder???

 
Last edited:
Top