Progress so far...

waterwezl

Petty Officer 2nd Class
Joined
Apr 5, 2008
Messages
104
PA070032.jpg

PA070033.jpg

PA070031.jpg

PA070030.jpg

PA070034.jpg


I've finally gotten the bulkheads cut and ready for 'glass. I cut them a little low so i can bed them in with peanut butter. The notches should add a little extra strength to the over all framework.
 

zach103

Commander
Joined
Mar 11, 2008
Messages
2,233
Re: Progress so far...

wow looks really good. keep up the good work
 

waterwezl

Petty Officer 2nd Class
Joined
Apr 5, 2008
Messages
104
Re: Progress so far...

Today I recut the bulkheads (I'll find use for the first ones once they dry) and bedded them to the hull. I finished up the last 3 ft of stringer I was short on each side. I test fit the belly tank and marked the rearmost bulkhead for cutting clearance for filler neck, vent, etc. I also drilled the drain hole into the transom and glassed in a piece of 3/4 pvc pipe and sealed it thoroughly to the transom wood. I will be doing the same thing to each bulkhead. I believe I wouldn't have had to replace the transom had they sealed the drain at the factory.

I'm debating wether to finish the floor completely or just finish out framework before I flip the hull to paint the bottom. I figure flipping it is the most thorough way to insure everything gets done but I don't want it so heavy I've got to gather 10 guys to help. I also don't want it to be so flimsy that I risk cracking the hull in the process. Any thoughts? I'd like to get that started before the weather turns cold here in Florida.:(

Thanks

Jason
 

jcsercsa

Captain
Joined
May 21, 2007
Messages
3,401
Re: Progress so far...

HAy Jason Looks really good so far !!!

I would glass all the work you did then it should be stable enough to fip her over !!!

Keep up the great work !! and keep them pics comming !!!!! John
 

Mark42

Fleet Admiral
Joined
Oct 8, 2003
Messages
9,334
Re: Progress so far...

Nice work Jason!

My only suggestion would be to be sure that water that gets down to the keel can pass barrior free to the bilge. I would take a 3" hole saw and cut a hole in each bulkhead flush to the hull in like with the keel so the water can flow back. Also think of doing the same iwith a 1 or 2" hole saw in the stringers every foot or two so water that might seep into the areas outboard of the stringers will be able to drain down to the keel and back to the bilge.

Be sure to seal the openings cut with the hole saw with resin so water can not get into the exposed wood.

BTW, nice work fitting the stringers and bulkheads together. They look to be a very strong support system.
 

waterwezl

Petty Officer 2nd Class
Joined
Apr 5, 2008
Messages
104
Re: Progress so far...

Thanks for the words of encouragement fellas. It really means alot. It's good to know I'm on the right track with this project.

Mark, drainage through the stringers is an excellent idea but what you're suggesting would mean not putting foam under the floor. Does my boat not need it? If not that would be a great relief and a lighter load on my pocket. I had assumed that it was required because I had taken it out. If it really doesn't then I'd be happy leave it out. I'd rather not have foam in there wicking water into my new ply. :rolleyes:

Thank again,
Jason
 

Mark42

Fleet Admiral
Joined
Oct 8, 2003
Messages
9,334
Re: Progress so far...

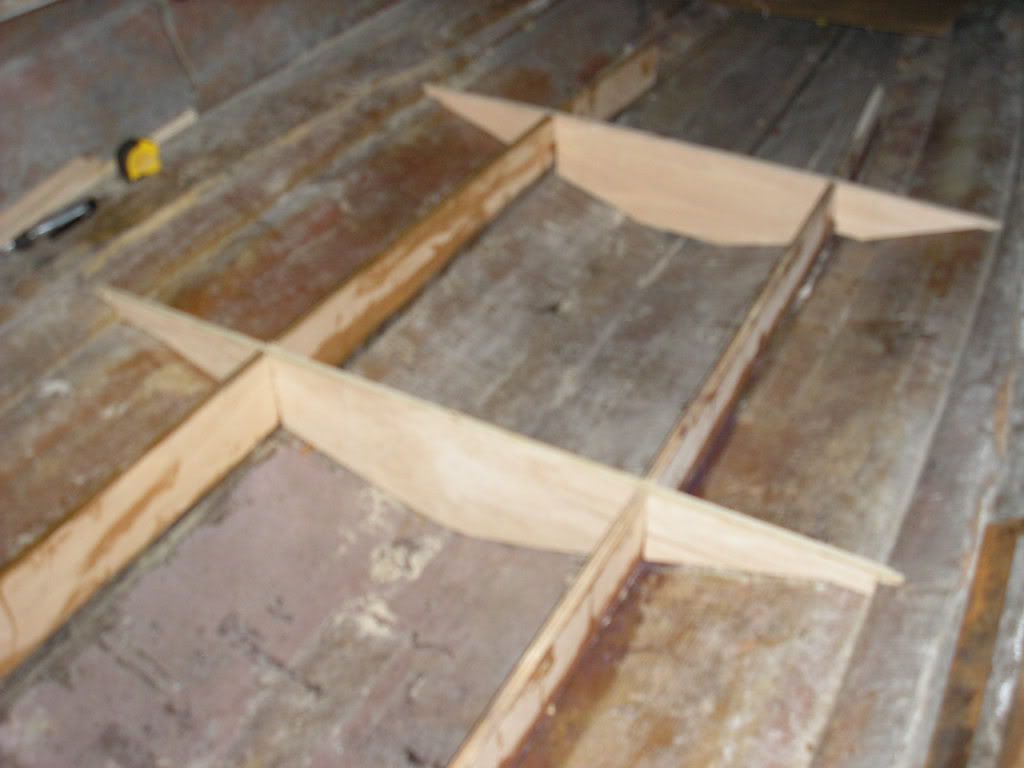
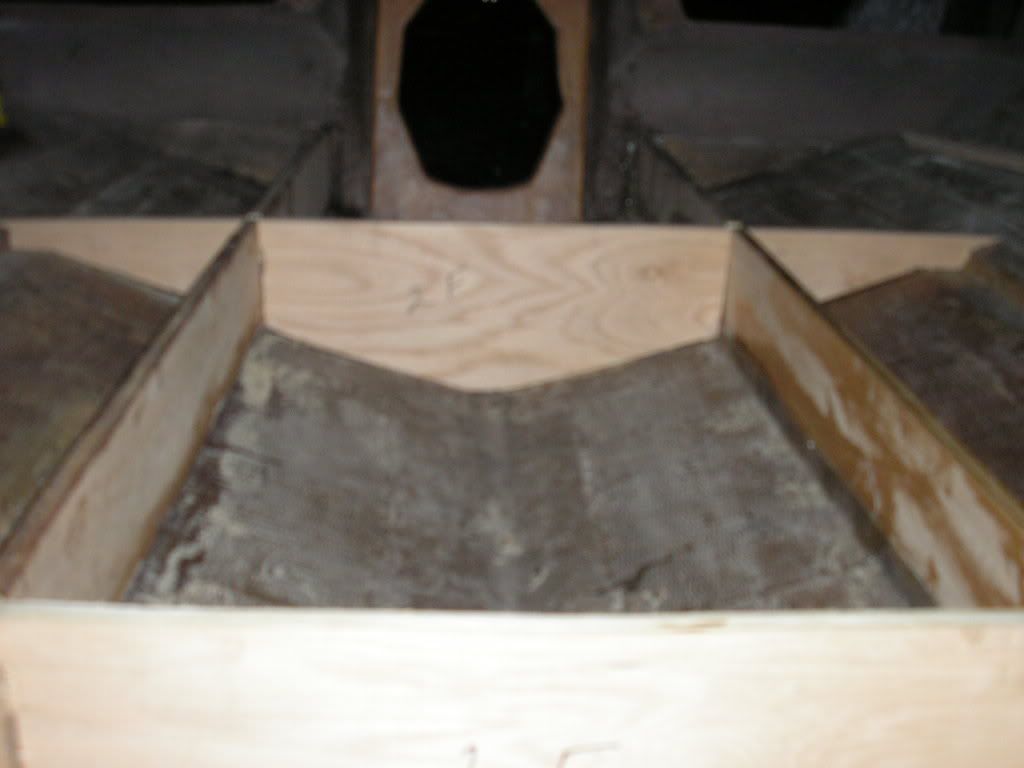
I do not believe there is any regulation that requires you to put back the foam in that size boat. But it nice to have. There are other locations to add foam, like under the gunwale, under the splashwell, and depending on your seat choices, you could fill in under lounge seats.

You are right that foam does mess up drainage holes. Given the options, I would leave the under floor area un-foamed and look at alternative above floor areas to foam. Plus, above floor foam helps keep the boat from flipping over if it does get swamped. In fact, this is what the coast guard recommends.

So, if you can see how you could add foam above the floor (which you can add at a later date), then leave the under floor empty and add the drainage. Plus, you can add hatches in the floor to store gear like anchor, fenders, etc .

Just something to think about.
 

waterwezl

Petty Officer 2nd Class
Joined
Apr 5, 2008
Messages
104
Re: Progress so far...

Sounds like a plan. I'll leave the foam out and find other places to put it. Perhaps under the consoles when I get them built. I'll just leave them upside down and fill 'em up before I glass them down to the floor. I like the idea of more storage. I had intended to modify the way the bow seats were built to add more storage anyway.

BTW Mark I've been following the cab build closely. You're doin a great job! Can't wait to see it completed.

Jason
 

Nova II 260

Senior Chief Petty Officer
Joined
Jul 27, 2006
Messages
681
Re: Progress so far...

Nice work waterwezl !
You don't need no stinking foam.
USCG requires mfg's to have flotation for new construction. Home builders have no regulatory USCG requirements.
For the small area under your sole you maybe well off with some 3" home insulation foam cut to fit, if you feel you must have foam. Lot's of threads on foam here.
 

waterwezl

Petty Officer 2nd Class
Joined
Apr 5, 2008
Messages
104
Re: Progress so far...

Gotta huge problem fellas and can't seem to get past it. I made an attempt to glass in the stringers this evening and either I did something wrong or should've expected this.

I rounded the edges of the stringers and brushed resin over everything really thick. Layed the mat in place and going from top to bottom brushed on more resin. I still have a bubble under the mat the entire length of the top edge of the stringer. I put on my rubber gloves and attempted to massage the bubble out with my hands. I could watch the mat lift itself off the wood. So I tried to massage in more resin to no avail. Now I'm at a loss.

What should I have done differently? I'm thinking the mat is too heavy and this is just it's tendency to want to straighten out after being wrapped around the 3/4 ply. And once it dries with the bubble under it what do I do? Thankfully I've only done three feet of stringer. HELP!!!!

Thanks in advance, Jason. :(
 

jcsercsa

Captain
Joined
May 21, 2007
Messages
3,401
Re: Progress so far...

you just got to keep working it till it starts to set up !! did you get any rollers with your glass ?? its really hard to keep working , but thats just it keep rolling it !! John
 

waterwezl

Petty Officer 2nd Class
Joined
Apr 5, 2008
Messages
104
Re: Progress so far...

Nope....no roller. But now that I know what I did wrong I'll be bringing one home with me tomorrow. I went out a bit ago and checked on it and I'm afraid it's set up too much to do anything with the 'glass I put down tonight. I'll grind out the bubbles and patch in some new mat. I was afraid it was something like that. I guess I'm kind of impatient. Thanks John.

Jason.
 

i386

Captain
Joined
Aug 24, 2004
Messages
3,548
Re: Progress so far...

I'm not quite sure since mine didn't have stringers. Sounds like he's glassing in and capping the stringers in one step. I was thinking it went something like bed the stringers (not right against the hull), tab them in, glass them in (1708), then cap them (pita). Someone set me straight?
 

jcsercsa

Captain
Joined
May 21, 2007
Messages
3,401
Re: Progress so far...

I'm not quite sure since mine didn't have stringers. Sounds like he's glassing in and capping the stringers in one step. I was thinking it went something like bed the stringers (not right against the hull), tab them in, glass them in (1708), then cap them (pita). Someone set me straight?

Well what i did was , bed the stringers , they were petty solid then used pl for the bedding , tab them in also , then full rap 2 inch over lap to the hull then 4 inch over lap to the hull then a 6 inch , I stood on just one stringer , pushed on , did all i could to just to get it to move , It didnt at all they were solid !!

Ohh frist layer was 6 oz eglass then the next two were both 10 oz eglass John
 

waterwezl

Petty Officer 2nd Class
Joined
Apr 5, 2008
Messages
104
Re: Progress so far...

Tried it again and no luck this time either. I soaked the mat in resin this time then layed it on a resin soaked section of stringer. Rolled it out and stayed with it until it was so tacky it was sticking to the roller. Still lifted off the top edge and about 2" down from the edge. I got aggrevated and pulled it off before it cured that way and left me with a mess of grinding to do. Wasted about 10 oz fo resin in this latest attempt.


This is the mat I'm using. No idea of weight, but it's pretty heavy. I got a whole roll of it donated to my restoration cause. I'm really not sure if this is the right stuff to use but I know its structural mat and it's what I thought I was supposed to use.
PA150035.jpg


This is making me nuts! What is plan B? Jason
 

oops!

Supreme Mariner
Joined
Oct 18, 2007
Messages
12,932
Re: Progress so far...

wezel.....

man thats a pita...^%$&^%$&^%$*((*&*^( :mad:

the woven roving you are using is too thick for that job......BUT>>>

i went thru that thing with 1708......tried everything......

read the hull extension thread.....just skim thru it till you see the stringers being done....about page 10 i think.....i even tryed to pin the stuff to the board !....the problem is....as soon as the resin hits the cloth....the cloth expands....and in a sharp outside corner ...you will allways get air...allways :mad:

there is a diagramm there (on the hull ext thread) about putting a dowelling on each side of the stringer....that is the only way the glass will make the turn.......

if you dont want to run out and buy dowelling for every inch of the stringers....the only thing to do is wrap some 3/4 oz csm over the bend....the 3/4 will do it with some really hard work....then just cap the stringers with thin strips of 1708 ....the cloth you are using for that job is too thick for it.

there is a product called triax.....that i have heard likes corners better....but if you can find some....its a while away with shipping.

hope that helped
cheers
oops
 

i386

Captain
Joined
Aug 24, 2004
Messages
3,548
Re: Progress so far...

One of these days one of us is going to stumble onto a technique that works well for capping stringers. Seems like every project I read about plays hell with it.

Hang in there buddy.
 

Mark42

Fleet Admiral
Joined
Oct 8, 2003
Messages
9,334
Re: Progress so far...

I rounded off all the corners on my hard top and using 1708 with epoxy, it formed around some rather tight turns really well. But about 10 minutes after you are done laying the glass, go back and check for raised spots and air, then work them out with your gloved hands. By then its started to set up and should stay where you press it.
 

oops!

Supreme Mariner
Joined
Oct 18, 2007
Messages
12,932
Re: Progress so far...

using epoxy....wizeone pulled it off !

he layed a layer of resin on it....waited till tack....then streached and pressed a 1708 wrap with the seams running longitudenal....waited till allmost cure...then resined it....he had some air.....but not bad..

using poly...im convinced the only way is the dowell idea......

the thin csm will work...adding a 1708 cap is just reinforcement....but it looks really messy
 
Top